
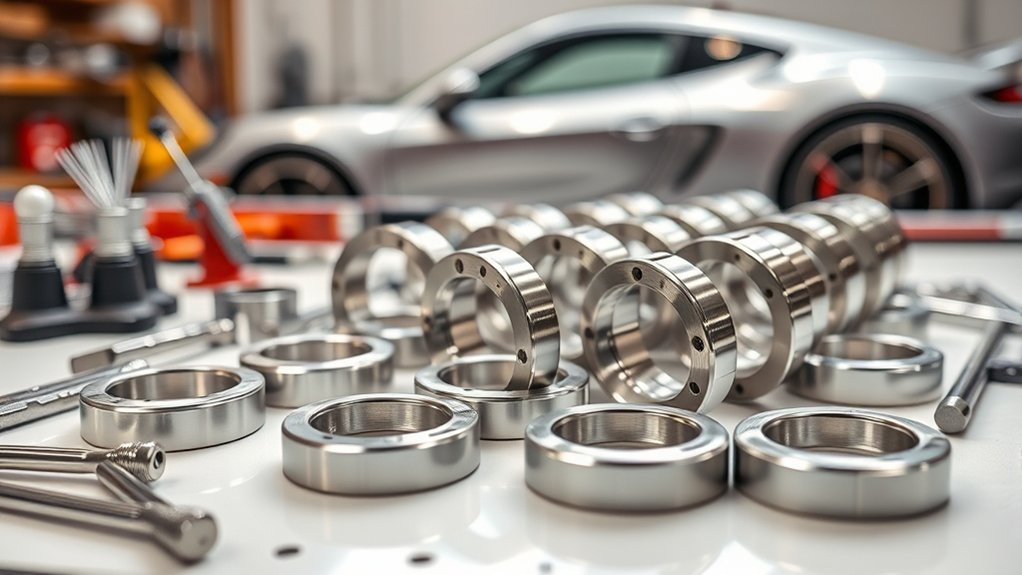
Wheel spacers can create brake, suspension, tire, or fender clearance and move the wheels outward for a wider stance. They can also change steering feel and increase leverage on wheel-end parts. Safe use depends on choosing a vehicle-specific spacer system, verifying every fitment measurement, using the correct hardware, and following the exact torque and inspection instructions.
Quick Answer
Wheel spacers can be safe when they are engineered for the exact vehicle and wheel, sit perfectly flush, provide the required thread engagement, clear every nearby component, and are torqued and rechecked as directed. Poorly fitting, stacked, damaged, or incorrectly installed spacers can loosen, cause vibration, increase component loads, or contribute to wheel separation.
Key Takeaways
- A spacer must match the vehicle’s bolt pattern, center bore, hub lip, thread size, wheel hardware, load needs, and available clearance.
- Spacers widen track width, but they do not lower the vehicle’s center of gravity or automatically create more tire grip.
- Moving a wheel outward changes effective offset and can increase leverage on bearings, studs, ball joints, and other wheel-end components.
- Slip-on and bolt-on spacers have different stud, bolt, and wheel-pocket requirements.
- Never stack spacers, guess at torque, or keep driving after new vibration, looseness, cracking, rubbing, or steering instability appears.
At a Glance
| Time Required | About 1–2 hours for an experienced installer, plus follow-up torque inspections |
| Difficulty | Intermediate to advanced; professional installation is the safest choice when studs, brakes, or fitment are uncertain |
| Tools Needed | Wheel chocks, floor jack, properly rated jack stands, sockets, hand tools, wire brush, straightedge, measuring tool, and calibrated torque wrench |
| Cost | Varies by application; bolt-on systems, replacement studs, special lug hardware, and professional labor add cost |
Warning: Wheel hardware is safety-critical. Do not drive if a spacer is cracked, deformed, loose, unable to sit flush, or causing severe vibration or wheel movement. Never work under a vehicle supported only by a jack.
What Are Wheel Spacers and How Do They Work?
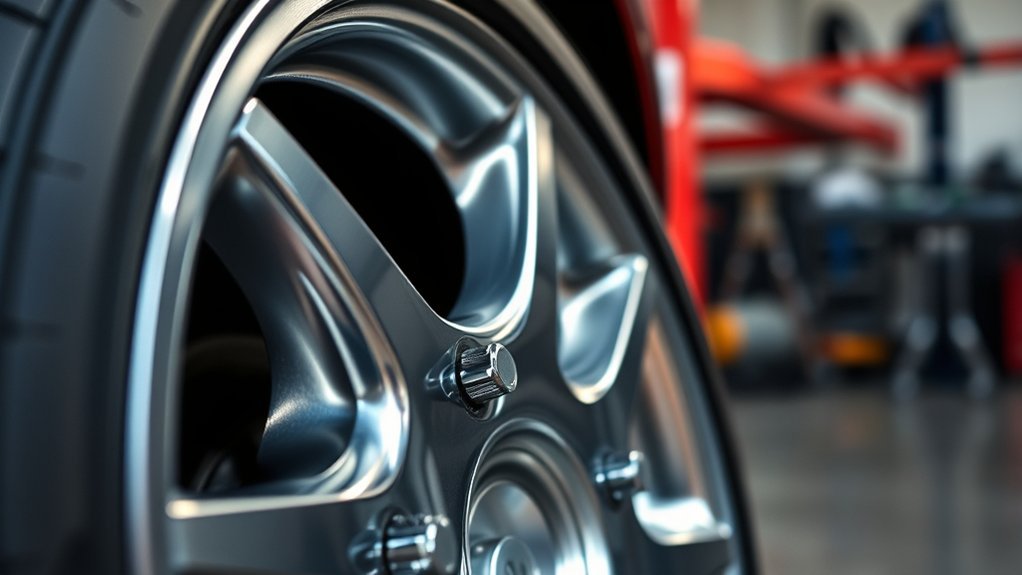
A wheel spacer fits between the wheel and the vehicle’s mounting hub. Its main effect is to move the wheel outward. This increases track width and reduces the wheel’s effective positive offset by an amount equal to the spacer thickness.
For example, a 10 mm spacer on each side moves each wheel outward 10 mm and increases the axle’s total track width by about 20 mm. It does not lower the suspension, move the vehicle body downward, or lower the vehicle’s center of gravity.
Spacers are commonly used to:
- Create clearance between a wheel and a brake caliper.
- Move a tire away from an inner suspension component.
- Correct minor inward fitment on a compatible wheel.
- Bring a wheel closer to the fender line.
- Provide clearance for certain larger brake or suspension components.
A spacer can only move the wheel outward. It cannot correct a wheel that already sits too far outside the body, and it cannot make an incompatible wheel safe.
Slip-On Versus Bolt-On Wheel Spacers
| Type | How It Mounts | Critical Checks |
|---|---|---|
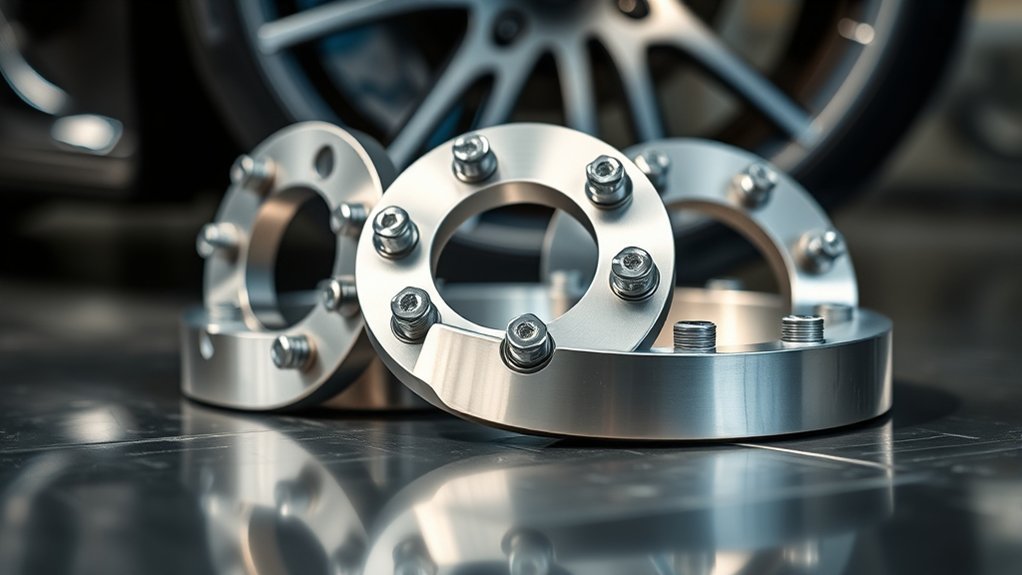
| Slip-on spacer | Slides over the original studs or sits behind longer wheel bolts. | Required stud or bolt length, minimum thread engagement, hub-lip engagement, and flush seating. |
| Bolt-on spacer | Fastens to the original hub and provides a second set of studs or threaded holes for the wheel. | Original-stud clearance, wheel-pocket depth, both sets of fasteners, hardware seat type, and spacer thickness. |
| Wheel adapter | Changes the bolt pattern or mounting system in addition to spacing the wheel. | Vehicle-specific engineering, wheel compatibility, load rating, fastener clearance, and local rules. |
| Centering ring | Fills a difference between a wheel center bore and the vehicle hub. | It centers the wheel but does not change track width and is not a substitute for a spacer. |
Eibach’s current spacer-system guide shows why hardware cannot be selected by thickness alone: its slip-on and bolt-on systems use different mounting arrangements and fitment requirements.
Why Wheel Spacers Are Worth Considering
A correctly selected spacer may solve a specific clearance or fitment problem without requiring a different wheel. It may also produce the wider stance some owners want. These benefits should be weighed against the change in effective offset, added maintenance, and possible increase in wheel-end loading.
Wider Stance and Possible Handling Changes
Increasing track width can change how a vehicle feels in a corner. A modest, equal change on both sides may slightly affect lateral load transfer and body response, but the result depends on the suspension, tires, road surface, speed, and spacer thickness.
Spacers do not automatically add tire grip. They do not change the tire compound, tread depth, temperature, or inflation pressure. They can also change scrub radius, steering effort, kickback through the steering wheel, and the way the vehicle follows road grooves.
Moving the wheel centerline outward increases its lever arm. As a general bearing principle, an offset load creates a tilting moment. This means thick spacers, heavy wheel-and-tire packages, pothole impacts, aggressive cornering, and off-road use may increase loads on bearings and other wheel-end components. See SKF’s explanation of offset loads and moment loading.
Enhanced Aesthetic Appeal
Wheel spacers can move wheels closer to the outer fender line and create a wider-looking stance. The correct thickness is vehicle-specific. A spacer that looks appropriate on one wheel may cause tire protrusion, rubbing, or steering interference with another wheel or tire.
- Closer-to-flush fitment: The wheel may sit closer to the outer fender edge.
- More wheel choices: A carefully measured spacer may make a compatible high-positive-offset wheel usable.
- Brake clearance: Some applications use a spacer to create room between the wheel spokes and a brake caliper.
Aesthetic fitment should never take priority over thread engagement, load suitability, brake clearance, suspension travel, or legal tire coverage.
How Wheel Spacers Affect Bearings, Steering, and Ride
The effect of a wheel spacer is similar to selecting a wheel with a lower effective offset. A small change may be acceptable on a properly engineered application, while a large change can noticeably alter steering and component loading.
- Wheel bearings: The larger lever arm can increase moment load and may contribute to faster wear in severe applications.
- Studs and bolts: Incorrect hardware length, damaged threads, wrong seats, or poor torque can reduce clamping force.
- Ball joints and tie rods: Added wheel offset can change forces transmitted through steering and suspension parts.
- Steering feel: A changed scrub radius may increase steering effort, road feedback, torque steer, or kickback.
- Ride quality: Spacers do not soften springs or dampers. Ride may feel unchanged, harsher, or more nervous depending on the full setup.
- Tire wear: Spacers do not directly adjust camber, caster, or toe, but rubbing, altered driving behavior, worn components, or an existing alignment problem can cause abnormal wear.
Note: Hub-centric fit helps hold the spacer and wheel in the correct centered position during installation. It does not erase the change in leverage created by moving the wheel outward.
Essential Safety Tips for Installing Wheel Spacers
Use the Correct Torque Specifications
Use a calibrated torque wrench and the specification supplied by the vehicle, wheel, and spacer manufacturers. Do not copy a torque value from another vehicle simply because it uses a similar stud size.
- Inspect the stud or bolt threads and lug seats before assembly.
- Start every nut or bolt by hand to prevent cross-threading.
- Snug and torque the hardware in the specified star or crisscross sequence.
- Use the seat style required by the wheel and spacer hardware.
- Perform the manufacturer’s required follow-up torque checks.
There is no universal “20 mm rule” for longer studs. Some thin slip-on systems require extended studs or bolts, while a thicker bolt-on spacer may contain its own second set of mounting hardware.
Thread engagement also depends on thread diameter and pitch. The Eibach Pro-Spacer instructions, for example, list different minimum turns for M12x1.25, M12x1.5, M12x1.75, and M14x1.5 hardware and state that the vehicle workshop manual takes priority.
Prepare the Hub and Wheel Surfaces
The hub face, spacer faces, and wheel mounting pad must be clean, flat, and free of loose rust, dirt, burrs, old centering rings, and unwanted rotor-retaining clips. Even a small obstruction can prevent full contact and create runout or vibration.
Test-fit the spacer before installing the wheel. It should sit flat without rocking. Its bolt pattern, center bore, chamfer, and hub-pilot dimensions must match the application. If it binds, has excessive play, or leaves a visible gap, stop and verify the part number.
Choose a Documented, Application-Specific Kit
Aluminum alloy is common, but an alloy name alone does not prove that a spacer is safe. Machining accuracy, thickness, fatigue testing, corrosion protection, hardware strength, seat geometry, and vehicle compatibility are equally important.
Look for:
- A listed application for the exact vehicle and axle.
- A matching bolt pattern, center bore, thread size, and pitch.
- Included or clearly specified mounting hardware.
- Published installation instructions and torque requirements.
- Enough wheel-pocket clearance for bolt-on systems.
- Compatibility with the vehicle’s axle load and intended use.
- Replacement parts and technical support from the manufacturer.
Warning: Never stack two spacers or place a spacer on top of an adapter. Eibach and Synergy both prohibit using multiple spacers at one wheel because the extra interfaces and hardware create additional failure points.
Choosing the Right Wheel Spacers: A Size Guide
Start with the smallest spacer that solves the actual clearance or fitment problem. Do not select thickness only by appearance.
Wheel-Spacer Fitment Checklist
| Measurement or Specification | What Must Be Verified |
|---|---|
| Vehicle application | Exact year, make, model, trim, axle, brake package, and drive configuration. |
| Bolt pattern | The spacer must match the vehicle hub and the wheel exactly. |
| Center bore and hub lip | The spacer must seat fully and retain any hub-pilot engagement required by the design. |
| Thread and seat type | Confirm diameter, pitch, nut or bolt style, and conical, ball, or flat seat geometry. |
| Thread engagement | Meet the exact minimum number of turns or engagement length in the spacer and vehicle instructions. |
| Wheel pockets | A bolt-on spacer may require recesses behind the wheel to clear original studs or hardware. |
| Inner clearance | Check the brake caliper, suspension arms, strut, tie rod, ABS wiring, and brake hoses. |
| Outer clearance | Check the fender, liner, flare, bumper edge, mud flap, and local tire-coverage rules. |
| Dynamic clearance | Verify both steering directions and expected suspension compression, not only the parked position. |
How to Measure Spacer Thickness
- Park on level ground with the tires inflated to their normal pressure.
- Place a straightedge against the outer fender or flare at the point with the least clearance.
- Measure from the tire or wheel’s outermost point to the straightedge.
- Subtract a safety margin so the tire does not sit directly at the fender edge.
- Confirm that the chosen thickness still provides safe inner and outer clearance during steering and suspension movement.
A 10 mm spacer on each side adds about 20 mm to total axle track width and reduces the wheel’s effective positive offset by 10 mm.
Pro Tip: Temporarily remove a wheel and inspect its rear mounting pad before buying bolt-on spacers. Original studs that extend beyond the spacer face must fit completely inside suitable wheel pockets or be handled exactly as the spacer manufacturer directs.
Legal and Warranty Checks
Wheel-spacer and tire-coverage rules vary by country, state, province, and inspection program. Check the rules where the vehicle is registered and operated. As one example, the current Pennsylvania passenger-car and light-truck rule prohibits spacers thicker than 1/4 inch when they are used to increase wheel track.
In the United States, using an aftermarket part does not automatically void an entire vehicle warranty. However, coverage may be denied for damage shown to have been caused by a defective part or improper installation. The Federal Trade Commission’s auto-warranty guidance explains this distinction. Keep the spacer receipt, part number, installation instructions, torque records, and inspection records.
Note: This is general mechanical and consumer information, not legal advice. Local equipment, inspection, insurance, and track-use requirements can differ.
Common Misconceptions About Wheel Spacers
- Myth: Spacers lower the center of gravity.
They move the wheels sideways. They do not lower the vehicle body or its mass. - Myth: A wider stance always adds grip.
Tire grip depends mainly on the tire, surface, load, temperature, and suspension behavior. Spacers may change handling without increasing available traction. - Myth: Hub-centric spacers remove all bearing risk.
Accurate centering helps prevent runout and vibration, but it does not remove the extra leverage produced by moving the wheel outward. - Myth: Any billet-aluminum spacer is safe.
Material is only one factor. Machining, testing, application, hardware, corrosion protection, and installation are also critical. - Myth: One thread-count rule works for every vehicle.
Required engagement changes with thread diameter, pitch, hardware design, and manufacturer instructions. - Myth: Spacers directly change camber, caster, and toe.
A spacer alone does not adjust those alignment angles, although it can change scrub radius and steering behavior. - Myth: Stacking two thin spacers is the same as using one thick spacer.
Stacking creates extra mounting interfaces and is prohibited by major spacer manufacturers.
Installation Tips for Ensuring Safe Use of Wheel Spacers
Eibach’s installation instructions recommend that spacer installation be completed by a professionally trained technician in an equipped repair facility. Professional installation is especially appropriate when wheel studs must be pressed in or modified, when brake clearance is tight, or when the correct hardware cannot be confirmed.
- Read all instructions first. Confirm that the spacer part number is approved for the exact vehicle, wheel, axle, and intended use.
- Secure the vehicle. Park on a hard, level surface, apply the parking brake, chock the wheels, loosen the wheel hardware slightly, and raise the vehicle at approved lift points.
- Use jack stands. Support the vehicle with stands rated for its weight. Never rely on the floor jack alone.
- Remove and inspect the wheel. Check the wheel mounting pad, lug seats, studs or bolts, center bore, and rear pockets for damage or interference.
- Clean the mating surfaces. Remove loose rust, dirt, old rings, burrs, and any retaining clips the spacer instructions say must be removed.
- Test-fit the spacer. Confirm the bolt pattern, center bore, chamfer direction, hub-lip fit, and full contact with the rotor or hub face.
- Check original-stud clearance. On bolt-on systems, ensure the original studs do not contact the rear wheel pad. Follow the spacer manufacturer’s instructions if stud modification is required.
- Verify hardware and thread engagement. Confirm thread diameter, pitch, seat shape, bolt or stud length, and minimum turns before applying final torque.
- Install the spacer. Start every fastener by hand. Tighten gradually in the specified star or crisscross pattern.
- Use the specified torque. Apply final torque with a calibrated torque wrench, following the spacer, wheel, and vehicle instructions.
- Install the wheel. Confirm that it sits flush against the spacer. Hand-start the wheel hardware and torque it in the correct sequence.
- Check rotation and clearance. With the vehicle safely raised, rotate the wheel through one full revolution. Inspect the brake system, ABS components, suspension, and hoses.
- Check steering clearance. After lowering the vehicle, inspect clearance while steering fully left and right. Also consider suspension compression and vehicle loading.
- Perform a cautious road test. Begin at low speed. Stop immediately if there is vibration, clunking, rubbing, pulling, wobble, or unusual steering feedback.
- Recheck torque. Follow the exact interval in the spacer instructions. Eibach specifies checks at approximately 25 and 500 miles for one system, while other manufacturers use different schedules.
Warning: Do not apply oil, grease, anti-seize, or threadlocker unless the exact instructions for that mounting location require it. Lubrication changes the relationship between torque and clamping force. Some bolt-on kits provide a specific threadlocker for their inner fasteners, while wheel-hardware manufacturers such as McGard instruct users not to lubricate wheel threads.
When to Remove Wheel Spacers
Stop driving and inspect the assembly if any new problem begins after spacer installation. Remove the spacers until the cause is found if you notice:
- Severe or increasing vibration.
- A wheel that appears to wobble.
- Repeated loss of lug-nut or lug-bolt torque.
- Clicking, clunking, or movement between mounting surfaces.
- Cracks, deformation, damaged threads, elongated holes, or corrosion damage.
- Tire contact with a fender, liner, suspension part, brake hose, or body panel.
- Interference with brake, ABS, or steering components.
- New steering pull, kickback, tramlining, or instability.
- Insufficient thread engagement.
- A wheel that cannot sit flush because original studs contact its rear pad.
- A bearing, ball-joint, tie-rod, or suspension problem that may be worsened by the added offset.
- A wheel and tire change that makes the spacer unnecessary.
A spacer should also be removed if it violates local equipment rules, inspection requirements, motorsport rules, wheel-manufacturer instructions, or the spacer manufacturer’s intended application.
What to Do If Your Wheel Spacers Cause Issues
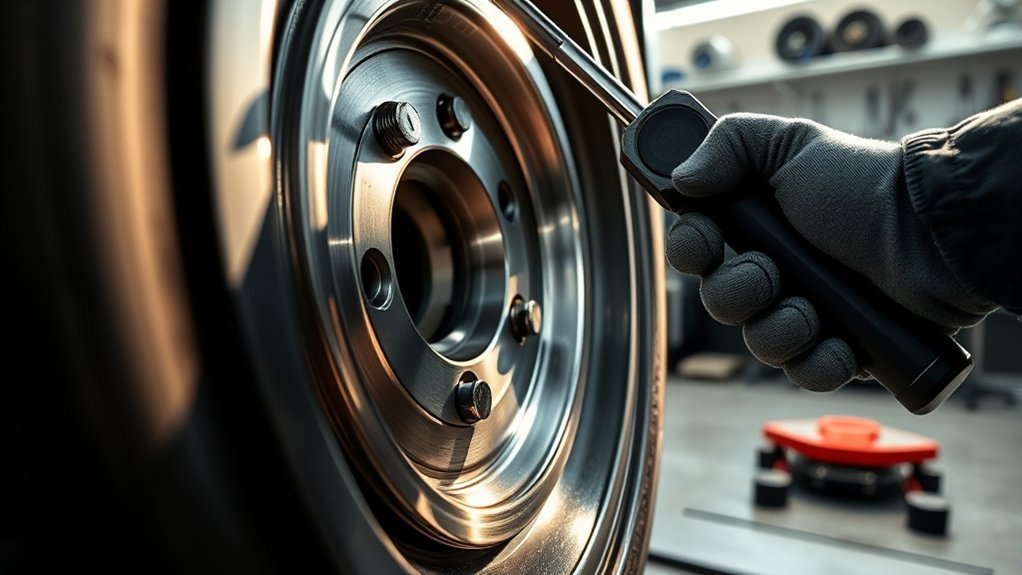
Do not assume that vibration is normal while new parts “settle.” A properly fitted wheel and spacer assembly should run smoothly. If a problem appears, reduce speed, stop in a safe location, and inspect the installation before driving farther.
| Symptom | Possible Cause | Action |
|---|---|---|
| Speed-related vibration | Spacer or wheel not centered, rust between surfaces, bent spacer, wheel imbalance, or incorrect center bore. | Stop driving at high speed. Remove the assembly, clean and inspect every mating surface, verify fitment, and check wheel balance. |
| Fasteners lose torque | Dirty surface, wrong lug seat, damaged threads, incorrect torque, poor fit, or interference behind the wheel. | Do not keep retightening indefinitely. Remove the spacer and have the hardware and mounting surfaces inspected. |
| Rubbing during turns | Spacer too thick, tire too wide, insufficient liner clearance, or altered steering path. | Check both steering locks and suspension travel. Use a smaller spacer or a correctly sized wheel-and-tire package. |
| Clunk or clicking | Loose spacer, loose wheel, cracked part, stud interference, or worn wheel-end component. | Stop driving and inspect immediately. Tow the vehicle if any looseness or damage is found. |
| Changed steering feel | Changed effective offset or scrub radius, excessive spacer thickness, or existing suspension wear. | Inspect steering and suspension parts, verify thickness, and obtain an alignment check if pulling or uneven tire wear is present. |
| Wheel will not sit flush | Original studs touch the wheel, center bore interference, retaining clips, debris, or incorrect chamfer. | Do not torque the wheel down to force it flat. Correct the interference according to the manufacturer’s instructions. |
Wheel-Spacer Maintenance Schedule
- Immediately after installation: Verify final torque, free wheel rotation, full-lock steering clearance, brake and ABS clearance, and flush seating.
- After the first specified driving interval: Recheck every accessible fastener at the interval listed by the spacer manufacturer.
- After the second specified interval: Complete any additional recheck required by the kit instructions.
- During tire rotations: Remove the wheels and inspect the spacers, studs, bolts, lug seats, center bores, and mating surfaces.
- After pothole, curb, or off-road impacts: Inspect for cracking, deformation, looseness, rubbing, or changed steering behavior.
- Before towing, hauling, or track use: Confirm that the spacer manufacturer approves the application and that the wheel, tire, hardware, and axle capacities remain suitable.
On bolt-on systems, remember that there are two fastener interfaces: the spacer-to-hub connection and the wheel-to-spacer connection. Inspect both as directed.
Frequently Asked Questions
Do wheel spacers affect vehicle alignment?
A spacer alone does not directly adjust camber, caster, or toe. It does change effective wheel offset and may alter scrub radius and steering feel. Have the alignment and suspension checked if the vehicle pulls, the steering wheel is off-center, tire wear changes, or other suspension modifications were made.
Can I use wheel spacers with aftermarket wheels?
Yes, but only when the complete combination is compatible. Verify the wheel’s bolt pattern, center bore, offset, load rating, lug-seat style, rear-pocket depth, brake clearance, and required thread engagement. Do not assume a spacer approved for the factory wheel will also fit every aftermarket wheel.
How do wheel spacers affect ride quality?
Spacers do not soften the springs or shocks, so they do not automatically improve comfort. A small, correct spacer may cause little noticeable change. A larger offset change may increase steering feedback, kickback, tramlining, or sensitivity to rough roads.
Are there weight limits for wheel spacers?
There is no single weight limit that applies to every spacer. The spacer, hardware, wheel, tire, hub, and axle must all be suitable for the vehicle’s axle load and intended use. Use an application-specific product with documented compatibility rather than relying only on material or thickness.
Can I install wheel spacers myself, or should I hire a professional?
An experienced person with safe lifting equipment, accurate measurements, and a calibrated torque wrench may be able to install a straightforward kit. Hire a professional when studs must be pressed or modified, fitment is uncertain, brake clearance is close, or the manufacturer recommends trained installation.
Do wheel spacers wear out wheel bearings?
They do not guarantee bearing failure, but moving the wheel farther outward increases the lever arm acting on the wheel end. Thick spacers, heavy tires, high loads, hard impacts, and aggressive use can increase stress and may shorten component life.
Are hub-centric spacers safer than lug-centric spacers?
A correctly machined hub-centric design helps center the spacer and wheel accurately and can reduce the chance of runout-related vibration. The safest design is the one specifically engineered for the vehicle, wheel, hub, hardware, and load. Hub-centric fit does not compensate for wrong torque, poor thread engagement, or excessive offset.
Are wheel spacers legal?
Legality depends on the jurisdiction and may involve spacer thickness, track-width changes, tire coverage, inspections, and vehicle class. Check current rules where the vehicle is registered and driven before purchasing or installing spacers.
Do wheel spacers void a vehicle warranty?
In the United States, an aftermarket part does not automatically void the entire warranty. A manufacturer or dealer may deny coverage for damage it can show was caused by the spacer, defective hardware, or improper installation. Keep product and installation records.
Conclusion
Wheel spacers are not automatically safe or unsafe. Their safety depends on whether the complete wheel, spacer, hub, and hardware combination was designed to work together. A suitable spacer must sit perfectly flush, retain the required thread engagement, clear every nearby component, use the correct torque, and comply with local rules.
Use the smallest thickness that solves the actual problem, never stack spacers, and follow the exact manufacturer inspection schedule. Remove the spacers and stop driving if hardware loosens, the wheel moves, the spacer cracks, or new vibration, rubbing, or instability appears.
Sources
- Eibach PRO-SPACER Wheel Spacers — spacer-system types, application search, hardware arrangements, and fitment measurement.
- Eibach Pro-Spacer System 6 Installation Instructions — professional installation, surface preparation, thread engagement, torque, clearance, and follow-up checks.
- Synergy Manufacturing Wheel Spacer Installation Instructions — stud clearance, minimum engagement, fastener sequence, rechecks, and prohibition on stacked spacers.
- SKF Bearing Loads — how offset loads create moment loading.
- Federal Trade Commission Auto-Warranty Guidance — aftermarket parts and warranty-coverage responsibility in the United States.
- Pennsylvania Code § 175.65 — official example of a jurisdiction-specific wheel-spacer restriction.







Leave a Reply