
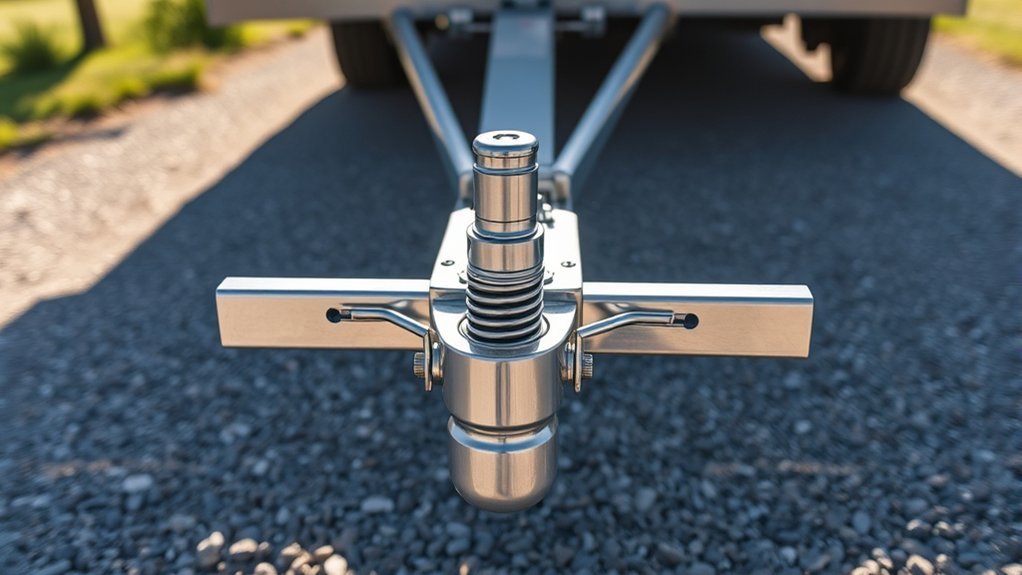
A weight distribution hitch can improve steering feel, braking balance, and vehicle posture when a conventional trailer places a heavy load on the rear of a tow vehicle. However, it must be permitted by the vehicle and trailer manufacturers, matched to the fully loaded trailer, and adjusted for the exact vehicle-hitch combination. It cannot increase towing capacity or repair an overloaded or poorly balanced trailer.
Quick Answer
A weight distribution hitch uses spring bars to transfer part of the load that a trailer places on the tow vehicle’s rear axle to the tow vehicle’s front axle and the trailer axles. Use one only when the vehicle and trailer makers allow or require it, and size it for measured, fully loaded tongue weight.
Key Takeaways
- There is no universal trailer-weight threshold for using a weight distribution hitch; check the tow vehicle manual, receiver label, trailer manual, and hitch instructions.
- Select the hitch for the trailer’s measured loaded tongue weight and total loaded weight—not brochure “dry” figures.
- A weight distribution hitch changes axle loading but does not raise GVWR, GAWR, GCWR, receiver capacity, or towing capacity.
- Weight distribution and sway control are different functions. Some hitches combine them, while basic systems may provide weight distribution only.
- Verify the final setup with the manufacturer’s front-axle restoration method and, when possible, axle-by-axle scale weights.
At a Glance
| Time Required | About 60–120 minutes for an initial setup, plus time for scale verification and a low-speed road test |
| Difficulty | Intermediate; professional help is wise when drilling, welding, unusually high torque, air suspension, or uncertain ratings are involved |
| Tools Needed | Wheel chocks, tape measure, level, sockets and wrenches, manufacturer-specified torque wrench, tire gauge, tongue jack, and preferably access to a vehicle scale |
| Cost | Varies by weight rating, shank, sway-control design, required adapters, and professional labor; confirm current manufacturer or installer pricing |
What Is a Weight Distribution Hitch and How Does It Work?
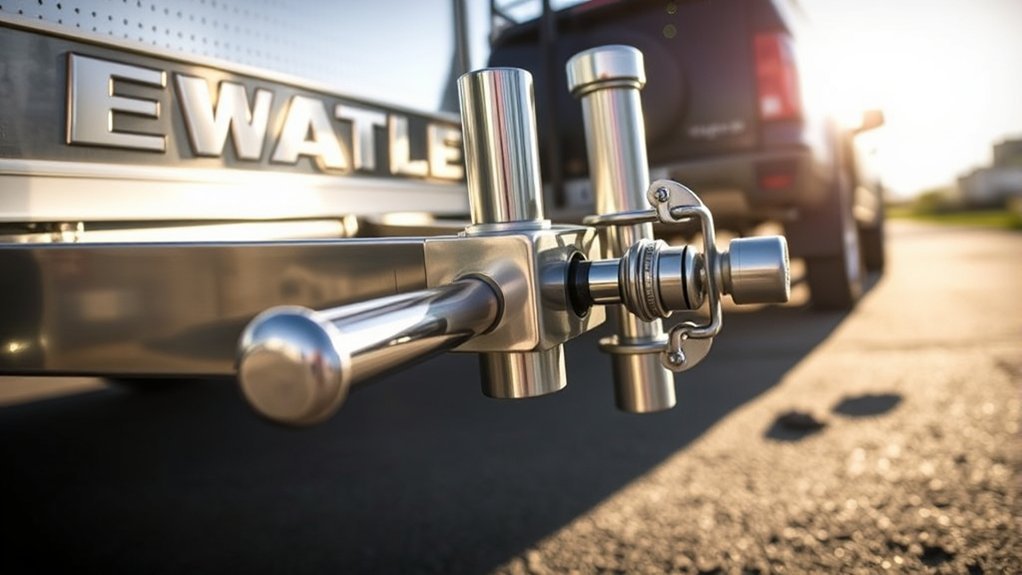
When a conventional trailer is placed on a hitch ball, its tongue weight pushes down behind the tow vehicle’s rear axle. The rear suspension compresses while part of the load is removed from the front axle. Too much front-axle unloading can reduce steering response, change headlight aim, and affect the way the vehicle handles and brakes.
A weight distribution hitch uses spring bars as levers. When the bars are tensioned, they transfer part of the load from the tow vehicle’s rear axle toward the front axle and the trailer axles. The goal is not to make the rear suspension perfectly level. The goal is to restore the amount of front-axle load specified by the tow vehicle manufacturer while keeping every vehicle, axle, hitch, and trailer rating within its limit.
A weight distribution hitch changes where the load is carried. It does not make the trailer lighter, increase towing capacity, or erase an overload.
Weight Distribution Versus Sway Control
Weight distribution and sway control solve different problems:
| Feature | Weight Distribution | Sway Control |
| Main job | Restores part of the load removed from the tow vehicle’s front axle | Resists or helps manage side-to-side trailer motion |
| Typical hardware | Hitch head, shank, spring bars, and frame brackets | Integrated friction points, a separate friction bar, or an electronic system |
| Can it fix bad loading? | No | No |
| Included on every WDH? | Yes; this is the basic function | No; verify the product design |
A basic weight distribution hitch may have no sway-control feature. Other systems build friction-based sway resistance into the spring-bar brackets or hitch head. Separate friction bars have their own backing, weather, brake, and lubrication restrictions. No system guarantees that trailer sway cannot occur.
Warning: Never use a hitch as a substitute for correct loading. If the trailer is overloaded, tail-heavy, unevenly loaded, fitted with damaged tires, or outside a weight rating, stop and correct the cause before towing.
How to Determine if You Need a Weight Distribution Hitch
There is no single trailer weight or truck-to-trailer weight ratio that applies to every combination. The correct answer comes from the manuals and labels for the exact tow vehicle, receiver, trailer, and hitch.
For example, the 2026 Cadillac Escalade Trailer Towing Supplement makes a weight-distributing hitch optional up to 6,000 pounds and required above that figure for the covered vehicle. Ford’s 2026 RV & Trailer Towing Guide lists different correction factors and recommendations by model. These are examples, not universal rules.
Use This Decision Checklist
- Check the tow vehicle manual: Look for “Trailer Towing,” “Weight-Distributing Hitch,” or “Front Axle Load Restoration.” Confirm that weight distribution is allowed, required, optional, or not recommended.
- Read the receiver label: Some receivers show separate weight-carrying and weight-distributing trailer and tongue-weight limits. Others are approved only for weight-carrying use.
- Check the trailer manual and frame: Confirm that the trailer frame and coupler can accept spring-bar loads and frame brackets.
- Know the loaded weights: Use the trailer as loaded for travel, including batteries, propane, water, food, tools, accessories, and cargo.
- Check every rating: Stay below GVWR, front and rear GAWR, GCWR, maximum trailer weight, maximum tongue weight, receiver rating, ball rating, shank rating, hitch rating, coupler rating, trailer axle ratings, and tire capacities.
- Confirm compatibility: Air suspension, surge brakes, pole tongues, V-nose frames, short-frame sections, and propane-tank locations may require a specific procedure or adapter.
Rear suspension sag, a light steering feel, upward headlight aim, or difficulty keeping the trailer stable can indicate a poor setup. However, these symptoms do not prove that more spring-bar tension is the solution. The combination could be overloaded, the hitch could be undersized, the trailer could be nose-high, or the cargo balance could be wrong.
Note: Automatic leveling or rear air springs can raise the body without restoring the correct load to the front axle. Follow the tow vehicle’s special air-suspension setup procedure before measuring or adjusting the hitch.
Benefits and Limits of a Weight Distribution Hitch
When the equipment is compatible and properly adjusted, a weight distribution hitch can:
- Restore part of the load removed from the tow vehicle’s front axle.
- Improve steering response compared with an under-distributed setup.
- Reduce excessive rear suspension compression.
- Help keep the trailer level when the correct shank rise or drop is used.
- Allow a receiver to use its weight-distributing rating when the receiver and vehicle are approved for that mode.
- Provide sway resistance when the selected hitch includes an integrated sway-control design.
It cannot:
- Increase the tow vehicle’s maximum trailer weight, payload, GVWR, GAWR, or GCWR.
- Raise the capacity of the receiver, hitch ball, shank, coupler, trailer frame, axles, or tires.
- Correct insufficient or excessive tongue weight caused by poor cargo placement.
- Make an unlevel or overloaded trailer safe.
- Guarantee that sway will never happen.
- Replace functioning trailer brakes, a compatible brake controller, safety chains, a breakaway system, or proper tires.
How to Choose the Correct Weight Distribution Hitch
1. Start With Loaded Trailer Weight
Do not size a hitch from the trailer’s empty or “dry” weight. Use its expected loaded weight and never exceed the trailer GVWR. The hitch’s maximum trailer-weight rating must be at least as high as the loaded trailer weight, but it must not be used to justify exceeding the vehicle’s lower towing limit.
2. Measure Loaded Tongue Weight
For many conventional trailers, the target tongue weight is about 10%–15% of the loaded trailer weight. Some trailers, including certain boat trailers, may use a different range, so follow the trailer manufacturer’s instructions.
Measure tongue weight after the trailer is fully loaded. Batteries, propane cylinders, water tanks, cargo position, storage compartments, and accessories can make the actual figure much higher than the published dry hitch weight.
The Equal-i-zer hitch sizing guidance also advises considering cargo carried in the tow vehicle behind the rear axle when that load is expected to be redistributed by the hitch. Follow the sizing method specified by the manufacturer of the hitch you plan to use.
3. Match the Spring-Bar Range
The measured tongue weight must fall within the spring-bar or hitch-head range specified by the hitch manufacturer. Bars that are too light may not restore enough front-axle load. Bars that are much stiffer than needed can create a harsh ride and place unnecessary stress on the trailer frame and receiver.
4. Check the Lowest-Rated Component
The safe limit for the complete towing system is the lowest applicable rating. A 12,000-pound hitch does not make a 5,000-pound weight-carrying receiver, an 8,000-pound ball, or a lower-rated tow vehicle capable of carrying 12,000 pounds.
5. Confirm Frame, Brake, and Bracket Compatibility
Standard brackets usually mount to the two rails of an A-frame trailer. Pole-tongue, V-nose, aluminum, composite, or obstructed frames may need special brackets or may not accept a particular system. Do not drill or weld a trailer frame unless both the trailer and hitch manufacturers approve the method.
Surge-brake compatibility is product-specific. Some integrated systems are designed to work with surge brakes, while certain add-on friction sway controls are not. Never assume that one manufacturer’s compatibility statement applies to a different hitch or sway-control unit.
Installing Your Weight Distribution Hitch: Step-by-Step Guide
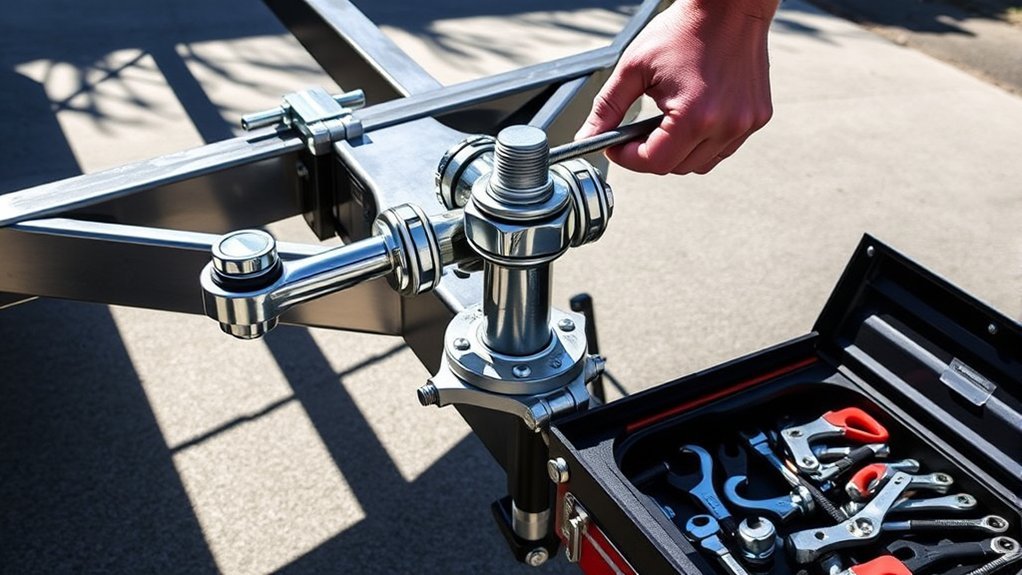
The steps below describe the general workflow. Exact head tilt, washer count, bracket position, chain links, bolt torque, ball torque, and height targets must come from the instructions for your tow vehicle and hitch.
Warning: Work on firm, level ground. Apply the parking brake and chock the trailer wheels. Never remove spring bars, pins, brackets, or hitch-head hardware while the system is under load. Use the tongue jack as directed to relieve spring-bar tension.
Step 1: Load the Vehicle and Trailer for Travel
Place the normal passengers, cargo, tools, propane, water, batteries, generator, recreational equipment, and other travel items in their expected positions. Inflate the tow vehicle and trailer tires to the cold pressures specified on their labels or in their manuals.
Step 2: Verify All Ratings and Parts
Confirm the vehicle’s towing limits and payload, the receiver’s weight-distributing rating, the hitch and spring-bar ratings, the shank rating, the hitch-ball diameter and rating, the coupler size and rating, and the trailer frame’s compatibility.
Inspect the hardware for cracks, bent parts, missing clips, damaged threads, severe corrosion, or unreadable safety labels. Replace damaged or questionable components rather than attempting to straighten, weld, or modify them.
Step 3: Position the Trailer Level
Use the tongue jack to make the loaded trailer level from front to rear on level ground. Measure the coupler height and the inside top of the tow vehicle’s receiver opening as directed by the hitch manufacturer. Select a shank with enough rise or drop to place the trailer level when connected.
Step 4: Record the Tow Vehicle’s Unhitched Front Measurement
With the loaded tow vehicle parked on the same level surface, measure the front fender or wheel-opening height at the point specified by the vehicle manufacturer. Record this as the unhitched front height. A scale measurement of the front axle is even better when available.
Step 5: Install the Shank, Hitch Head, and Ball
Install the shank and hitch head in the orientation and hole position specified by the hitch instructions. Set the initial ball height and head angle using that product’s procedure. Tighten the hitch-ball nut and head bolts to their stated torque values with a suitable torque wrench and socket.
Pro Tip: Hitch-ball and head-bolt torque can exceed the range of common automotive torque wrenches. Use correctly rated tools or have a qualified hitch installer complete those steps.
Step 6: Couple the Trailer Without Engaging the Spring Bars
Lower the coupler fully onto the correct-size ball, latch and lock it, and attach the required safety equipment. Measure the front wheel opening again with the trailer coupled but the spring bars disengaged. This shows how much the tongue load raised the front of the tow vehicle.
Step 7: Engage the Spring Bars Safely
Use the tongue jack to raise the trailer tongue and rear of the tow vehicle together as the hitch instructions direct. This reduces the force needed to place chain-style bars on their brackets or rigid bars on their supports. Secure every retaining pin, clip, chain, bracket, and latch before retracting the jack.
Step 8: Adjust Front-Axle Load Restoration
Lower the jack until the tow vehicle and trailer are fully supported by their wheels. Re-measure the front wheel opening. Adjust spring-bar tension, head tilt, washer count, bracket height, or chain links only by the method allowed for that hitch.
Do not use a universal “within half an inch” target. Follow the tow vehicle’s required front-axle load restoration percentage or fender-height formula. Some current vehicles call for 50% restoration; others specify a different amount or do not recommend weight distribution.
For example, if the unloaded front height is 37 inches and the trailer raises it to 38 inches before the bars are engaged, a manufacturer calling for 50% restoration would target about 37.5 inches—not necessarily the original 37-inch height.
Step 9: Check Trailer Level and Clearances
Stand back and confirm that the loaded trailer is level front to rear unless its manufacturer specifies otherwise. Correct a nose-high or nose-low trailer with the shank rise or drop—not by adding excessive spring-bar tension.
Slowly check full left and right turns. Confirm that the spring bars, brackets, propane tanks, battery boxes, coupler, breakaway cable, wiring, safety chains, jack, and tow vehicle do not bind or contact each other.
Step 10: Torque, Secure, and Road-Test
Torque all hardware to the hitch manufacturer’s values. Confirm that the receiver pin, coupler latch, spring-bar retainers, bracket hardware, safety chains, breakaway cable, electrical connector, lights, tires, mirrors, and trailer brakes are ready.
Begin with a low-speed test in a clear area. Check steering response, braking, turns, unusual noises, and clearance. Stop after the initial test and inspect the entire connection again.
How to Verify the Setup at a Vehicle Scale
Fender-height measurements are useful, but axle weights provide a clearer picture. A public vehicle scale that can show the steer axle, drive axle, and trailer axles separately can be used for three measurements. Keep passengers, cargo, fuel, water, and trailer loading unchanged for every pass.
- Pass 1—weight distribution engaged: Weigh the complete tow vehicle and trailer with the spring bars engaged.
- Pass 2—weight distribution disengaged: Keep the trailer coupled, but safely disengage the spring bars before entering the scale. Record all axle weights.
- Pass 3—tow vehicle only: Disconnect the trailer and weigh the loaded tow vehicle by itself.
These measurements allow you to calculate:
- Loaded trailer weight: Total combination weight from Pass 2 minus total tow vehicle weight from Pass 3.
- Coupled tongue load: Tow vehicle weight from Pass 2 minus tow vehicle weight from Pass 3.
- Front load removed by the trailer: Unhitched front-axle weight from Pass 3 minus coupled front-axle weight from Pass 2.
- Front load restored by the hitch: Front-axle weight from Pass 1 minus coupled front-axle weight from Pass 2.
- Front-axle load restoration percentage: Front load restored divided by front load removed, multiplied by 100.
Compare the results with the tow vehicle’s required restoration target and every applicable GVWR, GAWR, GCWR, trailer, tongue, receiver, hitch, and tire rating. If any rating is exceeded, reducing spring-bar tension alone will not solve the overload. Remove or reposition load, reduce trailer weight, or use properly rated equipment and a capable tow vehicle.
Common Weight Distribution Hitch Mistakes
- Sizing from dry tongue weight: Published empty figures often exclude batteries, propane, water, accessories, and cargo.
- Assuming the hitch increases towing capacity: It cannot raise any manufacturer rating.
- Using rear sag as the only adjustment target: The correct target is vehicle-specific front-axle restoration while all axle limits remain satisfied.
- Forcing the vehicle perfectly level: Excessive tension can overload the front axle, create a harsh ride, and stress the frame or receiver.
- Ignoring trailer level: A nose-high trailer can load its axles and tires unevenly and contribute to instability.
- Using the wrong spring-bar range: Undersized bars may not restore enough load; oversized bars may be too stiff.
- Changing cargo without readjusting: Water, bikes, tools, generators, and storage-compartment loads can change tongue weight.
- Following another hitch’s instructions: Bracket location, head tilt, backing rules, and lubrication points vary by design.
- Greasing every contact point: Some surfaces require grease, while separate friction sway bars may have surfaces that must remain dry.
- Ignoring steep grade transitions: Some hitches must be disengaged before crossing a sharp driveway, ditch, rough road, or boat ramp.
How to Troubleshoot Weight Distribution Hitch Problems
| Symptom | Possible Cause | What to Check |
| Front of tow vehicle remains high or steering feels light | Too little weight distribution, incorrect head setup, undersized bars, or overload | Measure front-axle restoration, verify loaded tongue weight, and adjust only by the hitch manual |
| Front is lower than its unhitched height or ride is unusually harsh | Too much spring-bar tension or bars that are too stiff | Compare with the vehicle’s restoration target and check front GAWR |
| Rear sag remains even though front restoration is correct | Vehicle payload or rear axle may be overloaded | Weigh the axles; do not add tension merely to make the body level |
| Trailer is nose-high or nose-low | Incorrect shank rise or drop | Change the hitch-head height using an approved shank position |
| Trailer sways | Incorrect tongue weight, shifting cargo, excessive speed, crosswind, poor tire condition, unlevel trailer, worn hitch, or insufficient sway control | Stop safely, inspect loading and equipment, measure tongue weight, and correct the cause before continuing |
| Bars or brackets bind during turns | Incorrect bracket location, inadequate clearance, or incompatible frame layout | Stop using the hitch until installation measurements and clearances are corrected |
| Excessive noise | Normal friction on some designs, dry surfaces that require grease, loose hardware, or worn parts | Use only the lubrication and inspection instructions for that exact model |
What to Do if Trailer Sway Starts
Gradually remove your foot from the accelerator and keep the steering wheel steady. Avoid abrupt steering, acceleration, or panic braking. Follow the tow vehicle and brake-controller instructions for your equipment. Some manufacturers direct drivers with compatible electric trailer brakes to apply the trailer brakes manually rather than applying the tow vehicle brakes during active sway.
Pull over when traffic conditions allow. Check for an overloaded or poorly balanced trailer, shifted cargo, low or damaged tires, loose hitch hardware, incorrect hitch adjustment, insufficient tongue weight, and excessive speed. Do not continue at the same speed until the cause has been identified and corrected.
Warning: Trailer sway can lead to loss of control even when the tow vehicle has electronic trailer-sway control or the hitch includes friction-based sway resistance. Electronic and mechanical systems are backup aids, not substitutes for correct loading and speed.
How to Maintain a Weight Distribution Hitch
Proper inspection and maintenance can reduce wear and help the hitch operate as designed. It does not guarantee that components will never fail.
Before Every Trip
- Inspect the receiver, shank, hitch head, ball, spring bars, brackets, chains, pins, clips, and fasteners.
- Look for cracks, bent metal, severe rust, elongated holes, damaged threads, worn sockets, or missing retainers.
- Confirm that all required bolts and nuts remain tightened to the manufacturer’s specifications.
- Check that frame brackets have not shifted.
- Verify that the trailer’s load and tongue weight have not changed enough to require adjustment.
- Inspect safety chains, the breakaway cable, electrical plug, lights, brakes, tires, and wheel fasteners.
Clean and Lubricate Only as Directed
Remove road salt, dirt, and loose corrosion with methods approved by the hitch manufacturer. Touch up damaged protective coatings where permitted.
Lubrication is model-specific. For example, Equal-i-zer directs owners to grease certain hitch-head surfaces but says grease is not required on its L-brackets. A separate friction sway-control slide bar may carry a warning not to lubricate its friction surface. Applying grease to the wrong location can reduce sway resistance or attract abrasive dirt.
Recheck After Changes
Repeat the setup and measurement process when you:
- Change tow vehicles or trailers.
- Add or remove major cargo or accessories.
- Move heavy cargo to a different compartment.
- Change the hitch head, shank, spring bars, brackets, tires, suspension, or ride height.
- Notice new sag, sway, handling changes, noise, or uneven tire wear.
Store removable components in a dry area and protect machined and threaded surfaces as the manufacturer directs. Replace worn parts with approved replacements of the correct rating.
Frequently Asked Questions
Can I use a weight distribution hitch with any trailer?
No. The tow vehicle must permit weight distribution, the receiver must have an approved weight-distributing rating, and the trailer frame and coupler must tolerate the spring-bar loads. Pole-tongue, aluminum, V-nose, surge-brake, and obstructed-frame trailers may require a compatible hitch, special brackets, or manufacturer approval.
How much weight can a weight distribution hitch handle?
Use the ratings printed on the exact hitch and spring bars, but never exceed the lowest limit in the complete system. That includes the tow vehicle, receiver, hitch, shank, ball, coupler, trailer frame, axles, and tires. Select the spring-bar range using measured loaded tongue weight, not the trailer’s dry brochure figure.
Is professional installation necessary?
Not always. An experienced owner can install many bolt-on systems by following the vehicle and hitch manuals. Professional installation is a sound choice when the required torque exceeds your tools, the frame requires drilling or approved welding, the vehicle has air suspension, clearances are tight, or you cannot verify the ratings and front-axle restoration.
How often should I inspect the hitch?
Check the connection, pins, clips, brackets, spring bars, ball, and visible hardware before every trip. Follow the hitch manual for detailed torque checks, lubrication, cleaning, wear limits, and replacement intervals. Reinspect immediately after a hard impact, rough-road event, unusual noise, handling change, or major loading change.
Will a weight distribution hitch void my vehicle warranty?
In the United States, installing an aftermarket hitch does not automatically cancel the entire vehicle warranty. However, coverage can be denied for a damaged part when the manufacturer or dealer shows that defective equipment or improper installation caused the damage. Follow the vehicle’s towing instructions and keep purchase, installation, scale, torque, and maintenance records. This is general consumer information, not legal advice.
Does a weight distribution hitch eliminate trailer sway?
No. A basic system may provide weight distribution without sway control, and an integrated sway-control hitch only helps resist sway. Correct tongue weight, secure cargo, a level trailer, suitable tires, proper speed, correct axle loading, and sound equipment remain essential.
Can I back up with the spring bars connected?
It depends on the hitch and sway-control design. Some integrated systems allow normal backing and tight turns. Separate friction sway bars may need to be disconnected, and some hitches should be disengaged before crossing a sharp grade transition. Follow the instructions for the exact product rather than a general rule.
Can air suspension replace a weight distribution hitch?
No. Air suspension can raise the rear body height, but that does not prove that the correct load has returned to the front axle. Use the air-suspension mode and measurement sequence in the tow vehicle manual, then adjust the approved hitch to the specified restoration target.
Conclusion
A weight distribution hitch is useful only when it is compatible, correctly rated, and adjusted for the fully loaded combination. Start with the tow vehicle and trailer manuals, measure loaded tongue weight, select the correct spring-bar range, restore the manufacturer-specified amount of front-axle load, and confirm that no axle or component rating is exceeded.
Recheck the setup whenever the load, vehicle, trailer, suspension, or hitch changes. A careful scale check and pre-trip inspection provide far more safety value than relying on rear sag, a universal trailer-weight threshold, or a generic number of chain links.
Sources
- 2026 Cadillac Escalade Trailer Towing Supplement — vehicle ratings, tongue-weight balance, weight-distributing hitch requirements, front-height adjustment, and sway guidance
- 2026 Ford RV & Trailer Towing Guide — receiver ratings, model-specific weight-distribution guidance, front-axle restoration, and towing safety
- CURT Weight Distribution Hitch Setup Guide — general installation sequence and the need to follow model-specific instructions
- Equal-i-zer 6K–14K Owner’s Manual — hitch safety, loaded setup, adjustment, inspection, and grade-transition cautions
- Equal-i-zer Hitch FAQ — loaded tongue-weight sizing, cargo behind the rear axle, backing, surge-brake compatibility, and lubrication guidance
- Federal Trade Commission: Auto Warranties and Auto Service Contracts — U.S. warranty treatment of aftermarket parts and related damage







Leave a Reply