
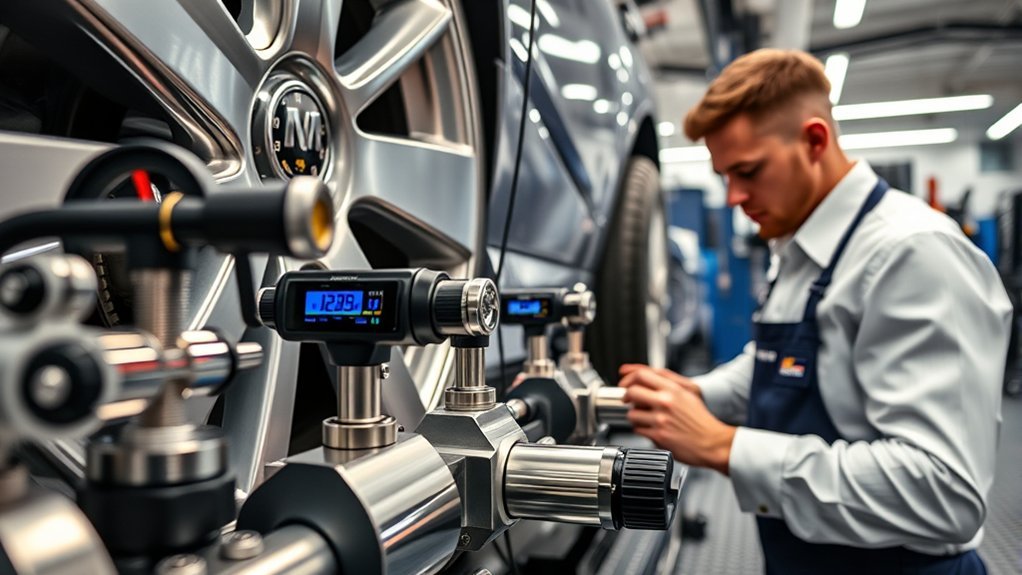
Track alignment settings can improve turn-in, cornering grip, braking confidence, and tire consistency, but there is no single camber, caster, or toe specification that works for every car. The safest approach is to begin with the vehicle and tire manufacturers’ limits, establish a conservative baseline, and use repeatable track data to make small adjustments.
Quick Answer
Start with the vehicle and tire maker’s limits, not a universal race number. Set ride height and tire pressures first, use the greatest practical positive caster, add only enough negative camber to control shoulder loading, and begin with near-zero front toe and slight rear toe-in. Test one change at a time.
Key Takeaways
- Camber, caster, and toe must match the car, tire construction, suspension, track, aero load, and driver.
- Always state whether toe is measured per wheel or as total toe across the axle.
- Set ride height and corner balance before finalizing caster, camber, and toe.
- Use pressure, inside-center-outside tread temperatures, wear, and driver feedback together.
- Aggressive track geometry may be unsuitable for public-road driving and should be returned to approved road specifications when required.
At a Glance
| Time Required | About 1–3 hours for the initial setup, plus separate track sessions for testing and refinement |
| Difficulty | Intermediate to advanced; professional measurement is recommended for unfamiliar suspension systems |
| Tools Needed | Alignment rack or level setup pad, turn plates, camber/caster gauge, toe plates or string system, pressure gauge, torque wrench, contact-probe pyrometer, and setup sheet |
| Cost | Varies by shop, vehicle, corner-balancing needs, and whether adjustable arms, plates, bolts, or shims are required |
Warning: Track driving places high loads on tires, wheels, hubs, steering, and suspension parts. Do not adjust or drive a car with loose fasteners, damaged tires, worn joints, leaking dampers, excessive wheel-bearing play, or pressure below the tire manufacturer’s minimum. Re-torque all disturbed hardware to the correct vehicle or component specification.
Getting to Know Track Alignment Basics

Track alignment focuses on three primary angles: camber, caster, and toe. Each changes how the tire meets the track and how the car responds during braking, turn-in, steady cornering, and acceleration.
- Camber is the inward or outward tilt of the wheel when viewed from the front. Negative camber means the top of the tire leans toward the car. Goodyear’s tire terminology guide defines camber as a suspension setting describing the wheel’s tilt from vertical.
- Caster is the forward or rearward tilt of the steering axis when viewed from the side. Positive caster generally improves steering self-centering and can add negative camber to the outside front wheel as it turns.
- Toe describes whether the leading edges of two tires point toward or away from each other when viewed from above. Toe-in points the fronts of the tires inward; toe-out points them outward.
- Thrust angle describes the direction in which the rear axle or rear wheels push the car relative to its centerline. An incorrect thrust angle can leave the steering wheel off-center or make the car feel different in left and right turns.
Total Toe Versus Individual Toe
Toe may be listed in degrees, minutes of angle, millimeters, or inches. It may also be stated as individual toe for one wheel or total toe for both wheels on an axle. For example, 0.05° of toe at each front wheel equals 0.10° total front toe. Record the unit and convention on every setup sheet so the specification cannot be doubled by mistake.
Why There Is No Universal Track Alignment
The ideal setting depends on vehicle weight, tire construction, suspension travel, roll stiffness, drivetrain layout, downforce, banking, corner speeds, braking zones, and driver technique. Michelin notes that an ideal camber value cannot be predicted precisely before running the car because track layout, suspension geometry, aerodynamic load, and speed all affect the result.
As one tire-specific example, Michelin has published camber guidance around -1.5° to -3.0° for certain Pilot Sport Cup applications. That range is not a universal instruction. Its Pilot Sport Cup 2 R technical bulletin gives limits for that particular tire, while Hoosier’s A7/R7 care and safety guide calls for less negative camber on highly banked circuits and vehicles with added aero.
The best track alignment is not the most aggressive setting your hardware can produce. It is the least aggressive setting that delivers repeatable grip, stable braking, and acceptable tire loading.
Prepare the Car Before Changing Alignment
An accurate alignment starts with a mechanically sound car and repeatable test conditions. Correct these items before adjusting angles:
- Inspect the suspension and steering. Check ball joints, tie rods, control-arm bushings, wheel bearings, dampers, springs, mounts, and adjustment hardware.
- Inspect the tires and wheels. Do not tune around a bent wheel, damaged tire, severe flat spot, cord exposure, or inconsistent tire size and construction.
- Set cold tire pressures. Use a documented starting pressure appropriate for the exact tire, car weight, and event. Never copy another vehicle’s pressure without checking the tire maker’s guidance.
- Load the car consistently. Use the normal driver weight or ballast, expected fuel load, and any required competition equipment.
- Set ride height. Changes in ride height can alter camber, toe, roll center, and bump steer.
- Corner-balance adjustable cars. Complete corner weighting before the final alignment because spring-perch changes may alter ride height and wheel angles.
- Use a level surface. A sloped floor can create false camber and corner-weight readings.
- Center and secure the steering. Confirm the steering rack is centered rather than merely straightening the steering-wheel rim.
How to Set Track Alignment Step by Step
- Record the current setup. Measure ride heights, cold pressures, caster, camber, individual toe, total toe, and thrust angle before making changes.
- Set ride height and corner balance. Re-settle the suspension after every height or spring-perch change.
- Adjust caster. Establish usable positive caster and side-to-side balance before final camber and toe measurements.
- Adjust camber. Begin conservatively and remain within the tire, vehicle, and adjustment-hardware limits.
- Adjust rear toe. Establish the rear thrust direction and a stable rear baseline.
- Adjust front toe last. Center the steering rack and divide the required correction evenly between the left and right tie rods when the design permits.
- Settle and remeasure. Roll or jounce the car according to the measuring system’s procedure and verify every angle again.
- Torque and mark hardware. Use the correct torque specification and apply inspection marks where appropriate for track checks.
- Conduct a controlled test session. Warm the tires progressively, drive consistent laps, and record behavior before changing anything.
How to Optimize Camber for Improved Tire Performance
Negative camber helps the loaded outside tire remain flatter during cornering as the body rolls and the suspension moves. Too little negative camber may overload the outer shoulder. Too much can reduce the useful contact patch during straight-line braking and acceleration while increasing inner-edge wear.
Do not begin by selecting the largest negative number available. Start with the tire manufacturer’s track guidance or a conservative chassis-specific baseline. Make small changes, commonly one or two tenths of a degree at a time, and then repeat the same test procedure.
How to Measure Track Tire Temperatures
Use a calibrated contact-probe pyrometer as soon as the car stops after a representative session. Surface readings from an infrared gun cool quickly and can be distorted by the cooldown lap, pit speed, sunlight, brakes, and measurement delay.
Longacre’s pyrometer guidance recommends measuring three repeatable positions on every tire: outside, center, and inside. Keep the probe depth and distance from each shoulder consistent.
- Outer shoulder much hotter: The tire may need more negative camber, more pressure support, less steering abuse, or a different suspension balance.
- Inner shoulder much hotter: The car may have excessive negative camber for the available cornering load, although track direction and measurement delay must also be considered.
- Center much hotter: Pressure may be too high for the tire and load.
- Both shoulders hotter than the center: Pressure may be low, the tire may be rolling onto its shoulders, or the session may not have produced stable data.
- One tire unusually hot: Check locking brakes, alignment asymmetry, pressure, body contact, bearing condition, and whether that corner carries more track load.
Pro Tip: Measure the same tire first after every session, follow the same outside-center-inside sequence, and have the driver stop in the same pit location. Consistency is more useful than comparing readings gathered with different delays or methods.
Do not chase a universal temperature spread. Some tire-specific guides expect a slight inside-to-outside gradient rather than perfectly equal readings. Use the exact tire manufacturer’s target when one is published, and combine that information with wear and handling.
Setting Caster for Better Steering Response and Stability
Positive caster can improve straight-line self-centering, steering feedback, and dynamic camber gain at the front wheels. However, a fixed 4° to 6° recommendation does not apply to every chassis.
For most road-course setups, use the greatest practical positive caster that the suspension can provide while meeting these conditions:
- Left and right measurements remain suitably balanced for the course and chassis.
- The tire does not contact the body, spring, control arm, brake hose, or liner at full steering lock and suspension travel.
- The steering does not bind or become unreasonably heavy.
- Camber and toe remain adjustable to the required values.
- The setting stays within the limits of the control arms, top mounts, bushings, joints, and fasteners.
Some competition cars use deliberate cross-caster for a track with a strong directional bias, but this should be treated as an advanced, tested adjustment rather than a general road-course baseline.
Dialing in Front and Rear Toe for Enhanced Stability and Cornering
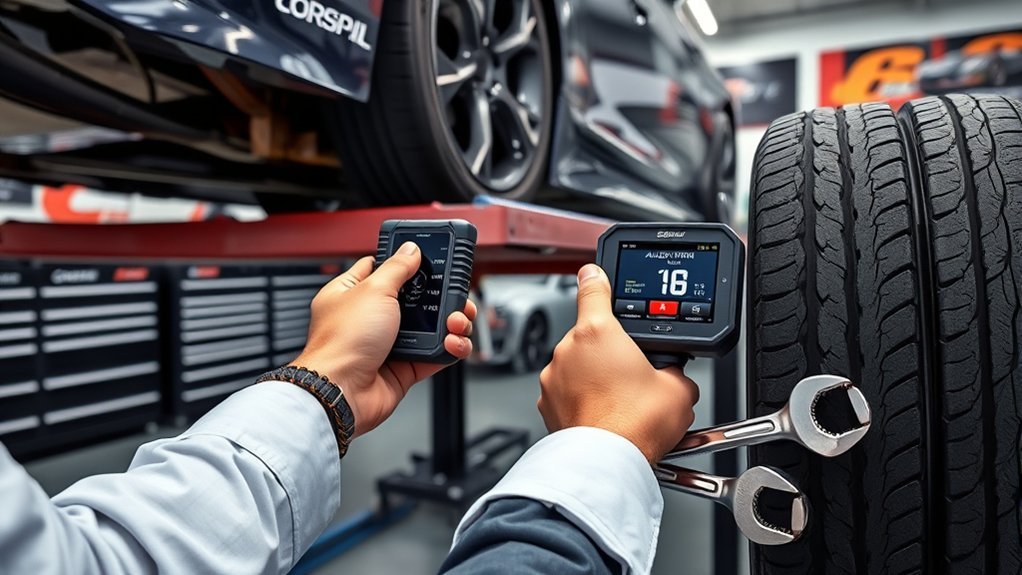
Toe often produces a more immediate handling change than a small camber adjustment, but it can also create drag, heat, instability, and rapid wear. Use small increments and record whether the figure is total or per wheel.
| Setting | Typical Effect | Main Risk |
|---|---|---|
| Front near zero toe | Stable, low-drag baseline for many road-course and dual-purpose cars | May feel less eager to rotate than a toe-out setup |
| Small front toe-out | Can sharpen initial turn-in and steering response | Nervous braking, tramlining, drag, and accelerated wear |
| Front toe-in | May calm straight-line behavior on some cars | Slower response and possible scrub |
| Small rear toe-in | Common stable baseline for braking, corner entry, and power application | Too much can add drag, heat, and reluctant rotation |
| Rear toe-out | Can make the car rotate rapidly | Potentially unstable during braking, lift-off, and high-speed transitions |
Note: A static toe measurement may not reveal bump steer or compliance steer. Worn bushings, soft mounts, incorrect ride height, or poor steering geometry can make toe change as the suspension moves or the tire is loaded.
Account for Track Layout, Drivetrain, and Aero
A setting that works on one vehicle or circuit may perform poorly on another:
- Front-wheel drive: The front tires must steer, brake, and accelerate the car, so their pressure and camber demands may differ greatly from the rear.
- Rear-wheel drive: Rear toe and camber strongly affect power application and exit traction.
- All-wheel drive: Alignment must balance front steering load with traction demands at both axles.
- High-downforce cars: Aero load can compress the suspension and increase tire load at speed, making dynamic ride height, pressure, and camber limits critical.
- Banked tracks and rovals: Banking can place unusually high vertical loads on the tires. Hoosier advises reduced negative camber for certain banked applications rather than copying a flat-course setup.
- Directionally biased tracks: The left and right tires may see different loads and temperatures. Any asymmetric alignment should be supported by tire data and allowed by the event rules.
Reassessing Alignment After Track Testing
After the car has completed enough consistent laps to stabilize its operating behavior, use this process:
- Record hot pressures immediately. Compare them with the exact tire manufacturer’s target and minimum limits.
- Measure tread temperatures. Record outside, center, and inside readings for all four tires with the same probe method and sequence.
- Inspect wear. Look for feathering, inner-edge wear, overheated shoulders, blistering, pickup, cuts, or contact marks. Goodyear’s tire-wear guide explains common uneven-wear patterns.
- Separate the corner phases. Ask whether the problem occurs during braking, initial turn-in, mid-corner, throttle transition, or corner exit.
- Confirm the mechanical baseline. Recheck ride height, pressures, wheel torque, alignment marks, and any part that may have slipped.
- Change one variable. Avoid changing camber, toe, pressure, and damping together because the result will not identify which adjustment helped.
- Repeat under similar conditions. Compare laps with similar fuel load, traffic, weather, tire age, and driver pace.
Keep a setup sheet for every session. Record the date, circuit, weather, tire model, heat cycles, cold and hot pressures, alignment values, suspension settings, lap behavior, temperatures, and changes made.
Track Alignment Troubleshooting
| Symptom | Items to Check | Possible Alignment Direction |
|---|---|---|
| Outer front shoulder overheats | Pressure, driver steering input, roll, tire clearance, and front camber | Test a small increase in negative front camber if the tire maker permits it |
| Car feels nervous under braking | Front toe-out, rear toe, bump steer, brake condition, and tire pressure | Move the front closer to zero toe and verify stable rear toe-in |
| Slow initial turn-in | Tire temperature, front toe, caster, pressure, damping, and driver input | Test a very small amount of front toe-out only after confirming the rest of the setup |
| Rear moves during throttle application | Rear toe, tire pressure, differential behavior, compliance, and rear camber | Verify both rear wheels retain suitable toe-in under load |
| Rapid inner-edge wear | Negative camber, toe, street mileage, pressure, and worn components | Reduce excessive camber or toe after identifying which angle is causing the wear |
| Steering wheel is off-center | Rack center, individual front toe, rear thrust angle, and slipped hardware | Center the rack and correct individual toe without changing the intended total toe |
| Car behaves differently in left and right turns | Cross-camber, cross-caster, corner weights, thrust angle, tire condition, and track layout | Restore a balanced baseline unless intentional asymmetry is supported by data |
Street Use and Wet-Weather Considerations
Rain or a large temperature change does not automatically mean the static alignment has moved. Check tire pressure, tire temperature, grip level, and mechanical condition before changing geometry.
For a wet session, prioritize predictable braking and stability. Avoid excessive front toe-out or an aggressive rear setting that makes the car rotate suddenly. Use the wet-pressure guidance supplied for the exact tire rather than assuming that a dry setup applies.
A dual-purpose street and track car usually benefits from a less aggressive compromise than a trailered competition car. Michelin’s Pilot Sport Cup 2 R bulletin instructs users to return suspension geometry to the vehicle manufacturer’s specification for road use. Follow the requirements for the actual vehicle, tire, and suspension hardware.
Frequently Asked Questions
How often should I check my track alignment settings?
Check the alignment before an important event, after striking a curb or pothole, after a spin or off-track excursion, whenever ride height or suspension parts change, and when the steering wheel, handling, or tire wear changes. Also inspect adjustment marks and critical hardware between sessions.
Can track alignment settings vary with weather?
Yes, but pressure and tire behavior normally deserve attention before static alignment. Rain and temperature changes alter available grip and operating pressure. A wet setup may favor greater stability, but alignment should be changed only when testing or tire guidance supports the adjustment.
What tools do I need for track alignment adjustments?
Use a professional alignment rack or a verified level setup pad with suitable turn plates, a camber/caster gauge, toe plates or a calibrated string system, a pressure gauge, a torque wrench, and a contact-probe pyrometer. Scales are also needed when corner balancing an adjustable suspension.
How do alignment settings affect tire lifespan?
Excessive toe is especially damaging because the tires scrub as the car travels. Aggressive negative camber can also increase inner-edge wear during street use. The final wear pattern depends on pressure, suspension movement, driving load, tire rotation options, and how many road miles the car covers.
Is a professional alignment necessary for track performance?
A calibrated performance-alignment rack is the best option for most drivers because it can measure individual toe, total toe, caster, camber, and thrust angle accurately. Experienced users can perform a repeatable DIY alignment, but only with proper tools, a level surface, and a method that has been checked against known measurements.
Is a toe specification measured per wheel or for the whole axle?
It may be either. Individual toe is the value at one wheel, while total toe is the sum of the left and right values on an axle. Always label the unit and convention because confusing the two can double the intended adjustment.
Can I leave an aggressive track alignment on the car for street driving?
Only when the vehicle, tire, and suspension manufacturers permit it and the car remains stable with acceptable wear. Significant negative camber or toe-out can reduce braking confidence and tire life on the street. A separate road alignment is safer for many dual-purpose cars.
Conclusion
Effective track alignment settings come from a controlled process rather than one universal set of numbers. Prepare the car, document the measurement convention, set caster and camber before final toe, and validate the result with pressures, tread temperatures, wear, and driver feedback. Small, isolated changes create a setup that is faster to understand, easier to repeat, and safer for the tires and vehicle.
Sources
- Michelin Pilot Sport Cup 2 R Technical Bulletin — track pressure, camber limits, warmup, and return-to-road-specification guidance
- Hoosier A7/R7 Tire Care and Safety Guide — tire-pressure management, banked-track camber, aero, and vehicle-layout considerations
- Longacre Racing Pyrometer Tips — contact-probe technique and inside-center-outside tread measurements
- Goodyear Tire Definitions and Terms — wheel-alignment and tire terminology
- Goodyear Tire Wear Guide — recognizing uneven tire-wear patterns
- National Auto Sport Association HPDE — structured high-performance driver education and on-track instruction







Leave a Reply