
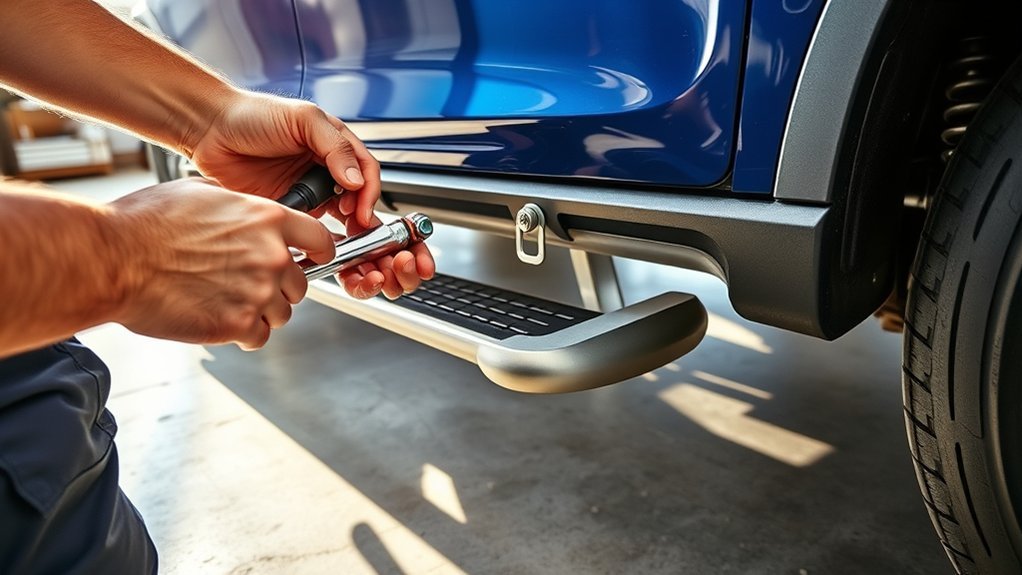
Running boards can make a truck or SUV easier to enter, but a safe installation depends on the exact vehicle and the exact kit. Before turning a wrench, confirm the year, make, model, cab or body style, part number, mounting locations, hardware, and torque values in the manufacturer’s instructions. The steps below explain the common process without replacing those vehicle-specific directions.
Quick Answer
To install running boards, verify vehicle and kit fitment, park safely, inventory the hardware, loosely mount each bracket in the specified factory location, attach and align the boards, then tighten every fastener with a torque wrench to the kit’s values. Test the boards and recheck the hardware as the manufacturer directs.
Key Takeaways
- Fitment is more specific than the vehicle name: model year, cab or body style, factory options, mounting kit, and part number can all matter.
- Bracket orientation, drilling, hardware, and torque values are product-specific. The kit manual overrides any general guide.
- Leave brackets loose until the board is positioned, then use a torque wrench for final tightening.
- Do not use a running board as a jack point, recovery point, or rock slider unless its manufacturer expressly approves that use.
- Inspect the installation before first use and periodically afterward, especially after rough roads, winter salt, or an impact.
At a Glance
| Time Required | Planning estimate: about 1–3 hours for many fixed bolt-on kits; allow more time for drilling, rusted mounting points, trim removal, or powered-step wiring. |
| Difficulty | Moderate for a vehicle-specific fixed kit; advanced when drilling, electrical work, calibration, or seized hardware is involved. |
| Tools Needed | Safety glasses, gloves, wheel chocks, ratchet and sockets, combination wrenches, torque wrench, extension, work light, and any kit-specific tools. |
| Cost | The kit price plus any professional labor, replacement clips, rust repair, drilling, or electrical work. Powered boards generally cost more to buy and install than fixed boards. |
Before You Install Running Boards
Verify the Vehicle and Kit Fitment
Do not order or install boards by vehicle name alone. Match the kit to the exact model year, make, model, cab or body style, door count, and any listed factory options. Confirm the running-board part number and mounting-kit part number, because some systems sell the board and brackets separately.
When the vehicle details are uncertain, use the NHTSA VIN Decoder to confirm core vehicle information, then check the manufacturer’s application chart. A VIN lookup does not replace the accessory maker’s fitment list, but it helps prevent model-year and configuration mistakes.
Note: Universal boards still need vehicle-specific brackets or a clearly approved mounting method. Do not improvise brackets, enlarge holes, or substitute fasteners unless the manufacturer provides written instructions.
Read the Instructions and Inventory Every Part
Open the manufacturer’s vehicle-specific guide before removing plugs or covers. Compare every bracket, clip nut, bolt plate, rivet nut, washer, spacer, and fastener with the parts list. Separate driver-side, passenger-side, front, center, and rear brackets. Report missing or damaged pieces before installation.
Manufacturer libraries such as the RealTruck installation guide finder, AMP Research installation guides, and each brand’s product page can help locate the correct manual by part number and vehicle.
Prepare a Safe Work Area
Park on a firm, level surface. Shift into Park or first gear, set the parking brake, switch off the engine, remove the key, and chock the wheels. Wear safety glasses and gloves, and keep loose clothing, jewelry, and hair away from moving tools. The OSHA hand and power tool guidance explains why damaged or improperly used tools can cause serious injury.
Warning: Never work under a vehicle supported only by a jack. Most fixed-board installations can be completed at normal ride height. If the kit requires lifting, follow the vehicle owner’s manual and use properly rated support stands at approved lift points.
Tools You’ll Need for a Successful Installation
The exact list comes from the kit manual, but the following tools cover many fixed running-board installations. Gather them before you start so the vehicle is not left partly assembled.
| Tool or Supply | Purpose | Important Note |
|---|---|---|
| Safety glasses and gloves | Protect eyes and hands | Required when drilling or working around falling debris |
| Ratchet, sockets, and extensions | Install bracket and board hardware | Use the metric or SAE sizes listed in the manual |
| Combination or box-end wrenches | Hold nuts in tight spaces | Do not use damaged wrenches that can slip |
| Torque wrench | Final tightening | Essential; torque values vary by fastener and kit |
| Trim tool or small pick | Remove factory plugs or covers | Use only where the guide identifies a removable plug |
| Work light and creeper or cardboard | Improve visibility and comfort | Keep the work area dry and uncluttered |
| Impact driver or low-power electric ratchet | Optional rapid run-down | Never use it as a substitute for final torque |
| Drill, bits, center punch, and rust protection | Only for kits that require drilling | Inspect behind the drilling area for wiring, lines, and interior trim first |
| Anti-seize or threadlocker | Fastener treatment when specified | Use only the type and amount directed by the manufacturer |
Pro Tip: Photograph the parts layout and each mounting location before assembly. If a bracket does not fit, the photos make it easier to confirm whether the wrong side, position, clip, or spacer was used.
How to Install Running Boards: A Step-by-Step Guide
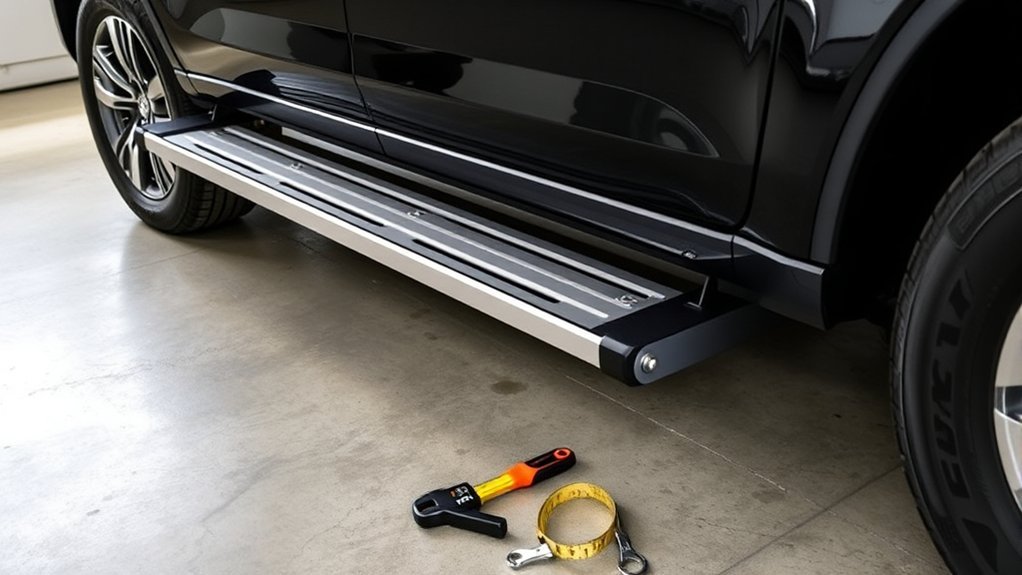
These steps describe a common fixed, vehicle-specific installation. Your kit may use threaded body holes, clip nuts, bolt plates, rivet nuts, pinch-weld brackets, body-mount bolts, or another system. Follow the diagrams and torque table supplied with the kit.
1. Identify the Mounting Locations
Locate the front, center, and rear mounting points shown in the manual. Remove only the plugs, tape, plastic covers, or trim pieces identified by the manufacturer. Check the metal around each location for collision damage, severe corrosion, crushed seams, or stripped threads. Stop and repair a damaged mounting point before loading it with a step.
2. Install the Required Clips, Bolt Plates, or Rivet Nuts
Install only the hardware called for in the guide. Some kits slide bolt plates through factory openings; others use U-clips, factory-threaded holes, or rivet nuts. The hardware’s direction and order of washers, spacers, and lock nuts must match the diagram. Do not assume every threaded stud faces downward or every bracket is interchangeable.
3. Loosely Attach the Mounting Brackets
Start every bracket fastener by hand to reduce the risk of cross-threading. Mount the brackets in their labeled positions, but leave the hardware loose enough for adjustment. Driver and passenger brackets may be mirror images, while front, center, and rear brackets may have different offsets.
4. Position the Running Board
With help from another person if the board is long or heavy, place it on the brackets. Install the board-to-bracket hardware by hand. Center the step pads under the doors and confirm that the front and rear ends have the clearances shown in the manual. Make sure the board does not touch the body, exhaust, brake or fuel lines, wiring, suspension, tires, or moving doors.
5. Align the Board Before Tightening
Stand back and check that the board is level with the rocker panel and sits at a consistent distance from the body. Open every door and verify clearance. Compare the driver and passenger sides, but do not force them to look identical if the manufacturer’s brackets place them differently.
6. Tighten and Torque the Hardware
Snug the hardware in the sequence shown by the manufacturer, then use a calibrated torque wrench for final tightening. Do not copy torque values from another vehicle or kit. For example, one current Westin vehicle-specific guide lists different torque values for M6, M8, and M10 fasteners, showing why a single universal number is unsafe.
An impact driver can run fasteners down quickly at a low setting, but it can also over-tighten hardware, damage rivet nuts, strip threads, or distort brackets. Use it only when the manufacturer allows it, and always finish with a torque wrench.
7. Test the Installation
Before anyone steps on the boards, check every fastener, bracket, clip, and spacer. Apply body weight gradually near each intended step pad while holding a secure vehicle grab handle. Listen for movement, popping, or contact with the body. Recheck door clearance and inspect underneath for shifted hardware.
8. Complete Powered-Board Wiring and Calibration, If Equipped
Powered running boards add motors, linkages, a controller, wiring, door or data-bus connections, and sometimes a calibration or relearn procedure. Follow the exact electrical guide for the part number and vehicle. Route wiring through approved paths, protect it from heat and moving parts, secure all connectors, and reconnect or test the battery only as directed. Professional installation is the safer choice when the guide requires unfamiliar wiring, drilling, software setup, or trim removal.
Warning: Drill only when the vehicle-specific instructions require it. Inspect both sides of the panel first. A misplaced hole can damage wiring, fuel or brake components, interior trim, corrosion protection, or the vehicle structure.
Why You May Want Running Boards
Running boards can provide a lower, wider step for trucks, SUVs, vans, and lifted vehicles. They may help children, older passengers, shorter occupants, and pets enter or exit with less reach. Textured pads can improve footing, but mud, snow, ice, oil, and worn tread can still make any step slippery.
Boards can also change the vehicle’s appearance and may help shield the lower body from some road spray and minor debris. They are not automatically structural armor. Unless the product is specifically rated as a rock slider, do not let it carry the vehicle’s weight, use it for recovery, or treat it as an approved jack point.
Check the manufacturer’s stated load rating and how that rating is defined. Capacity can be listed per side, per board, or for a distributed load. Never infer capacity from the board’s size or material.
Possible Drawbacks
- Reduced ground clearance: Low-mounted boards and brackets can contact rocks, curbs, deep snow, or steep breakover points.
- Winter buildup: Snow, ice, mud, and road salt can collect on wide steps and around powered hinges.
- Added maintenance: Coatings, hardware, wiring, motors, and pivots need inspection.
- Fitment conflicts: Some mud flaps, rocker guards, splash shields, body lifts, or aftermarket armor may share mounting points.
- More complex repairs: Powered boards can require electrical diagnosis in addition to mechanical work.
Common Installation Mistakes and Troubleshooting Tips
Most fit problems come from using the wrong kit, mixing bracket positions, installing clips backward, tightening too early, or skipping the torque sequence. Do not grind, bend, or drill a bracket to “make it fit” until the part number and instructions have been rechecked.
The Brackets or Holes Do Not Align
Confirm the vehicle configuration and part number first. Then check the bracket labels, left-to-right orientation, front-center-rear position, and the location of any clip nuts or bolt plates. Loosen all brackets so the assembly can move. If the holes still miss by more than normal slot adjustment, stop; a wrong kit or damaged mounting point is more likely than a need to force the bracket.
The Board Is Crooked or Too Close to the Body
Loosen the board-to-bracket and bracket-to-vehicle hardware enough to reposition the assembly. Center the step pads beneath the doors, check door clearance, and align the board with the rocker panel. Tighten gradually while watching for the board to shift.
A Bolt Spins or Will Not Tighten
Stop using the power tool. A clip nut may be out of position, a rivet nut may be spinning, or the threads may be crossed or stripped. Remove the fastener, inspect the threads, and replace damaged hardware with the exact manufacturer-specified part. Do not solve a spinning insert by simply applying more torque.
The Running Board Rattles, Pops, or Moves
Do not use the board until it is inspected. Check for missing washers or spacers, loose fasteners, body contact, cracked brackets, elongated holes, and damage from an impact. Torque the hardware to the kit specification. Replace damaged parts rather than welding or straightening them unless the manufacturer approves a repair.
A Powered Step Does Not Deploy or Retract
Check the fuse, connectors, ground points, wiring security, battery voltage, door inputs, and obstructions according to the troubleshooting guide. Clean packed mud or ice without placing fingers near a moving linkage. Do not bypass safety controls or apply power directly to a motor unless the manufacturer’s diagnostic procedure instructs you to do so.
| Mistake | Why It Matters | Corrective Action |
|---|---|---|
| Skipping safety gear | Debris and tools can injure eyes or hands | Wear safety glasses and gloves; inspect tools before use |
| Tightening brackets before alignment | The board may sit crooked or bind against the body | Loosen, align, then torque in the specified sequence |
| Using an impact for final tightening | Threads, inserts, or brackets can be damaged | Finish with a torque wrench at the kit’s values |
| Substituting hardware | Wrong grade, length, coating, or washer stack can weaken the mount | Use the supplied or manufacturer-approved replacement hardware |
| Assuming every kit is no-drill | Required holes may be missed, or unnecessary holes may be added | Drill only where the exact manual says to drill |
| Skipping post-install inspection | Settling or vibration may reveal a loose connection | Inspect before first use and at the manual’s stated interval |
Maintain Your Running Boards
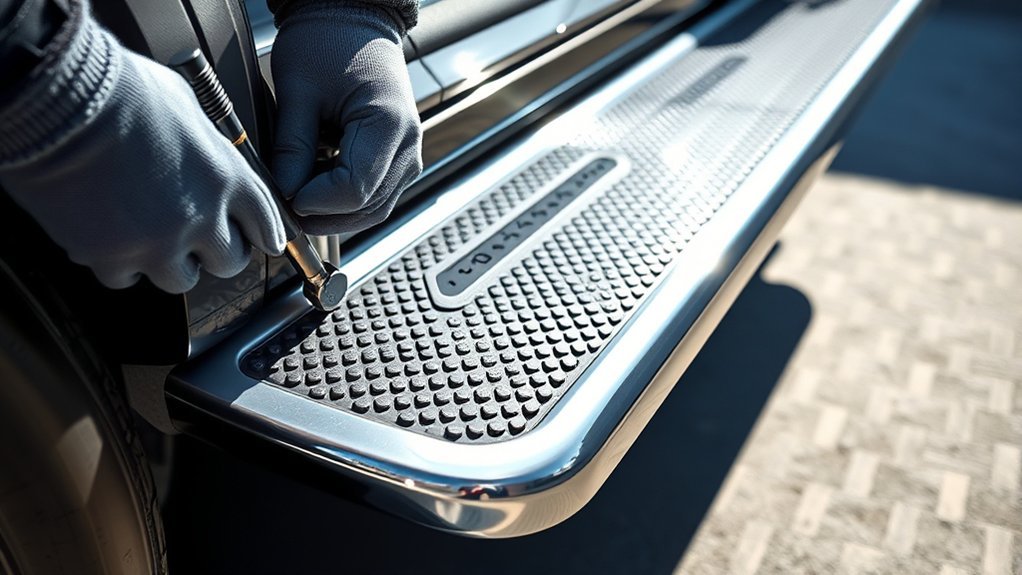
Regular cleaning and inspection help prevent slippery step pads, corrosion, loose hardware, and hidden impact damage. Use the finish-specific care instructions supplied with the boards rather than a one-size-fits-all schedule.
Inspection Schedule
Check the entire installation before first use. Recheck it after the initial settling period or mileage stated in the manual, then inspect it periodically and after any hard contact, off-road trip, unusually rough road, or winter season. Powered systems also need their wiring, connectors, motors, linkages, and pinch areas checked.
| Inspection Item | When to Check | What to Look For |
|---|---|---|
| Fasteners and brackets | Before first use, after the manual’s initial recheck period, and periodically | Loose hardware, shifted clips, cracks, bent brackets, or enlarged holes |
| Step surface and end caps | During normal washing and before passenger use in bad weather | Mud, oil, snow, ice, missing tread, sharp edges, or loose caps |
| Finish and corrosion | More often in coastal areas or where road salt is used | Chips, bubbling coating, rust, galvanic corrosion, or trapped debris |
| Powered-step wiring and pivots | At the manufacturer’s interval and after off-road or winter use | Chafing, loose connectors, damaged loom, slow movement, noise, or binding |
Cleaning Techniques and Products
Rinse away loose dirt and road salt, then wash the boards with mild soap, water, and a soft cloth or soft-bristle brush. Clean the tread grooves so water can drain and shoes can contact the textured surface. Manufacturer care instructions commonly warn against abrasive polish or wax on coated finishes; the same Westin guide directs mild soap and water for stainless and gloss-black products.
Use polish, wax, protectant, lubricant, or corrosion treatment only when it is compatible with the board’s finish and permitted by the manufacturer. Keep oily products off step pads. For powered boards, do not spray high-pressure water directly into connectors, controllers, motors, or seals unless the manufacturer says the components are designed for it.
Hardware Tightness Check
Marking a clean torqued fastener with a small paint line can make movement easier to spot, but the mark does not replace a torque check. If any fastener repeatedly loosens, investigate the cause rather than tightening it harder. Possible causes include missing hardware, damaged threads, bracket movement, an incorrect washer stack, body contact, or a distorted mounting point.
How to Choose Running Boards for Your Truck or SUV
Start with confirmed vehicle fitment, then compare the features that affect daily use and installation. A well-matched board should place a stable step beneath the doors without interfering with the body, tires, factory equipment, or other accessories.
- Fixed or powered: Fixed boards are mechanically simpler. Powered boards tuck away but add motors, wiring, controls, and maintenance.
- Board width and drop: A wider or lower step may improve access but can reduce ground clearance.
- Cab-length or wheel-to-wheel: Cab-length boards serve the doors; longer boards may add bed access but require different brackets.
- Material and finish: Aluminum, steel, stainless steel, composites, and coated finishes differ in weight, corrosion behavior, and care requirements.
- Step texture: Look for secure tread where passengers actually place their feet, while remembering that ice and mud still require cleaning.
- Load rating: Use the manufacturer’s published rating and definition. Do not assume all occupants can stand on one point at the same time.
- Installation method: Check whether the kit uses existing holes, shared body mounts, rivet nuts, pinch-weld supports, drilling, wiring, or calibration.
- Warranty and replacement parts: Confirm that brackets, motors, controllers, end caps, and hardware can be serviced separately.
Frequently Asked Questions
Can I install running boards myself?
Many vehicle-specific fixed kits are suitable for an experienced DIYer with the correct sockets, wrenches, safety equipment, and torque wrench. Hire a professional when the work requires drilling near hidden components, repairing rust or damaged mounts, removing body mounts, wiring powered steps, or completing a calibration you are not comfortable performing.
What holds running boards in place?
Vehicle-specific brackets connect the boards to approved mounting points on the rocker structure, pinch weld, frame, body mounts, or another location defined by the kit. The system may use factory threads, clip nuts, bolt plates, rivet nuts, or supplied fasteners. The manual’s bracket locations and torque values are essential to the load path.
Do all running boards install without drilling?
No. Many modern vehicle-specific kits use existing holes, but some applications require drilling, rivet-nut installation, trimming, or removal of factory covers. Drill only when the instructions for the exact part number and vehicle require it.
Do I need a torque wrench to install running boards?
Yes for a proper final installation. Fasteners of different sizes and grades can require very different torque. An impact driver cannot confirm torque and may damage threads or mounting inserts.
How much does it cost to install running boards on a Ram 1500?
There is no reliable one-price answer. The total depends on the Ram 1500 model year and cab, the exact fixed or powered kit, whether brackets are included, local labor rates, corrosion, drilling, wiring, and calibration. Confirm fitment by VIN and part number, then compare an itemized quote with the kit’s installation requirements.
How should a beginner use running boards safely?
Face the vehicle, use a secure grab handle, place the center of your foot on the intended tread pad, and step straight up or down. Clear mud, snow, ice, oil, and loose debris before use. Do not jump on the board or step on a damaged, loose, or partly deployed powered board.
Can running boards reduce ground clearance?
Yes. The amount depends on the board’s drop and bracket design. Drivers who travel off-road, cross deep snow, or encounter steep ramps should compare the installed height and breakover clearance before choosing a low, wide step.
Conclusion
Installing running boards is manageable when the kit truly matches the vehicle and the manufacturer’s instructions control every hardware, orientation, drilling, wiring, and torque decision. Work on a stable surface, leave the brackets loose until alignment is correct, finish with a torque wrench, test the boards carefully, and inspect them over time. When fitment, mounting damage, drilling, or electrical work is uncertain, professional installation is the safer choice.
Sources
- National Highway Traffic Safety Administration VIN Decoder — confirms core vehicle information used during fitment checks.
- Westin Pro Traxx 4 & 5 Step Bar Installation Instructions, Rev. C — demonstrates vehicle-specific brackets, required tools, distinct torque values, care guidance, and safety warnings.
- RealTruck Installation Guide Finder — locates instructions by product, part number, and vehicle.
- AMP Research Installation Guides — provides vehicle-specific instructions for powered running-board systems.
- Occupational Safety and Health Administration: Hand and Power Tools — supports safe tool inspection, use, and personal protective equipment practices.







Leave a Reply