
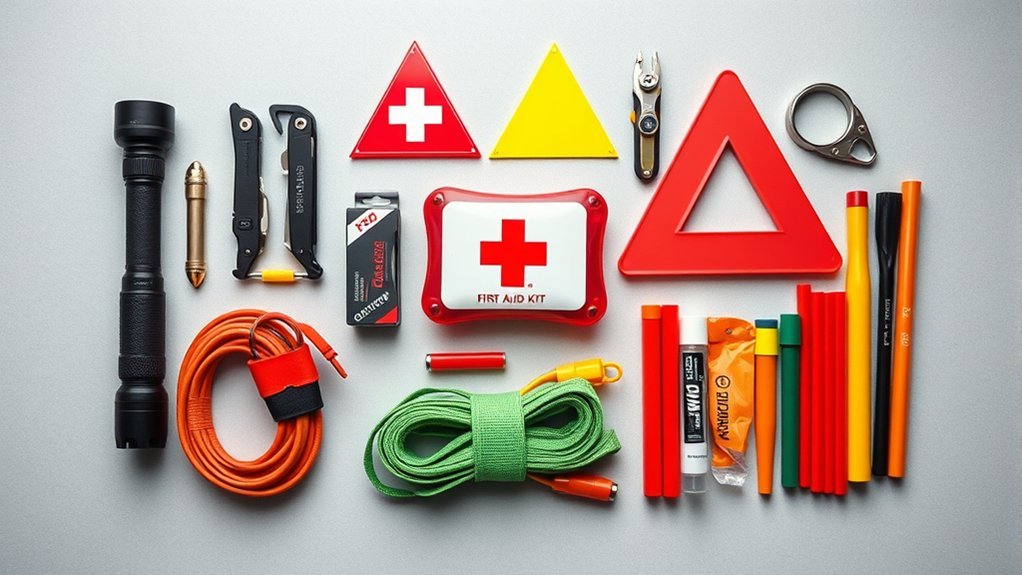
A well-planned road trip emergency kit helps you stay visible, communicate, treat minor injuries, handle basic vehicle problems, and remain comfortable while you wait for help. The right contents depend on your vehicle, passengers, route, weather, and distance from services, so use this checklist as a base and customize it before each trip.
Quick Answer
Pack a first-aid kit, charged phone and charger, flashlight, reflective warning devices, jumper cables or a jump pack, tire equipment, water, non-perishable food, blankets, gloves, and seasonal supplies. Check everything every six months and before long trips, and follow your vehicle owner’s manual before attempting a jump start or tire change.
Key Takeaways
- Build the kit around five needs: communication, visibility, first aid, vehicle problems, and waiting safely.
- Keep the kit secured but accessible; do not bury warning gear or a flashlight beneath luggage.
- Use your owner’s manual for jump-starting, tire changes, towing, and hybrid or EV procedures.
- Never walk into moving traffic to place a warning device or attempt a repair on an unsafe shoulder.
- Complete a full kit inspection every six months and a quick check before each long drive.
At a Glance
| Time Required | About 30–45 minutes to build; 10–15 minutes for a routine inspection |
| Difficulty | Easy |
| Tools Needed | Storage bag or bin, checklist, permanent marker, and vehicle owner’s manual |
| Cost | Varies; many basics may already be available, while a jump pack or tire inflator increases the total |
Why You Need a Road Trip Emergency Kit
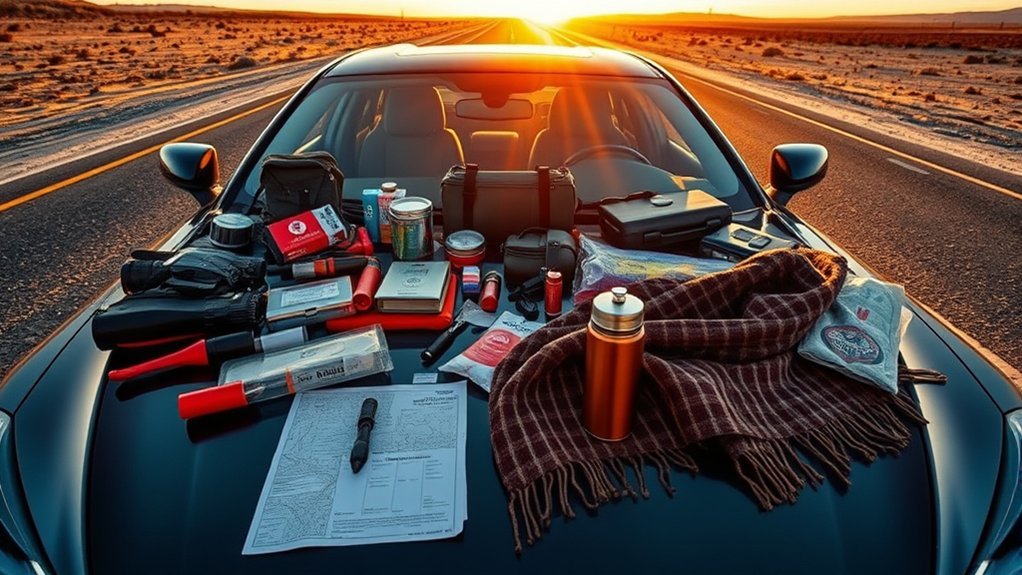
A breakdown may leave you waiting for roadside assistance in darkness, heavy rain, extreme heat, freezing weather, or an area with weak cell service. A complete kit cannot prevent every problem, but it can help you communicate, make your vehicle easier to see, manage a minor injury, and remain safer while assistance is on the way.
Ready.gov’s current car-safety guidance recommends supplies such as jumper cables, warning devices, an ice scraper, a phone charger, a blanket, a map, and traction material. Your kit should also match your vehicle’s equipment. For example, some vehicles have a spare tire, while others use a compressor and sealant kit.
A useful roadside kit covers five needs: communication, visibility, first aid, vehicle problems, and the time you may spend waiting for help.
Road Trip Emergency Kit Checklist
Communication and Navigation Supplies
- Fully charged phone: Keep it within reach rather than packed in the trunk.
- Vehicle phone charger: Carry the correct cable and a working 12-volt or USB adapter.
- Charged power bank: Recharge it according to the manufacturer’s schedule.
- Roadside-assistance information: Save the number in your phone and keep a written copy in the vehicle.
- Emergency contacts: Include family contacts, medical information when appropriate, and insurance details.
- Paper map: A current regional map can help when cell service or navigation is unavailable.
Visibility and Roadside Warning Gear
- Reflective warning triangles: Choose stable devices that are visible from both directions when appropriate.
- Battery-powered warning beacon: Check that it works and that its batteries have not leaked.
- High-visibility vest: Put it on before leaving the vehicle when conditions allow you to exit safely.
- Flashlight or headlamp: A headlamp keeps both hands free. Pack spare batteries separately.
- Emergency whistle: Useful when your voice cannot carry far enough.
Warning: Do not enter a live traffic lane to place a triangle, inspect a tire, or retrieve equipment. If the shoulder is narrow, the vehicle is partly in traffic, or you cannot exit safely, keep your seat belt fastened, call 911 or roadside assistance, and follow the dispatcher’s instructions.
Battery and Basic Vehicle Equipment
- Jumper cables or a portable jump starter: Select equipment compatible with your vehicle and learn how to use it before the trip.
- Work gloves: Protect your hands from grime, sharp edges, and hot surfaces.
- Basic tool kit: Include only tools you know how to use safely.
- Tire-pressure gauge: Check pressure when the tires are cold and use the pressure listed on the vehicle placard, not the maximum molded onto the tire sidewall.
- Portable tire inflator: Confirm that its plug or battery is compatible with your vehicle.
- Spare tire, jack, and lug wrench: Inspect these only if your vehicle is equipped with them.
- Wheel-lock key: Keep it where roadside assistance can find it.
- Manufacturer-supplied sealant kit: Check its expiration date and instructions if the vehicle has no spare.
- Small shovel and traction material: Useful for snow or limited traction where appropriate.
- Ice scraper and snow brush: Carry both during freezing weather.
A portable fire extinguisher may be a vehicle-specific add-on, but it must be suitable for automotive use, securely mounted, and easy to reach. Do not attempt to fight a vehicle fire unless it is small, you are trained, you have a clear escape path, and emergency services have been called. Move everyone away from smoke, flames, leaking fuel, or a damaged high-voltage battery.
First-Aid and Personal Safety Supplies
- Adhesive bandages in several sizes
- Sterile gauze pads and roller bandages
- Medical tape
- Antiseptic wipes for minor wound care
- Disposable nitrile gloves
- Trauma shears
- Instant cold pack
- Emergency blanket
- First-aid instruction card
- Any traveler’s necessary labeled medication
Store personal medication according to its label. Heat and freezing temperatures can damage some medicines, inhalers, auto-injectors, and medical devices, so do not leave temperature-sensitive items in the vehicle longer than their storage instructions permit.
Food, Water, and Comfort Items
- Drinking water: Carry enough for every person and pet, then add more for hot weather, remote routes, or possible long delays.
- Non-perishable food: Choose food that tolerates vehicle storage and does not require cooking.
- Blanket or emergency bivy: Include one for each occupant when cold conditions are possible.
- Warm layers: Pack hats, gloves, socks, and weather-resistant outerwear in winter.
- Rain ponchos: Useful when leaving the vehicle is safe but the weather is wet.
- Sunscreen and sun protection: Add a hat and lightweight covering for hot-weather travel.
- Sanitation supplies: Include tissues, hand cleaner, waste bags, and toilet paper.
- Small amount of cash: Useful where electronic payment or cell service is unavailable.
Supplies for Children, Pets, and Medical Needs
- Diapers, wipes, formula, and age-appropriate food
- Spare clothing and blankets
- Pet food, water, collapsible bowls, waste bags, and medication
- Secure pet harness, leash, or carrier
- Copies of important medical instructions
- Backup power for essential small medical equipment when feasible
- Comfort items that can reduce stress during a long delay
How to Build and Store Your Emergency Kit
- Check the vehicle first. Read the roadside-emergency section of the owner’s manual and identify the battery jump points, towing restrictions, tire equipment, wheel-lock key, and fuel or charging needs.
- Choose a durable container. Use a water-resistant bag or lidded bin that fits the cargo area without blocking access to the spare tire or tools.
- Group items by purpose. Separate first aid, visibility equipment, food, seasonal gear, and vehicle tools in labeled pouches.
- Keep urgent items accessible. A flashlight, high-visibility vest, phone charger, gloves, and warning devices should not be buried beneath luggage.
- Secure the container. Use the vehicle’s cargo tie-downs or another suitable restraint so the kit cannot become a projectile during hard braking or a crash.
- Record an inspection date. Mark the next six-month check on the container and add a reminder to your calendar.
Pro Tip: Keep a one-page inventory inside the lid. During each inspection, initial the flashlight, jump pack, tire equipment, water, food, medication, and first-aid rows instead of unpacking the kit without a system.
What to Do During a Roadside Emergency
Take These First Safety Steps
- Stay calm and maintain control of the vehicle.
- Move as far from moving traffic as the vehicle and conditions safely allow.
- Activate the hazard lights.
- Set the parking brake and place the transmission in Park or in gear, as appropriate.
- Check for injuries, smoke, flames, leaking fuel, damaged power cables, or another immediate hazard.
- Call 911 for a crash, injury, fire, fuel leak, vehicle in a traffic lane, or any situation that threatens life or safety.
- Call roadside assistance for a breakdown that is not an immediate emergency.
Whether you should stay inside or exit depends on the road, traffic, weather, vehicle position, and instructions from emergency personnel. Do not stand between vehicles, beside moving traffic, or directly in front of or behind a disabled vehicle where another driver could strike it.
How to Jump-Start a 12-Volt Battery
The owner’s manual and jump-starter instructions take priority over any general sequence. Some vehicles use remote terminals, designated grounding points, or procedures that differ from older vehicles.
- Confirm that the battery is not visibly cracked, leaking, swollen, or frozen. Do not proceed if it is damaged.
- Check that both vehicles use compatible 12-volt systems and that the vehicles are not touching.
- Set both parking brakes, switch off accessories, and follow the manual’s instructions for the ignition or power switch.
- Connect the positive cable to the approved positive point on the disabled vehicle.
- Connect the other positive clamp to the donor battery or jump pack’s positive point.
- Connect the negative clamp to the donor battery or jump pack as directed.
- Make the final negative connection to the disabled vehicle’s designated grounding point, not to fuel lines, moving parts, or an unapproved component.
- Start the donor vehicle or activate the jump pack as directed, then attempt to start or power on the disabled vehicle.
- Disconnect the clamps in the reverse order specified by the vehicle or device instructions. Never allow the clamps to touch each other.
Warning: A jump start involves explosive battery gases, electrical current, and moving engine parts. Stop if the cables become hot, you see sparks away from the final connection point, the battery is damaged, or the vehicle manual prohibits the procedure.
How to Handle a Flat Tire
Change a tire only on firm, level ground that is safely separated from traffic. If the shoulder is narrow, soft, sloped, dark, or exposed to fast traffic, call roadside assistance instead.
- Activate the hazard lights and set the parking brake.
- Confirm whether the vehicle uses a spare tire, run-flat tire, or sealant kit.
- Follow the owner’s manual for approved jack points and wheel-removal steps.
- Use wheel chocks if specified and available.
- Never place any part of your body beneath a vehicle supported only by its emergency jack.
- After installing a temporary spare, follow its speed and distance restrictions.
- Have the repaired or replacement tire installed as soon as practical.
How to Administer Basic First Aid
Check that the scene is safe before providing care. Call 911 for an unresponsive person, breathing difficulty, severe injury, signs of shock, or life-threatening bleeding.
- Put on disposable gloves when available.
- For a minor cut, rinse or clean it appropriately and cover it with a sterile dressing.
- For serious external bleeding, apply steady, firm pressure directly over the wound.
- For life-threatening bleeding from an arm or leg, use a tourniquet only when trained and the situation requires it.
- Keep the injured person from becoming too cold or overheated.
- Monitor breathing and responsiveness until emergency medical services arrive.
The American Red Cross guidance for life-threatening external bleeding prioritizes scene safety, emergency help, direct pressure, and trained tourniquet use where appropriate.
How to Signal for Help Safely
Keep the hazard lights on and put on a high-visibility vest before exiting when it is safe to do so. Position reflective triangles or battery-powered warning devices according to their instructions and local law. The correct placement depends on traffic direction, road speed, curves, hills, visibility, and the vehicle’s location.
Do not rely on a universal distance such as 50 feet. A warning device that is too close may not give an approaching driver enough time to react, while walking too far along an exposed shoulder may put you at greater risk.
Warning: Do not ignite a road flare near leaking fuel, flammable cargo, dry vegetation, or any suspected fire hazard. Reflective triangles and approved battery-powered warning lights are safer default choices for many drivers.
Adapting Your Emergency Kit for Seasonal Changes
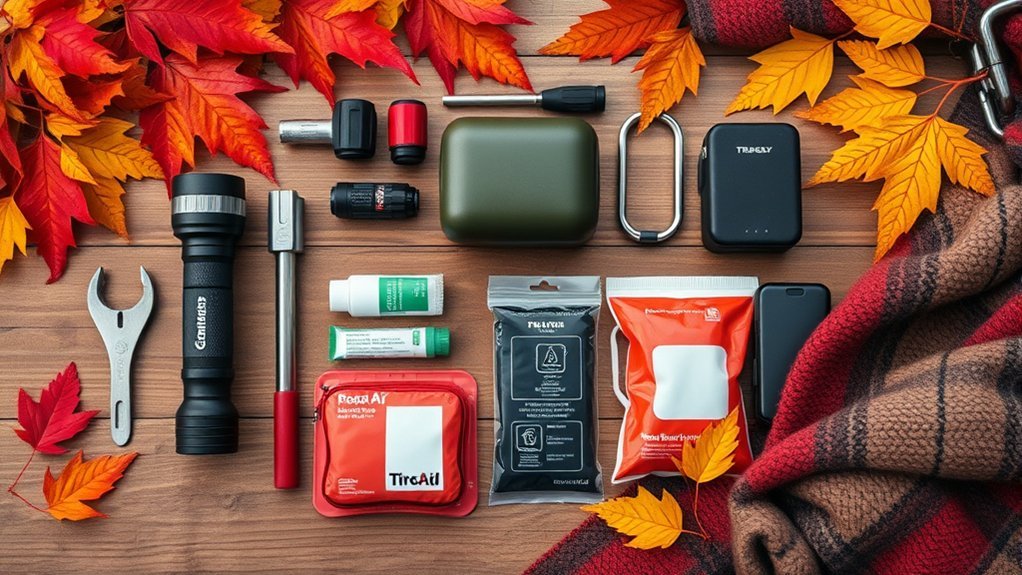
Your base kit can remain in the vehicle, but clothing, water, food, traction equipment, and protective supplies should change with the route and season.
Winter Road Trip Supplies
- Warm coats, hats, gloves, and dry socks
- Blankets or emergency bivies for each occupant
- Ice scraper and snow brush
- Compact shovel
- Sand or another appropriate traction material
- Winter-rated windshield-washer fluid
- Water and non-perishable food
- Charged power bank
- Weather-resistant boots
Ready.gov’s WinterReady guidance recommends keeping an emergency supply kit in every vehicle and checking it every six months.
Summer, Desert, and Extreme-Heat Supplies
- Additional drinking water for every traveler and pet
- Sunscreen, hats, and lightweight sun-protective clothing
- Cooling towels or cloths
- Extra phone power
- More food and water for remote routes
- Vehicle sunshade
Never leave a child, dependent adult, or pet alone in a parked vehicle. If the air conditioning fails during extreme heat, move occupants to a safe, cooler location and seek assistance rather than waiting inside a rapidly heating vehicle.
Wildfire Smoke, Storm, and Remote-Route Supplies
- Well-fitting particulate respirators appropriate for wildfire-smoke conditions
- Printed evacuation routes and local emergency information
- Rain gear and waterproof storage pouches
- Extra food, water, and medication
- Offline maps
- Emergency radio where severe weather or long communication outages are possible
The CDC advises people who must be outside in wildfire smoke to use a properly fitted, NIOSH-approved respirator such as an N95 or P100. A respirator does not replace evacuation instructions or the need to move away from hazardous smoke.
Special Considerations for EVs, Hybrids, Motorcycles, and RVs
EV and Hybrid Emergency-Kit Safety
Electric and hybrid vehicles still use a low-voltage electrical system, but jump points, towing methods, emergency shutdown procedures, and access to the 12-volt battery vary by model.
- Read the model-specific owner’s manual before attempting a jump start.
- Use only the designated 12-volt jump points.
- Never attempt to jump-start, open, or repair the high-voltage traction battery.
- Do not touch exposed orange cables, damaged electrical components, or a leaking battery enclosure.
- Call 911 for smoke, fire, popping sounds, unusual heat, or a damaged high-voltage battery.
- Tell the towing service that the vehicle is electric or hybrid and follow the manufacturer’s towing requirements.
NHTSA’s electric and hybrid vehicle guidance says to assume high-voltage batteries and related components are energized. Physical damage can lead to shock hazards, toxic or flammable gases, and immediate or delayed fire.
Motorcycle Emergency Kits
A motorcycle kit must be compact, weather-resistant, and secured so it cannot interfere with steering, suspension, wheels, or hot exhaust parts. Prioritize:
- Phone, charger, and emergency contacts
- Compact first-aid kit
- High-visibility vest
- Flashlight or headlamp
- Manufacturer-approved tire-repair and inflation equipment
- Basic model-specific tools
- Water and compact food
- Rain layer and thermal layer
RV Emergency Kits
An RV needs the basic road kit plus equipment matched to its weight, electrical system, fuel or propane system, tire requirements, and number of occupants. Carry appropriately rated warning devices, inspect the fire extinguishers, and verify that jacks, tools, and roadside assistance can support the RV. Do not use passenger-car jacks or tire tools on a heavier vehicle unless the manufacturer specifically approves them.
Maintaining Your Emergency Kit
Six-Month Inspection Checklist
- Replace expired food, water, first-aid items, sealant, and other dated supplies.
- Check medication storage requirements and expiration dates.
- Test flashlights, warning beacons, and the emergency radio.
- Inspect batteries for leakage or corrosion.
- Recharge the power bank, jump starter, inflator, and other rechargeable equipment.
- Inspect jumper cables for damaged insulation, loose clamps, or corrosion.
- Check the spare tire’s condition and pressure, including temporary spares.
- Confirm that the jack, lug wrench, tow eye, wheel-lock key, and sealant kit are present.
- Replace clothing that no longer fits children.
- Update pet food, medical information, emergency contacts, maps, and roadside-assistance details.
- Check that the container remains secured and accessible.
Quick Check Before a Long Trip
- Charge phones, power banks, and the jump starter.
- Confirm that the flashlight and warning devices work.
- Add fresh water and suitable food.
- Review weather, road closures, charging or fuel stops, and remote sections of the route.
- Check tire pressure and condition.
- Verify that the kit has been adjusted for every passenger and pet.
Note: This checklist supplements rather than replaces routine vehicle maintenance. Check tires, lights, wipers, fluids, brakes, the 12-volt battery, recalls, and manufacturer-required service before a long drive.
Additional Resources for Roadside Emergencies
Save important information before leaving. An app or website may be unavailable when cell service is weak, so keep essential phone numbers and procedures in writing.
| Resource Type | How It Helps | Recommended Source |
|---|---|---|
| Emergency-kit guidance | Current car and seasonal preparedness lists | Ready.gov Car Safety |
| First-aid training | Practical training for bleeding, CPR, and common injuries | American Red Cross Classes |
| Vehicle procedures | Jump points, tire tools, towing, warnings, and model-specific limitations | The owner’s manual and manufacturer support information for your exact model year |
| Road and weather alerts | Closures, storms, evacuation instructions, and travel restrictions | Your state DOT, 511 service, weather service, and local emergency-management agency |
| Roadside assistance | Towing, jump starts, fuel delivery, lockout service, and tire assistance | Your vehicle manufacturer, insurer, roadside plan, or rental company |
Frequently Asked Questions
How often should I check my emergency kit supplies?
Complete a full inspection every six months and perform a quick check before each long trip. Replace expired supplies, test lights, recharge electronic equipment, inspect the spare tire and tools, and update clothing, medication, food, water, and pet supplies.
Can I build an emergency kit for a motorcycle or RV?
Yes. A motorcycle kit should be compact, weather-resistant, and securely mounted. An RV kit needs supplies for every occupant plus warning devices, tools, jacks, tire equipment, and fire-safety equipment rated for the RV’s size and systems. Follow the vehicle manufacturer’s instructions.
What should I include when traveling with pets?
Pack water, food, collapsible bowls, medication, waste bags, a secure leash or harness, a carrier when appropriate, identification, and a familiar comfort item. Bring enough supplies for a delay and never leave a pet alone in a parked vehicle during dangerous temperatures.
Are there legal requirements for vehicle emergency kits?
Requirements depend on the vehicle class and jurisdiction. Federal rules at 49 CFR §393.95 require specified emergency equipment on covered commercial trucks, truck tractors, and buses. Private passenger-car requirements may differ by state, locality, road system, or destination country, so check the appropriate transportation or motor-vehicle authority.
How can I make my kit more compact and portable?
Use labeled pouches, select compact multi-purpose equipment, remove unnecessary packaging, and choose supplies matched to the route and season. Do not reduce the kit by removing critical visibility, communication, first-aid, water, or vehicle-specific equipment.
How much water should I carry?
There is no single amount that fits every drive. Base the supply on the number of people and pets, trip length, temperature, remoteness, health needs, and possible delays. Carry substantially more on desert routes, during extreme heat, or where services are far apart.
Should I carry road flares or reflective triangles?
Reflective triangles and approved battery-powered warning lights avoid the open flame created by traditional flares. If you carry flares, follow their instructions and never use them near leaking fuel, flammable material, dry vegetation, or another fire hazard. Place any warning device only when you can do so without entering dangerous traffic.
Conclusion
A dependable road trip emergency kit is more than a bag of generic supplies. It should match your vehicle, passengers, route, climate, and ability to perform basic roadside tasks safely. Keep communication and visibility equipment accessible, follow the owner’s manual for vehicle procedures, and avoid repairs when traffic or weather makes the location unsafe.
Inspect the complete kit every six months, check it again before a long trip, and replace anything damaged, discharged, expired, or no longer suitable for your travelers. Preparation cannot remove every roadside risk, but it can help you make safer decisions while professional assistance is on the way.
Sources
- Ready.gov — Car Safety — recommended vehicle emergency supplies and seasonal equipment
- Ready.gov — WinterReady — six-month vehicle-kit inspection and winter preparation
- American Red Cross — Life-Threatening External Bleeding — scene safety, emergency contact, direct pressure, and trained tourniquet use
- National Highway Traffic Safety Administration — Electric and Hybrid Vehicles — high-voltage, damaged-battery, and fire hazards
- Electronic Code of Federal Regulations — 49 CFR §393.95 — emergency equipment requirements for covered commercial vehicles
- Centers for Disease Control and Prevention — Wildfire and Smoke Safety — respirator guidance for wildfire-smoke exposure







Leave a Reply