
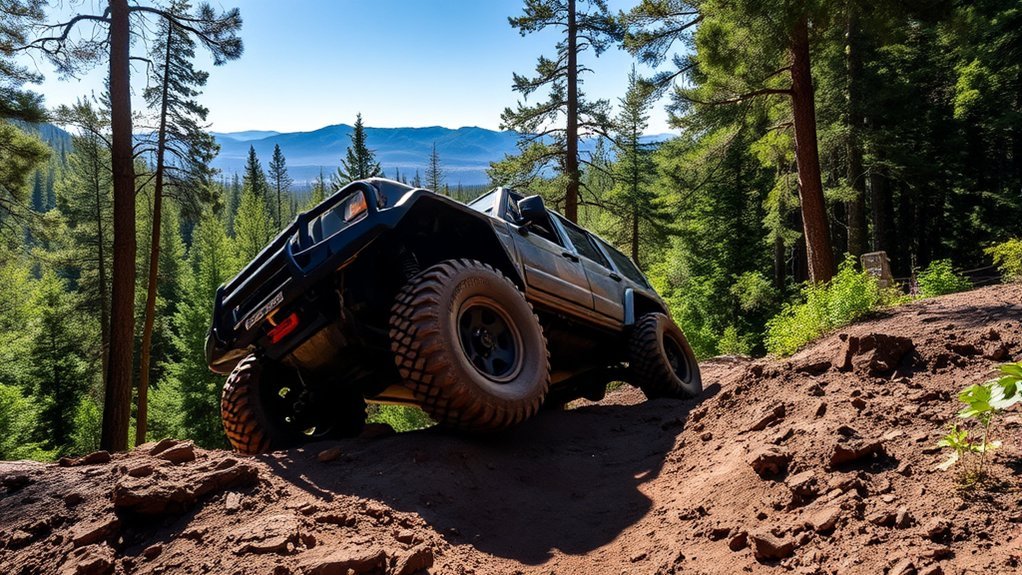
Off-roading is rewarding, but a safe trip depends more on preparation and judgment than speed or expensive modifications. Before leaving pavement, confirm that the route is legal and suitable for your vehicle, inspect the vehicle, pack emergency and recovery equipment, and understand how your specific four-wheel-drive system works. On the trail, drive smoothly, scout hazards, and turn around before conditions exceed your skills or equipment.
Quick Answer
Start on an easy, legal trail, inspect your vehicle, carry recovery and emergency gear, and tell someone your route. Drive slowly and smoothly, use 4WD modes only as the owner’s manual directs, scout obstacles, and air down only when your tires, load, and terrain support it. Reinflate before returning to pavement.
Key Takeaways
- Choose a legal beginner trail that matches your ground clearance, tires, drivetrain, experience, and current weather.
- Carry a serviceable spare, jack and base, tire gauge, compressor, shovel, first aid kit, navigation, water, and properly rated recovery equipment.
- Use smooth steering, braking, and throttle inputs; walk uncertain obstacles and use a trained spotter when needed.
- Never attach recovery gear to a tow ball, axle, suspension part, or unapproved tie-down point.
- Stay on designated routes, respect closures and private property, pack out waste, and avoid widening damaged or muddy trails.
At a Glance
| Time Required | Allow 30–60 minutes for vehicle, route, weather, equipment, and communications checks before departure. |
| Difficulty | Beginner to advanced. New drivers should start on dry, maintained routes with easy turnaround points. |
| Tools Needed | Tire gauge, compressor, spare tire, jack and base, shovel, first aid kit, navigation, communications equipment, water, and task-specific rated recovery gear. |
| Cost | Varies widely. A basic safety and recovery setup costs far less than tires, underbody protection, suspension work, or a winch. |
What Is Off-Roading and Why Try It?
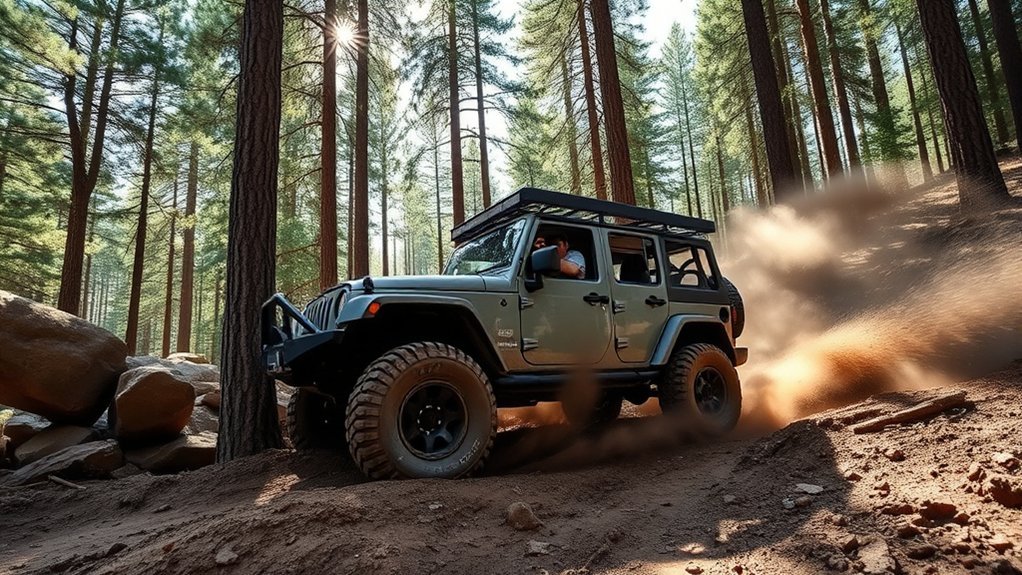
Off-roading means driving on unpaved routes or in areas specifically opened to motorized travel. Conditions may include gravel roads, sand, mud, rocks, ruts, snow, or steep grades. The difficulty can change quickly after rain, flooding, erosion, wildfire, or heavy traffic.
It can help you improve low-speed vehicle control, learn how your drivetrain responds on loose ground, reach remote campsites, and enjoy landscapes that are not accessible by ordinary paved roads. It also requires restraint. A successful driver knows when to stop, scout, choose another line, or turn around.
The best off-road decision is often the one that prevents a recovery, vehicle repair, trail closure, or emergency.
Responsible off-roading also supports continued access. Travel only where motor vehicles are permitted, avoid creating new tracks, and follow posted restrictions. The Bureau of Land Management notes that public-land users must obey posted signs, state regulations, registration requirements, closures, and property boundaries.
Prepare Before You Leave Pavement
Preparation starts before the vehicle reaches the trailhead. Remote roads may have no cellular service, fuel, water, repair shop, or immediate rescue response.
Inspect the Vehicle
- Tires: Check tread, sidewalls, valve stems, pressure, and the spare tire. Confirm that your jack can lift the vehicle with its current tires and suspension.
- Fluids and leaks: Check engine oil, coolant, brake fluid, transmission fluid where applicable, and windshield-washer fluid. Investigate fresh leaks before departure.
- Battery and charging: Inspect battery security and terminals. Charge radios, lights, navigation devices, and satellite equipment.
- Brakes and steering: Address unusual noises, pulling, vibration, excessive play, or warning lights before the trip.
- Underbody and cargo: Secure tools and luggage. Inspect skid plates, recovery points, steps, bumpers, and low-hanging components.
- Fuel or charge: Begin with enough range for the planned route, detours, idling, and a safe reserve.
Research the Route and Weather
Confirm that the route is open to your type of vehicle. Check land-agency maps, permit rules, seasonal closures, fire restrictions, recent storm damage, water levels, and expected temperatures. Download maps for offline use and do not depend on a single phone application.
The National Park Service’s off-pavement safety guidance recommends checking current conditions, carrying adequate supplies, using appropriate tires, filing a return plan, and turning around when a road becomes too difficult.
Share a Trip Plan
Tell a reliable person where you are going, your planned route, who is traveling with you, your vehicle description, and when you expect to return. Set a clear time for that person to contact authorities if you do not check in. Update the plan before changing routes.
Pro Tip: Save the route, emergency contacts, vehicle details, medical needs, and insurance or roadside-assistance information in both your phone and a waterproof paper copy.
Essential Gear You Need for Off-Roading Adventures
The right equipment depends on the route, weather, vehicle, and group. At minimum, carry enough equipment to handle a flat tire, minor extraction, overnight delay, first aid need, and loss of cellular service.
| Category | Recommended Equipment | Important Check |
|---|---|---|
| Tires | Serviceable spare, repair kit, pressure gauge, valve tool, and compressor | Know which damage can be repaired temporarily and which requires tire replacement. |
| Lifting and digging | Correct jack, wide jack base, wheel chocks, shovel, and traction boards | Practice locating approved lift points on stable ground before the trip. |
| Recovery | Task-specific rated strap or rope, compatible shackles, gloves, and approved recovery points | Read every label and confirm working-load limits and compatibility. |
| Emergency | First aid kit, fire extinguisher, water, food, clothing, light, medications, and shelter | Pack for an unplanned delay, not only the expected driving time. |
| Navigation and communication | Offline maps, two-way radio, charging equipment, and satellite device where appropriate | Test each device and confirm that everyone understands its limits. |
Essential Recovery Gear
Recovery gear must match the method being used. A static tow strap, kinetic recovery rope, winch extension, tree-protection strap, and winch line perform different jobs. Never substitute one merely because it fits around a shackle.
- Rated recovery points: Use only points approved for recovery and secured to a suitable structural part of the vehicle.
- Compatible shackles: Confirm the shackle, rope, strap, receiver mount, and recovery point are compatible and properly rated.
- Traction boards and shovel: Use them to clear material from the tires and create a gradual exit before applying high pulling forces.
- Winch equipment: Carry the equipment specified by the winch manufacturer, which may include a tree strap, pulley or recovery ring, line damper, gloves, and remote control.
- Training: Practice under qualified supervision before using a kinetic recovery rope or winch in a real emergency.
Warning: Never attach a recovery strap, rope, or winch line to a trailer ball, axle, control arm, suspension component, or unapproved shipping tie-down. Clear bystanders from the area, communicate before tensioning the system, and never step over or stand beside a loaded line. Follow the equipment and vehicle manufacturers’ instructions.
WARN’s vehicle-recovery guidance stresses the use of proper frame-connected recovery points, task-specific gear, clear communication, and a slow, methodical setup.
Proper Tire Selection and Airing Down
Tire choice should match the terrain and the amount of paved driving you do. All-terrain tires often provide a practical balance for mixed use. Mud-terrain designs may clear loose mud well but can perform differently in packed clay, snow, wet rock, or highway conditions.
Larger tires may increase ground clearance, but they can also affect rubbing clearance, axle gearing, braking, steering, speedometer accuracy, stability-control calibration, and spare-tire fit. Verify the complete setup for your vehicle’s year, model, drivetrain, wheel size, payload, and suspension before changing tire diameter.
Airing down can lengthen the tire’s contact patch and improve comfort and traction on some sand or rough surfaces. It is not a universal requirement, and there is no single safe pressure for every vehicle. Tire construction, load, wheel width, bead retention, terrain, temperature, and speed all matter.
Note: Some managed soft-sand routes recommend pressures near 20 psi, but that is location-specific guidance—not a universal setting. Use a reliable gauge, reduce speed, watch for sidewall damage or bead movement, and reinflate to the vehicle manufacturer’s road-pressure specification before sustained pavement driving.
Necessary Communication Devices
Communication is essential in remote areas, but each device has limits:
- Two-way radio: Useful for communication between vehicles when the group uses compatible equipment, channels, and procedures.
- Satellite messenger or satellite phone: May provide two-way contact outside cellular coverage, subject to the device, subscription, sky view, battery, and service network.
- Personal locator beacon: A registered 406 MHz PLB is a manually activated distress beacon intended for serious emergencies, not routine messaging.
- Cell phone: Keep it charged and protected, but do not assume service will be available.
NOAA explains that 406 MHz personal locator beacons are designed for people traveling in remote areas and that registration helps search-and-rescue authorities identify the user and respond more effectively.
Know Your Vehicle’s Capabilities and Limits
Before tackling an obstacle, understand the vehicle’s dimensions, drivetrain, tires, recovery points, and electronic aids. A four-wheel-drive badge does not guarantee sufficient clearance, suitable tires, underbody protection, or safe recovery hardware.
| Capability | Why It Matters | What to Verify |
|---|---|---|
| Ground clearance | Helps clear rocks, ruts, and raised trail centers | Lowest vulnerable component, not only the body or bumper height |
| Approach, breakover, and departure angles | Affect whether the bumpers or center of the vehicle contact terrain | Steps, hitch hardware, air dams, fuel tanks, and exhaust components |
| Wheelbase and track width | Influence breakover clearance, turning room, and stability | Whether the chosen line suits the vehicle’s dimensions |
| Drivetrain | Determines torque distribution and low-speed control | AWD, full-time 4WD, part-time 4WD, 4H, 4L, lockers, and shift procedure |
| Payload and weight distribution | Affect clearance, braking, tire load, and stability | Door-jamb payload label, roof limits, cargo security, and axle loads |
Understand AWD, 4H, and 4L
AWD and 4WD systems differ widely. Some systems operate automatically; others mechanically lock the front and rear driveshafts together. Some vehicles can shift into 4H while moving, while others require a lower speed. Engaging 4L may require stopping, selecting neutral, or following another model-specific sequence.
Four-wheel-drive low normally provides greater torque multiplication and low-speed control for steep grades, deep sand, rocks, mud, or other low-traction conditions. It is not intended for ordinary high-speed driving. Ford’s four-wheel-drive guidance, for example, describes 4L as an off-road, low-traction mode. Your vehicle’s owner’s manual remains the controlling source.
Warning: Do not copy another vehicle’s shift procedure. Verify the exact model year, drivetrain, transmission, and transfer-case instructions. Using a locked part-time 4WD mode on firm, high-traction pavement may cause binding and driveline stress.
Driving Techniques for Navigating Challenging Terrain
Good off-road driving is deliberate. Look ahead, keep both hands ready to control the wheel, avoid abrupt inputs, and maintain enough space to stop within the visible route.
Maintain a Smooth, Appropriate Speed
A smooth pace helps the tires maintain traction and reduces sudden weight transfer. “Steady” does not mean fast, and it does not mean forcing the vehicle to maintain momentum after the route becomes unsafe.
- Loose surfaces: Apply throttle gradually to limit wheelspin and trail damage.
- Rocks and ruts: Crawl slowly enough to place the tires accurately and stop before contact.
- Blind rises and corners: Slow down so you can stop for another user, animal, washout, or obstacle.
- Dust: Increase following distance until you can see the trail and the vehicle ahead clearly.
Use the Correct Low Gear
Select the appropriate gear before entering a steep or technical section. A lower gear can provide controlled torque while climbing and engine braking while descending. Avoid shifting in the middle of an obstacle unless the manufacturer permits it and the vehicle is stable.
| Situation | Technique | Reason |
|---|---|---|
| Steep climb | Choose the gear and drive mode before the climb; keep the vehicle pointed straight | Reduces mid-climb shifts and sudden steering corrections |
| Steep descent | Use a low gear and controlled engine braking; brake gently as needed | Limits speed without relying only on sustained brake pressure |
| Rock or ledge | Crawl and place the tires deliberately | Reduces underbody contact and uncontrolled bouncing |
| Sand or loose soil | Use smooth throttle and wide, gradual steering inputs | Helps maintain flotation without digging holes |
Scout Ahead and Use a Spotter
Stop and walk an obstacle when you cannot see the surface, exit, drop-off, water depth, or clearance from the driver’s seat. Inspect the full route, including the space needed to turn around if the obstacle is not passable.
- Plan the tire path: Decide where each tire should travel and identify vulnerable underbody components.
- Use one spotter: The driver should follow one designated person rather than several conflicting voices.
- Agree on signals: Establish clear hand or radio signals for left, right, forward, stop, and emergency stop.
- Keep the spotter visible: Stop immediately if the driver loses sight of the spotter.
- Protect the spotter: The spotter must never stand downhill, directly in front of the vehicle, between the vehicle and an obstacle, or inside a recovery system’s danger area.
Terrain-Specific Driving Techniques
Rocks and Ruts
Drive slowly enough to place the tires rather than dragging vulnerable parts through the obstacle. Straddling a deep rut may increase the chance of becoming high-centered, while dropping one wheel into it may increase body lean. Scout both options and choose the line that keeps the vehicle stable and protects the underbody.
Sand and Mud
Use smooth throttle and avoid repeated wheelspin. If forward progress stops, lifting off early often prevents the tires from digging deeper. Back out along your original tracks where possible. Do not drive around a muddy section if doing so widens the trail or enters protected ground.
Steep Climbs, Descents, and Side Slopes
Approach steep grades straight rather than diagonally. Do not turn sharply on a steep climb. Before cresting a blind rise, confirm that the far side is clear and that the breakover angle will not high-center the vehicle.
On descents, use a low gear, maintain a slow speed, and avoid locking the wheels. Side slopes increase rollover risk and may hide soft shoulders, holes, or rocks. Avoid unnecessary side-hill travel and turn around while you still have a stable place to do so.
Water Crossings
Do not enter water until you know the route is legal, the bottom is firm, the current is manageable, the entry and exit are passable, and the depth is within the vehicle manufacturer’s limit. Water may hide holes, debris, washed-out surfaces, or a sudden drop.
Warning: Never drive into fast-moving water or a crossing of uncertain depth. A vehicle can lose traction, float, stall, ingest water, or be swept downstream. When uncertain, turn around.
Essential Safety Tips for Off-Roading

Wear seat belts whenever the vehicle is moving and require every passenger to remain seated in an approved seating position. Secure pets, tools, coolers, recovery equipment, and other cargo so they cannot become projectiles on a slope or during a sudden stop.
Maintain enough distance to stop safely and allow the vehicle ahead to reverse, roll back, or clear an obstacle. A fixed number of car lengths is not suitable for every speed or surface. Increase the gap on steep grades, in dust, at night, on ice, and when visibility is limited.
- Do not place hands or thumbs inside the steering-wheel spokes where kickback could injure them.
- Keep arms, legs, and heads inside the vehicle.
- Do not drive while impaired, distracted, severely fatigued, or under pressure to keep up with a faster group.
- Pause before difficult obstacles so passengers can secure loose items and understand the plan.
- Never exceed the vehicle’s payload, roof-load, tire-load, or seating limits.
- Turn around when weather, darkness, mechanical symptoms, driver fatigue, or trail damage increases the risk.
In a remote breakdown, remaining with the vehicle is often safer than attempting a long walk because the vehicle provides shelter and is easier for rescuers to locate. The National Park Service specifically warns Mojave visitors that people have died from exposure after leaving disabled vehicles. Exceptions may exist when the vehicle is in immediate danger from fire, floodwater, traffic, or another hazard.
What to Do If Your Vehicle Gets Stuck
- Stop digging: Release the throttle when wheelspin is no longer moving the vehicle.
- Secure the scene: Set the parking brake when appropriate, assess traffic and slope hazards, and move bystanders to a safe location.
- Inspect the vehicle: Look for high-centering, buried axles, tire damage, fluid leaks, blocked exhaust, or contact with rocks and branches.
- Reduce resistance: Dig around the tires, axles, differential, or frame as needed. Build a gradual path instead of a vertical step.
- Add traction: Position traction boards or suitable material according to the product instructions.
- Try a gentle exit: Use the correct drive mode, straighten the wheels where possible, and apply light, controlled throttle.
- Plan any assisted recovery: Identify rated points, inspect every component, assign one recovery leader, agree on signals, and clear the danger area.
- Call for help when needed: Stop if the vehicle is damaged, the recovery point is uncertain, the terrain is unstable, or the available equipment is not suitable.
Pro Tip: The lowest-force recovery that works is usually the best first option. Digging, correcting tire position, reducing the obstacle, or reversing along the original tracks may solve the problem without a kinetic pull or winch.
Choosing the Right Trail for Your Skills
Start with maintained dirt or gravel routes that have mild grades, firm surfaces, reliable maps, and room to turn around. Trail ratings are not standardized across every park, club, or mapping service, so read the route description instead of relying only on a color or number.
- Assess your experience: Choose a route below your perceived limit while learning the vehicle.
- Match the vehicle: Compare the route with your tires, clearance, wheelbase, approach and departure angles, drivetrain, range, and recovery equipment.
- Check recent conditions: Rain, snow, erosion, fallen trees, and deep traffic ruts can make an easy trail difficult or impassable.
- Confirm legal access: Check vehicle registration, permits, seasonal closures, trail direction, width restrictions, and private-property boundaries.
- Use experienced support: A guided course or well-organized beginner group can teach spotting, line selection, tire care, and recovery procedures.
If you are unsure whether the trail, obstacle, or weather is suitable, choose another route. Turning around is a normal off-road skill, not a failed trip.
The Importance of Trail Etiquette and Environmental Responsibility
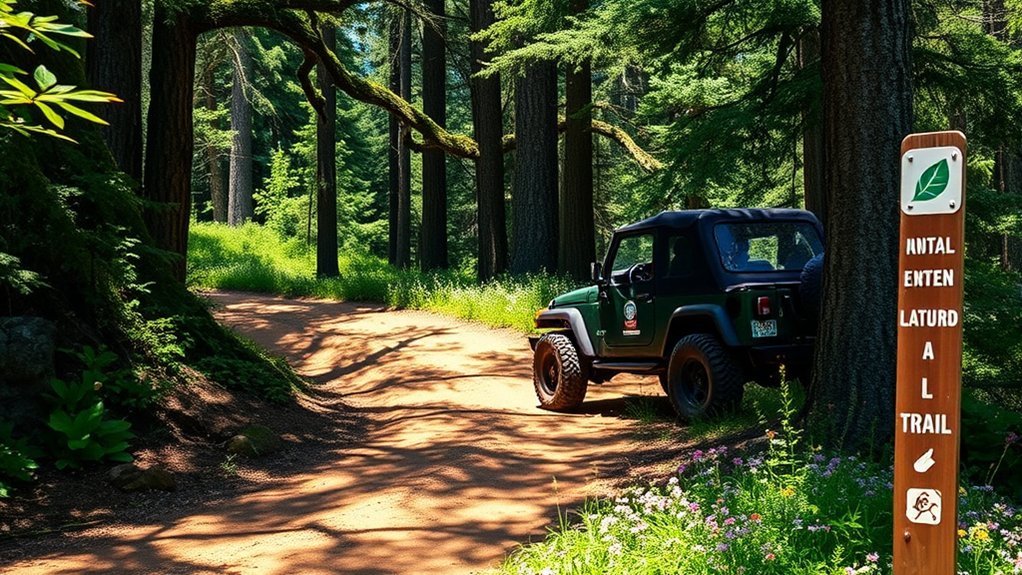
Trail etiquette protects other visitors, natural resources, and future motorized access. Follow posted rules first; local signs, rangers, and land-management instructions take priority over informal customs.
- Stay on designated routes: Do not create bypasses or drive around obstacles in a way that widens the trail.
- Respect uphill traffic: Where safe and practical, yield to users traveling uphill because restarting on a climb may be difficult. Use available pullouts and communicate clearly.
- Avoid sensitive ground: Do not enter meadows, wetlands, shorelines, streambeds, restoration areas, or closed routes.
- Respect other users: Slow down near hikers, cyclists, horses, campsites, homes, livestock, and wildlife.
- Control dust and noise: Reduce speed near people and avoid unnecessary engine revving or wheelspin.
- Leave no trace: Pack out waste, prevent fluid leaks, leave gates as found, and clean soil and seeds from the vehicle before traveling to another area.
The Tread Lightly! T.R.E.A.D. Principles call on visitors to travel responsibly, respect others, educate themselves, avoid sensitive areas, and do their part to protect outdoor access.
After the Trail: Post-Trip Inspection
Inspect the vehicle before driving at highway speed and again after cleaning it.
- Reinflate all tires to the vehicle manufacturer’s road-pressure specification and reset or check the monitoring system as directed.
- Inspect tread, sidewalls, wheels, valve stems, and the spare for cuts, punctures, embedded rocks, or bead damage.
- Check underneath for leaks, bent protection, damaged exhaust, loose wiring, packed mud, vegetation, or impact marks.
- Test the brakes at low speed. Mud, water, sand, or gravel may reduce braking until the components are clean and dry.
- Check steering feel, alignment, warning lights, driveline vibration, and unusual noises.
- Wash mud and debris from the radiator, brakes, wheels, suspension, and underbody without forcing water into sensitive electrical parts, vents, seals, or bearings.
- Clean and dry recovery gear according to its manufacturer’s instructions, then inspect it before storage.
Top 5 Mistakes to Avoid When Off-Roading
| Mistake | Possible Consequence | Better Approach |
|---|---|---|
| Using one tire-pressure number for every condition | Bead loss, tire heat, sidewall damage, poor handling, or inadequate traction | Use vehicle-, tire-, load-, and terrain-specific guidance; carry a gauge and compressor. |
| Ignoring vehicle limitations | High-centering, underbody damage, overheating, or driveline stress | Know the vehicle’s clearance, angles, drivetrain, payload, tires, and recovery points. |
| Using unsafe recovery attachments | Equipment failure, vehicle damage, or severe injury | Use approved recovery points and compatible, labeled equipment after proper training. |
| Driving too fast for visibility and traction | Loss of control, collision, suspension damage, or trail erosion | Use a smooth pace that lets you stop within the route you can see. |
| Failing to scout or turn around | Unexpected drop-offs, deep water, blocked exits, or difficult recovery | Walk uncertain sections and retreat before the vehicle becomes committed. |
Frequently Asked Questions
What is the 1-2-3 rule in driving?
“1-2-3 rule” is sometimes used informally to describe counting about three seconds behind another vehicle on a paved road. It is not a universal off-road standard. On a trail, leave enough room to stop, maintain visibility, avoid dust, and allow the vehicle ahead to reverse or roll backward. Increase the gap for poor traction, steep grades, darkness, and limited visibility.
What are the 3 C’s of driving?
There is no single nationally recognized set of “3 C’s.” Different programs use different words. For off-roading, a useful version is control, caution, and communication: control the vehicle smoothly, use caution before committing to terrain, and communicate clearly with spotters and other drivers.
What are some tips for beginner off-roaders?
Start on an easy legal route, travel with an experienced group, inspect the vehicle, carry a spare tire and emergency equipment, download offline maps, share a trip plan, and read the owner’s manual. Drive slowly, scout uncertain obstacles, avoid wheelspin, and turn around before the route exceeds your experience or equipment.
What are the 4 D’s of driving?
“Drive, Ditch, Deter, and Decide” is not a recognized off-road safety standard. In road-safety campaigns, “4 D’s” more often refers to dangerous behaviors such as drunk or drugged, distracted, drowsy, and aggressive or speeding-related driving. Off-road drivers should avoid impairment, distraction, fatigue, and rushing.
How low should I air down my tires for off-roading?
There is no universal pressure. The correct setting depends on the tire, wheel, vehicle weight, load, terrain, temperature, and driving speed. Some soft-sand routes recommend pressures around 20 psi, but other setups require different values. Use a gauge, drive slowly, monitor the tires, and reinflate to the manufacturer’s road specification before pavement travel.
When should I use 4Lo?
Use 4Lo only as your owner’s manual directs. It is generally intended for low-speed, low-traction situations that need greater torque multiplication or engine braking, such as steep grades, deep sand, rocks, or difficult mud. Do not assume the shift procedure or operating limit is the same on another vehicle.
What recovery gear should a beginner carry?
Carry a shovel, traction boards, gloves, and equipment compatible with the vehicle’s approved recovery points. Add a kinetic rope, static strap, shackles, or winch equipment only when you understand its specific purpose, rating, and safe setup. A tire gauge, compressor, spare tire, jack base, first aid kit, and communication device are equally important.
Conclusion
Off-roading is safest when preparation and judgment come before speed. Inspect the vehicle, choose a legal trail that matches your experience, carry tire, recovery, emergency, navigation, and communication equipment, and follow the owner’s manual for every drivetrain setting. On the route, use smooth inputs, scout uncertain terrain, protect other users and the environment, and turn around when conditions become unsafe. A careful trip protects your passengers, your vehicle, and continued access to the places you came to enjoy.
Sources
- National Park Service — 4WD Vehicles and Off-Pavement Travel Safety — route planning, emergency supplies, suitable tires, tire pressure, vehicle limits, and remote-travel safety.
- Bureau of Land Management — Off-Highway Vehicles on Public Lands — public-land rules, state compliance, registration, signs, closures, and responsible use.
- Tread Lightly! — T.R.E.A.D. Principles — designated-route use, yielding, sensitive-area protection, waste, and trail etiquette.
- WARN Industries — Top Vehicle Recovery Mistakes — rated recovery points, task-specific equipment, communication, anchors, and bystander safety.
- Ford — Driving With Four Wheels — general 4H and 4L operating purposes and owner-manual limitations.
- NOAA SARSAT — 406 MHz Emergency Distress Beacons — personal locator beacon use, registration, activation, and remote-area emergency communications.







Leave a Reply