
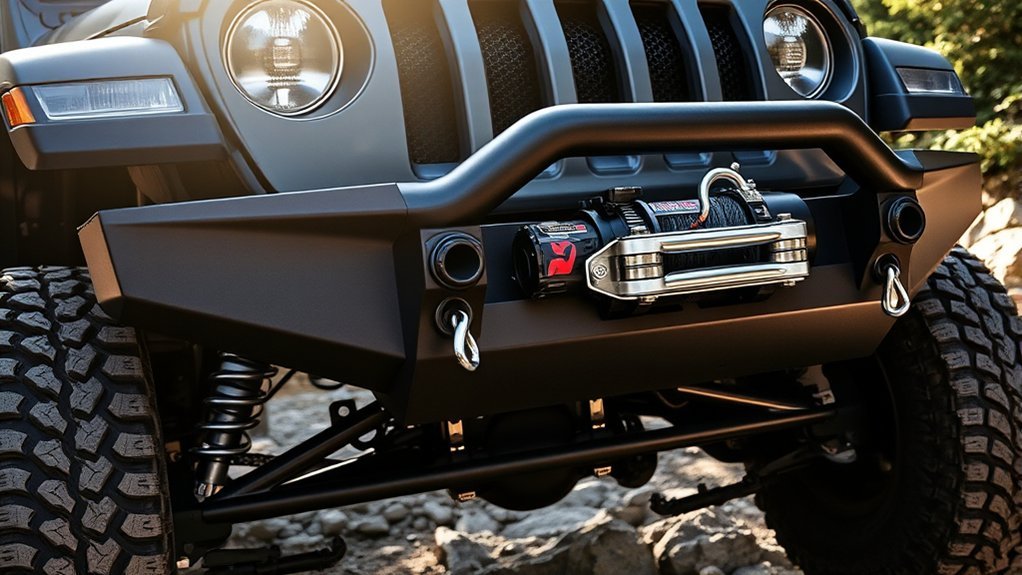
Off-road bumpers can add useful trail protection, improve approach clearance, and provide mounting points for recovery equipment, but a heavier or more aggressive bumper is not automatically safer. The right choice must fit your exact vehicle, preserve required safety systems, stay within weight limits, and match how you actually drive.
Quick Answer
Choose an off-road bumper by exact vehicle fitment, intended terrain, added weight, winch and recovery provisions, sensor compatibility, and local road rules. Steel usually favors impact resistance and field repairability, while aluminum saves weight and resists corrosion. Install it only with the manufacturer’s hardware, torque values, wiring instructions, and safety checks.
Key Takeaways
- Confirm the exact year, make, model, trim, body style, and sensor package before ordering.
- Compare complete installed weight, not just steel versus aluminum.
- Use only documented winch mounts and recovery points designed for the intended load.
- Do not block cameras, radar, airbags, cooling airflow, required lights, or the license plate.
- Follow the bumper, vehicle, winch, and lighting instructions; professional installation is wise when structural trimming, wiring, or calibration is required.
At a Glance
| Time Required | Several hours for many bolt-on installations; allow more time for trimming, wiring, rusted hardware, sensor relocation, or calibration |
| Difficulty | Intermediate to advanced |
| Tools Needed | Socket and wrench set, torque wrench, trim tools, penetrating oil, wheel chocks, eye protection, work light, and a helper or lifting device; wiring tools may also be needed |
| Cost | Varies widely by vehicle and design; include freight, installation, winch or lights, sensor parts, calibration, and any suspension changes in the total |
Understanding the Importance of Off-Road Bumpers
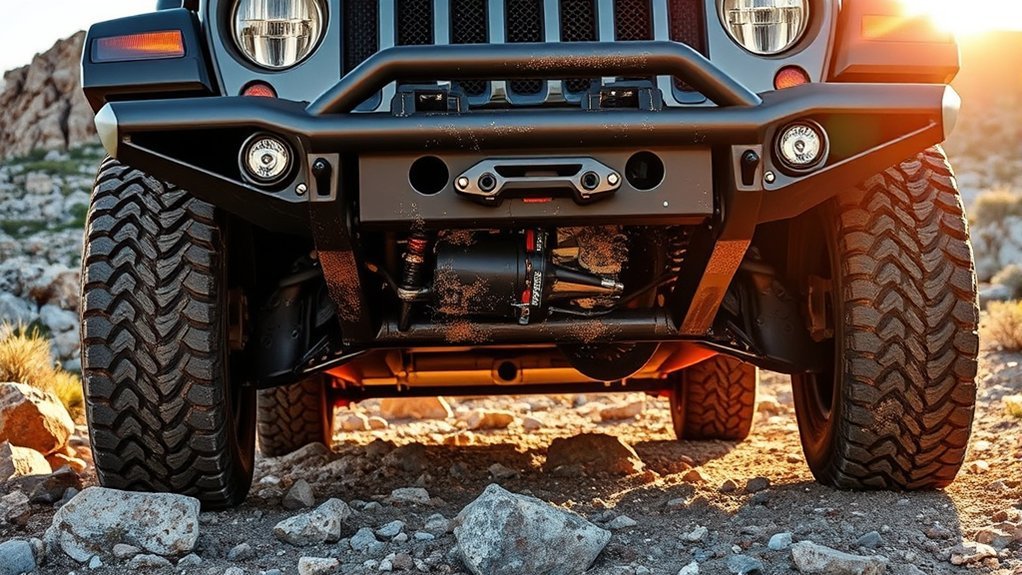
A vehicle-specific off-road bumper can protect exposed bodywork, the radiator area, and corners from brush, rocks, and low-speed trail contact. Many designs also improve the approach angle by reducing low-hanging material in front of the tires. That is different from increasing tire clearance inside the wheel wells.
Useful features may include a winch cradle, documented recovery points, light mounts, skid-plate integration, and provisions for factory tow hooks, parking sensors, cameras, or cruise-control radar. The value of these features depends on how well the bumper is engineered and installed.
An aftermarket bumper should not be treated as a guaranteed crash-safety upgrade. Changing the bumper’s stiffness, mounting points, or load path can affect how crash forces reach the vehicle structure and airbag sensors. NHTSA has warned that the effect depends on the bumper, the restraint system, and the vehicle as a whole, so exact application approval matters.
The best off-road bumper is not the thickest or heaviest one. It is the one engineered for your exact vehicle, accessories, safety systems, and intended use.
Checks to Make Before Buying an Off-Road Bumper
Verify Exact Vehicle Fitment
Match the bumper to the full model year, make, model, trim, body style, engine or cooling package, and factory-option list. Mid-cycle changes can alter frame horns, fog lights, cameras, radar modules, parking sensors, tow hooks, and grille shapes. Use the manufacturer’s application guide and confirm your vehicle identity with the NHTSA VIN Decoder.
Calculate the Complete Installed Weight
Add the bumper, brackets, winch, fairlead, skid plates, lights, shackles, and any carrier or spare tire. Compare that total with the vehicle’s gross axle weight ratings and payload information. Extra front weight can reduce ride height, change steering feel, increase suspension wear, and reduce the payload available for passengers and cargo.
Do not assume that upgraded springs increase the legal axle rating. Suspension changes may restore ride height, but they do not rewrite the ratings on the vehicle certification label.
Confirm Airbag and Driver-Assistance Compatibility
Choose a bumper specifically approved by its manufacturer for your vehicle’s airbag and driver-assistance configuration. Check whether the design retains or relocates front cameras, ultrasonic sensors, radar modules, adaptive cruise-control equipment, and automatic-emergency-braking hardware. A warning light that stays off does not prove the system is aimed or calibrated correctly.
Check Road-Use Requirements
Before purchase, check your state or provincial rules for bumper height, sharp projections, lighting, license-plate visibility, mud flaps, and vehicle inspection. Also confirm that the bumper does not block required lamps or reduce their visibility. Federal lighting requirements apply to original and replacement lighting equipment, while on-road use and auxiliary-light restrictions can also be regulated locally.
Warning: A bumper can affect airbags, crash load paths, cameras, radar, cooling airflow, front-axle loading, and required lighting. Do not install a universal or modified bumper on an airbag-equipped vehicle unless the product maker documents the exact application. On hybrids and EVs, do not disturb orange high-voltage cables or components; use a qualified technician when the bumper area overlaps high-voltage hardware.
Essential Features to Consider When Choosing Off-Road Bumpers
Prioritize documented engineering and fitment over appearance. The following features matter most:
- Vehicle-specific mounting: Brackets should attach at the locations and with the hardware specified by the bumper maker. Avoid drilling, welding, or frame changes unless the instructions expressly require them.
- Winch compatibility: The cradle must fit the winch’s bolt pattern, dimensions, fairlead, rope type, and rated line pull. “Winch-ready” does not mean every winch will fit.
- Usable recovery points: Look for points tied into the chassis through the bumper mounting system and documented for recovery use. Decorative D-ring tabs are not enough.
- Approach angle and clearance: Raised wings and a tucked center section can reduce bumper contact on steep ledges, but the design must still protect cooling components and body corners.
- Cooling airflow: The bumper, winch, license plate, and lights should not block the radiator, intercooler, transmission cooler, or active grille shutters.
- Factory-system retention: Confirm provisions for tow hooks, fog lights, cameras, radar, parking sensors, headlight washers, and adaptive-cruise modules.
- Serviceability: Consider access to winch controls, recovery points, tow hooks, drain points, fasteners, and the spare tire.
- Finish and drainage: A durable coating, sealed seams, drain holes, and replaceable wear panels make maintenance easier.
Pro Tip: Download the installation instructions before buying. They reveal trimming, drilling, sensor relocation, excluded trims, winch limits, required accessory kits, torque values, and whether professional calibration may be needed.
Comparing Steel vs. Aluminum Off-Road Bumpers
Material matters, but engineering matters more. Plate thickness alone does not tell you the strength of a bumper. Alloy grade, bends, boxed sections, weld quality, brackets, load paths, and fasteners all affect performance.
| Factor | Steel | Aluminum |
| Weight | Usually heavier for a comparable design | Usually lighter, which can preserve payload and front ride height |
| Impact and abrasion | Commonly chosen for repeated rock contact and heavy trail use | Can provide strong protection with less mass, but design and alloy choice are critical |
| Corrosion | Can rust when coating is chipped; repairs should be sealed promptly | Does not rust like steel, but can oxidize and may suffer galvanic corrosion where dissimilar metals meet |
| Repair | Many fabrication shops can straighten or weld it, depending on the damage and manufacturer guidance | Repair may require an aluminum-capable shop and suitable welding procedures |
| Best fit | Rock crawling, work vehicles, and owners prioritizing ruggedness over weight | Overlanding, daily driving, and vehicles with limited front-axle or payload margin |
There is no universal ideal bumper thickness. A well-braced thinner design can outperform a poorly mounted thicker plate. Use the vehicle-specific manufacturer’s drawings, ratings, testing information, and installation instructions rather than a generic thickness rule.
Best Off-Road Bumper Types for Various Needs
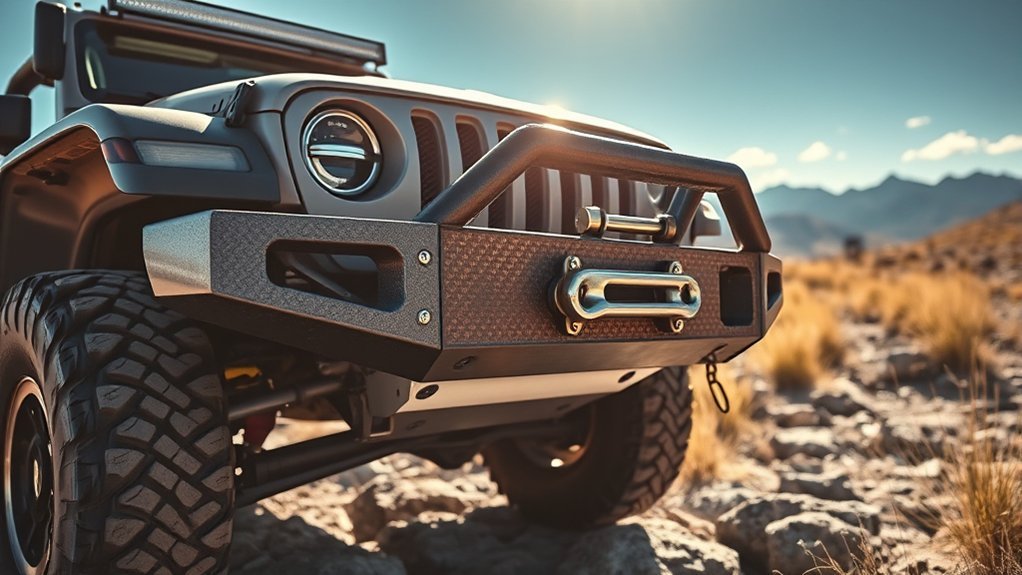
The best design depends on terrain, vehicle weight limits, recovery plans, and daily-road use. Product names and capacities change, so compare current manufacturer documentation for your exact application instead of relying on a generic “best bumper” list.
Steel Bumper Benefits
A vehicle-specific steel bumper is often the practical choice for repeated rock contact, brush, work use, or frequent winching. Steel designs are widely available, and many repair shops can work with the material. The tradeoff is mass: a bumper, winch, and skid-plate package can use a meaningful share of front-axle and payload capacity.
Choose steel when the application guide confirms airbag and sensor compatibility, the vehicle has enough weight margin, and the mounting system is designed for the intended recovery loads.
Aluminum Bumper Advantages
Aluminum can reduce front-end weight while still providing useful body and radiator protection. It is a strong option for overlanding, long-distance travel, coastal use, and vehicles that are sensitive to payload or suspension changes.
Do not assume every aluminum bumper is light or every steel bumper is heavy. Compare the complete published weight, including brackets, hoops, skid plates, carriers, and hardware. Also ask how the manufacturer isolates aluminum from steel fasteners and frame parts to limit galvanic corrosion.
Specialized Bumper Options
- Low-profile winch bumper: Adds a winch mount and recovery access with less bulk than a full replacement bumper.
- Full-width bumper or bull bar: Protects more of the grille, headlights, and corners but adds size and weight.
- Stubby bumper: Can improve tire exposure and approach clearance on narrow trails, but may provide less corner coverage and may not be legal in every location.
- Rear bumper with tire carrier: Moves a large spare off the tailgate and can add recovery points, fuel-can mounts, or storage; hinge capacity and rear-axle loading are important.
- Sensor-compatible touring bumper: Prioritizes factory cameras, radar, parking sensors, fog lights, and cooling while adding moderate protection and accessory mounts.
Customization Options for Your Off-Road Bumper
Customization should improve function first and appearance second. Every added hoop, light, carrier, skid plate, and shackle changes weight, airflow, visibility, or service access.
Color and Finish Options
Common finishes include powder coat, paint, polished or brushed aluminum, and ceramic coatings. A finish can improve corrosion and UV resistance, but no coating is maintenance-free. Match touch-up products to the bumper maker’s instructions, and repair chips before corrosion spreads under the coating.
Front Plate, Camera, and Sensor Features
Confirm that the license plate remains visible and illuminated where required. If the bumper relocates a camera, radar unit, parking sensors, or headlight washers, use the supplied brackets and follow the vehicle maker’s calibration or aiming procedure. Homemade brackets can change sensor angle even when the component appears centered.
Additional Accessories
Useful additions include a compatible winch, fairlead, recovery shackles, light mounts, skid plates, brush rails, antenna tabs, and a flip-up license-plate bracket. Choose accessories that have enough clearance for rope movement, service access, and cooling airflow.
Auxiliary lights should be wired with the correct fuse, relay, switch, wire size, and weatherproof connectors. They must not replace, block, or confuse required road lighting. Check local rules for beam pattern, mounting height, covers, and when the lights may be used.
Note: A shackle, tow ball, tie-down loop, or jack point is not automatically a recovery point. Use only locations the vehicle or bumper manufacturer identifies for the recovery method you plan to use.
Legal, Warranty, and Insurance Considerations
In the United States, the federal bumper standard in 49 CFR Part 581 is a low-speed damage standard for passenger motor vehicles other than multipurpose passenger vehicles and low-speed vehicles. Its current tests include 1.5- and 2.5-mph impacts; it is not a universal requirement that every truck or SUV have a “5 mph bumper.”
Road legality still depends on state and local rules. Check bumper height, width, projections, lighting, plate placement, and inspection requirements before driving on public roads. Commercial installers also have federal obligations not to knowingly make required safety equipment inoperative.
An aftermarket bumper does not automatically cancel an entire vehicle warranty. The Federal Trade Commission explains that warranty coverage generally remains in effect with aftermarket parts, although coverage may be denied for damage caused by a defective part or improper installation. Keep the invoice, installation instructions, torque record, alignment or calibration report, and maintenance photos.
Tell your insurer about major modifications when the policy requires it. Standard coverage may not fully pay for an expensive bumper, winch, lights, or carrier unless accessories are declared or separately covered.
How to Install Your Off-Road Bumper
The following sequence is a general guide. The bumper instructions and vehicle service information control whenever they differ.
- Read every instruction first. Confirm the part number, fitment, hardware, excluded trims, winch limits, sensor requirements, and torque values.
- Prepare a safe workspace. Park on level ground, set the parking brake, chock the wheels, wear eye protection, and arrange a helper or lifting device. Replacement bumpers can be too heavy and awkward for one person.
- Power down safely. Follow the vehicle maker’s procedure before disconnecting the 12-volt battery or touching wiring. Do not probe, cut, or modify yellow SRS connectors or orange high-voltage wiring.
- Protect and label components. Photograph the factory layout. Label connectors, sensor positions, shims, brackets, and fasteners before removal.
- Remove the original bumper. Support it before removing the final bolts. Disconnect lamps, sensors, washers, and harness clips without pulling on the wires.
- Install brackets and transferred parts. Use the supplied hardware and any specified thread treatment. Transfer sensors, fog lights, tow hooks, shutters, and trim exactly as directed.
- Lift and loosely mount the new bumper. Start all primary fasteners by hand. Check body gaps, grille clearance, tire clearance at steering lock, hood operation, tailgate operation for rear bumpers, and access to recovery points.
- Route wiring and winch cables. Keep cables away from sharp edges, exhaust heat, fans, belts, steering parts, and suspension travel. Use the winch and lighting manufacturers’ fuse, cable, grounding, and routing instructions.
- Align and torque the assembly. Tighten fasteners in the specified order and to the exact published torque. Do not substitute a generic torque value.
- Complete functional checks. Test lights, plate illumination, parking sensors, cameras, radar-based features, adaptive cruise control, and warning indicators. Obtain required aiming or calibration before normal road use.
- Inspect after use. Recheck alignment and fasteners at the interval stated by the bumper maker and after the first trail trip, hard recovery, or impact.
Warning: Never crawl under an unsupported bumper or vehicle. When installing a winch, keep cables clear of fuel lines, brake lines, sharp edges, heat, and moving parts. Follow the winch maker’s instructions before applying power.
Maintenance and Care for Off-Road Bumpers
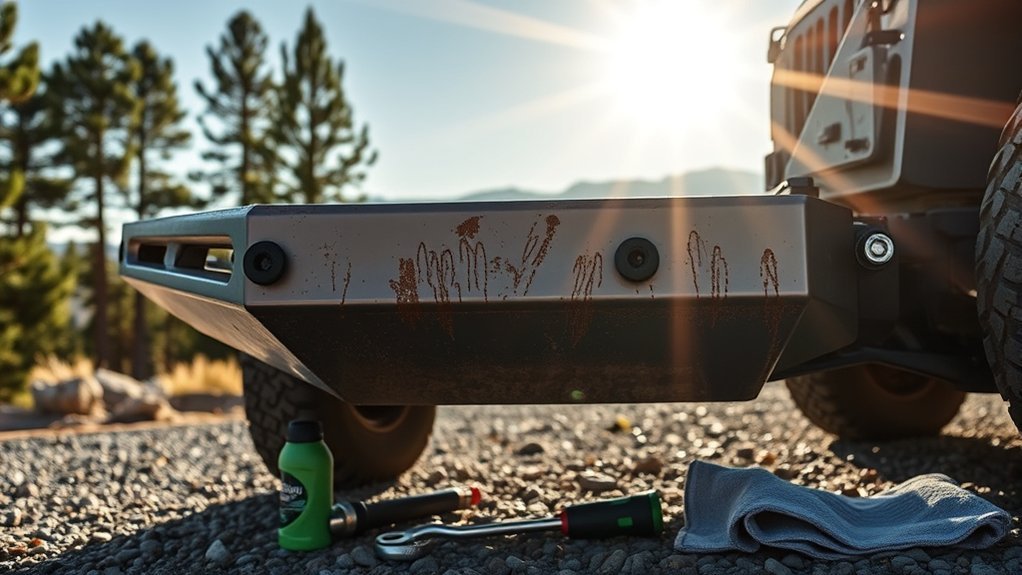
Inspect the bumper after trail use, recovery work, road-salt exposure, or any impact. Look for loose fasteners, shifted brackets, cracked welds, bent recovery tabs, coating damage, chafed wiring, blocked drains, and contact with body panels or tires.
- Clean gently: Use water and mild automotive soap. Remove packed mud from seams, brackets, winch trays, and drain holes.
- Protect steel: Dry chips and scratches, remove loose rust, and apply the manufacturer-approved touch-up coating.
- Protect aluminum: Use aluminum-safe cleaners and watch joints with steel fasteners for white oxidation or galvanic corrosion.
- Check accessories: Inspect winch rope, hook, fairlead, wiring, lights, sensors, plate brackets, carriers, latches, and grease points.
- Recheck torque: Follow the bumper maker’s inspection interval. A hard recovery or impact deserves an immediate check.
- Stop after major damage: Do not use a bent or cracked recovery point until the bumper, brackets, fasteners, and frame attachments have been inspected.
For winch operation and maintenance, follow the WARN Basic Guide to Winching and the manual for your exact winch. The guide emphasizes rated-capacity limits, gloves, safe cable routing, standing clear of a loaded line, and inspecting the rope and rigging before use.
Sources
- Electronic Code of Federal Regulations — 49 CFR Part 581 — federal bumper-standard scope and low-speed test requirements.
- NHTSA interpretation on bumper guards and air bags — possible effects of altered bumper load paths and the federal “make inoperative” rule.
- NHTSA VIN Decoder — vehicle identification and model-year verification.
- 49 CFR 571.108 — federal requirements for lamps, reflective devices, and associated equipment.
- Federal Trade Commission — Auto Warranties and Auto Service Contracts — aftermarket parts and warranty coverage.
- WARN Basic Guide to Winching — winch installation, rigging, operation, and maintenance safety.
Frequently Asked Questions
How thick should an off-road bumper be?
There is no universal ideal thickness. Strength depends on the material grade, folds, boxed sections, welds, brackets, fasteners, and load path. Buy a bumper engineered for your exact vehicle and intended winch or recovery use rather than choosing by plate thickness alone.
Are off-road bumpers legal?
They can be legal, but the answer depends on the vehicle and location. Check rules for bumper height, projections, lights, license plates, inspections, and safety-system modifications. A trail-only bumper may not meet public-road requirements.
What are useful tips for beginner off-roaders?
Start on easy terrain, travel with another vehicle, carry communication and first-aid gear, learn your factory recovery points, and practice with your equipment before a difficult trip. A heavy bumper does not replace route planning, tire management, spotting, or safe recovery training.
Are 5 mph bumpers still required?
Not as a universal current U.S. rule. Federal 49 CFR Part 581 uses 1.5- and 2.5-mph low-speed tests and applies to passenger motor vehicles other than multipurpose passenger vehicles and low-speed vehicles. State rules and other federal safety standards may still affect a modification.
Can an off-road bumper affect airbags or driver-assistance systems?
Yes. A bumper can change structural load paths or the position of cameras, radar, and parking sensors. Use a model-specific design that documents compatibility, follow the installation instructions exactly, and complete any required aiming or calibration.
Does a heavy bumper require upgraded suspension?
It may require springs or dampers matched to the added constant load, but suspension parts do not increase the vehicle’s certified axle or gross weight ratings. Weigh the complete setup and keep the vehicle within its published limits.
Conclusion
The right off-road bumper balances trail protection, recovery capability, weight, road legality, and compatibility with the vehicle’s safety systems. Verify the exact application, compare the complete installed weight, demand documented mounting and recovery provisions, and follow every torque, wiring, and calibration instruction. With routine inspection and sensible recovery practices, a well-chosen bumper can be a durable and useful part of your off-road setup.







Leave a Reply