
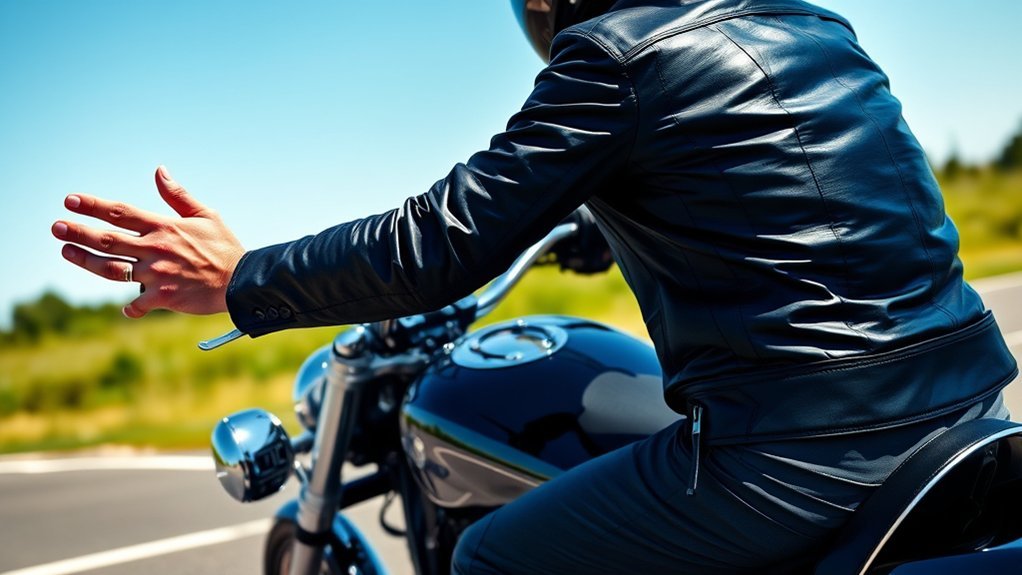
Motorcycle hand signals help riders communicate turns, stops, hazards, formation changes, and break requests when speech is impossible. The key is knowing which gestures are recognized road signals, which belong to group-riding systems, and which are only informal customs. Use every signal early, clearly, and only when taking a hand off the controls is safe.
Quick Answer
For a left turn, extend your left arm horizontally. For a conventional right-turn signal, bend your left arm upward 90 degrees. For stopping or slowing, bend it downward with the palm facing back. Group-riding gestures use additional movements, so agree on them before departure and follow local traffic law.
Key Takeaways
- Road-user hand signals, organized group-riding signals, and informal biker gestures are not the same system.
- Use your motorcycle’s working turn signals and brake light; hand gestures are supplemental communication.
- Control comes first. Keep both hands on the motorcycle when braking, cornering, shifting, or managing poor road conditions.
- A 100-foot signaling requirement applies in some jurisdictions, but riders must check their current local handbook.
- Before a group ride, agree on every signal and have each rider relay important signals toward the sweep rider.
At a Glance
| Time Required | About 10–15 minutes to learn the basic gestures; repeat practice until recognition is automatic |
| Difficulty | Easy to learn; safe timing and one-handed control require judgment |
| Tools Needed | A parked motorcycle, another rider or spotter, and a safe closed practice area |
| Cost | Free to practice; certified rider-course fees vary by provider and location |
Warning: Never remove a hand from the handlebar when doing so would reduce control. Keep both hands on the motorcycle during hard braking, tight turns, shifting, acceleration, slippery conditions, strong crosswinds, or any emergency. A hand signal does not give you right-of-way or make an unsafe maneuver safe.
Why Motorcycle Hand Signals Matter
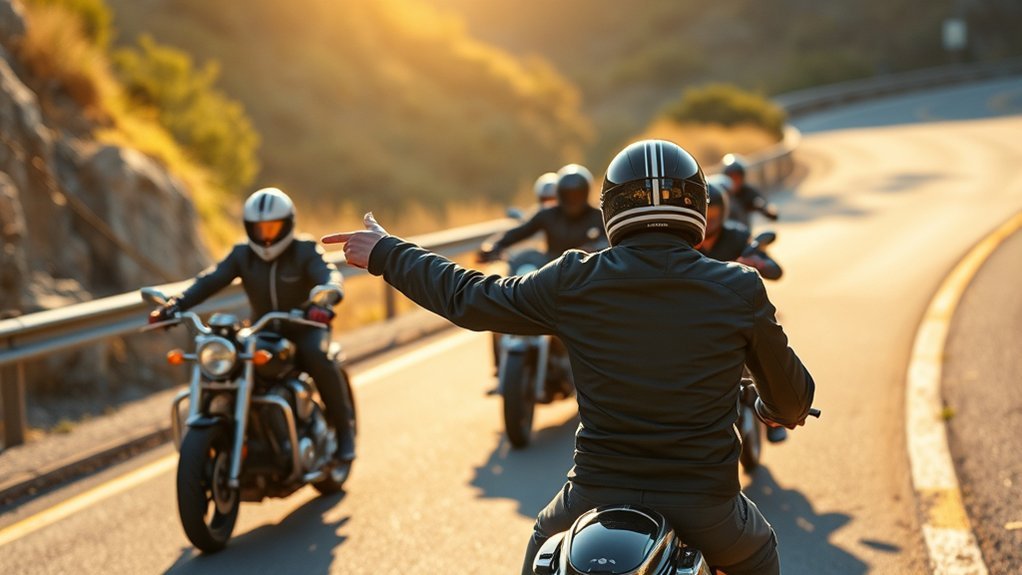
Motorcycle hand signals can improve communication when another road user cannot hear you, when a group needs to relay information, or when an electrical signal is difficult to see. They also let you communicate while your right hand remains available for the throttle and front brake.
Hand signals are not a replacement for observation. Before turning, stopping, or changing lanes, check your mirrors, scan the intended path, perform a shoulder check when appropriate, and confirm that other road users are yielding. Never assume a driver has seen or understood your gesture.
Control first, signal second: communicate only when you can keep the motorcycle stable and continue watching traffic.
Hand signals are especially useful during group rides, but only when everyone uses the same meanings. The Motorcycle Safety Foundation’s group-riding guidance recommends discussing the route, stops, hand signals, and lead and sweep roles before the ride begins.
Note: Traffic laws differ by state, province, and country. Use the signaling method and advance distance required by the jurisdiction where you are riding. The examples below describe common U.S. gestures, not a substitute for your local motorcycle handbook.
Essential Motorcycle Hand Signals for Safe Riding
The most important distinction is between signals intended for all road users and signals used inside an organized motorcycle group. Turn and stop gestures may have legal meaning. Formation changes, fuel requests, and hazard warnings are group conventions.
Basic Turn Signals
The following conventional gestures match the arm positions illustrated in the National Highway Traffic Safety Administration hand-signal guide. Local law may specify a different permitted gesture or require the motorcycle’s electrical signals to be used.
| Signal | Common Arm Position | Important Detail |
|---|---|---|
| Left turn | Extend the left arm horizontally to the side. | Keep the gesture straight and easy to recognize. |
| Right turn | Extend the left upper arm to the side and bend the elbow 90 degrees so the hand points upward, with the palm facing forward. | Some jurisdictions permit other methods. Follow local law and use the motorcycle’s right turn signal. |
| Stop or slow | Extend the left arm to the side and bend the elbow downward 90 degrees, with the hand pointing down and the palm facing backward. | This conventional road-user gesture differs from the MSF group “stop” gesture described later. |
Use your motorcycle’s turn indicators whenever they are fitted and operational. Briefly applying the brake enough to illuminate the brake light may also improve communication before a planned slowdown, but do not brake abruptly merely to attract attention.
Group Riding Communication
Group signals communicate information that ordinary drivers may not recognize. The lead rider may request single file, point out debris, ask for a fuel stop, or tell the group to reduce speed. Riders behind should continue controlling their own motorcycles rather than copying a gesture immediately without checking traffic.
The MSF Motorcycle Operator Manual provides a widely used group-riding system. It is useful as a shared starting point, but clubs and local riding organizations may use variations.
Pro Tip: During the pre-ride meeting, have the leader demonstrate each signal and ask every rider to repeat its meaning. Agree that important signals will be relayed toward the back of the group so the sweep rider sees them.
How to Use Motorcycle Hand Signals Effectively?
A correct arm position can still fail if it is given too late, hidden by clothing, or used while the rider is occupied with braking or steering. Safe signaling depends on timing, clarity, road conditions, and the rider’s ability to maintain control.
Signal Timing and Clarity
- Check traffic first. Look ahead, check mirrors, and confirm that you can safely remove your left hand.
- Signal before the maneuver. Give other road users enough time to notice and respond. For example, New York requires a turn or lane-change signal at least 100 feet in advance. Other jurisdictions may use different distances or time requirements.
- Use one deliberate motion. Avoid small wrist movements or vague gestures that may look like a wave.
- Hold the gesture when safe. Two or three seconds may be enough in many situations, but visibility, traffic speed, and local law matter more than an exact count.
- Return your hand before the maneuver demands full control. Re-grip the handlebar before braking firmly, shifting, entering the turn, or crossing a rough surface.
- Verify that the path is clear. A signal communicates intent; it does not require another road user to yield.
Bright or reflective gloves may make a gesture easier to see, but they do not solve every visibility problem. At night or in heavy rain, rely primarily on functioning turn signals, brake lights, lane position, and safe following distance.
Group Communication Protocols
Before departure, establish the route, planned fuel and rest stops, lead and sweep riders, formation rules, and what to do if someone becomes separated. Riders should never speed, pass unsafely, or exceed their skill level merely to catch the group.
When the leader gives a signal, each rider should:
- Recognize the signal without staring at the rider ahead.
- Check the surrounding traffic and road surface.
- Relay the signal only when it is safe to remove a hand.
- Make the requested change smoothly rather than abruptly.
- Maintain adequate space instead of bunching up.
Signals do not override traffic lights, signs, lane markings, speed limits, or right-of-way rules. Each rider remains responsible for deciding whether a requested action is legal and safe.
Safe Practice Drill
- Start while parked. Sit on the motorcycle with the engine off and practice each arm position without leaning the bike.
- Use a spotter. Ask another rider to stand behind and identify each signal. Adjust gestures that are difficult to distinguish.
- Practice recognition. Have the spotter display or name signals in random order until you can respond without hesitation.
- Move to a closed practice area. At low speed, practice removing and replacing the left hand while traveling straight and stable.
- Do not combine tasks too early. Avoid practicing signals during turns, braking drills, or gear changes until basic control is automatic.
Key Biker Communication Signals for Safe Riding
Some gestures are common within rider culture but have no legal traffic meaning. Use them only when safe, and never assume every rider interprets them the same way.
- Two-finger low wave: Extend the left hand low with the index and middle fingers out. This is usually an informal greeting or sign of respect between riders, not a direction to change speed or position.
- Turn signal left on: Open and close the left hand. The MSF diagram uses this to tell another rider that a blinker may still be flashing.
- Helmet tap: This gesture is ambiguous. The MSF manual assigns it to “high beam,” while some informal rider guides use it for police activity ahead. Do not rely on it unless the group agreed on its meaning before the ride.
- Pointing to the fuel tank: A request or warning that fuel is needed.
- Thumb toward the mouth: A request for a refreshment stop.
Note: A friendly wave is optional. Skip it when you need the clutch, are approaching a turn, are riding over a poor surface, or need both hands for control.
Effective signals reduce uncertainty only when riders share the same meanings and continue making independent safety checks.
Group Riding Signals for Better Coordination
The table below summarizes the common signals depicted in the MSF Motorcycle Operator Manual. Agree on these gestures during the rider meeting instead of introducing unfamiliar signals while moving.
| Group Signal | Gesture | Meaning |
|---|---|---|
| Single file | Raise the left arm with the index finger pointing straight up. | Move into a single-file formation when safe. |
| Double file | Raise the left arm with the index and middle fingers pointing up. | Move into the group’s agreed two-column or staggered arrangement when conditions permit. |
| Stop | Extend the left arm straight down with the palm facing back. | The group is preparing to stop. This is the MSF group gesture, not the bent-arm road-user signal. |
| Speed up | Extend the left arm, palm up, and sweep upward. | Increase pace only within the speed limit and safe conditions. |
| Slow down | Extend the left arm, palm down, and sweep it toward the side. | Reduce speed smoothly and increase following space. |
| Follow me | Raise the left arm straight up from the shoulder with the palm forward. | Follow the signaling rider or designated leader. |
| You lead/come | Extend the arm upward about 45 degrees, point with the index finger, and swing from back to front. | Invites another rider to move ahead or assume the lead after acknowledgement. |
| Hazard on left | Point toward the hazard with the left hand. | Warns following riders about debris, a pothole, or another danger on the left. |
| Hazard on right | Briefly point with the right foot. | Warns about a right-side roadway hazard without releasing the throttle. |
| High beam | Tap the top of the helmet with an open palm facing down. | MSF meaning: a high-beam issue. Because informal meanings conflict, confirm this signal before riding. |
| Fuel | Extend the arm and point toward the fuel tank. | Requests a fuel stop. |
| Comfort stop | Extend the forearm with a clenched fist and make short up-and-down movements. | Requests a short personal or restroom break. |
| Refreshment stop | Close the fingers and bring the thumb toward the mouth. | Requests a food or drink stop. |
| Turn signal on | Open and close the hand with fingers and thumb extended. | Alerts a rider that a turn indicator may have been left flashing. |
| Pull off | Hold the arm as for a right turn and swing the forearm toward the shoulder. | Directs the group to leave the travel lane at a safe location. |
After receiving a formation signal, do not move sideways immediately. Check mirrors and blind spots, preserve your space cushion, and transition one rider at a time. Avoid riding directly beside another motorcycle when either rider may need room to swerve.
Best Practices for Using Hand Signals
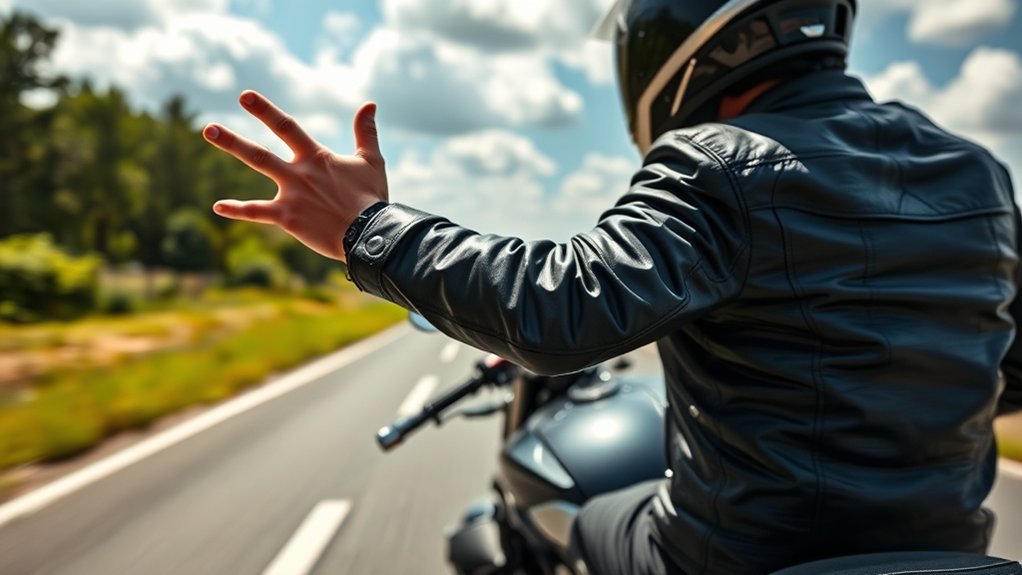
- Use the left arm when practical. This keeps the right hand available for the throttle and front brake.
- Make gestures large and distinct. Keep your elbow and wrist position steady enough for riders behind to identify the signal.
- Signal early, not during the maneuver. Complete the gesture before you need both hands for steering, braking, or shifting.
- Use lights and hand signals together when appropriate. A visible arm movement can supplement a turn signal, but it does not excuse a defective lamp.
- Do not improvise in a group. An unfamiliar gesture may distract riders or cause an abrupt response.
- Relay important signals. Do so only after checking that your motorcycle is stable and the road ahead remains clear.
- Avoid unnecessary gestures. Skip waves and social signals whenever traffic, weather, road surface, or motorcycle operation demands your full attention.
- Recheck canceled signals. Some motorcycles do not automatically cancel their indicators, so verify that the dashboard light has stopped flashing.
Boosting Safety With Effective Communication
Hand signals work best as one part of a broader communication plan. Riders should also use working lights, predictable lane positioning, adequate following distance, mirrors, shoulder checks, and smooth speed changes.
During a group ride, the leader should signal early enough for the message to travel backward without forcing anyone to react suddenly. The sweep rider should watch for mechanical problems, separated riders, and signals that did not reach the rear of the group.
If a rider misses a turn or falls behind, the group should follow its prearranged regrouping plan. No one should speed, cross lanes abruptly, or ride beyond personal ability to catch up. The MSF recommends deciding this procedure before departure rather than improvising after separation.
What to Do if a Motorcycle Turn Signal Fails
If an indicator stops working during a ride, do not assume a hand gesture makes the motorcycle legally compliant or equally visible. Equipment requirements vary, and other drivers may not recognize a hand signal.
- Reduce unnecessary riding. Choose a safe place to stop rather than continuing through dense traffic or low visibility.
- Check the simple causes. With the motorcycle safely parked and switched off, inspect the lamp, visible wiring, fuse information, and controls according to the owner’s manual.
- Use conventional hand signals only when safe and lawful. Signal early and make certain the gesture is visible.
- Avoid riding at night or in poor visibility with defective lighting. Arrange repair, roadside help, or transportation when the risk is significant.
- Repair the fault promptly. A failed lamp can indicate a bulb, connector, switch, fuse, wiring, or charging-system problem.
Warning: Do not troubleshoot electrical wiring beside moving traffic or while the motorcycle is running unless the manufacturer’s procedure specifically requires it. Move to a protected location and use the correct owner’s or service manual.
Frequently Asked Questions
What Is the 1% Rule in Motorcycles?
There is no recognized motorcycle-safety “1% rule” requiring one minute of preparation for every hour of riding. In motorcycle-club culture, “1%er” commonly refers to an outlaw-club label linked to the historical claim that 99% of motorcyclists were law-abiding. An Office of Justice Programs archive discusses that origin. The term is unrelated to hand signals.
What Does 2 Fingers Down Mean for Bikers?
Two fingers extended in a low left-hand wave are usually an informal greeting between riders. Some riders associate the gesture with keeping “two wheels down,” but it is not a legal traffic signal or a universal instruction. Skip the wave whenever using the clutch, steering, braking, or watching a hazard requires both hands.
How Do You Properly Hand Signal on a Motorcycle?
Check traffic first, activate the motorcycle’s electrical signal, and use a clear arm gesture early enough to be seen. Extend the left arm horizontally for a left turn, bend it upward for a conventional right-turn signal, or bend it downward with the palm facing back for stopping or slowing. Return your hand to the grip before the maneuver requires full control.
What Is the Unwritten Biker Code?
There is no single biker code followed by every rider. Common courtesies include respecting another rider’s lane space, not pressuring people to exceed their skill level, helping a stranded rider when it is safe, and avoiding gestures that could be misunderstood. Traffic law and immediate safety always take priority over custom.
Are Motorcycle Hand Signals the Same in Every State?
No. The basic left-turn, right-turn, and stop or slow gestures are widely recognized in the United States, but signaling distance, permitted alternatives, and equipment rules can differ. Review the current driver or motorcycle handbook for every jurisdiction in which you ride.
Do You Still Need Hand Signals if the Motorcycle Has Turn Signals?
Use the motorcycle’s functioning turn signals as required by local law. A hand gesture may provide an additional visual cue or communicate with a riding group, but it does not replace required lighting, mirror checks, shoulder checks, or safe lane positioning.
Conclusion
Motorcycle hand signals are most useful when they are clear, expected, and secondary to motorcycle control. Learn the conventional turn and stop gestures, review the MSF group-riding system, and agree on signal meanings before riding with others. Keep your lights in working order, check local law, and return your hand to the grip before braking, shifting, turning, or responding to a hazard.
Sources
- National Highway Traffic Safety Administration — Hand Signals — conventional left-turn, right-turn, and stop or slow arm positions.
- Motorcycle Safety Foundation — Motorcycle Operator Manual — common group-riding gestures, pre-ride checks, and group procedures.
- Motorcycle Safety Foundation — Group Riding — rider meetings, lead and sweep roles, formations, and regrouping practices.
- New York Department of Motor Vehicles — Intersections and Turns — an official example of a 100-foot signaling requirement and conventional arm signals.
- Harley-Davidson Insurance — Motorcycle Hand Signals — informal rider gestures, practical visibility guidance, and the two-finger wave.
- Office of Justice Programs — Outlaw Motorcycle Gangs: USA Overview — historical context for the term “1%er.”







Leave a Reply