
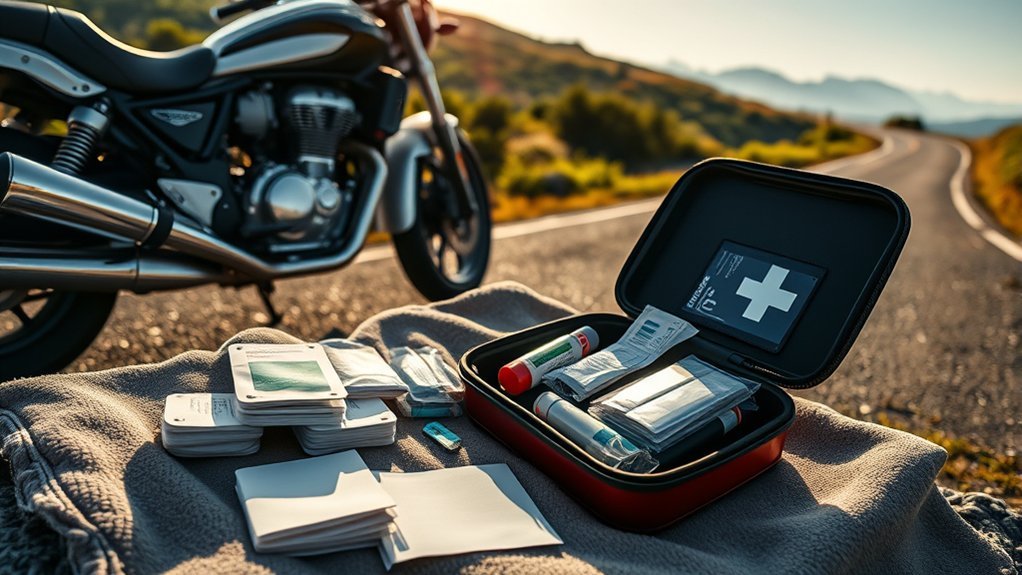
A compact motorcycle first aid kit can help you handle a minor cut, protect yourself from blood exposure, or support an injured person while emergency services are on the way. The kit should be easy to reach, protected from weather, and matched to the length and location of your rides. Just as important, you need basic training and a clear plan for what to do at a crash scene.
Quick Answer
A motorcycle first aid kit should include gloves, sterile gauze, adhesive bandages, tape, a CPR barrier, an emergency blanket, trauma shears, and clear instructions. Add a commercial tourniquet and hemostatic gauze only with proper training. Store everything in a labeled waterproof pouch, inspect it regularly, and call 911 for serious injuries.
Key Takeaways
- Scene safety and a prompt 911 call come before opening the first aid kit.
- Pack protective gloves, wound dressings, tape, a CPR barrier, an emergency blanket, and simple tools.
- Carry hemostatic gauze and a commercial tourniquet only if you know when and how to use them.
- Do not unnecessarily move a crashed rider or remove the helmet when a head, neck, or spinal injury may be present.
- Protect medicines and sealed supplies from heat, moisture, sunlight, freezing temperatures, and expiration.
At a Glance
| Time Required | About 20–30 minutes to assemble and label; about 5 minutes for a routine inspection |
| Difficulty | Easy to assemble; bleeding control, CPR, and helmet removal require proper training |
| Tools Needed | Waterproof pouch, smaller labeled bags, printed checklist, and permanent marker |
| Cost | Varies by kit size and contents; verified bleeding-control equipment increases the total |
Warning: First aid is temporary support, not a replacement for professional medical care. Call 911 for severe bleeding, breathing problems, loss of consciousness, suspected head or spinal injury, major burns, an open fracture, signs of shock, or any serious motorcycle crash. Give care only within your training and follow the dispatcher’s instructions.
Why Every Motorcyclist Needs a First Aid Kit
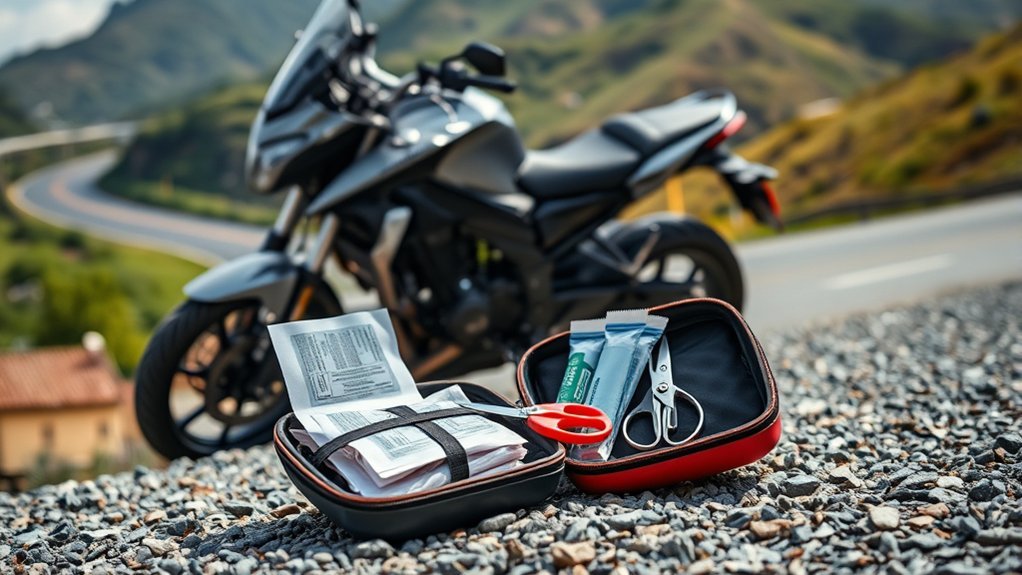
Motorcyclists have less physical protection than people inside passenger vehicles. According to the National Highway Traffic Safety Administration, 6,228 motorcyclists were killed in U.S. traffic crashes in 2024. Per vehicle mile traveled, motorcyclists were almost 27 times more likely than passenger-car occupants to die in a crash.
A first aid kit cannot prevent a crash, but the right supplies and training can help a bystander provide useful care while emergency medical services are responding.
A kit can help with small abrasions, minor cuts, blood-exposure protection, cold or heat stress, and temporary wound coverage. Bleeding-control equipment may also help during a life-threatening emergency when it is used correctly.
However, motorcycle crashes can cause internal bleeding, spinal injury, concussion, fractures, and other problems that a roadside kit cannot diagnose or treat. A rider who initially appears alert may still need urgent medical evaluation.
What to Do First at a Motorcycle Crash
The first few actions at a crash scene are more important than choosing a bandage. The American Red Cross first aid sequence begins with checking the scene, assessing the injured person, calling emergency services when needed, and providing care within your training.
- Protect yourself first. Stop in a safe location. Watch for traffic, fire, leaking fuel, unstable vehicles, broken glass, downed wires, and other hazards. Do not enter an unsafe scene.
- Call 911 early. Give the exact location, direction of travel, nearby mile marker or landmark, number of injured people, and any obvious hazards. Put the phone on speaker and follow the dispatcher’s directions.
- Check responsiveness and breathing. If the person is unresponsive and not breathing normally or is only gasping, begin CPR and use an AED when available, according to your training.
- Look for life-threatening bleeding. Put on gloves and apply firm, direct pressure. Use wound packing or a tourniquet only when appropriate and within your training.
- Limit movement. Do not ask the rider to stand, walk, turn the head, or remove the helmet. Keep the person still and supported unless fire, traffic, or another immediate danger requires movement.
- Keep the rider warm and reassured. Use an emergency blanket or jacket without overheating the person. Continue watching breathing and responsiveness until EMS arrives.
Note: Do not remove a motorcycle helmet merely to inspect an injury or make the rider more comfortable. Leave it in place unless it prevents lifesaving airway care and removal is directed by a 911 dispatcher or performed by someone trained in motorcycle helmet removal.
Must-Have Items in Your Motorcycle First Aid Kit
The American Red Cross first aid kit checklist provides a useful starting point. A motorcycle kit should use compact quantities and prioritize supplies that tolerate vibration and fit in a waterproof pouch.
| Category | Suggested Items | Main Purpose |
|---|---|---|
| Personal protection | At least two pairs of nitrile gloves, hand-cleaning wipes, and a CPR face shield with a one-way valve | Reduces direct contact with blood and other body fluids |
| Minor wound care | Assorted adhesive bandages, sterile nonstick pads, sterile gauze pads, gauze roll, medical tape, and small saline or clean-water packets | Covers minor cuts and abrasions after gentle cleaning |
| Bleeding control | Absorbent trauma dressing, compressed gauze, hemostatic gauze, and a genuine commercial tourniquet | Supports trained treatment of life-threatening external bleeding |
| Support items | Emergency blanket, triangular bandage, instant cold pack, and small eye shield | Provides warmth, support, swelling relief, or temporary protection |
| Tools | Trauma shears, tweezers, permanent marker, small flashlight or headlamp, and waste bag | Helps expose injuries, remove loose surface debris, record information, and manage used supplies |
| Information | Printed first aid instructions, emergency contacts, allergies, medical conditions, and current medications | Provides quick reference for the rider, companions, dispatchers, and EMS |
Carry only medications that are appropriate for you. Keep prescribed emergency medication, such as an epinephrine auto-injector, in its labeled container and use it only as directed. Do not share prescription or over-the-counter medication with another rider.
Pro Tip: Buy bleeding-control equipment from a reputable medical supplier. Extremely cheap or counterfeit tourniquets may fail when tightened. Keep training equipment separate from the sealed equipment reserved for emergencies.
How to Use Common First Aid Items Safely
Minor Cuts and Road Rash
Put on gloves, stop minor bleeding with gentle direct pressure, and rinse a small superficial wound with clean water. Mild soap may be used when practical. Cover the area with a sterile nonstick dressing.
Do not scrub a deep wound at the roadside, dig out embedded gravel, or remove a deeply stuck object. Seek medical care for large areas of road rash, deep cuts, uncontrolled bleeding, loss of feeling, exposed tissue, or debris that cannot be removed with gentle rinsing.
Life-Threatening Bleeding
Call 911 and use firm, continuous direct pressure. If trained, pack an appropriate wound with plain or hemostatic gauze. For life-threatening bleeding from an arm or leg that cannot be controlled quickly, a trained responder may apply a commercial tourniquet according to the device instructions.
The American College of Surgeons Stop the Bleed program teaches responders to recognize severe bleeding, apply direct pressure, pack a wound, and use a tourniquet.
- Do not remove the first dressing to check the wound. Add more material on top if blood soaks through.
- Do not remove an object embedded in the body. Pad around it and wait for EMS.
- Do not loosen or remove a tourniquet after it has controlled life-threatening bleeding.
- Write down the tourniquet application time with the permanent marker and tell EMS.
Suspected Fractures and Spinal Injuries
Do not straighten a bent limb, test its range of motion, or ask the rider to stand. Keep the injured area still and support it in the position found. Cover an open wound without pushing exposed bone or tissue back inside.
A wrapped cold pack may provide limited relief for a minor soft-tissue injury, but it should never delay emergency care or be placed directly on the skin. A high-energy motorcycle crash requires a cautious approach even when the rider says the pain is manageable.
Burns
Move away from fire, fuel, hot exhaust components, batteries, and electrical hazards before giving care. When clean, cool running water is available, cool a thermal burn for about 20 minutes and cover it loosely with a clean nonstick material.
Do not apply ice, butter, grease, or burn ointment to a serious burn. Do not pull away clothing or material stuck to burned skin. Call 911 for deep burns, electrical or chemical burns, breathing problems, or burns involving the face, airway, hands, feet, genitals, or a large body area.
Packing Your First Aid Kit Right
A complete kit is useful only when you can reach the right item quickly. Keep supplies sealed, dry, and arranged in a predictable order.
Essential Items Checklist
Use a printed checklist that lists each item, its quantity, and its expiration date when applicable. At minimum, confirm that you have gloves, gauze, nonstick dressings, tape, a CPR barrier, an emergency blanket, trauma shears, instructions, and emergency information.
Place specialized bleeding-control equipment in its own clearly marked compartment. Do not bury a tourniquet beneath minor-care items or loose tools.
Organization and Accessibility Tips
Store the kit in a consistent location that can be opened without unloading all your luggage. A secured saddlebag, top case, tank bag, or protected under-seat compartment may work, depending on the motorcycle. The kit must not interfere with steering, suspension, wiring, hot exhaust parts, or other controls.
| Color | Purpose | Example Items |
|---|---|---|
| Red | Life-threatening bleeding | Trauma dressing, compressed gauze, hemostatic gauze, tourniquet |
| Green | General wound care | Sterile gauze, nonstick pads, adhesive bandages, tape |
| Blue | Personal medical supplies | Labeled prescribed medicine, medical information, emergency contacts |
| Yellow | Protective gear and tools | Gloves, CPR barrier, trauma shears, marker, flashlight |
| White or clear | Instructions and support items | First aid guide, emergency blanket, triangular bandage |
Use a waterproof outer pouch even when the kit is stored inside hard luggage. Place moisture-sensitive items in resealable inner bags and position sharp tools so they cannot puncture sterile packaging.
Quick Pre-Ride Inspection
Before a long ride, confirm that the kit is present, dry, closed, and accessible. Check that gloves are not brittle, sterile packages are sealed, batteries work, and critical items are not missing.
Restock anything used during a previous ride. Replace damaged packaging immediately, even when the printed expiration date has not passed.
Training for Effective First Aid Use on the Road
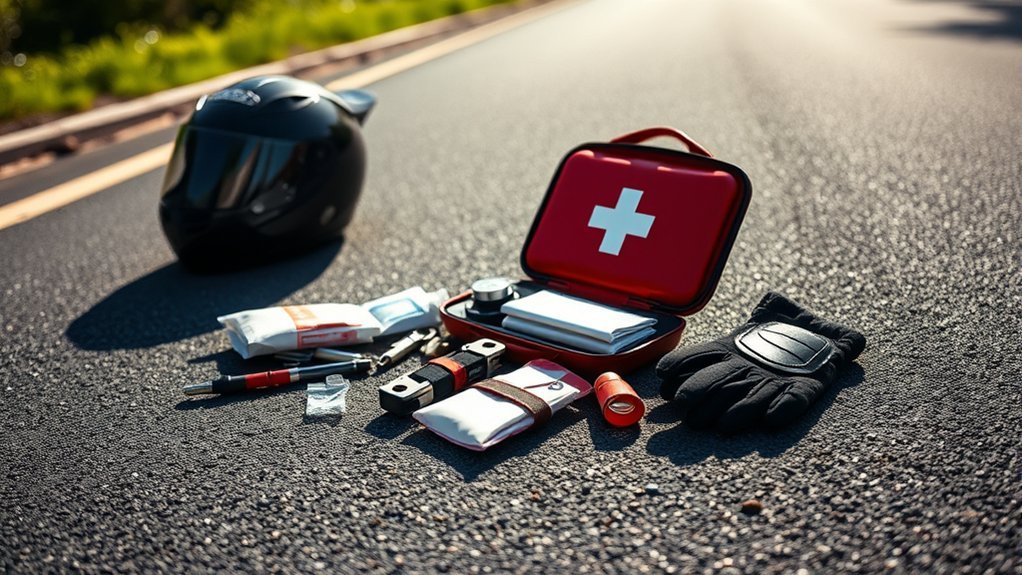
Owning medical supplies is not the same as knowing how to use them. Take a recognized First Aid/CPR/AED course and refresh your skills at the interval recommended by the training provider. Add a hands-on bleeding-control course if you carry hemostatic gauze or a tourniquet.
Practice locating supplies with your riding gloves off and under low-light conditions. Use dedicated training equipment rather than opening or repeatedly tightening the equipment reserved for real emergencies.
The most valuable item in a first aid kit is a trained responder who can recognize danger, call for help, and use the supplies correctly.
Useful practice scenarios include placing a 911 call with an exact road location, applying direct pressure, opening the kit with cold or wet hands, finding emergency contacts, and keeping an injured rider still and reassured.
Advanced wound treatment, fracture reduction, invasive airway procedures, and routine helmet removal should be left to trained professionals.
Customizing Your First Aid Kit for Specific Motorcycle Rides
The core supplies should remain the same, but quantity and support items can change with the route, weather, group size, and distance from emergency care.
Assess Ride Conditions
- Hot-weather rides: Carry an emergency cooling plan and drinking water separately from the medical pouch. Protect medication and adhesive products from excessive heat.
- Cold-weather rides: Add an emergency blanket and dry gloves. Do not place chemical warmers directly on injured or numb skin.
- Forested areas: Consider sting-relief supplies and carry an epinephrine auto-injector if it has been prescribed to you.
- Dusty or gravel routes: Carry additional sterile irrigation water, nonstick dressings, gauze, and eye protection.
- Night riding: Add a reliable headlamp so both hands remain free.
Consider Duration and Distance
A short urban ride still needs basic protective and wound-care supplies. A multi-day or remote ride calls for more dressings, gloves, emergency warmth, medical information, and communication planning.
Remote riders should know where cellular coverage ends and consider a satellite communication device as separate emergency equipment. A larger kit does not replace a reliable way to summon help.
Include Activity-Specific Items
- Group rides: Add more gloves, gauze, trauma dressings, and emergency blankets.
- Off-road riding: Add extra wound dressings, compressed gauze, irrigation water, and a malleable splint only if someone is trained to use it.
- Long-distance touring: Include a current medication list, allergies, emergency contacts, insurance information, and copies of prescriptions needed during the trip.
- Riders with medical conditions: Carry prescribed emergency medication and visible medical identification.
Review the kit before each major trip and remove items that do not match your training or the conditions you expect to face.
Items for Your Motorcycle Accident Checklist
A crash checklist should place safety and medical care before insurance or documentation. Keep a waterproof copy in the kit and another copy on your phone.
| Item or Action | Purpose |
|---|---|
| Scene safety check | Prevents additional collisions, fire exposure, or injury to rescuers |
| Exact location and 911 call | Helps emergency services find the crash quickly |
| First aid kit | Provides PPE and temporary care within the responder’s training |
| Emergency contact information | Allows family or a designated contact to be reached |
| Medical history, allergies, and medications | Gives EMS useful treatment information |
| Insurance and registration details | Supports reporting after urgent medical needs are addressed |
| Accident-scene documentation | Records vehicles, road conditions, witnesses, and damage when it is safe to do so |
Do not step into traffic, delay first aid, or interfere with emergency responders to take photographs. Documentation can wait until immediate hazards and medical needs are under control.
Maintaining and Updating Your First Aid Kit Regularly
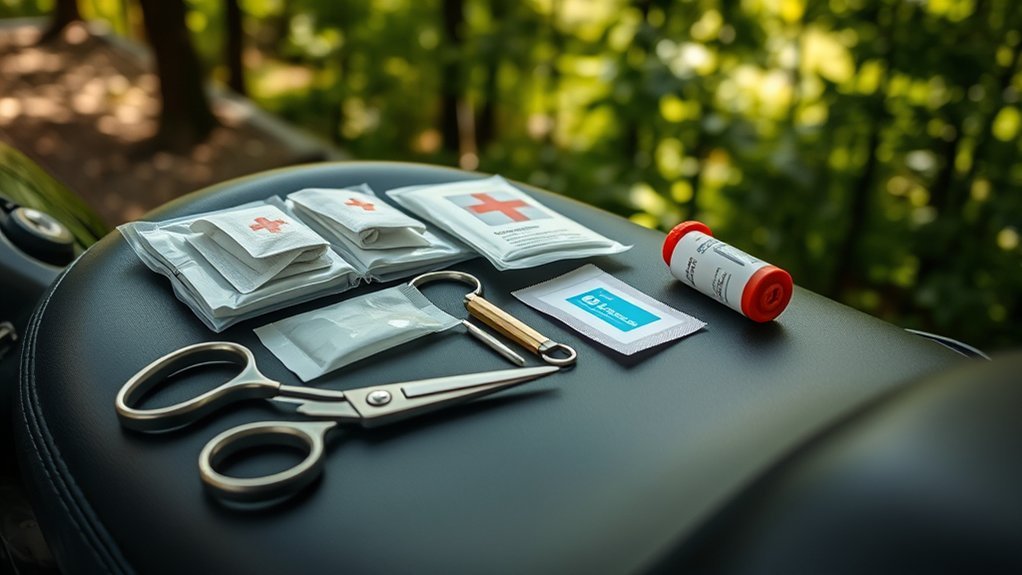
Inspect the kit at least monthly during the riding season, before a long trip, and after every use. A complete review once a year is not enough when the kit is exposed to vibration, moisture, heat, and temperature changes.
- Replace used, expired, wet, crushed, opened, discolored, or unsealed supplies.
- Check gloves for brittleness and adhesive products for dried or weakened seals.
- Test the flashlight and replace leaking or weak batteries.
- Confirm that the tourniquet and hemostatic gauze are sealed and have not been used for practice.
- Update emergency contacts, allergies, medical conditions, and medication lists.
- Adjust quantities for the season, route, passenger, and group size.
The U.S. Food and Drug Administration explains that a medicine’s labeled expiration date assumes it was stored under the stated conditions. Heat, humidity, freezing temperatures, and light can damage a medicine even before that date.
Do not leave temperature-sensitive medication permanently in a motorcycle compartment. Follow the product label and your pharmacist’s instructions. Replace medicine that may have been stored outside its approved temperature range.
Sources
- American Red Cross — Make a First Aid Kit — supports the basic supply checklist, personal medical items, and regular expiration checks.
- American Red Cross — First Aid Steps — supports scene safety, assessment, emergency activation, CPR/AED response, and spinal precautions.
- American College of Surgeons — Stop the Bleed Training — supports direct pressure, wound packing, tourniquet training, and severe-bleeding preparedness.
- National Highway Traffic Safety Administration — Motorcycle Safety — supports current U.S. motorcycle fatality and exposure-risk information.
- U.S. Food and Drug Administration — Expiration Dates — supports medicine expiration and labeled storage guidance.
- NI Direct — First Aid on the Road — supports road-scene safety, helmet precautions, bleeding response, and initial burn care.
Frequently Asked Questions
How do I choose the right size first aid kit for my motorcycle?
Choose the smallest waterproof pouch that holds your core supplies without crushing sterile packages. It should fit in an accessible saddlebag, top case, tank bag, or protected compartment and remain secure during braking, cornering, and vibration. Increase the quantities for passengers, group rides, remote routes, or multi-day travel.
Are there specific first aid kits for long-distance motorcycle trips?
Some compact travel and powersports kits are designed for limited storage, but the label matters less than the contents. A long-distance kit should include extra gloves, dressings, emergency warmth, medical information, and reliable communication planning. Review every preassembled kit because it may lack a CPR barrier, adequate gauze, or trained bleeding-control equipment.
Can I use a regular first aid kit for motorcycle emergencies?
Yes. A regular kit is a good starting point when it contains gloves, sterile dressings, gauze, tape, a CPR barrier, an emergency blanket, and instructions. Move the supplies into a waterproof motorcycle-friendly pouch and add only the items you are trained to use. Remove bulky products that add weight without meeting a likely roadside need.
What should I do if a first aid item expires?
Replace expired medicine and any product whose manufacturer requires replacement by a printed date. Also replace supplies that are wet, opened, damaged, discolored, brittle, or poorly sealed. Follow local disposal instructions for medicine and sharps. Storage damage can make an item unsuitable even before its expiration date.
How can I safely store my first aid kit on my motorcycle?
Use a waterproof pouch in a secure compartment that does not contact the exhaust, engine, chain, suspension, or electrical parts. Keep the opening easy to reach and do not place the kit beneath every other piece of luggage. Bring temperature-sensitive medication indoors rather than leaving it permanently on the motorcycle.
Should a motorcycle first aid kit include a tourniquet?
A genuine commercial tourniquet can be valuable for life-threatening arm or leg bleeding, but it should be carried with hands-on training. Learn how to recognize severe bleeding, position and tighten the device, record the application time, and avoid loosening it before EMS takes over. Do not rely on an unverified imitation.
Should I remove an injured motorcyclist’s helmet?
Do not routinely remove the helmet. A crash may have injured the rider’s head, neck, or spine. Leave the helmet in place unless it prevents essential airway care and a 911 dispatcher instructs you to remove it, or you have specific training in motorcycle helmet removal. Keep the rider still and monitor breathing.
Can I carry personal medication in the kit?
Yes, when the medicine is intended for you and can be stored within its labeled temperature range. Keep it in the original labeled container, check the expiration date, and do not share it. Ask a pharmacist how to transport temperature-sensitive medicine during hot or freezing rides.
Conclusion
A useful motorcycle first aid kit is compact, waterproof, easy to reach, and built around supplies you know how to use. Start with gloves, dressings, gauze, tape, a CPR barrier, an emergency blanket, simple tools, and clear medical information. Add specialized bleeding-control equipment only with proper training.
At a crash, protect the scene, call 911, check breathing and severe bleeding, avoid unnecessary movement, and follow the dispatcher’s instructions. Inspect the kit regularly and replace anything used, damaged, expired, or exposed to unsafe storage conditions. Preparation cannot remove the risks of riding, but it can help you respond more safely when an emergency occurs.







Leave a Reply