
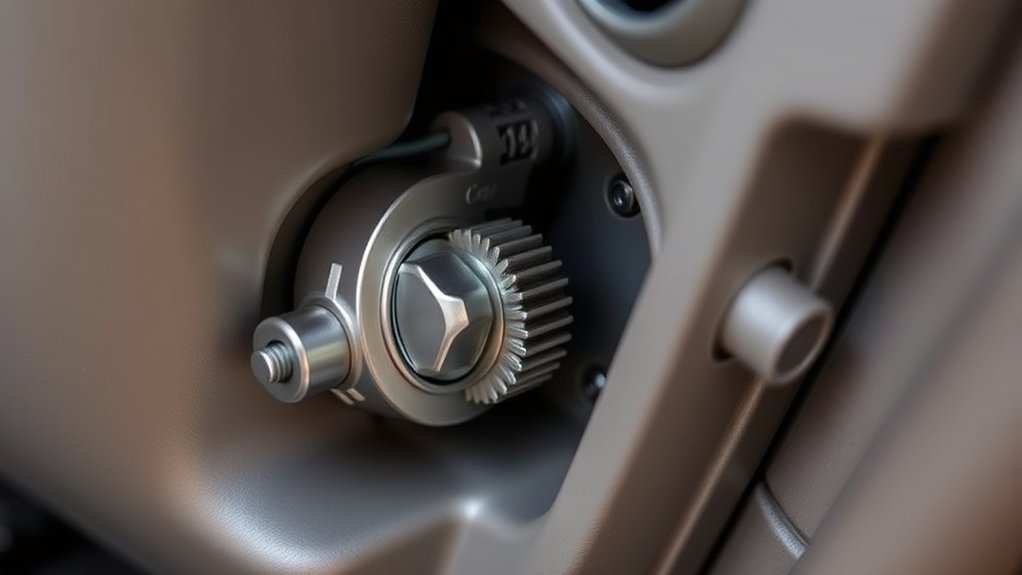
A passenger-side temperature problem in a 2011 Jeep Grand Cherokee does not automatically mean the blend door actuator has failed. Start by checking the dual-zone climate settings, commanding full hot and full cold, and listening for clicking behind the glove box. Then inspect the actuator, external gear, wiring, and blend door before ordering parts.
Quick Answer
If the passenger vents stay hot or cold while the driver’s side responds normally, check the passenger blend door actuator and its separate drive gear behind the glove box. Replace only the failed part, align it without forcing the shaft, and run the HVAC Actuator Calibration Test with a capable scan tool afterward.
Key Takeaways
- A blend-door fault changes air temperature; a mode-door fault changes where the air comes out.
- On dual-zone models, test both temperature zones at full cold and full hot before replacing anything.
- The actuator motor and external actuator gear are separate service parts.
- Disconnect and isolate the negative battery cable, then wait at least two minutes before working near instrument-panel airbag components.
- The factory repair process calls for an HVAC Actuator Calibration Test with a capable scan tool after installation.
At a Glance
| Time Required | About 45–90 minutes for an experienced DIY repair; allow longer for diagnosis and tight fasteners |
| Difficulty | Moderate; access is confined and final calibration requires an HVAC-capable scan tool |
| Tools Needed | Small Torx-bit set including T20, compact ratchet or right-angle bit driver, small socket set, trim tool, flashlight, vent thermometer, torque driver, and HVAC-capable scan tool |
| Cost | Roughly $40–$200 for an OEM gear or actuator before labor, taxes, shipping, or scan-tool access; verify current pricing and VIN fitment |
Quick Diagnosis: Is the Passenger Blend Door Actuator the Problem?
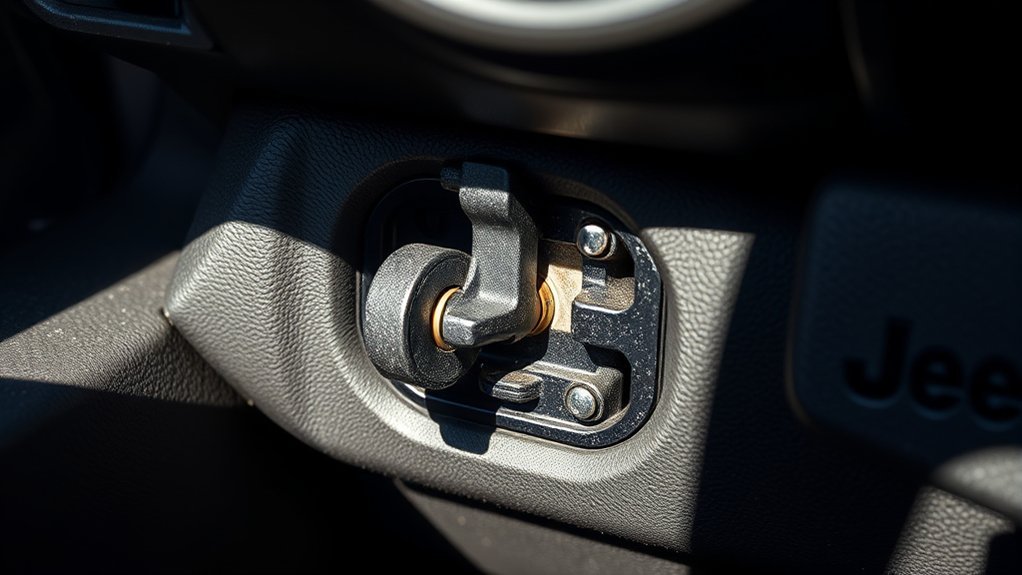
The 2011 Jeep Grand Cherokee was available with dual-zone manual climate controls and dual-zone Automatic Temperature Control, or ATC. Both systems let the driver and front passenger select different temperatures. On an ATC-equipped vehicle, the SYNC button lets the driver’s temperature control command both zones.
Before removing trim, complete this basic test:
- Park the Jeep, set the parking brake, and start the engine in a well-ventilated area.
- Allow the engine to reach normal operating temperature if you are diagnosing a heating problem.
- Set the blower to a medium speed and choose the instrument-panel vents.
- On an ATC system, press SYNC so both sides receive the same temperature command.
- Set both zones to full cold and wait about 30 seconds.
- Place a vent thermometer in comparable driver- and passenger-side outlets and record both temperatures.
- Set both zones to full hot, wait another 30 seconds, and compare the readings again.
- Listen behind the glove box for clicking, repeated tapping, buzzing, or a motor that runs without changing the passenger temperature.
The 2011 Jeep Grand Cherokee owner’s manual explains the dual-zone controls, individual passenger temperature setting, and ATC SYNC function.
Note: A blend door controls temperature by changing how much air passes through or around the heater core. If the air stays at the panel vents and will not switch to the floor or windshield, diagnose the mode-door system instead.
Common Symptoms of Passenger Blend Door Failure
A passenger blend-door problem usually changes the temperature on one side of the cabin while airflow volume and outlet location remain normal. Common symptoms include:
- The driver’s vents become hot while the passenger vents remain cold, or the reverse.
- The passenger temperature does not change when the control moves from full cold to full hot.
- Clicking or tapping comes from behind the glove box when the ignition is switched on or the temperature is adjusted.
- The actuator can be heard running, but the passenger-side temperature does not change.
- The HVAC module stores an actuator, door-travel, calibration, or circuit fault.
- The problem returns immediately after an actuator is installed because the external gear, door shaft, or linkage is damaged.
On a dual-zone system, one responsive temperature zone and one unresponsive zone are more useful clues than cabin temperature alone.
An actuator is not the only possible cause. A stripped external gear can let the motor turn without moving the door. A bound blend door can overload a good actuator. A wiring or control fault can prevent the actuator from receiving a command.
Blend Door vs. Mode Door vs. Other HVAC Problems
| Symptom | More Likely Area | Next Check |
|---|---|---|
| One side stays hot or cold | Blend actuator, gear, linkage, or blend door | Command full hot and full cold while watching or listening to the passenger actuator |
| Air will not change between panel, floor, and defrost | Mode door or mode actuator | Operate every outlet mode and scan the HVAC module |
| Both sides have weak heat | Coolant level, thermostat, heater core, or engine-temperature problem | Check coolant only when the engine is cold and verify normal operating temperature |
| Weak airflow from every vent | Cabin filter, blower, duct, or evaporator restriction | Inspect the filter and verify all blower speeds |
| Both sides cool poorly with A/C on | A/C performance or refrigerant-system problem | Have pressures, charge, condenser airflow, and compressor operation tested |
Scan the HVAC Module Before Replacing Parts
A basic engine-code reader may not communicate with the A/C-heater control. Use a scan tool that can read body and HVAC modules and perform bidirectional system tests.
Check for active and stored HVAC diagnostic trouble codes before disconnecting the battery. Active circuit, travel, or calibration faults can help separate an electrical failure from a stripped gear or bound door.
When available, command the passenger blend actuator through the scan tool while watching the actuator and measuring vent temperature. A commanded actuator that does not run may have a motor, connector, wiring, or control problem. A motor that runs while the door remains still points more strongly toward the gear or linkage.
Pro Tip: Record all HVAC codes before clearing them or disconnecting the battery. Stored information may disappear and make an intermittent problem harder to diagnose.
What Usually Fails: Actuator, Gear, or Door?
The passenger-side assembly has several parts that can produce similar symptoms:
- Actuator motor: The electric servo motor receives commands from the A/C-heater control and turns the blend-door drive system.
- External actuator gear: The removable gear transfers actuator movement to the door mechanism. Worn or damaged teeth can prevent the door from following the actuator.
- Blend-door shaft or cam: A cracked or displaced connection can stop door movement even when the actuator and external gear work.
- Blend door: A door that binds inside the HVAC housing can damage a new actuator or gear.
- Connector or wiring: A loose terminal, damaged wire, or control fault may leave the actuator inoperative.
Mopar currently lists 68079488AB as an A/C and heater actuator for 2011–2013 applications. It separately lists 68214880AA as an actuator gear.
Note: Do not order by article part number alone. Confirm the VIN, build date, left- or right-hand-drive layout, HVAC configuration, and current supersession through the official Mopar 2011 Grand Cherokee HVAC parts catalog or a Jeep parts department.
Tools and Safety Equipment
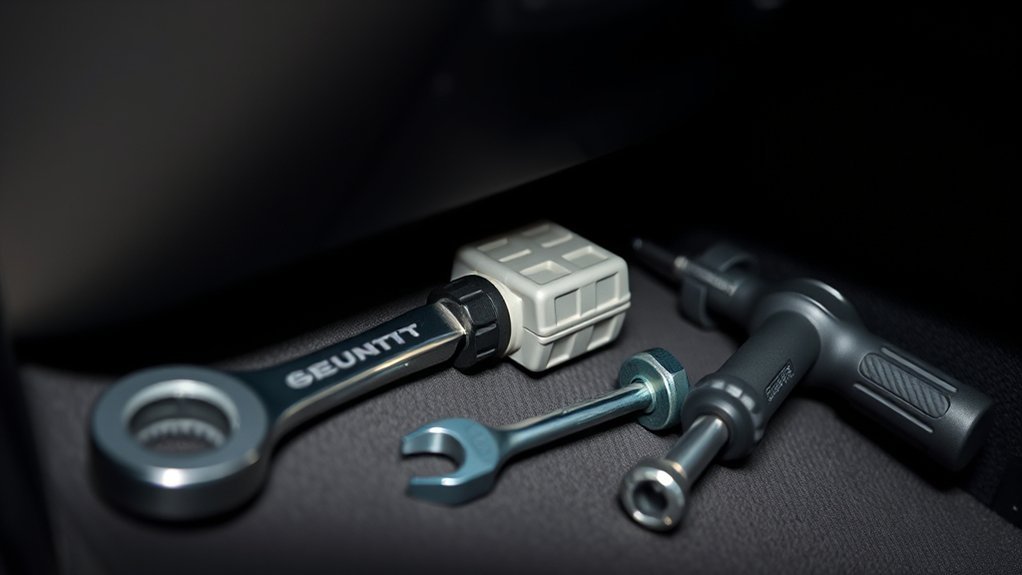
Access is tight, so compact tools are more useful than long full-size drivers. Gather the tools before disconnecting the battery.
| Tool or Equipment | Purpose |
|---|---|
| Small Torx-bit set, including T20 | Removes the actuator fasteners; confirm the bit fits securely before turning |
| Compact ratchet, bit holder, or right-angle driver | Reaches the upper screw in the confined space |
| Small metric socket set | Removes trim or closeout fasteners when required |
| Plastic trim tool | Releases trim clips with less risk of visible damage |
| Flashlight or headlamp | Illuminates the actuator, connector, gear, and door shaft |
| Low-range inch-pound torque driver | Tightens the actuator screws to 17 in-lb without damaging the plastic housing |
| Vent thermometer | Compares driver- and passenger-side outlet temperatures |
| HVAC-capable scan tool | Reads HVAC codes, commands actuators, and runs the Actuator Calibration Test |
| Safety glasses and work gloves | Protects against falling debris and sharp trim edges |
| Painter’s tape | Covers sharp edges and protects visible trim surfaces |
Battery and Airbag Safety
Warning: Instrument-panel work takes place near supplemental-restraint components. Turn the ignition off, remove the key or keep the key fob away from the vehicle, disconnect and isolate the negative battery cable, and wait at least two minutes before continuing. Do not probe airbag connectors or use a test light on restraint-system wiring.
The main battery in a 2011 Grand Cherokee is under the front passenger seat. Move the seat as needed to reach the battery before disconnecting power. Turn off the climate system, radio, lights, and other accessories first.
Disconnect the negative cable from the battery and position it so it cannot spring back against the terminal. The two-minute waiting period allows the airbag-system capacitor to discharge.
This actuator repair does not require opening the engine-coolant or refrigerant circuits. Do not loosen heater-core tubes, A/C lines, or refrigerant fittings to gain access.
How to Replace the Passenger Blend Door Actuator
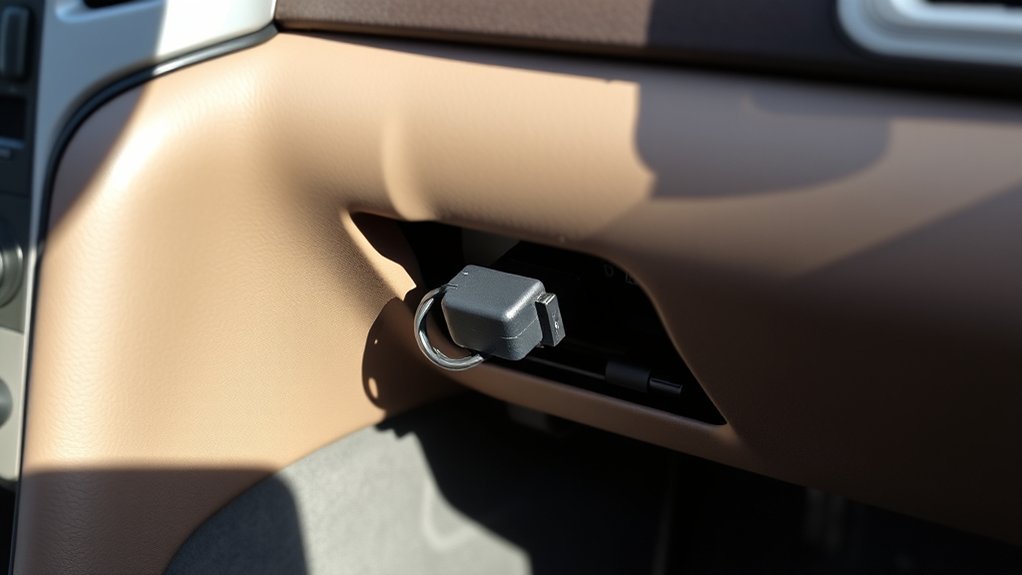
- Save diagnostic information. Read and record active and stored HVAC codes before disconnecting the battery.
- Prepare the vehicle. Park on a level surface, set the parking brake, switch off the ignition, and move the passenger seat to provide battery access.
- Disable electrical power and the airbag system. Disconnect and isolate the negative battery cable. Wait at least two minutes.
- Remove the right instrument-panel silencer. Release its retainers carefully and set the panel aside without pulling on any wiring.
- Remove the glove box. Release the glove-box damper, squeeze the two stop tabs inward, rotate the box downward, and release its lower hinges. Remove the closeout, shelf, end cap, or surround only as needed for working room.
- Remove the right floor-distribution duct. Separate it from the HVAC housing without twisting or cracking the duct.
- Locate the passenger blend actuator. It is mounted on the right side of the HVAC air-distribution housing. Confirm that you are working on the temperature-blend actuator rather than the nearby mode or recirculation components.
- Inspect the wiring. Look for a loose connector, backed-out terminal, chafed wire, corrosion, or signs of previous repair.
- Remove the two actuator screws. Use the Torx bit that fully seats in the screw head. Keep firm inward pressure and do not continue if the bit slips.
- Remove the actuator. Pull it away from the housing without prying against the plastic case. Disconnect the electrical connector and remove the actuator from the vehicle.
- Inspect the actuator gear and door drive. Check for rounded teeth, cracks, missing material, loose engagement, or a shaft that has moved out of position.
- Check door movement gently. Move the exposed drive through its normal range with light finger pressure only. Stop if it binds, catches, or requires significant force. A binding door must be corrected before a new actuator is installed.
- Compare the replacement part. Match the electrical connector, output splines, housing, mounting tabs, and drive orientation. Confirm the part by VIN.
- Align the actuator. Rotate the actuator slightly by hand only as needed to align its output splines with the drive gear. Never use the screws to pull a misaligned actuator into place.
- Install and torque the screws. Tighten the two actuator screws evenly to 2 N·m or 17 in-lb. Do not overtighten them into the plastic housing.
- Reconnect the actuator. Push the electrical connector in until its lock is fully engaged.
- Reassemble the interior. Reinstall the right floor duct, glove-box components, glove box, damper, closeout, instrument-panel silencer, and any removed clips or screws.
- Reconnect the battery. Make sure the ignition is off before reconnecting and securing the negative cable.
Warning: Do not apply heat, drill the HVAC housing, force the door, or restrain the linkage with zip ties. These shortcuts can damage the door, wiring, housing, or replacement actuator.
Calibrate the New Actuator
Battery disconnection alone should not be treated as the completed calibration procedure. The factory installation process calls for an Actuator Calibration function through the HVAC system test.
- Connect an HVAC-capable scan tool.
- Turn the ignition on without starting the engine.
- Enter the HVAC or A/C-heater control module.
- Select System Tests and then Actuator Calibration Test.
- Allow the test to finish without operating the controls.
- Read the HVAC diagnostic trouble codes when the test completes.
- Diagnose any active calibration, travel, or circuit code before returning the vehicle to service.
Pro Tip: A scan tool that only reads engine and transmission codes is not enough. Confirm that the tool supports the Jeep HVAC module and an actuator-calibration or relearn function before starting the repair.
Post-Repair HVAC Test
After calibration, start the engine and repeat the original test:
- Set the blower to a medium speed and select the panel vents.
- Press SYNC on ATC-equipped vehicles.
- Command full cold and allow the system to stabilize.
- Compare the driver- and passenger-side vent temperatures.
- Command full hot and compare both sides again.
- Cancel SYNC and confirm that the passenger setting can operate independently.
- Cycle panel, floor, mix, and defrost modes to confirm that the separate mode-door system also works.
- Listen for clicking, buzzing, repeated cycling, or an actuator that continues running against a stop.
- Recheck the HVAC module for returning diagnostic codes.
A successful repair should produce a clear passenger-side temperature change, reasonably similar temperatures when both zones receive the same command, quiet actuator operation, and no returning calibration or circuit code.
If Replacing the Actuator Does Not Fix the Problem
Do not install another actuator until the rest of the mechanism is inspected. A replacement that does not solve the condition usually points to one of these problems:
- Stripped or incorrectly positioned gear: The actuator runs, but the door does not follow it.
- Damaged door shaft or cam: The external parts move without controlling the internal door.
- Bound blend door: The door reaches only part of its travel or overloads the actuator.
- Incorrect part or installation position: The splines, indexing, or connector do not match the vehicle.
- Calibration not completed: The controller has not learned the door’s stop positions.
- Electrical fault: The connector, wiring, ground, or A/C-heater control cannot operate the actuator correctly.
- Heater-core flow problem: Heat remains weak even though the blend door completes its full travel.
- A/C performance problem: Cooling is weak on both sides because of a refrigerant, compressor, condenser-airflow, or evaporator issue.
A heater-core flush should be considered only after testing confirms restricted coolant flow. It is not routine actuator maintenance and will not repair a failed motor, stripped gear, or broken door.
Note: Refrigerant must not be vented to the atmosphere. Refrigerant diagnosis, recovery, evacuation, and charging require appropriate equipment and should be handled by a qualified technician.
Ongoing HVAC Maintenance and Troubleshooting
The blend actuator does not have a scheduled lubrication or adjustment service. Useful HVAC upkeep focuses on airflow, cooling-system condition, and early diagnosis:
- Replace the cabin air filter at the interval appropriate for your driving conditions.
- Keep the cowl air intake clear of leaves and debris.
- Confirm that every blower speed and outlet mode works.
- Check engine coolant only when the engine is cold and repair leaks promptly.
- Investigate new clicking or tapping before damaged gear teeth or a binding door overload the actuator.
- Do not force climate-control knobs or repeatedly cycle a clicking actuator.
- Keep a record of HVAC codes, replaced parts, and calibration results.
- Check the VIN through the NHTSA recall lookup. A recall search confirms open safety campaigns but does not mean this particular HVAC repair is covered.
For model-specific service bulletins, wiring diagrams, connector information, and current repair procedures, use Mopar owner and Tech Authority resources or a qualified Jeep service facility.
When to Get Professional Help
Professional diagnosis is the safer choice when:
- The passenger blend door cannot be moved gently with the actuator removed.
- The shaft, cam, or internal door appears broken.
- The new actuator fails calibration.
- An active HVAC circuit code returns after connector inspection.
- The repair requires airbag, dashboard, heater-core, or HVAC-housing removal.
- The windshield cannot be cleared reliably in defrost mode.
- The A/C refrigerant circuit requires testing or service.
- You do not have a scan tool capable of running the actuator calibration.
Frequently Asked Questions
How can I temporarily fix a bad blend door actuator?
There is no dependable factory-approved temporary actuator repair. Do not apply heat, force the door, drill the housing, or tie the linkage in place. You may leave both temperature zones at a usable setting until the repair is completed, but loss of reliable windshield defrost should be treated as a safety problem.
Why is my Jeep blowing cold air on one side and hot air on the other?
First confirm that the dual-zone controls are set to the same temperature or press SYNC on an ATC system. If one side still does not respond, inspect that side’s blend actuator, external gear, linkage, and door. Heater-core flow or an HVAC control fault can produce similar symptoms, so test door movement and scan the HVAC module before replacing parts.
Does disconnecting the battery recalibrate the blend door actuator?
Battery disconnection is required for safe instrument-panel work, but it should not replace the factory calibration step. After installation, use a capable scan tool to run the HVAC Actuator Calibration Test with the ignition on and engine off, then check for HVAC diagnostic trouble codes.
How do I know whether the actuator or gear is bad?
Remove the actuator and inspect the external gear teeth, splines, and door drive. A silent actuator that receives a valid command may have an electrical or motor fault. An actuator that turns while the gear or door does not move points toward damaged mechanical parts. Stop if the door binds.
What are the passenger blend actuator and gear part numbers?
Mopar currently lists actuator 68079488AB for 2011–2013 applications and separate actuator gear 68214880AA. Parts may be superseded, and equipment differences can affect fit. Confirm every part with the VIN and current Mopar catalog before ordering.
Can I drive with a failed blend door actuator?
The vehicle may remain mechanically drivable, but cabin comfort and windshield clearing can be affected. Do not drive in conditions where the defrost system cannot keep the windshield clear. Repair clicking, binding, or repeated actuator movement promptly to reduce the chance of additional gear or door damage.
How long does passenger-side actuator replacement take?
An experienced DIYer may complete the accessible passenger-side repair in about 45–90 minutes. Corroded or damaged fasteners, prior repairs, broken trim clips, door binding, diagnostic work, or lack of scan-tool access can make the job take considerably longer.
Conclusion
A reliable 2011 Jeep Grand Cherokee passenger blend-door repair starts with diagnosis, not parts swapping. Verify the climate settings, compare vent temperatures, scan the HVAC module, and determine whether the actuator, external gear, linkage, or door has failed. During replacement, disable the airbag system correctly, avoid forcing the mechanism, torque the two screws to 17 in-lb, and complete the scan-tool calibration before judging the result.
Sources
- 2011 Jeep Grand Cherokee Owner’s Manual — dual-zone manual controls, Automatic Temperature Control, SYNC operation, battery location, and owner safety information
- Official Mopar 2011 Grand Cherokee HVAC Parts Catalog — OEM actuator and gear identification
- Mopar A/C and Heater Actuator 68079488AB — current OEM actuator listing and applicable model years
- Mopar Actuator Gear 68214880AA — current OEM gear listing
- Mopar Vehicle Information and Tech Authority — official service-information, bulletin, wiring, and manual resources
- NHTSA Recall Lookup — VIN-based safety recall verification







Leave a Reply