
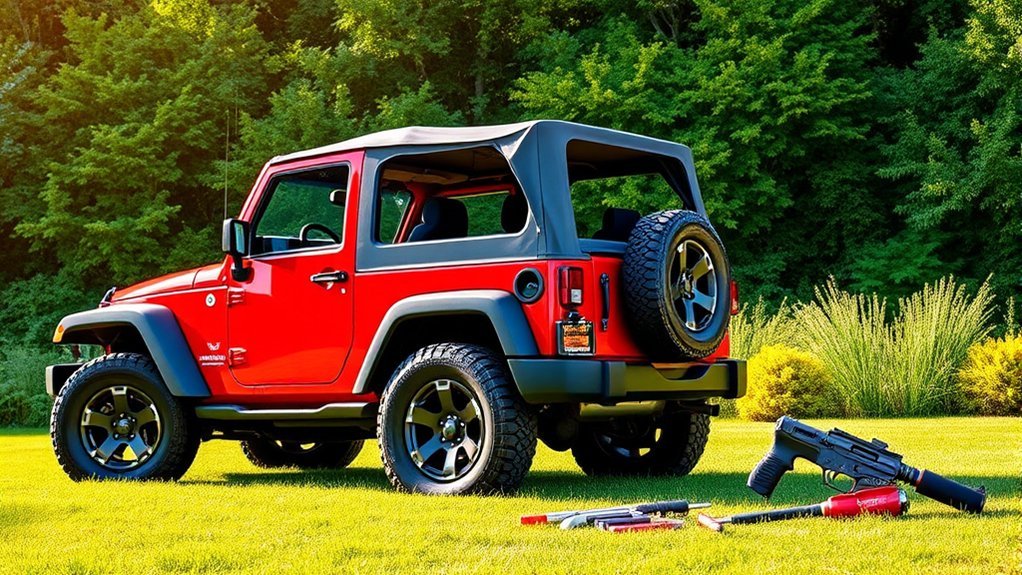
Installing a soft top on a two-door Jeep Wrangler JK is manageable at home when you have the correct top, complete hardware, a warm work area, and the model-specific instructions. The main challenge is not stretching the fabric—it is installing the door frames, pivot hardware, windows, retainers, and rear bar in the correct order without pinching seals or cross-threading fasteners.
Quick Answer
To install an OEM-style soft top on a two-door Jeep Wrangler JK, confirm fitment, remove the hard top, install both door frames and the pivot hardware, mount the bow assembly, then raise the top, fit the side and rear windows, seat the swing-gate bar, and close the header latches. Work warm and never force the fabric.
Key Takeaways
- Confirm that the top is made for a 2007–2018 two-door Wrangler JK—not a four-door JKU or newer JL.
- A factory-style first installation begins with the door frames and pivot hardware, not the windshield header.
- Use the correct hardware, start every screw by hand, and tighten only as directed by the top manufacturer.
- Warm ambient conditions make contracted fabric easier to fit, but concentrated heat can damage the top or plastic windows.
- Do not drive until the top, windows, retainers, rear bar, and header latches are fully secured.
At a Glance
| Time Required | About 1–2 hours for a first-time factory-style setup; roughly 20–40 minutes to raise and refit a top already mounted on the Jeep |
| Difficulty | Moderate; easier with a second person |
| Tools Needed | #T30 Torx driver for an OEM-style setup, clean cloths, mild soap, optional rubber mallet, and any tools specified by the exact top manufacturer |
| Cost | No added cost when the complete top and hardware are on hand; missing brackets, knobs, seals, windows, or fasteners add parts cost |
Before You Start: Confirm JK Fitment and Top Type
The two-door Jeep Wrangler JK covers model years 2007–2018. A four-door JK Unlimited is commonly called a JKU, while the newer Wrangler JL uses different top hardware. Verify the model year, two-door body style, soft-top part number, and instruction-sheet revision before opening hardware packages or forcing any component into place.
This guide follows the general first-time setup for the factory-style folding top. It also explains how to raise and refit a top that is already mounted. Replacement skins, frameless tops, cable tops, and aftermarket bow systems may use different rails, screws, seals, or torque specifications.
Note: Your exact top manufacturer’s instructions take priority over a generic guide. Do not combine OEM fastener counts or tightening directions with an aftermarket system unless the manufacturer confirms they are compatible.
Open the Official 2018 JK Owner’s Manual
What You Need for Successful Soft Top Installation
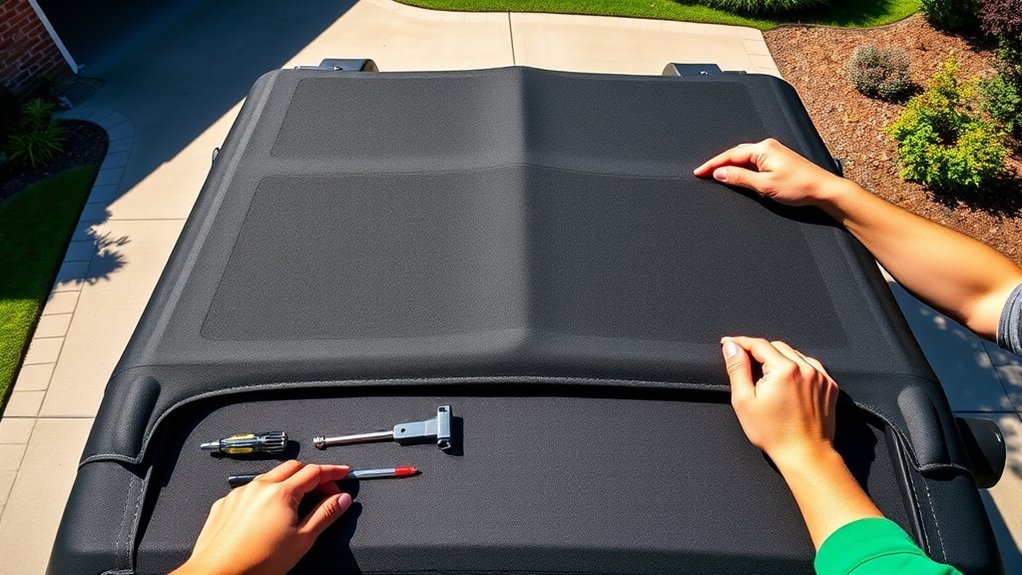
Before installing the soft top on your Jeep Wrangler JK 2-door, lay out every component and compare it with the parts list for your top. Used tops are often sold without the pivot brackets, swing-gate bar brackets, attachment knobs, seals, or model-specific screws.
| Category | Typical OEM-Style Two-Door Items |
|---|---|
| Main top components | Complete fabric, header, and bow assembly; right and left quarter windows; rear window; swing-gate bar |
| Door hardware | Right and left two-door door frames and four attachment knobs—two knobs per frame |
| Mounting hardware | Right and left pivot brackets, the correct bracket screws and pivot screws, and left and right swing-gate bar brackets |
| Tools | #T30 Torx driver for common OEM hardware, clean cloths, mild soap and water, and an optional rubber mallet for carefully seating a stubborn knuckle |
| Helpful extras | A second person, padded work surface, parts trays, soft window towels, and the printed or digital installation guide |
If your Jeep came with a Dual Top package, locate all boxed soft-top parts before removing the hard top. The factory hard and soft tops are intended to be used independently rather than stacked together for continued use.
Warning: Do not replace missing top hardware with random screws that merely appear to fit. Incorrect length, thread pitch, head shape, or strength can damage the sport bar, bracket, seal, or top mechanism.
How to Prepare Your Jeep for Installation
Good preparation prevents most leaks, stripped threads, scratched windows, and alignment problems. Work on level ground with the transmission in Park or in gear, set the parking brake, and leave enough room to walk around both sides and the rear of the Jeep.
Clean Your Jeep Thoroughly
Remove dirt, sand, wax residue, and old adhesive from the windshield header area, door-frame mounting points, sport-bar covers, body-side belt rails, and swing-gate opening. Use mild soap and water rather than harsh solvents.
- Clean the attachment channels: Debris under a retainer can keep it from seating fully.
- Inspect the seals: Look for flattened, torn, folded, or missing weather stripping.
- Clean the zippers: Use mild soap and a small soft brush when dust makes them difficult to operate.
- Dry every surface: Trapped moisture and grit can contribute to leaks, staining, and abrasion.
Gather the Correct Tools and Hardware
Place the left-side parts on the driver side and the right-side parts on the passenger side. Separate the attachment knobs, pivot-bracket screws, pivot screws, and swing-gate hardware so they cannot be mixed.
Use a torque wrench only when the instruction sheet for your exact top provides a torque value. The factory-style two-door procedure calls for the pivot screws to be secured until snug while avoiding cross-threading and overtightening.
Pro Tip: Photograph each group of parts before installation. If something does not align later, the photo makes it easier to confirm whether a left/right component or fastener was swapped.
Step-by-Step Guide to Soft Top Installation for Your Jeep
The following sequence covers a complete OEM-style two-door setup after the bow assembly has been removed from the vehicle. When your top is already attached to its pivot brackets, begin with the applicable door-frame step and then proceed to raising the top.
-
Remove the hard top when applicable. Follow the hardtop-removal section in the owner’s manual. Disconnect the rear electrical connector and washer hose when equipped, protect the painted surfaces, and use enough helpers to lift the hard top safely.
-
Install the right and left door frames. Unfold a frame and remove its two attachment knobs. Place the frame’s locating pin into the hole behind the door opening. Set the front of the frame into the rubber seal at the top of the windshield, then clip the front and rear portions over the sport bar without trapping the sport-bar cover.
-
Install the door-frame knobs. Start both knobs by hand. Tighten the front knob first and then the rear knob. Repeat the process on the opposite side. The frames should sit evenly without folded seals or pinched fabric.
-
Install the swing-gate bar brackets if they were removed. Confirm that the left and right brackets are on their correct sides and fully seated near the rear opening.
-
Install the pivot brackets. Unzip the sport-bar covers to expose the mounting locations. Position the left and right brackets correctly and install the original screws with a #T30 Torx driver. Start each screw by hand and tighten it only until snug.
-
Position the soft-top assembly. Lay the folded assembly in the rear of the Jeep with the bows pointing forward and the curved portions facing upward. A second person can prevent the frame from scraping trim or paint.
-
Connect the bow knuckles and pivot screws. Seat each knuckle on its metal pivot bracket. If a knuckle resists, confirm its angle before applying light taps with a rubber mallet. Reinstall the pivot screws by hand and tighten them until snug without cross-threading.
-
Remove the swing-gate bar from the stored rear window. Set it aside for later. Remove any factory shipping boot that is not intended for continued use. Check that the wiring harness in the left rear corner is not wrapped around or trapped in the bows.
-
Raise the soft top. Open the swing gate, release the storage straps, and raise the folded bows. Engage the Sunrider locking points when equipped. Bring the header forward until it rests on the windshield frame.
-
Hook—but do not fully close—the header latches. Engage both latch hooks with the windshield loops while leaving the handles open. This holds the header in position while leaving enough fabric slack to install the windows and rear retainers.
-
Start the rear sail-panel retainers. Pull the rear corner panels over the rear bow and partially insert the retainers into the body-side channels. Leave the final few inches loose until the windows and rear bar are in position.
-
Install the quarter windows. Place each window on the correct side. Attach the upper rear hook-and-loop area, start the zipper only about 1 inch, seat the front vertical retainer in the door-frame channel, and roll the lower retainer into the body belt rail. Finish closing the zipper and secure the remaining hook-and-loop fastener.
-
Install the swing-gate bar on the rear window. Slide the bar onto the receiver along the bottom inside edge of the window. On the factory-style bar, the spongy part of the seal faces down and outward so it seals against the swing gate.
-
Install the rear window. Start both zipper ends at the lower left corner of the opening. Make sure the zipper teeth are aligned before pulling the slider around toward the right. Seat the swing-gate bar in both brackets and engage the lower window retainers.
-
Finish the sail panels and close the header latches. Press the remaining rear-corner retainers fully into the body channels. Check that no seal is folded, then close both windshield header latches and return the sun visors to position.
| Installation Stage | Checkpoint | Common Mistake |
|---|---|---|
| Door frames | Pins seated, seals flat, front knob tightened before rear knob | Using four-door rear-frame parts or pinching the sport-bar cover |
| Pivot hardware | Correct left/right brackets and hand-started screws | Cross-threading or overtightening the screws |
| Windows | Zippers started squarely before retainers are fully tensioned | Forcing a zipper while the window is misaligned |
| Rear bar | Seal faces down and outward; both ends sit in their brackets | Installing the bar backward or twisting the lower window receiver |
| Final closure | Sail panels fully seated and both header latches closed | Driving with a latch, retainer, or window unfinished |
Warning: Keep hands clear of bows, zippers, hinges, latches, and other pinch points. Do not move the Jeep until the top is fully attached or fully lowered. Remove the side and rear windows before lowering the top, and never force a clamp, retainer, zipper, or bow with a screwdriver.
The Importance of Warming Your Soft Top Before Installation
Soft-top fabric can contract when it is cold or has been folded for a long time. Jeep notes that a factory top may appear to have shrunk below 72°F (24°C). Move the Jeep and top into a warm area, allow the material to relax, and use steady hand pressure rather than sharp pulling.
At 41°F (5°C) or below, do not lower the factory soft top or roll the side and rear curtains. Cold plastic windows and coated fabric are less flexible and more likely to crack, crease, or become damaged.
- Use ambient warmth: A warm garage or mild sunlight heats the fabric more evenly than a concentrated tool.
- Give the material time: Continue only when the fabric and windows bend normally without sharp creases.
- Apply steady tension: Pull evenly near reinforced seams and retainers rather than tugging on a zipper slider.
- Avoid concentrated heat: Do not use a heat gun near fabric, seals, stitching, or plastic windows. Use a hair dryer only when the exact top manufacturer permits it, and follow that manufacturer’s distance and temperature directions.
Essential Tips for Achieving a Perfect Fit on Your Soft Top
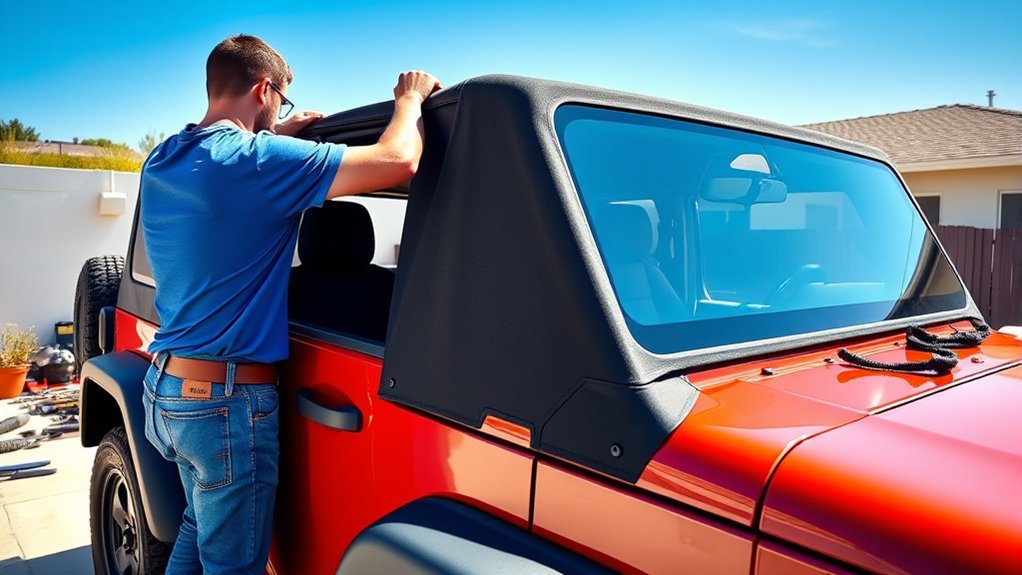
A properly installed soft top should be taut after all retainers and latches are secured, but it should not require prying, cutting, or extreme force. Use these checks to achieve an even, leak-resistant fit:
- Lay every seal flat: Check the windshield corners, door-frame seals, side retainers, and rear brackets for folded rubber.
- Center the header: Both windshield latches should reach their loops with similar effort.
- Start zippers before applying full tension: Engage only a short section, seat the window retainers, and then finish zipping.
- Roll retainers into channels: Do not push their outer edge straight downward or pry them with a tool.
- Check the rear bar: Keep the lower receiver straight and the spongy seal facing down and outward.
- Finish the header latches last: Leaving them hooked but open during window installation preserves useful slack.
A soft top should become evenly taut when its retainers and latches are secured; it should not need to be pried, cut, or forced into place.
Troubleshooting Common Installation Challenges
Most installation problems come from incorrect fitment, a cold top, reversed parts, partially seated door frames, or trying to close the header before the windows and rear retainers are aligned.
Misaligned Side Panels
When a quarter window will not reach its zipper or door-frame channel, first confirm that it is on the correct side and that the right and left door frames are fully seated.
- Check that the door-frame locating pin is in the body hole behind the door opening.
- Make sure the front of the frame is seated in the windshield seal.
- Confirm that the sport-bar cover is not trapped under the frame.
- Open the header latches to release tension.
- Start the window zipper only about 1 inch before installing the front and lower retainers.
- Warm the top with ambient heat when the fabric is stiff.
Rear Window Bar Issues
If the swing-gate bar will not seat, remove it and check its orientation. The bar should slide evenly over the receiver at the bottom inside of the rear window. On the factory-style assembly, the spongy seal faces down and outward.
Make sure the lower receiver is not twisted or crossed, both swing-gate brackets are installed on the correct sides, and the rear zipper is started squarely at the lower left corner. Do not force the bar into one bracket while the opposite side remains several inches out of position.
Tightening Screw Precautions
Do not use a generic crisscross pattern. Start every pivot screw by hand to prevent cross-threading, then tighten only until snug. For the two-door factory door frames, start and tighten the front attachment knob before the rear knob.
A universal torque value cannot be applied to every factory and aftermarket top. Use a torque wrench only when the instruction sheet for the exact part number gives a value for that fastener.
What to Do If Your Soft Top Doesn’t Fit?
If the top still does not fit, stop pulling and work through the installation in order. Continued force can split a seam, damage a zipper, bend a bow, or pull a retainer away from the fabric.
- Verify the vehicle: Confirm that the Jeep is a two-door JK rather than a JKU or JL.
- Verify the top: Compare the label or part number with the manufacturer’s vehicle-application list.
- Check the temperature: Move the top into a warm area and allow cold fabric to relax.
- Release front tension: Hook the header latches but leave them open while fitting the windows and rear panels.
- Reset the windows: Unzip them, confirm left/right placement, and restart each zipper squarely.
- Inspect the frames and brackets: Look for reversed pieces, pinched covers, folded seals, missing hardware, or loose mounting points.
- Reset the swing-gate bar: Remove twists from the lower receiver and check the seal orientation.
- Compare every step with the exact instruction sheet: Aftermarket tops may use cable springs, separate rails, foam blocks, or fasteners not found on the OEM assembly.
When a used top is missing hardware, obtain the correct replacement pieces by part number. Do not drill new holes, trim a retainer, or substitute hardware simply to make the top reach.
Post-Installation Safety and Leak Check
Inspect the entire top before driving. A quick check catches most wind noise, water entry, and loose-panel problems.
- Both windshield header latches are fully closed.
- Both Sunrider locks are engaged when equipped.
- The door frames are secure and their seals sit flat.
- All quarter-window zippers and retainers are fully seated.
- The rear zipper is closed and the swing-gate bar is locked into both brackets.
- Both sail-panel retainers are fully engaged in the body channels.
- No straps, wiring, fabric, or window material is trapped in a bow or latch.
- The windows are clear enough for safe visibility.
Warning: Do not drive with the rear window curtain raised while the side curtains remain installed. Exhaust gases can enter the passenger compartment. If the rear window is removed for ventilation, remove the side curtains as directed by Jeep or the top manufacturer.
After the mechanical check, use a gentle garden-hose flow around the windshield header, upper door corners, quarter windows, and swing-gate opening. Do not aim a high-pressure jet directly into seams. Correct a folded seal or partially seated retainer before applying sealants or adhesives.
How to Keep Your Soft Top in Great Shape
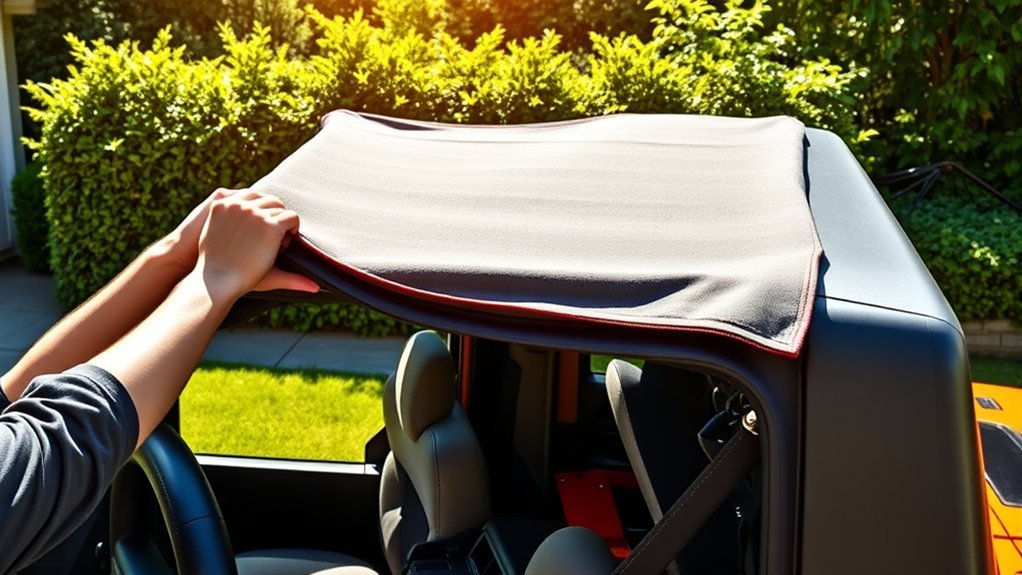
A well-maintained soft top looks better, seals more reliably, and is easier to install after storage.
- Clean the fabric regularly: Use mild soap, cool or lukewarm water, and a soft cloth or brush approved for the material.
- Clean the plastic windows carefully: Rinse away grit before wiping. Use a soft microfiber cloth and a cleaner approved for flexible plastic windows.
- Maintain the zippers: Remove dirt with mild soap and a small brush. Do not pull a zipper slider with pliers.
- Use approved protectants only: Apply UV or water-repellent treatments only when they are suitable for the exact fabric and window material.
- Store windows safely: Keep them clean, dry, and separated by soft material. Avoid sharp folds and placing heavy objects on them.
- Inspect wear points: Check stitching, hook-and-loop fasteners, retainers, seals, brackets, and latch tension.
- Avoid automatic car washes: Brushes, wax, and machinery can scratch flexible windows and damage a fabric top.
- Keep loads off the top: The factory fabric top is not designed to support racks, luggage, spare tires, or camping gear.
When to Get Professional Help for Soft Top Installation
Professional help is worthwhile when the top’s part number cannot be verified, mounting holes appear damaged, threads are stripped, bows are bent, seams are separating, or the top remains badly misaligned after the temperature and hardware have been checked.
An installer or Jeep dealer should also inspect the vehicle when:
- A pivot bracket will not sit flush against the sport bar.
- A header latch cannot engage even with the windows removed and the fabric warm.
- The door frames rock, lift, or leave a large seal gap.
- Used-top hardware appears incomplete or mismatched.
- The Jeep has collision damage near the windshield, sport bar, doors, or rear body channels.
- Water continues entering after all retainers and seals have been reset.
Complex aftermarket tops can use cables, springs, foam seals, separate headers, or special torque values. In those cases, a shop familiar with that top brand can prevent damaged fabric and incorrectly installed hardware.
Frequently Asked Questions
How do you attach a soft top to a two-door Jeep Wrangler JK?
For a factory-style first setup, remove the hard top, install the right and left door frames, mount the pivot brackets, connect the bow assembly, raise the top, hook the header latches, install the quarter and rear windows, seat the swing-gate bar, finish the sail-panel retainers, and close both header latches.
Is it hard to put a soft top on a Jeep?
Raising a top that is already mounted is usually manageable, but a first-time installation is a moderate DIY job. The bow assembly is awkward, cold fabric can be tight, and several seals and retainers must align at the same time. A second person makes the work easier.
What tools are needed for a factory Jeep Wrangler JK soft top?
A common OEM-style two-door setup uses a #T30 Torx driver, the original brackets and screws, clean cloths, and mild soap. A rubber mallet can help seat a stubborn knuckle carefully. Aftermarket tops may require sockets, screwdrivers, pliers, or a torque wrench listed in their instructions.
Why is my Jeep soft top too tight?
The fabric may be cold or contracted from storage, the header latches may have been closed too early, a door frame may be out of position, or a window retainer may be installed in the wrong order. Warm the material with ambient heat, reopen the header latches, and reset the windows without forcing them.
Which way does the rear window bar face?
On the factory-style JK swing-gate bar, the spongy part of the seal faces down and outward toward the swing gate. The bar should slide evenly onto the receiver at the bottom inside edge of the rear window and seat in both rear brackets.
Can you drive a Jeep JK with the rear soft-top window removed?
Do not drive with the rear curtain raised while both side curtains remain installed because exhaust gases may enter the cabin. When using an open rear configuration, follow the owner’s manual or top manufacturer’s ventilation instructions and remove the side curtains when directed.
Will a four-door JKU or newer JL soft top fit a two-door JK?
No. The body length, door-frame arrangement, mounting hardware, windows, bows, and rear components differ. Match the soft top to the exact model year, JK body style, door count, and manufacturer part number.
Conclusion
Installing a soft top on a two-door Jeep Wrangler JK becomes much easier when you identify the exact top, organize every bracket and fastener, work in warm conditions, and follow the correct sequence. Install the door frames and pivot hardware first, fit the windows and rear bar before applying full tension, and finish with a complete latch, retainer, seal, and safety inspection. When a part does not align, stop and find the cause rather than forcing it.
Sources
- Jeep Brand: 2000s Jeep History — confirms the 2007–2018 Wrangler JK generation and two-door body style.
- 2018 Jeep Wrangler JK Owner Manual — supports the OEM two-door door-frame, pivot-hardware, raising, window, rear-bar, temperature, and safety procedures.
- 2018 Jeep Wrangler JK Quick Reference Guide — confirms removable-top options and directs owners to the full manual for applicable warnings and procedures.
- Bestop Trektop NX Glide 2-Door Installation Instructions — demonstrates why aftermarket top hardware, tools, seals, and tightening specifications must follow the exact product guide.







Leave a Reply