
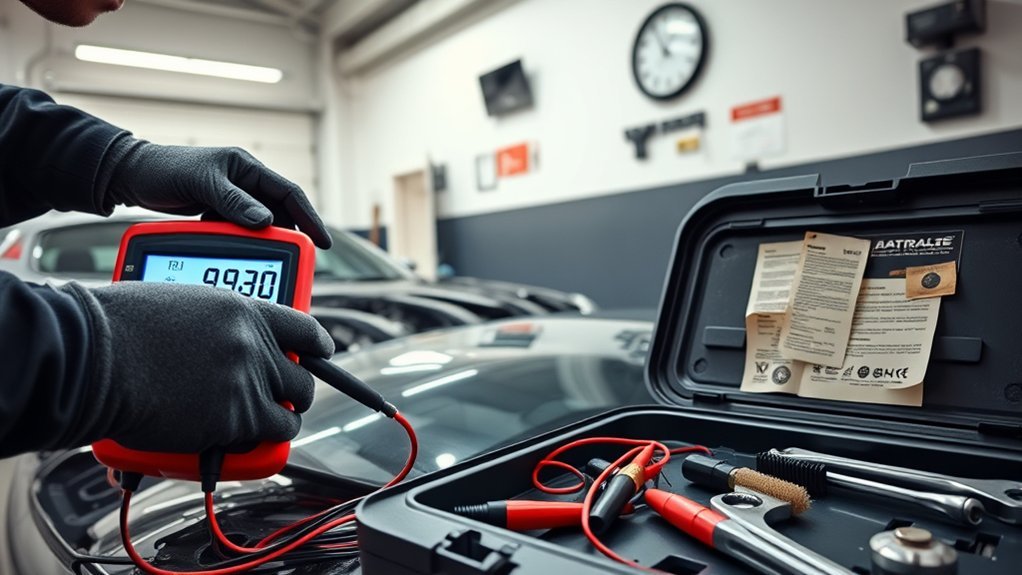
Testing a car battery at home can show whether it is discharged, weak while starting, or not receiving the right charge from the vehicle. A multimeter handles the basic voltage checks, but voltage alone does not prove that the battery can still deliver enough current. A complete diagnosis combines inspection, voltage testing, a cranking check, and a compatible load or conductance test.
Quick Answer
Turn off the vehicle and inspect its 12-volt battery before measuring across the positive and negative terminals. A rested lead-acid battery near 12.6 volts is usually fully charged. Check voltage while cranking, then use a compatible conductance or load tester. Recharge a low battery before judging its condition.
Key Takeaways
- A resting voltage reading mainly shows the battery’s state of charge, not its full state of health.
- A conventional, fully charged 12-volt lead-acid battery often reads about 12.6 volts after it has rested.
- Charge and retest a battery that reads below about 12.4 volts before performing a traditional load test.
- The familiar 9.6-volt load-test limit applies at about 70°F and must be adjusted for battery temperature.
- Slow cranking can also come from corroded cables, poor grounds, excessive starter draw, or the wrong battery size.
- Do not probe, disconnect, or service an EV or hybrid high-voltage traction battery with this procedure.
At a Glance
| Time Required | About 20–30 minutes, including stabilization time |
| Difficulty | Beginner for voltage checks; intermediate for load or parasitic-draw testing |
| Tools Needed | Digital multimeter, compatible battery analyzer or load tester, safety glasses, gloves, terminal brush, and vehicle manual |
| Cost | No added cost if you already own the tools; tester and multimeter prices vary |
Warning: Lead-acid batteries contain corrosive electrolyte and can release flammable gas. Work in a ventilated area away from flames, cigarettes, and sparks. Remove metal jewelry, wear eye protection and gloves, and never bridge the terminals with a tool. Do not charge or load-test a battery that is cracked, leaking, swollen, physically damaged, or suspected of being frozen.
Know Which Battery You Are Testing
This guide covers a vehicle’s 12-volt starting or auxiliary battery. That includes most flooded lead-acid, AGM, and EFB batteries. These battery types use similar basic voltage checks, but charger settings and electronic tester selections must match the battery label.
- Flooded lead-acid: A traditional battery with liquid electrolyte. Some have removable caps, while others are sealed or labeled maintenance-free.
- AGM: Common in start-stop and high-electrical-demand vehicles. Select AGM mode when the tester or charger provides one.
- EFB: An enhanced flooded battery used in some start-stop vehicles. Select EFB when available.
- Gel or lithium auxiliary battery: Use only a tester and charger approved for that chemistry. Do not apply a carbon-pile load unless the battery manufacturer permits it.
Note: A hybrid or electric vehicle may have both a 12-volt auxiliary battery and a high-voltage traction battery. This guide applies only to the 12-volt battery. Do not touch orange cables, high-voltage connectors, service plugs, or traction-battery components. See the NHTSA electric and hybrid vehicle safety guidance.
Essential Tools for Testing Your Car Battery
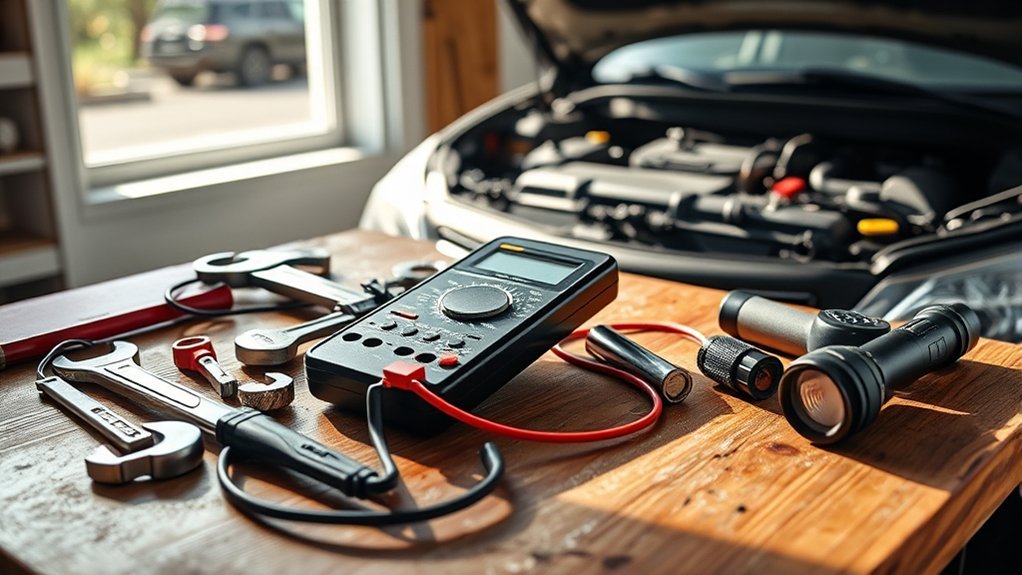
You do not need every battery tool to perform a useful first check. Choose the equipment that matches the test you plan to run:
- Digital multimeter: Measures resting, cranking, and charging-system voltage. Use a meter with intact insulated leads and a DC-voltage range above 15 volts.
- Electronic conductance tester: Estimates battery condition and available cranking performance without applying a large sustained load. Enter the correct battery type and the rating printed on the label.
- Carbon-pile load tester: Applies a controlled high-current load. Use only according to its manual because the tester becomes hot and incorrect settings can damage the battery or tester.
- Battery charger or maintainer: Needed when the battery is too discharged for an accurate load test. Match the charger mode to flooded, AGM, EFB, gel, or lithium chemistry.
- Terminal brush or approved cleaner: Removes corrosion that could interfere with probe or clamp contact.
- Safety glasses and chemical-resistant gloves: Protect against corrosion particles and electrolyte splashes.
- Vehicle owner’s manual: Identifies approved test points, battery location, disconnect precautions, battery type, and vehicle-specific specifications.
A resting-voltage reading shows how charged the battery is. A compatible load or conductance test tells you much more about whether it can still start the vehicle.
Inspect the Battery Before Testing
Turn off the ignition, lights, climate control, charger cables, and accessories. Keep the key or key fob away from the vehicle so modules are less likely to wake while you work.
Check the following before connecting a meter or tester:
- Cracks, leaks, swelling, melted areas, or a loose battery post
- A case that appears frozen or distorted after extreme cold
- Heavy white, blue, or green corrosion around the terminals
- Loose terminal clamps, damaged cables, or frayed wiring
- A missing or loose battery hold-down
- Incorrect battery size, terminal layout, or CCA rating for the vehicle
Do not load-test a damaged or frozen battery. Keep the area ventilated and arrange the meter leads so they cannot contact belts, fans, pulleys, or hot exhaust parts when the engine is started.
If battery acid contacts your skin or eyes, flush the area immediately with plenty of clean water. Continue flushing the eyes for at least 15 minutes and seek prompt medical help. Battery-handling precautions are detailed in the OSHA battery and battery-charging standard.
Car Battery Voltage Chart
The following figures are approximate open-circuit readings for a conventional 12-volt lead-acid battery near room temperature. The battery should be at rest with the engine and accessories off. AGM and other designs may show slightly different values, so use the battery manufacturer’s information when available.
| Resting Voltage | Approximate Meaning | Next Step |
| 12.6–12.8 volts | Fully or nearly fully charged | Continue with cranking and health tests if symptoms remain |
| About 12.4 volts | Roughly 75% charged | Charge before testing if the tester requires a full charge |
| About 12.2 volts | Roughly half charged | Charge with a compatible charger, then retest |
| 12.0 volts or lower | Deeply discharged or possibly weak | Do not condemn it from voltage alone; charge and retest |
| Near 10.5 volts after resting | A shorted cell is possible | Confirm the reading, inspect for active loads, charge safely, and obtain a professional test |
Fluke’s automotive voltage guide lists approximately 12.6 volts as fully charged, 12.4 volts as roughly 75% charged, and 12.2 volts as roughly 50% charged.
How to Test a Car Battery With a Multimeter
1. Prepare an Accurate Resting-Voltage Test
A battery that was recently driven or charged can hold a temporary surface charge that makes the voltage appear higher than its stable level. For the cleanest measurement, let the battery rest with the vehicle off. Follow the vehicle manual if it specifies a waiting period for electronic modules.
When a long rest is not practical, remove surface charge using a method approved by the battery or tester manufacturer. One carbon-pile tester manual instructs users to operate the high-beam headlights briefly, turn them off, and then allow the battery to stabilize before continuing.
Pro Tip: Measure directly on clean battery posts when accessible, then repeat on the cable clamps. A meaningful difference between the two readings can point to corrosion or poor contact at the terminal connection.
2. Set the Multimeter to DC Voltage
- Insert the black test lead into the meter’s COM jack.
- Insert the red lead into the jack marked for volts, often labeled V or V/Ω.
- Select DC voltage, shown as V with a straight line or the letters VDC.
- Choose a range above 15 volts if the meter does not auto-range.
Warning: Do not place a multimeter directly across the battery while the meter lead is in an amperage jack or the dial is set to current. That creates a near-short circuit and can blow the meter fuse, damage the meter, cause arcing, or lead to injury.
3. Measure the Resting Voltage
- Touch the red probe to the positive terminal marked +.
- Touch the black probe to the negative terminal marked −.
- Hold both probes steady without allowing them to touch each other.
- Record the reading and compare it with the voltage chart above.
A negative number usually means the probes are reversed. The voltage magnitude may still be correct, but reconnect red to positive and black to negative before continuing.
If the battery reads below about 12.4 volts, charge it with a compatible charger before a traditional load test. A low reading may mean the battery is discharged rather than permanently failed.
4. Perform a Cranking-Voltage Test
The cranking test shows how far voltage falls while the starter demands high current.
- Leave the probes connected to the battery in DC-voltage mode.
- Use the meter’s MIN/MAX function if available.
- Keep hands, clothing, and leads away from belts, fans, and pulleys.
- Have a helper start the engine while you watch the lowest voltage.
- Record the minimum reading and how quickly the engine cranks.
A warm, fully charged conventional 12-volt system often remains near 9.5–9.6 volts or higher during cranking. However, temperature, engine size, oil viscosity, cable resistance, starter condition, and vehicle specifications affect the result. A low cranking reading does not automatically prove the battery is bad.
If the battery passes a separate health test but cranking voltage remains low, inspect the terminal connections, engine ground, starter cable, and starter current draw.
How to Conduct a Battery Health Test
Resting voltage and battery health are not the same measurement. A weak battery can accept a surface charge and display about 12.6 volts while lacking enough usable capacity to crank the engine. A load or conductance tester provides a more complete assessment.
Using an Electronic Conductance Tester
- Inspect and clean the battery connections.
- Connect the tester using the polarity shown in its manual.
- Select in-vehicle or out-of-vehicle testing as required.
- Select the correct battery type: flooded, AGM, EFB, gel, or another listed option.
- Enter the rating standard and value printed on the battery, such as CCA.
- Run the test and record the result, measured or estimated CCA, voltage, and state-of-health result.
- Follow instructions such as “charge and retest” before replacing the battery.
Do not enter the vehicle’s recommended CCA when a different rating is printed on the installed battery. Electronic testers use the entered battery type and rating to interpret the measurement. Midtronics explains why voltage, conductance, and estimated CCA must be considered together.
Using a Carbon-Pile Load Tester
A carbon-pile test applies a high current and checks how well the battery maintains voltage. The following is a common procedure for conventional 12-volt lead-acid batteries, but the instructions supplied with your tester and battery take priority.
- Confirm that the battery is suitable for carbon-pile testing.
- Charge it to at least about 75% state of charge. The referenced tester requires at least 12.4 volts before testing.
- Remove surface charge and let the battery stabilize.
- Find the battery’s CCA rating on its label.
- Set the load to one-half the rated CCA. A 600-CCA battery would be tested at 300 amps.
- Apply the load for 15 seconds.
- Read the voltage at the end of 15 seconds.
- Remove the load immediately and let the tester cool before another test.
- Compare the result with the tester’s temperature-adjusted chart.
| Battery Temperature | Voltage Should Remain At or Above |
| 70°F / 21°C | 9.6 volts |
| 60°F / 16°C | 9.5 volts |
| 50°F / 10°C | 9.4 volts |
| 40°F / 5°C | 9.3 volts |
| 30°F / −1°C | 9.1 volts |
| 20°F / −7°C | 8.9 volts |
These values come from the Clore Automotive Model 1874 carbon-pile tester manual. Another tester may specify different limits or procedures.
Warning: Carbon-pile testers become very hot. Do not hold the load longer than instructed, touch the hot housing, or connect and disconnect the clamps while the load control is active.
Test the Charging System
A battery can repeatedly discharge even when it is still usable if the alternator, belt, wiring, ground, voltage regulator, battery sensor, or control system is faulty.
- Keep the multimeter set to DC voltage and connected to the 12-volt battery or approved underhood test points.
- Start the engine and keep the test leads clear of moving parts.
- Measure at idle, then follow the vehicle or tester instructions for any specified engine speed and electrical load.
- Watch for unstable voltage, a reading that never rises above resting voltage, or a reading outside the vehicle manufacturer’s range.
Many conventional charging systems produce roughly 13.7–14.7 volts under normal conditions, as described in the Fluke battery-voltage procedure. However, a modern smart charging system may intentionally raise or lower output according to temperature, battery condition, deceleration, electrical demand, and control-module strategy. Use the vehicle service information before declaring an alternator faulty from one voltage reading.
Note: The battery-shaped dashboard lamp is normally a charging-system warning, not proof that the battery itself has failed. If it stays on while driving, reduce unnecessary electrical loads and have the charging system inspected promptly.
Check for Parasitic Battery Drain
Consider a parasitic-draw test when the battery passes its charge and health tests but repeatedly goes dead after the vehicle sits. This is a separate electrical-system test, not a normal part of measuring battery health.
A low-current clamp meter is often the least disruptive option. When using a conventional multimeter in series:
- Fully charge and test the battery first.
- Check the vehicle manual for shutdown, alarm, retained-accessory-power, and battery-disconnect procedures.
- Turn the vehicle off, remove the key or fob, close doors and latches, and wait for modules to enter sleep mode. This may take 20–60 minutes or longer.
- Move the red meter lead to the fused high-current jack and select the highest DC-current range.
- Disconnect the negative cable only when the manufacturer permits it.
- Connect the meter in series between the negative battery post and disconnected cable.
- Do not start the engine, operate windows, switch on lights, or activate another high-current device while the meter is connected.
- Compare the stabilized draw with the vehicle manufacturer’s specification.
Warning: Never connect a meter in current mode directly between the positive and negative battery terminals. Never crank the engine through a series-connected multimeter. Either action can create a severe short circuit or destroy the meter.
There is no single acceptable parasitic-draw limit for every vehicle. Security systems, telematics, keyless entry, control modules, and accessories vary. Follow model-specific service information or have a qualified technician diagnose the circuit.
How to Interpret Your Test Results
| Result or Symptom | What It May Mean | Next Step |
| About 12.6 volts at rest, but slow cranking | Weak capacity, poor cable connection, bad ground, or starter problem | Run a conductance or load test and inspect the starting circuit |
| Below about 12.4 volts at rest | Battery is not fully charged | Charge with the correct charger mode, allow it to stabilize, and retest |
| Fails a proper load or conductance test after charging | Battery has lost starting ability or usable capacity | Replace it with the correct size, type, polarity, and rating |
| Battery passes but dies overnight | Parasitic draw, intermittent module activity, or charging problem | Test key-off current and charging-system performance |
| Battery warning lamp stays on while driving | Charging-system fault | Reduce electrical loads and arrange prompt diagnosis |
| Heavy terminal corrosion | Poor connection, acid vapor, leakage, or charging issue | Clean safely, inspect the case and terminals, and retest |
| Swollen, cracked, leaking, or unusually hot battery | Physical damage, freezing, internal failure, or overcharging | Stop testing and have the battery handled professionally |
Maintaining Your Battery: Best Practices

Regular inspection can prevent a poor connection from being mistaken for a failed battery.
- Keep the battery securely held in its tray so vibration does not damage the case or internal plates.
- Check that terminal clamps are clean and tight without overtightening or twisting the posts.
- Clean light external corrosion with an approved battery-terminal cleaner. A small amount of baking soda mixed with water may be used on external corrosion, but keep the mixture out of cell openings and electrical connectors.
- Rinse or wipe away residue as directed, dry the area, and apply a thin layer of approved terminal protectant or dielectric grease to the exterior after the connection is clean and secure.
- Do not remove caps from an AGM, EFB, gel, lithium, or maintenance-free battery unless its manufacturer specifically allows it.
- Use a chemistry-compatible maintainer when a vehicle sits for long periods.
- Correct recurring undercharging or overcharging instead of repeatedly replacing the battery.
If terminal removal is necessary and the vehicle manual permits it, switch everything off and remove the negative cable first. Reconnect the positive cable first and the negative cable last. Some vehicles require memory-saving procedures, battery-sensor handling, battery registration, window initialization, or other model-specific steps after disconnection.
Battery life varies with climate, use, charging, vibration, and battery type. AAA reports that automotive batteries commonly last about three to five years, with heat often shortening service life. Begin regular professional or electronic testing as the battery approaches three years old. Annual testing is a practical minimum after that point; twice-yearly checks may be worthwhile in severe climates or when symptoms appear.
Common Mistakes in Battery Testing and How to Avoid Them
- Testing immediately after driving or charging: Surface charge can make the reading look better than the stable battery condition.
- Replacing a battery only because it is below 12.4 volts: Recharge it and test again unless it is damaged or unsafe to charge.
- Assuming 12.6 volts proves the battery is healthy: Voltage does not confirm usable capacity or available starting current.
- Applying 9.6 volts as a universal limit: Load-test thresholds depend on temperature and the tester’s instructions.
- Entering the wrong battery type or rating: Conductance-test results depend on accurate battery chemistry and label information.
- Connecting to dirty terminals: Corrosion or loose clamps can create a false failure or hide a cable problem.
- Confusing a carbon-pile test with a CCA estimate: A carbon-pile tester applies a chosen load; a conductance tester estimates available CCA.
- Ignoring the starter and cables: Excessive starter draw and cable resistance can pull voltage down even when the battery is usable.
- Using the multimeter’s current mode across the battery: This creates a short circuit instead of a valid test.
- Testing high-voltage EV parts: The orange high-voltage system requires specialized training and equipment.
When to Replace the Battery
Replacement is usually appropriate when one or more of the following applies:
- The battery fails a correct load or conductance test after being properly charged.
- It repeatedly loses charge despite a normal charging system and no excessive parasitic draw.
- Its case is cracked, leaking, swollen, or physically damaged.
- A rested voltage near 10.5 volts persists after safe charging and professional confirmation.
- Available CCA is below the tester or vehicle manufacturer’s acceptable range.
- It has recurring slow-crank or no-start symptoms and other starting-system faults have been ruled out.
Use the battery type, group size, terminal orientation, hold-down design, and CCA rating specified for the vehicle. Start-stop vehicles should not be downgraded from AGM or EFB to an unsuitable conventional battery.
A battery that is merely discharged may recover after correct charging. A battery with an internal short, severe sulfation, physical damage, frozen electrolyte, or worn-out plates should not be treated with improvised “revival” methods. Replace and recycle it through an automotive battery retailer or approved collection location.
Frequently Asked Questions
How often should I test my car battery?
Begin regular testing when the battery approaches three years old and test at least annually after that. Test sooner if the engine cranks slowly, the vehicle needs a jump-start, the battery repeatedly discharges, or the vehicle has been exposed to severe heat or cold. Twice-yearly testing is reasonable for an older battery in a harsh climate.
Can a multimeter tell me whether a car battery is bad?
A multimeter can reveal resting voltage, voltage drop while cranking, and charging-system output. It cannot directly measure the battery’s full capacity or reliably estimate available CCA. Use a compatible conductance or load tester when you need a stronger pass-or-fail health assessment.
Can a dead car battery be revived?
A battery that is only discharged may work again after slow charging with a compatible charger. Charging will not safely repair a cracked case, frozen electrolyte, internal short, severe plate damage, or a battery that repeatedly fails a proper health test. Do not charge a leaking, swollen, damaged, or frozen battery.
How does temperature affect battery performance?
Cold temperatures reduce the battery’s available starting performance while making the engine harder to crank. Heat speeds chemical aging and can shorten battery life. Battery temperature also changes the minimum acceptable voltage during a traditional load test, so use the tester’s temperature-compensation chart.
How long does a car battery typically last?
Many 12-volt automotive batteries last about three to five years, but climate, vibration, charging habits, short trips, electrical demand, and battery design can shorten or extend that range. Test the battery rather than replacing it by age alone unless the manufacturer gives a specific service interval.
What signs indicate a weak or failing battery?
Common signs include slow or uneven cranking, repeated jump-starts, clicking with no crank, dimming lights during starting, a swollen case, heavy terminal corrosion, and failure of a proper load or conductance test. The battery-shaped dashboard lamp usually indicates a charging-system fault and does not prove the battery itself is bad.
What voltage should a car battery show while the engine is running?
Many conventional systems produce roughly 13.7–14.7 volts under normal conditions. Modern smart charging systems may intentionally operate outside that range for periods of time. Compare the reading with the vehicle manufacturer’s procedure and consider temperature, electrical load, engine speed, and battery condition.
Can I test a car battery without disconnecting it?
Yes. Resting-voltage, cranking-voltage, charging-system, and many conductance tests can be performed with the battery connected. Use the approved battery posts or remote test points listed in the owner’s manual. Disconnecting the battery may erase settings or require vehicle-specific reset and battery-management procedures.
Conclusion
Start with a safe visual inspection, then check resting voltage, cranking voltage, battery health, and charging-system performance in that order. A rested reading near 12.6 volts usually means a conventional lead-acid battery is charged, but it does not prove the battery can still deliver its rated starting power. Recharge low batteries before judging them, apply temperature correction during load testing, and inspect the cables, starter, and charging system before replacing a battery that gives a borderline result.
Sources
- Fluke: How to Measure Battery Voltage With a Multimeter — multimeter setup, surface charge, resting voltage, and conventional charging voltage
- Clore Automotive Model 1874 Operator’s Manual — battery inspection, state-of-charge requirements, one-half-CCA loading, test duration, and temperature compensation
- Midtronics: Key Indicators of a Healthy Battery Test — voltage, conductance, estimated CCA, surface charge, and state-of-health interpretation
- OSHA: Batteries and Battery Charging — acid-handling protection, flushing, ventilation, and battery safety
- AAA: How Long Do Car Batteries Last? — typical service life and the effects of climate
- NHTSA: Electric and Hybrid Vehicle Safety — high-voltage traction-battery and electrical-system hazards







Leave a Reply