
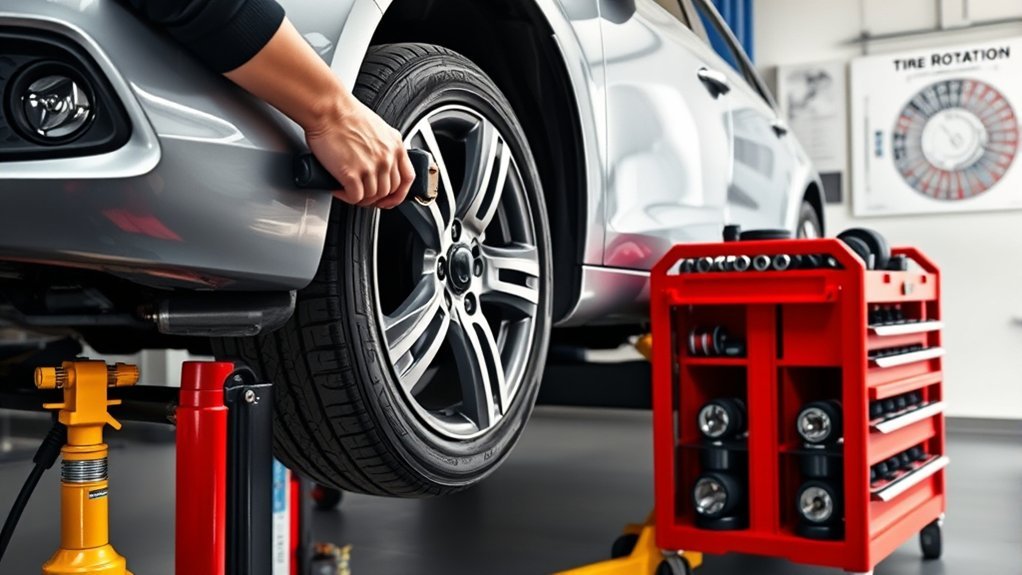
Rotating your tires helps spread wear across the set, but the job is safe only when you use the correct pattern, approved lift points, rated supports, and the vehicle’s exact lug-nut or wheel-bolt torque. Before you start, confirm the instructions for your vehicle’s model year, drivetrain, tire sizes, tread design, and tire-pressure monitoring system.
Quick Answer
To rotate tires safely, park on a hard, level surface, loosen the lug nuts or bolts, lift the vehicle only at approved points, support it with rated jack stands, move each wheel in the manufacturer-approved pattern, tighten fasteners in sequence to the specified torque, and set cold tire pressures for the wheels’ new positions.
Key Takeaways
- Your owner’s manual or service information overrides any generic rotation diagram.
- Never rely on a hydraulic or scissor jack alone; use rated jack stands on approved support points.
- Forward-cross, rearward-cross, X-pattern, directional, staggered, dually, and five-tire setups use different procedures.
- Tighten lug nuts or bolts with a torque wrench to the vehicle manufacturer’s specification.
- After rotation, set cold pressures for the new front and rear positions and perform any required TPMS relearn.
At a Glance
| Time Required | About 45–90 minutes for a careful DIY rotation |
| Difficulty | Moderate; safe lifting and accurate torque are essential |
| Tools Needed | Floor jack, rated jack stands, wheel chocks, correct socket, breaker bar or lug wrench, torque wrench, tire gauge, and chalk or labels |
| Cost | No consumable cost if you already own the proper tools; otherwise professional service may be safer and less expensive than buying lifting equipment |
Before You Begin: Verify the Vehicle-Specific Procedure
Check the owner’s manual, service information, tire warranty, and tire sidewalls before moving any wheel. Use the exact year, model, drivetrain, wheel size, and tire size. When model-year equipment varies, verify the vehicle identification number with a dealer or manufacturer parts-and-service system.
- Confirm the interval: Follow the vehicle or tire manufacturer’s schedule. The National Highway Traffic Safety Administration says that, when the manufacturer recommends rotation, a common interval is 5,000 to 8,000 miles or sooner if uneven wear appears.
- Confirm the pattern: Drivetrain alone is not enough. Tire direction, front-to-rear size differences, dual rear wheels, and a matching full-size spare can change the pattern.
- Find approved lift points: Never guess based on nearby sheet metal, suspension arms, battery shields, or underbody covers.
- Check special modes: Some electric vehicles and vehicles with air suspension require a jack, lift, or service mode before raising the vehicle.
- Find the torque specification: Use the value and procedure listed for your exact wheels and fasteners.
Warning: Work only on a hard, level surface. Use a jack to lift and properly rated jack stands to support the vehicle at approved points. Never place any part of your body under a vehicle supported only by a jack. The CDC-hosted shop lifting guidance explains that jacks can tip, bleed down, or fail.
Essential Tools for Tire Rotation
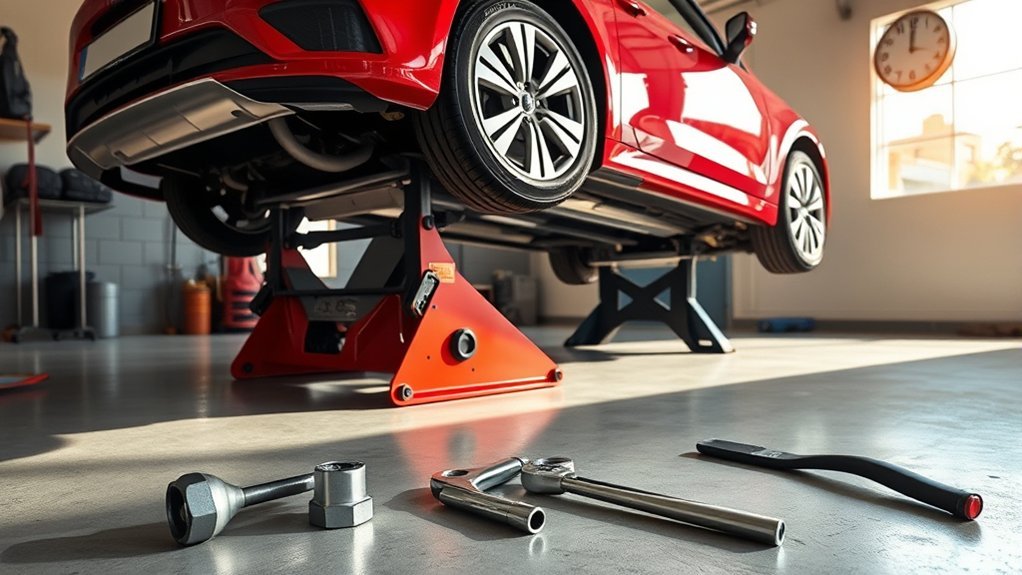
Gather every tool before lifting the vehicle. Stopping midway to search for a socket or stand increases the chance of an unsafe shortcut.
- Floor jack: Rated above the load it will lift and compatible with the approved jacking points.
- Jack stands: Enough stands, with adequate combined capacity, to support the vehicle using the method in the service information.
- Wheel chocks: Used on wheels that remain on the ground so the vehicle cannot roll.
- Correct socket and breaker bar or lug wrench: The socket must fully fit the lug nuts or wheel bolts.
- Torque wrench: Used for final tightening to the stated specification, not as a breaker bar.
- Tire-pressure gauge and inflator: Needed to set cold pressures after the wheels change positions.
- Chalk, tape, or labels: Mark each wheel’s original position, such as LF, RF, LR, and RR.
- Gloves, eye protection, and a kneeling mat: Helpful for grip, debris protection, and comfort.
A lug wrench removes fasteners; a torque wrench finishes the job at the vehicle manufacturer’s specified torque.
Why Inspecting Tires Before Rotation Matters
Inspecting each tire before rotation can reveal damage or a mechanical problem that rotation will not fix. Look over the tread, shoulders, sidewalls, valve stems, and wheels in good light.
- Damage: Do not keep driving on a tire with exposed cords, a sidewall bulge, a deep cut, major cracking, or impact damage. Have it inspected by a qualified tire professional.
- Tread depth: Measure the inner, center, and outer grooves. NHTSA advises replacing tires at 2/32 inch, when the tread is level with the built-in wear indicators.
- Wear pattern: One-sided wear may point to alignment problems. Cupping can point to worn suspension parts or imbalance. Center or shoulder wear can be linked to inflation or operating conditions.
- Unequal tread depth: Large differences can matter on all-wheel-drive and four-wheel-drive vehicles. Follow the manufacturer’s allowable tread-depth or circumference limits.
- Wheel condition: Check for bends, cracks, missing weights, damaged studs, swollen lug nuts, and corrosion on the wheel-to-hub mating surfaces.
Record tread depth and pressure at each original corner. This makes future wear easier to track and can show whether rotation, alignment, balancing, or repair is needed.
Understanding Tire Rotation Patterns

The correct pattern depends on the vehicle and tires. The patterns below are common examples for four tires of the same size, but the owner’s manual remains the final authority. Bridgestone’s rotation guide also shows how drivetrain, tire direction, staggered sizing, and a full-size spare change the procedure.
| Setup | Common Pattern | Wheel Movement |
| Front-wheel drive; same-size, non-directional tires | Forward cross | Front tires move straight back; rear tires cross to the opposite front corners. |
| Rear-wheel drive; same-size, non-directional tires | Rearward cross | Rear tires move straight forward; front tires cross to the opposite rear corners. |
| Some AWD or 4WD vehicles; same-size, non-directional tires | X-pattern or manufacturer-specified cross | Each tire moves diagonally to the opposite axle and side, unless the manual specifies another pattern. |
| Directional tires; same size front and rear | Front to rear | Keep each wheel on the same side so the sidewall rotation arrow still points forward. |
| Staggered sizes; non-directional tires | Side to side, if approved | Fronts trade sides and rears trade sides. Some staggered setups cannot be rotated. |
A matching full-size spare may be included in a five-tire pattern if the vehicle and tire manufacturers approve it. Temporary spares are not included. Dual-rear-wheel vehicles use special patterns, and some performance or mixed-fitment vehicles should not be rotated at all.
Note: “Asymmetric” and “directional” do not mean the same thing. An asymmetric tire usually has an “Outside” marking that must remain outward. A directional tire has a rotation arrow that must continue pointing in the forward-rolling direction.
How to Rotate Tires Step by Step
1. Prepare the Vehicle
Park on a firm, level surface away from traffic. Shift an automatic transmission into Park or a manual transmission into gear, switch off the vehicle, remove the key or disable ready mode, and apply the parking brake as directed by the owner’s manual. Chock the wheels that will remain on the ground during each lifting step.
2. Loosen the Lug Nuts or Wheel Bolts
Remove any wheel covers needed for access. With the tires still on the ground, break each fastener loose about one-quarter turn. Do not fully remove it. Use the correct socket so you do not round the fastener.
3. Lift and Support the Vehicle
Place the jack only at an approved lifting point. Raise the vehicle slowly, then position rated jack stands at the specified support points. Transfer the vehicle’s weight onto the stands and confirm stability before removing a wheel.
A full four-wheel cross rotation may require four approved support points or a manufacturer-approved sequence using a matching full-size spare. Do not improvise with stacked lumber, bricks, cinder blocks, or a jack left under load. When your equipment cannot support the required pattern safely, use a professional shop.
4. Remove and Label the Wheels
Remove the loosened fasteners and place them in a clean container. Lift each wheel straight off the hub and mark its original location. Keep wheels flat or upright where they cannot roll or fall.
5. Inspect the Hub, Wheel, and Fasteners
Wipe loose dirt and rust flakes from the wheel and hub mating faces. Inspect studs, bolts, lug nuts, wheel seats, and center bores for damage. Do not oil or grease threads or seating surfaces unless the vehicle service information specifically requires it; lubrication can change the clamping force produced by a given torque.
6. Move Each Wheel to Its New Position
Follow the confirmed rotation diagram and double-check every label. For directional tires, verify that the sidewall arrow points in the forward direction at the new location. For asymmetric tires, keep the side marked “Outside” facing outward.
7. Install and Torque the Wheels
Place each wheel squarely against the hub. Start every lug nut or wheel bolt by hand for several turns to avoid cross-threading. Snug the fasteners in the crisscross or star sequence specified for the wheel.
Lower the vehicle until the tire just contacts the ground and cannot spin, then apply final torque in the proper sequence with a calibrated torque wrench. Repeat the sequence to confirm every fastener. Reinstall wheel covers only after the torque check.
Pro Tip: The valve stem is already fixed in the wheel. You do not align it with a “wheel rim cutout.” Only align a removable wheel cover or hubcap notch with the valve stem when that cover is designed with one.
8. Set Tire Pressure and Check TPMS
After all wheels are installed, adjust pressure for each wheel’s new position. Use the cold-pressure values on the driver-door placard or in the owner’s manual, not the maximum pressure molded into the tire sidewall. Front and rear specifications may differ.
Some vehicles automatically relearn sensor positions after driving. Others require a dashboard procedure, scan tool, or dealer service. Follow the model-specific TPMS instructions and confirm that no warning remains.
Why Checking Tire Pressure After Tire Rotation Is Crucial
Correct tire pressure supports predictable handling, even tread contact, tire durability, and fuel efficiency. NHTSA recommends checking all tires, including the spare, at least monthly when they are cold and using the vehicle manufacturer’s pressure rather than the sidewall maximum.
- Helps prevent shoulder or center wear caused by incorrect inflation.
- Supports braking, steering response, and traction.
- Reduces heat buildup associated with significant underinflation.
- Prevents a front-to-rear pressure difference from ending up on the wrong axle after rotation.
- Helps the rotation deliver the even-wear benefit it was meant to provide.
The U.S. Department of Energy reports that proper inflation can improve gasoline mileage by about 0.6% on average and up to 3% in some cases. It also reports about a 0.2% fuel-economy loss for each 1 psi average pressure drop across all four tires. These figures are estimates, not a promise for every vehicle.
Top 5 Mistakes to Avoid When Rotating Tires
1. Using the Wrong Rotation Pattern
A drivetrain-based diagram is only a starting point. Directional tread, staggered sizes, a full-size spare, dual rear wheels, and manufacturer limits can change the pattern or rule out rotation. Confirm the exact procedure before lifting the vehicle.
2. Supporting the Vehicle With a Jack Alone
A jack is a lifting device, not a stable long-term support. Using the wrong lift point, soft ground, undersized equipment, or too few stands can allow the vehicle to shift or fall.
3. Guessing at Lug-Nut or Wheel-Bolt Torque
Impact tools can leave fasteners too loose or too tight. Over-tightening can damage studs, bolts, wheel seats, or brake components; under-tightening can allow the wheel to loosen. Start fasteners by hand and use a torque wrench for the final setting.
4. Neglecting the Tire-Pressure Check
Pressure may be different for the front and rear axles. After the wheels change positions, set each tire to the placard value for its new location. Check pressure cold when possible, and do not bleed a warm tire down to the cold specification.
5. Skipping the Visual Tire Inspection
Rotation can hide where a problem began if you do not record it first. Check and document tread depth, bulges, cuts, exposed cords, cracking, punctures, uneven wear, missing balance weights, and wheel damage before moving the tires.
What Happens If You Skip Checking Tire Pressure After Rotation?

Uneven Tire Wear
Underinflation tends to load the shoulders and increases flex and heat. Overinflation can reduce the size and shape of the contact patch and may increase center wear. Either condition can undo the even-wear benefit of rotation.
Reduced Fuel Efficiency
Significant underinflation increases rolling resistance. The Department of Energy’s estimate is about 0.2% lower fuel economy for each 1 psi average pressure drop across all four tires, while maintaining proper pressure improves mileage by about 0.6% on average and up to 3% in some cases.
Compromised Vehicle Safety
Incorrect pressure can affect steering response, braking, traction, heat buildup, and tire durability. A TPMS warning is not a substitute for a gauge because the system may not alert you until a tire is already significantly underinflated.
Troubleshooting Problems After Tire Rotation
- New vibration: Stop and verify wheel seating and lug torque. If they are correct, a lost balance weight, bent wheel, tire defect, or pre-existing imbalance may be responsible.
- Vehicle pulls or steering wheel is off-center: Check pressures first. Persistent pulling or uneven wear may require an alignment and suspension inspection.
- New humming or road noise: Minor noise can become more noticeable when an existing wear pattern moves to a new corner. Severe noise needs inspection.
- TPMS light stays on: Recheck cold pressure, inspect for a leak, and perform the model-specific relearn procedure.
- Clicking, clunking, or looseness: Stop driving and inspect the wheel installation immediately.
When to Have a Professional Rotate the Tires
Use a qualified tire or repair shop when you lack rated lifting equipment, cannot identify the approved support points, have locking or damaged fasteners, see tire or wheel damage, need a TPMS scan tool, have a dually or complex staggered setup, or cannot confirm the correct pattern and torque. Also seek service when uneven wear suggests an alignment, balance, suspension, or driveline problem.
Frequently Asked Questions
How often should I rotate my tires?
Follow the vehicle owner’s manual and tire warranty. NHTSA gives 5,000 to 8,000 miles as a common interval when the manufacturer recommends rotation, but severe use or uneven wear may call for earlier service.
Can I rotate my tires without professional help?
Yes, when you have the correct pattern, approved lift points, rated jack stands, the right socket, and the exact torque specification. Use a shop when you cannot support the vehicle safely or the setup requires special equipment.
What tools are absolutely necessary for tire rotation?
At minimum, use a properly rated jack, rated jack stands, wheel chocks, the correct lug socket and handle, a torque wrench, and a tire-pressure gauge. The exact number of stands depends on the manufacturer-approved lifting method.
Do all vehicles use the same tire rotation pattern?
No. Drivetrain, tire direction, front and rear sizes, dual rear wheels, spare-tire type, and manufacturer instructions all affect the pattern. Some vehicles should not have their tires rotated.
Is it safe to drive on uneven tire wear?
Uneven wear needs prompt inspection. It can reduce wet grip and may signal incorrect pressure, misalignment, imbalance, damaged suspension parts, or tire damage. Replace any tire that reaches 2/32 inch or has unsafe damage.
Can staggered tires be rotated?
Sometimes. Non-directional tires of different front and rear sizes may be swapped side to side on the same axle if the manufacturer permits it. Directional staggered setups may require tire demounting or may not be rotatable.
Do I need to reset TPMS after rotating tires?
It depends on the vehicle. Some systems relearn wheel positions automatically, while others need a menu procedure, activation tool, scan tool, or dealer service. Follow the owner’s manual and verify the displayed positions and pressures.
Conclusion
A good tire rotation is more than moving four wheels. Verify the vehicle-specific pattern, inspect every tire, use approved lift and support points, tighten fasteners to the exact torque, and set cold pressure for each new position. When the setup or equipment creates doubt, professional service is the safer choice. Done correctly, rotation helps maintain even wear, consistent handling, and longer service from the tire set.
Sources
- National Highway Traffic Safety Administration: TireWise — tire pressure, tread depth, inspection, TPMS, and rotation guidance.
- Bridgestone: How Often to Rotate Tires? — common rotation patterns for drivetrain, directional, staggered, and spare-tire setups.
- CDC Stacks: Shop Load Handling Safety — firm surfaces, rated lifting points, jack stands, and support safety.
- U.S. Department of Energy: Gas-Saving Tips — fuel-economy estimates related to proper tire inflation.







Leave a Reply