
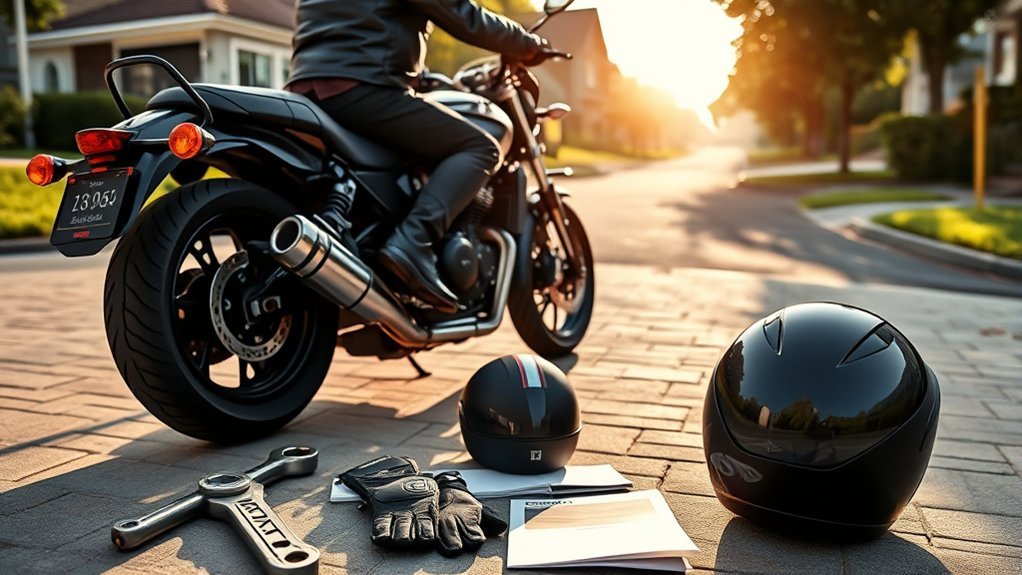
Learning how to ride a motorcycle begins long before entering traffic. A new rider needs proper licensing, hands-on instruction, protective gear, a motorcycle that fits, and repeated practice in a controlled area. The basic skills include inspecting the bike, using the clutch and throttle smoothly, shifting correctly, braking with both brakes, turning, and scanning for hazards.
Quick Answer
To ride a motorcycle safely, complete an approved beginner course, wear full protective gear, inspect the motorcycle, learn every control, and practice starting, stopping, shifting, braking, and turning on a closed range. Enter public traffic only after you can perform those skills consistently and have the license or endorsement required where you live.
Key Takeaways
- Written instructions supplement hands-on rider training; they do not replace a certified instructor and controlled practice range.
- Wear a properly fitted DOT-compliant helmet, motorcycle jacket, gloves, long pants, eye protection, and over-the-ankle boots.
- Inspect tires, controls, lights, fluids, chassis, brakes, and stands before riding.
- Use the clutch friction zone and smooth throttle to move away without stalling or surging.
- Use both brakes progressively. Do not rely on fixed front-to-rear braking percentages.
- On most manual motorcycles, first gear is selected by pressing down; higher gears are selected by lifting the shift lever.
At a Glance
| Time Required | A complete beginner rider course plus repeated supervised practice; becoming road-ready is not a one-session task |
| Difficulty | Beginner level, but physically and mentally demanding with serious consequences for mistakes |
| Tools Needed | Properly fitted motorcycle, full riding gear, owner’s manual, tire-pressure gauge, and a legal closed practice range |
| Cost | Varies by state, course provider, permit or endorsement fees, helmet, and protective gear |
Warning: Do not attempt to learn motorcycle control for the first time in public traffic. Take a certified hands-on course or practice under qualified supervision on a closed, legal range. Follow your motorcycle’s owner’s manual whenever its instructions differ from general guidance.
Get Licensed, Take a Course, and Choose a Motorcycle That Fits
Motorcycle operation requires different skills from driving a car. Licensing rules vary by jurisdiction, but riders generally need a motorcycle permit, license, or endorsement before riding on public roads. Check your state or provincial motor-vehicle agency for the current requirements.
The safest starting point is a certified hands-on course such as the Motorcycle Safety Foundation Basic RiderCourse or an equivalent state-approved program. Beginner courses introduce the controls and then build skills through supervised exercises involving the friction zone, starting, stopping, shifting, cornering, quick stops, swerving, and limited-space maneuvers.
Use a motorcycle that you can balance and control comfortably. You should be able to reach the handlebars, clutch, front brake, shifter, rear brake, and ground without stretching or twisting. The motorcycle should not feel too heavy to hold upright at a stop. Engine size alone does not determine whether a bike is beginner-friendly; weight, power delivery, seat height, steering response, and riding position also matter.
NHTSA reports that 6,228 motorcyclists were killed in U.S. traffic crashes in 2024, accounting for 16% of all traffic fatalities. Training, licensing, protective equipment, sober riding, and sound judgment are essential parts of learning to ride.
Essential Motorcycle Riding Gear and Tools
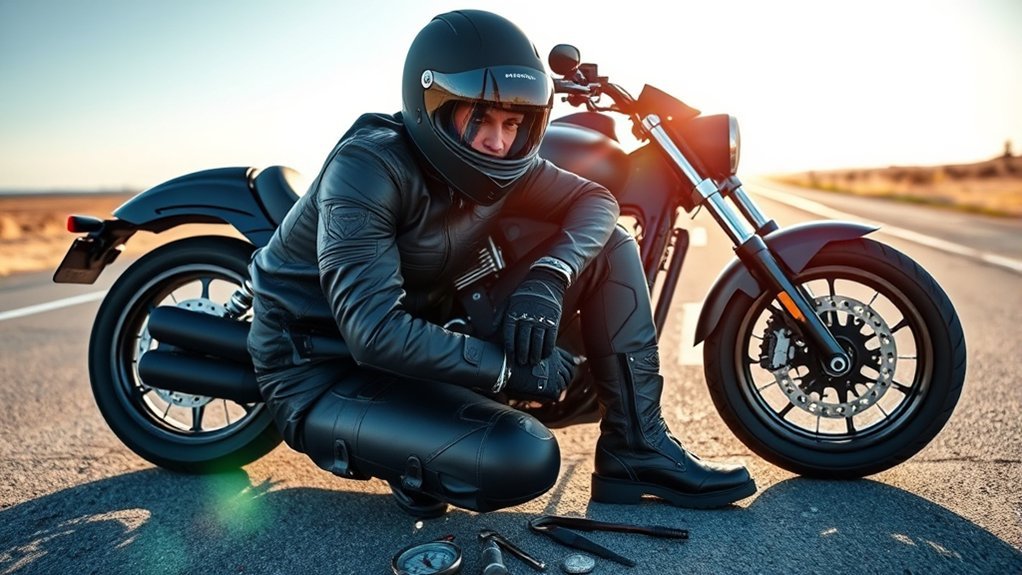
Proper gear improves comfort, visibility, grip, and protection. Begin with a correctly sized DOT-compliant motorcycle helmet. NHTSA does not pre-approve individual helmets; manufacturers certify that their helmets comply with Federal Motor Vehicle Safety Standard No. 218 and apply the required DOT certification label.
The helmet should sit level on your head, feel evenly snug without painful pressure points, and remain secure when the chin strap is fastened. Replace a helmet after a significant impact and follow the helmet manufacturer’s inspection and replacement instructions.
Complete your riding gear with:
- Motorcycle jacket: Choose abrasion-resistant material with impact protection at the shoulders, elbows, and back where available.
- Gloves: Use motorcycle gloves that protect the palms and knuckles while allowing full control movement.
- Pants: Wear abrasion-resistant riding pants or other durable leg protection rather than shorts or thin fashion fabric.
- Boots: Choose sturdy, closed footwear that covers the ankles and has secure laces, buckles, or closures.
- Eye protection: Use a clean face shield or impact-resistant riding eyewear when the helmet does not provide a shield.
- Visibility: Bright colors and reflective material can help other road users detect you, especially in dim conditions.
A compact motorcycle toolkit can be useful on longer rides. Depending on the motorcycle and trip, it may include the manufacturer’s tools, a tire-pressure gauge, suitable wrenches, a tire-repair kit for repairable tubeless punctures, a small flashlight, and a first aid kit. A repair kit is not a substitute for roadside assistance, and some tire damage cannot be safely repaired beside the road.
Pro Tip: Put on every piece of riding gear before the motorcycle starts moving, even during slow parking-lot practice. Many beginner falls occur at low speed, where hands, ankles, knees, and elbows can still be injured.
Why Understanding Your Motorcycle Matters
Before starting the engine, identify every control and confirm how it operates. Control layouts are similar on many manual motorcycles, but scooters, electric motorcycles, linked-brake systems, automatic transmissions, and dual-clutch models may work differently. Read the owner’s manual for the exact motorcycle you will ride.
Key Motorcycle Components and Controls
| Component or Control | Typical Location and Purpose |
|---|---|
| Throttle | Right handgrip; rotates to control engine power and should return smoothly when released |
| Front brake | Right-hand lever on most motorcycles; supplies much of the available stopping force during straight-line braking |
| Rear brake | Right-foot pedal on most manual motorcycles; supports balanced, controlled braking |
| Clutch | Left-hand lever on most manual motorcycles; controls the connection between engine power and the rear wheel |
| Shift lever | Left-foot lever on most manual motorcycles; selects first, neutral, and higher gears |
| Engine cut-off switch | Usually on the right handlebar; stops or enables the engine |
| Turn signals, horn, and lights | Usually controlled from the handlebars; locations and cancellation methods vary |
| Mirrors and instruments | Provide rearward information and display speed, warnings, fuel or charge level, gear position, and other bike-specific data |
Most modern street motorcycles use four-stroke engines, but engine type is less important to a beginner than smooth power delivery and correct control use. Two-stroke, fuel-injected, carbureted, electric, automatic, and dual-clutch motorcycles can each have different start-up and shifting procedures.
Importance of Proper Maintenance
Proper maintenance keeps the motorcycle predictable and helps identify problems before they affect a ride. Follow the manufacturer’s maintenance schedule for engine oil, coolant, brakes, chain or belt adjustment, controls, battery, tires, fasteners, and suspension.
Do not ride with bald, damaged, incorrectly inflated, or mismatched tires. Inspect tread, sidewalls, valves, wheels, and visible damage. Check brake-pad wear, fluid levels, leaks, lights, and control operation at the intervals specified in the owner’s manual.
Perform a Pre-Ride Motorcycle Inspection
A short inspection should become part of every ride. The MSF T-CLOCS checklist groups the inspection into Tires and Wheels, Controls, Lights and Electrics, Oil and Other Fluids, Chassis, and Stands.
- Tires and wheels: Check cold tire pressure, tread, embedded objects, cracking, bulges, wheel condition, and brake condition.
- Controls: Confirm that the throttle moves freely and snaps closed. Inspect levers, pedals, cables, hoses, and handlebars.
- Lights and electrics: Test the headlight, brake light with each brake, turn signals, horn, switches, and warning indicators.
- Oil and fluids: Check levels as directed by the owner’s manual and look under the motorcycle for fuel, oil, brake-fluid, or coolant leaks.
- Chassis: Look for loose fasteners, damaged suspension parts, and incorrect chain or belt tension.
- Stands: Confirm that the side stand and center stand, if equipped, move freely and retract securely.
Note: Check coolant only as directed by the owner’s manual. Never remove a pressurized radiator cap while the engine is hot because hot coolant and steam can cause severe burns.
Starting Your Motorcycle Step by Step
The exact start procedure depends on the motorcycle. Use the owner’s manual and complete the following general sequence while the motorcycle is stable and the path ahead is clear:
- Mount securely. Hold the front brake, keep the motorcycle balanced, and place both hands on the controls.
- Confirm neutral. Check the neutral indicator. Do not rely only on the light if the motorcycle behaves unexpectedly.
- Set the controls. Put the engine cut-off switch in the run position. Turn on the fuel valve only if the motorcycle has a manual valve.
- Turn on the ignition. Allow the instrument check or fuel-pump cycle to finish if required.
- Pull in the clutch. Many motorcycles require the clutch lever to be pulled before the starter operates, even in neutral.
- Start the engine. Press the starter without twisting the throttle unless the owner’s manual directs otherwise.
- Use cold-start equipment only when required. A choke, enricher, or tickler applies only to certain carbureted or vintage motorcycles. Fuel-injected motorcycles usually manage cold starting automatically.
- Check the instruments. Confirm that warning lights behave normally and listen for unusual sounds.
Keep the clutch pulled in after the engine starts. Do not release it and apply throttle until you have checked your surroundings, selected first gear, placed your feet correctly, and deliberately begun the moving-off exercise.
Your First Controlled Practice Session
Use a closed, level, legal practice range with plenty of open space and no traffic, pedestrians, loose gravel, curbs, or fixed obstacles near the exercise path. A qualified instructor should set the exercise and stopping points.
Set Your Riding Posture
- Keep your head and eyes up rather than staring at the front wheel.
- Relax your shoulders and bend your elbows slightly.
- Hold the handgrips firmly enough for control without locking your arms.
- Keep your knees against or near the fuel tank where appropriate.
- Place the balls of your feet on the footrests when moving, with your toes away from the brake and shift levers until needed.
- Look where you want the motorcycle to go.
Find the Clutch Friction Zone
With the engine running, clutch pulled in, front brake applied, and motorcycle in first gear, slowly release the clutch until you feel the motorcycle begin to pull. This point is the start of the friction zone. Pull the clutch back in before traveling farther than the instructor’s exercise allows.
Repeat the exercise until you can find the friction zone smoothly. Avoid suddenly releasing the clutch, which can stall the engine or make the motorcycle surge forward.
Move Off and Stop
- Look ahead and confirm that the path is clear.
- Ease the clutch into the friction zone.
- Add only the small amount of throttle your motorcycle requires.
- Continue releasing the clutch smoothly as the motorcycle gains balance.
- Bring both feet onto the footrests once stable.
- To stop, roll the throttle closed and apply both brakes progressively.
- Pull in the clutch before the engine begins to lug or stall.
- Keep your head and eyes up while stopping.
- Place a foot down only as the motorcycle comes to a controlled stop.
If the engine stalls, pull in the clutch, apply the brake, stabilize the motorcycle, confirm the correct gear or neutral position, and restart according to the owner’s manual. Stalling is common during early practice; rushing the restart creates a larger risk than the stall itself.
Mastering Clutch and Throttle Techniques
Smooth clutch and throttle use prevents abrupt starts and helps control the motorcycle at low speed. Practice each skill separately before combining it with tighter turns or traffic situations.
Clutch Engagement Techniques
- Pull the clutch fully when starting the engine and when selecting first gear.
- Release the lever gradually until power begins to reach the rear wheel.
- Pause within the friction zone when an exercise calls for low-speed control.
- Use only enough throttle to prevent lugging or stalling.
- Pull the clutch back in if the motorcycle accelerates more than intended.
- Avoid holding a partially engaged dry clutch longer than the manufacturer recommends.
Throttle Control Tips
Rotate the throttle smoothly rather than snapping it open or closed. Keep your wrist in a neutral or slightly lowered position so bumps do not cause an unintended increase in throttle.
Listen to the engine and feel how the motorcycle responds. A lugging engine may need a lower gear, while a rapidly revving engine may need an upshift. There is no universal RPM at which every motorcycle should shift. Use the owner’s manual, road speed, engine response, and instructor guidance.
Practice throttle and clutch coordination only on a closed range. A public road with “low traffic” is not an appropriate first-practice environment.
Effective Motorcycle Braking Techniques
Use both brakes for normal stops unless the motorcycle manufacturer or a specific training exercise directs otherwise. As the motorcycle slows, weight transfers toward the front wheel, allowing the front brake to provide much of the available straight-line stopping force. The rear brake helps maintain balance and adds stopping force.
- Roll the throttle fully closed.
- Squeeze the front brake progressively rather than grabbing it.
- Press the rear brake smoothly rather than stomping on it.
- Increase brake pressure as the tires load, while staying below the point of a skid.
- Keep your head and eyes up and the handlebars square during a straight stop.
- Pull in the clutch as needed to prevent the engine from stalling.
- Reduce brake pressure smoothly as the motorcycle finishes the stop.
Do not use fixed formulas such as 70/30 or 90/10. Available traction changes with the motorcycle, tire condition, road surface, lean angle, load, speed, brake design, and whether ABS or linked brakes are fitted.
Practice quick stops only under qualified supervision. Build pressure progressively and learn how your motorcycle’s ABS or non-ABS brakes respond. Follow the owner’s manual for ABS-specific warnings and operation.
Warning: Braking and swerving are separate traction-demanding actions. Do not attempt an emergency swerve while applying heavy brake pressure unless a qualified course is teaching a specific advanced technique.
How to Turn and Corner a Motorcycle
Slow-speed turns and normal road-speed curves require different combinations of steering, body position, clutch, throttle, and vision. Practice both in a rider course before entering traffic.
Slow-Speed Turns
At walking speed, keep your head turned toward the exit, use the clutch friction zone, maintain steady light throttle if required, and apply gentle rear-brake pressure when directed by an instructor. Counterweighting—shifting your upper body slightly toward the outside of the turn—can help balance the motorcycle during tight low-speed maneuvers.
Normal-Speed Curves
- Search: Look through the curve for its path, surface condition, traffic, and exit.
- Set up: Choose a safe entry speed before the motorcycle leans.
- Press: At normal riding speeds, gently press the right handgrip to initiate a right lean or the left handgrip to initiate a left lean.
- Look: Turn your head and direct your eyes toward the exit.
- Maintain smooth control: Use a steady or gently increasing throttle when conditions allow.
Avoid entering a curve faster than you can see through it. If braking becomes necessary while leaned, apply the brakes smoothly and reduce lean angle as space permits. Abrupt braking, throttle, or steering inputs can use more traction than the tires have available.
Motorcycle Gear Shifting Basics
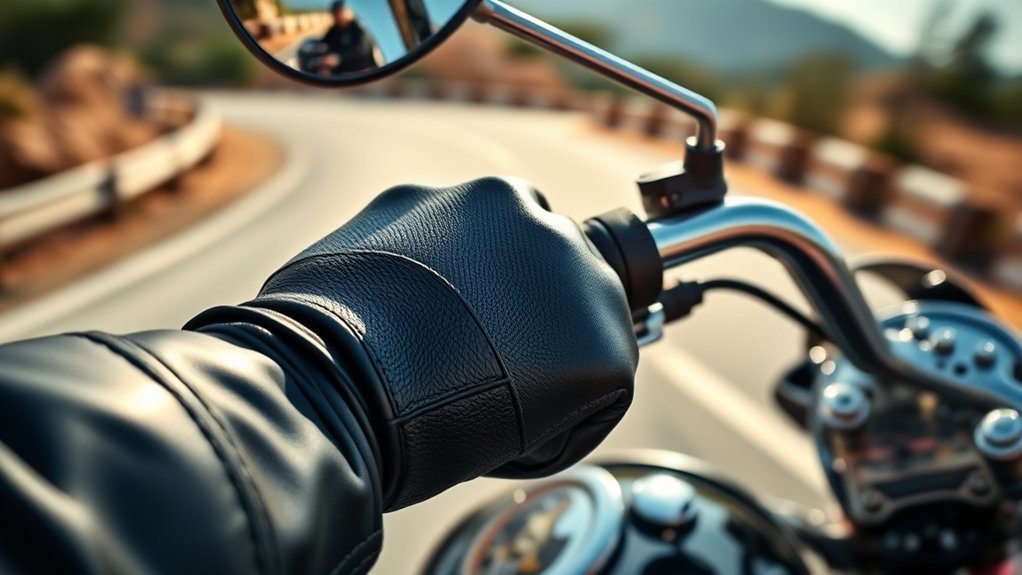
Most manual motorcycles use a sequential pattern with first gear below neutral and the remaining gears above it. A common six-speed pattern is 1-N-2-3-4-5-6. Neutral is positioned between first and second. Verify the pattern shown in the owner’s manual or near the shift lever.
How to Upshift
- Accelerate smoothly in the current gear.
- Roll off the throttle.
- Pull in the clutch.
- Lift the shift lever firmly to select the next higher gear.
- Release the clutch smoothly while reapplying throttle.
Avoid resting your foot on the shift lever because constant pressure can interfere with the mechanism or cause an unintended shift.
How to Downshift
- Roll off the throttle and begin slowing as needed.
- Pull in the clutch.
- Press down on the shift lever to select the next lower gear.
- Release the clutch smoothly so the rear tire is not disturbed by an abrupt engine-speed change.
- Downshift one gear at a time unless the owner’s manual and training exercise direct otherwise.
Advanced riders may briefly raise engine speed to smooth a downshift, often called rev matching or “blipping” the throttle. A beginner should first learn smooth basic downshifts under supervision rather than treating this as a required technique.
Scooters, electric motorcycles, automatic motorcycles, and dual-clutch models may not use a clutch lever or conventional foot-shift pattern. Follow the controls and procedures for the specific model.
Road-Riding Basics After Range Training
Enter public traffic only after you can start, stop, shift, turn, and perform controlled quick stops consistently. Begin in favorable daylight, weather, and traffic conditions on familiar roads.
- Scan ahead: Search approximately 12 seconds ahead for intersections, turning vehicles, debris, surface changes, animals, and traffic signals.
- Maintain space: Leave enough following distance to see hazards, react, and stop. Increase the gap in rain, darkness, congestion, or poor visibility.
- Choose a lane position: Ride where you can see, be seen, preserve traction, and maintain an escape path. No single lane position is always correct.
- Watch intersections: Expect vehicles to turn across your path or enter from side roads. Covering the controls can reduce response time, but avoid dragging the brakes.
- Check blind spots: Use mirrors frequently and make a deliberate head check before changing position or lanes.
- Signal early: Communicate lane changes and turns, then cancel the signal if the motorcycle does not cancel it automatically.
- Stay out of blind spots: Do not remain beside a vehicle where its driver may be unable to see you.
- Keep an escape option: Continually identify open space you could use if traffic stops or changes direction.
Ride sober and avoid any substance or medication that affects alertness, balance, judgment, vision, coordination, or reaction time. Do not ride when exhausted, emotionally distracted, overheated, or unable to concentrate.
Rain, Night, and Poor Conditions
Beginners should avoid difficult conditions until they have received appropriate instruction. In rain or low visibility, slow down, increase following space, make every control input smoother, and avoid painted lines, metal covers, leaves, gravel, and standing water where possible. Use clean eye protection and never ride faster than the distance illuminated by the headlight allows you to stop.
Passengers and Cargo
Do not carry a passenger until your license permits it, the motorcycle is designed and equipped for one, and you have developed the necessary experience. A passenger or heavy cargo changes acceleration, braking distance, steering, suspension, and tire loading. Follow the owner’s manual for maximum load, suspension adjustment, tire pressure, footrests, seating, and cargo security.
Don’t Make These Rookie Mistakes
- Teaching yourself in traffic: Begin with certified instruction and a closed practice range.
- Looking down: Keep your head and eyes up and look toward the intended path.
- Releasing the clutch abruptly: Work through the friction zone smoothly.
- Grabbing or stomping on the brakes: Apply both brakes progressively.
- Using only one brake: Learn coordinated use of both controls unless a specific exercise directs otherwise.
- Entering curves too fast: Set a safe speed before leaning and look through the turn.
- Resting fingers or feet on controls: Unintended pressure can activate a brake, clutch, or shift lever.
- Skipping visibility gear: Use clean eye protection and visible clothing, especially in low light.
- Ignoring tire maintenance: Check pressure, tread, age, cracking, and damage regularly.
- Following fixed brake ratios or shift RPM: Motorcycle response changes with design, load, traction, speed, and conditions.
- Riding beyond your skill: Add traffic, speed, passengers, darkness, and poor weather gradually—not all at once.
- Riding impaired or fatigued: Delay the ride when judgment or coordination is reduced.
Maintaining Your Tires for Safety and Performance
Tires affect traction, braking, steering, and stability. Check pressure when the tires are cold and inflate them to the motorcycle manufacturer’s recommendation for the current load. Find that recommendation in the owner’s manual or on the motorcycle’s tire-information label—not in the VIN and not by using the maximum pressure molded into the tire sidewall.
Inspect both tires for:
- Tread depth and exposed wear indicators
- Uneven wear, flat spots, cupping, or scalloping
- Cuts, punctures, embedded objects, bulges, or separated material
- Cracks, weathering, or dry rot
- Valve-stem damage or missing caps
- Incorrect tire size, type, construction, or load rating
Use tire sizes and combinations approved by the motorcycle or tire manufacturer. A tire that appears to hold air may still be unsafe after a puncture, impact, prolonged underinflation, or improper repair. Have uncertain damage inspected by a qualified motorcycle tire professional.
Continuous Learning and Improvement

Passing a beginner course is the start of skill development, not the end. Continue practicing smooth stops, quick stops, swerves, low-speed control, lane changes, and cornering in appropriate training environments.
- Keep a beginner’s mindset and avoid treating early confidence as proof of advanced ability.
- Take refresher and advanced courses as your experience grows.
- Practice on every new or unfamiliar motorcycle before entering busy traffic.
- Ask qualified instructors for specific feedback rather than relying only on friends or online videos.
- Review the owner’s manual after buying or borrowing a different motorcycle.
- Reassess your tires, brakes, controls, visibility, physical condition, and route before every ride.
An informal “one-percent improvement” approach can be useful: choose one skill to practice deliberately during an appropriate session. The phrase is not an official motorcycle rule, and improvement must never become an excuse to experiment with unfamiliar techniques in traffic.
Frequently Asked Questions
What is the 1% rule in motorcycles?
The “1% rule” is an informal self-improvement idea, not an official traffic or riding rule. It means working on one small skill at a time, such as smoother stops or better visual scanning. Practice only in a suitable environment and use feedback from a qualified instructor.
What does two fingers down mean for bikers?
Two fingers extended downward is a common informal greeting between riders and is often interpreted as “keep two wheels down.” It is not universal or required. Keep both hands on the controls whenever road, traffic, or balance conditions demand your full attention.
What is the 12-second rule for motorcycles?
The 12-second guideline refers to visual scanning. Look far enough ahead to identify hazards you may reach in roughly 12 seconds. It does not mean following another vehicle at a 12-second distance. Maintain a practical space cushion and increase it when conditions reduce traction or visibility.
What does the 1-N-2-3-4-5 gear pattern mean?
It describes a common sequential manual transmission. First gear is selected by pressing the shift lever down. Neutral is between first and second, and higher gears are selected by lifting the lever. Many motorcycles add a sixth gear, while scooters, electric motorcycles, and automatic models may use different controls.
Can I teach myself to ride a motorcycle?
Reading and videos can explain concepts, but they cannot provide real-time correction or a safe progression of exercises. A certified hands-on beginner course is the recommended way to learn braking, shifting, turning, swerving, and risk management.
Which motorcycle brake should a beginner use?
Use both brakes progressively for normal stops. The front brake normally provides much of the straight-line stopping force, while the rear brake supports balance and adds braking. Do not grab the front lever, stomp the rear pedal, or rely on a fixed percentage formula.
What should I do if the motorcycle stalls?
Pull in the clutch, apply the brake, stabilize the motorcycle, and confirm the correct gear or neutral position. Restart it according to the owner’s manual, check that the path is clear, and try again with a slower clutch release and the small amount of throttle the motorcycle requires.
Conclusion
Riding a motorcycle is rewarding, but safe control comes from structured training rather than confidence alone. Get properly licensed, wear complete protective gear, inspect the motorcycle, and practice each skill on a controlled range. Build from smooth starts and stops to shifting, braking, turning, swerving, and road strategy. Enter traffic gradually, ride sober, follow the owner’s manual, and continue developing your skills throughout your riding life.
Sources
- National Highway Traffic Safety Administration — Motorcycle Safety — licensing, pre-ride checks, protective gear, current crash data, visibility, and sober riding
- NHTSA — Choose the Right Motorcycle Helmet — DOT certification labels, helmet selection, and unsafe novelty helmets
- Electronic Code of Federal Regulations — FMVSS No. 218 — federal motorcycle-helmet performance requirements
- Motorcycle Safety Foundation — Basic RiderCourse — hands-on beginner exercises for controls, starting, braking, shifting, cornering, swerving, and stopping
- Motorcycle Safety Foundation — T-CLOCS Inspection Checklist — tires, controls, lights, fluids, chassis, brakes, and stands
- Motorcycle Safety Foundation — Motorcycle Operator Manual — basic operation, risk management, shifting, braking, and pre-ride inspection







Leave a Reply