
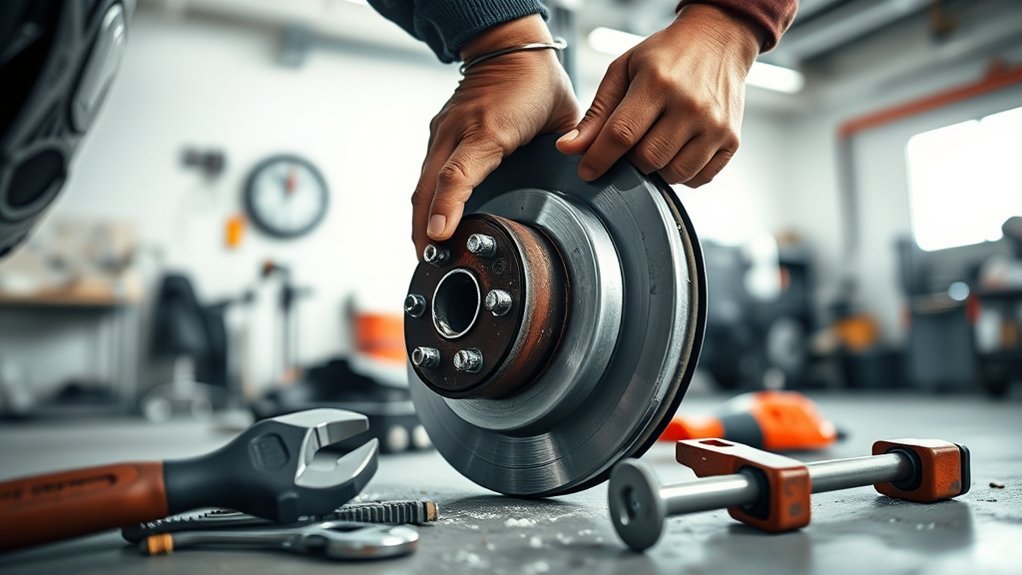
Replacing brake pads can restore quiet, predictable braking, but it is not a universal “remove and replace” job. Caliper designs, electronic parking brakes, torque values, wear sensors, rotor limits, and bedding procedures vary by vehicle. Use this guide as a planning and workflow reference, then follow the service information for your exact year, make, model, trim, axle, and brake package.
Quick Answer
To replace brake pads safely, verify the exact brake system, support the vehicle on rated jack stands, inspect the rotor and caliper, retract the piston with the correct method, install matching pads and hardware, torque every fastener to specification, pump the pedal, check for leaks, and follow the pad maker’s bedding procedure.
Key Takeaways
- Confirm fitment, torque values, rotor limits, and piston-retraction instructions for the exact vehicle before removing a wheel.
- Never work under a vehicle supported only by a hydraulic jack, and never let the caliper hang from its flexible brake hose.
- Replace pads on both wheels of the same axle and inspect inner and outer pads, rotors, slide pins, boots, hoses, and wear sensors.
- Use brake lubricant only where the vehicle or pad manufacturer specifies; keep lubricant and cleaner residue off friction surfaces.
- Do not drive until the pedal is firm, the fluid level is correct, no leaks or warning lights are present, and a low-speed brake test is successful.
At a Glance
| Time Required | Plan several hours for a first attempt; corrosion, rotor work, seized hardware, or electronic parking-brake service can add time. |
| Difficulty | Intermediate. Stop and use a qualified technician if the procedure, lifting points, piston method, or final brake feel is uncertain. |
| Tools Needed | Floor jack, rated jack stands, wheel chocks, lug socket, breaker bar, torque wrench, caliper sockets or bits, caliper hanger, correct piston tool, brake-safe cleaner, measuring tools, PPE, and vehicle service information. |
| Cost | Vehicle-dependent. Budget for pads, fitting hardware, brake lubricant, cleaner, and any rotors, sensors, slide pins, boots, or specialty tools required by the inspection. |
Why and When to Replace Brake Pads
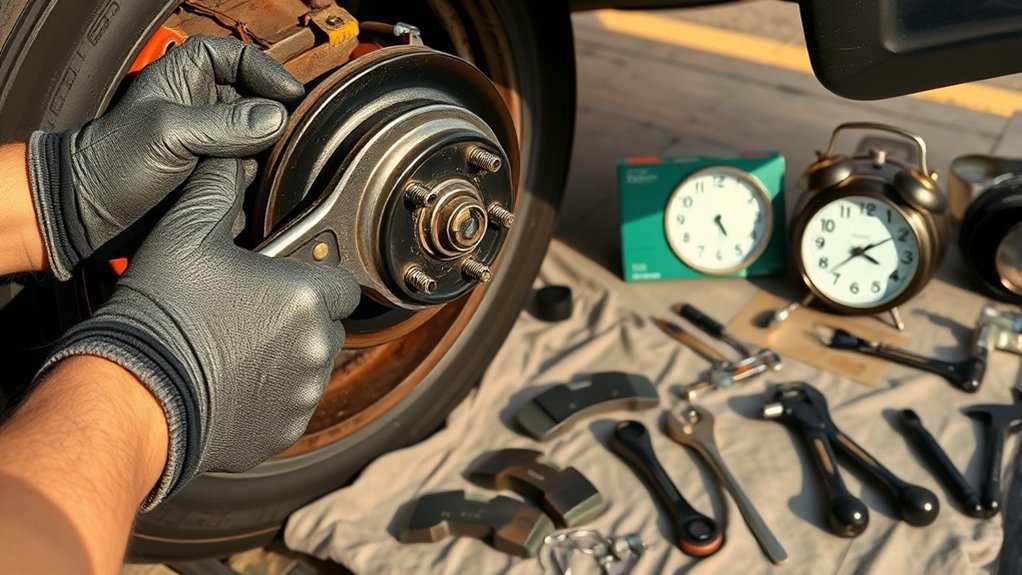
Brake pads create friction against the rotors to slow the vehicle. As the friction material wears, braking noise, pedal feel, stopping consistency, and rotor condition can change. Waiting until a pad grinds against the rotor may turn a routine pad service into a larger repair.
Do not use a universal mileage or thickness rule. Some pads last much longer than others, and the correct replacement limit comes from the vehicle manufacturer’s service data. Measure the friction material only—not the steel backing plate—and compare the thinnest inner or outer pad with the specified service limit.
Common reasons to inspect the brakes promptly include:
- A wear-indicator squeal or an electronic brake-pad warning.
- Grinding, scraping, or metal-on-metal noise.
- A longer stopping distance, a change in pedal travel, or a brake warning light.
- Pulling to one side, a burning smell, smoke, or one wheel that becomes much hotter than the others.
- Steering-wheel or pedal vibration during braking.
- Uneven inner-to-outer or left-to-right pad wear.
Warning: Do not drive a vehicle with grinding brakes, visible brake-fluid leakage, a pedal that sinks or remains soft, smoke from a wheel, severe pulling, or a red brake-system warning. These symptoms can indicate a fault beyond normal pad wear.
Verify the Vehicle and Brake System Before Starting
Brake parts can differ within the same model year because of trim level, wheel size, towing or performance packages, production date, and front- or rear-axle design. Confirm the full 17-character VIN with the manufacturer’s parts catalog or service information. The NHTSA VIN Decoder can help confirm basic vehicle details, but the automaker’s catalog should determine the exact brake parts.
Before buying parts or loosening hardware, identify:
- Whether you are servicing the front or rear disc brakes.
- The caliper type: floating, fixed, single-piston, or multi-piston.
- Whether the rear caliper uses a screw-in piston, mechanical parking-brake mechanism, or electronic parking brake.
- Whether a scan tool, dashboard procedure, battery-support procedure, or service mode is required.
- The pad shape, directional markings, wear-sensor location, and required fitting hardware.
- Caliper guide-pin, caliper-bracket, wheel-lug, and any rotor-retaining fastener torque values.
- Rotor minimum thickness, runout limit, and resurfacing policy.
Check the VIN for open safety recalls at NHTSA’s recall lookup. A recall or manufacturer campaign may change the correct repair procedure or parts.
Note: Some electronic parking-brake systems have a dedicated maintenance mode for rear brake service. Do not force an electric or screw-in rear piston with a standard C-clamp. Follow the exact automaker procedure.
Essential Tools for Brake Pad Replacement
Gather every tool and part before lifting the vehicle. A missing torque wrench, piston tool, or replacement hardware kit can leave the vehicle disabled midway through the job.
| Tool or Supply | Purpose | Important Detail |
|---|---|---|
| Hydraulic floor jack | Raises the vehicle | Use only at approved lifting points and within its rated capacity. |
| Rated jack stands and wheel chocks | Supports the vehicle and prevents movement | Never rely on the jack alone. |
| Lug socket and breaker bar | Loosens and removes wheel fasteners | Use the correct six-point socket where applicable. |
| Torque wrench | Tightens critical fasteners to specification | Do not guess caliper or wheel torque. |
| Socket, hex, or Torx set | Removes guide pins, brackets, and retainers | Confirm sizes before lifting the vehicle. |
| Caliper hanger or strong wire hook | Supports the removed caliper | Never suspend a caliper by the hose. |
| Correct piston-retraction tool | Returns the piston for thicker new pads | May be a press, wind-back tool, multi-piston spreader, scan tool, or vehicle-specific procedure. |
| Brake-safe cleaner, damp wipes, and catch pan | Controls residue and cleans approved surfaces | Do not blow brake dust with compressed air. |
| Brake lubricant | Lubricates specified contact and sliding points | Use a brake-specific product compatible with rubber parts. |
| Pad gauge, micrometer, and dial indicator as required | Measures pads, rotor thickness, and runout | Compare measurements with the exact service specifications. |
Safety equipment essentials: Wear safety glasses, chemical-resistant gloves suitable for the cleaner and brake fluid you use, closed-toe work shoes, and work clothing that keeps dust off your skin. Read the cleaner and lubricant labels, work in a well-ventilated area, and keep ignition sources away from flammable aerosol products.
Warning: Used brake assemblies may contain hazardous dust. OSHA advises wet-cleaning or HEPA-controlled methods for brake work and prohibits dry brushing in its brake-repair guidance. Do not use ordinary compressed air to blow dust from the caliper, pads, rotor, or work area.
Step-by-Step Process to Replace Brake Pads
The sequence below covers a common disc-brake pad replacement. The exact service manual overrides any generic step, especially for electronic parking brakes, multi-piston calipers, carbon-ceramic rotors, integrated wear sensors, and vehicles that require scan-tool commands.
Step 1: Prepare the vehicle. Park on a hard, level surface. Place the transmission in Park or in gear for a manual transmission. Chock the wheels that will remain on the ground. For front brake work, the parking brake is commonly applied. For rear brake work, follow the service manual because the parking brake may need to be released or placed in maintenance mode after the vehicle is securely chocked.
Step 2: Confirm fluid level and protect painted surfaces. Check the brake-fluid reservoir before retracting a piston. As the piston moves inward, fluid returns to the reservoir and may raise the level. If the reservoir was previously overfilled, use a clean fluid extractor only as the vehicle procedure allows. Brake fluid can damage paint, so cover nearby surfaces and clean any spill promptly according to the fluid and vehicle instructions.
Step 3: Loosen the wheel fasteners. With the tire still touching the ground, loosen each lug nut or bolt slightly. Do not remove them yet.
Step 4: Lift and support the vehicle. Raise the vehicle only at an approved lifting point. Position rated jack stands at the manufacturer’s support points, lower the vehicle onto them, and verify stability before reaching into the wheel well. Keep the jack as a secondary support only if its manufacturer allows it; the stands must carry the load.
Step 5: Remove the wheel and make a reference check. Remove the wheel and place it flat away from the work area. When possible, service one side at a time so the untouched brake on the opposite side can serve as a reference. Both sides of the same axle must receive the matching new pads.
Step 6: Inspect before disassembly. Compare inner and outer pad thickness and note any taper. Inspect the rotor for cracks, deep scoring, heavy rust, heat spots, and thickness below specification. Check the caliper for fluid seepage, torn piston boots, seized guide pins, damaged hoses, and heat-damaged hardware. Stop if you find a hydraulic leak, cracked rotor, damaged hose, seized piston, or another condition outside the planned repair.
Step 7: Remove and support the caliper. Remove the required guide-pin or caliper fasteners with the correct tool. Hold a guide pin with a backup wrench if the design requires it. Lift or swing the caliper away without twisting the hose, then suspend it from the suspension or body with a caliper hanger. Do not disconnect the brake hose for a normal pad replacement.
Step 8: Remove the old pads, hardware, and sensor. Note the position of the inner and outer pads, shims, anti-rattle springs, clips, and wear sensor. Photograph the assembly if needed. Release loaded springs in a controlled way. Replace single-use or pad-kit hardware as directed.
Step 9: Retract the piston correctly. Use the method specified for the caliper. A conventional single front piston may press straight inward with a piston compressor and the old pad placed across the piston face. Some rear pistons must rotate while moving inward. Electronic parking-brake calipers may need maintenance mode, a scan tool, or a prescribed switch sequence. Multi-piston calipers should be retracted evenly with a suitable spreader. Move slowly, watch the reservoir, and stop if the piston binds, tilts, leaks, or requires excessive force.
Pro Tip: Compare the old inner and outer pads before discarding them. A large wear difference often points to a sticking piston, seized guide pin, corroded pad seat, or installation problem that new pads alone will not correct.
Step 10: Clean the bracket and contact areas safely. Keep dust from becoming airborne. Use the approved wet-cleaning or HEPA-control method, a catch pan, and lint-free wipes. Clean corrosion from pad abutment areas without removing excessive bracket material. Make sure the pads can slide freely in their seats. Do not spray cleaner into sealed electrical components or rubber parts unless the product is approved for them.
Step 11: Lubricate only specified points. Apply a very thin film of brake-specific lubricant to the guide pins, pad tabs, abutment clips, or metal-to-metal contact points only where the vehicle, caliper, or pad manufacturer directs. Some coated shims need no grease. Never put lubricant on the rotor, pad friction material, wheel studs, lug seats, or any surface the manufacturer says must remain dry.
Step 12: Install the new pads and hardware. Install the new clips, shims, springs, pads, and wear sensor in the correct positions. Observe directional arrows and inner-versus-outer markings. Confirm the friction material faces the rotor and that the pads move correctly in the bracket without binding.
Step 13: Refit and torque the caliper. Position the caliper without pinching or twisting the hose or sensor wire. Start all fasteners by hand. Tighten guide pins, bracket bolts, retainers, and other hardware to the exact manufacturer torque and reuse-or-replace instructions. Do not apply threadlocker unless the service procedure specifies the correct type and location.
Step 14: Repeat on the other side of the axle. Complete the same inspection and installation on the opposite wheel. Do not replace only one pad or one wheel’s pad set on an axle.
Step 15: Reinstall the wheels. Clean the mating surfaces as directed, install the wheel, and snug the fasteners in a star or crisscross pattern. Lower the vehicle, then torque the wheel fasteners to the vehicle specification using the specified pattern. Do not lubricate studs or lug seats unless the automaker explicitly requires it.
Top Mistakes to Avoid When Replacing Brake Pads
- Buying by year and model alone: Brake packages can change with trim, production date, axle, or wheel package. Verify with the VIN and exact part dimensions.
- Working under a jack: A hydraulic jack lifts; rated stands support. Use both correctly with wheel chocks.
- Leaving the parking brake applied during rear service: Some rear systems must be released or placed in maintenance mode.
- Forcing the piston: A screw-in, electric, seized, or multi-piston caliper can be damaged by the wrong tool.
- Letting the caliper hang by the hose: This can strain or damage the flexible line.
- Ignoring the inner pad: Inner and outer pads may wear very differently, so inspect and measure both.
- Skipping rotor measurements: A rotor can look usable but be below minimum thickness or outside runout limits.
- Reusing damaged or one-time hardware: Missing clips, weak springs, torn boots, or corroded pins can cause noise, drag, and uneven wear.
- Greasing friction surfaces: Lubricant on the rotor or pad face can sharply reduce braking performance.
- Guessing torque: Under- or over-tightened caliper and wheel fasteners can create serious safety problems.
- Pressing the pedal while the caliper is removed: This can push a piston out of its bore and cause a fluid leak.
- Driving before pumping the pedal: The first pedal application may travel unusually far until the pads contact the rotor.
How to Check Brake Pads and Rotors
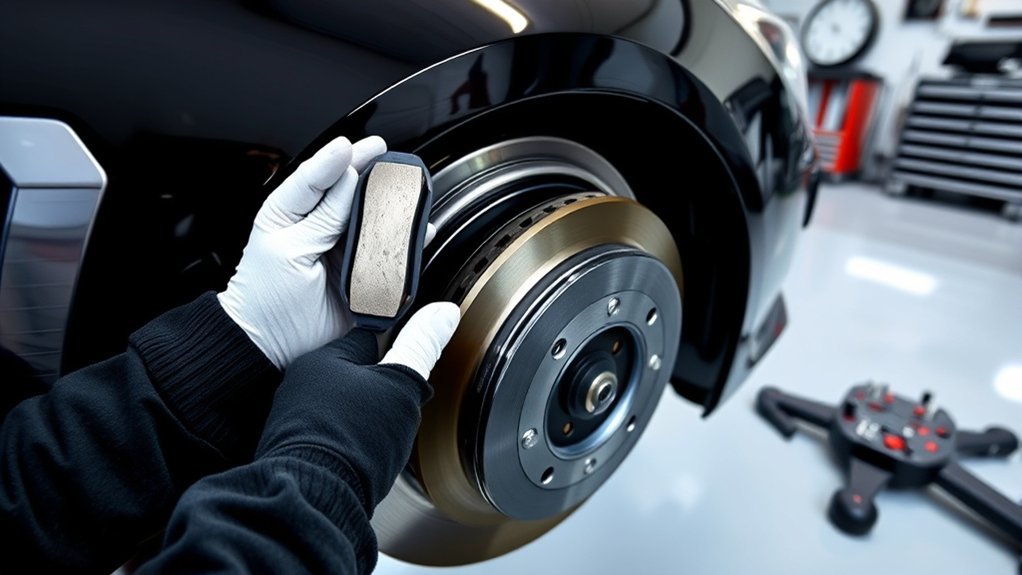
Measure the thinnest point of the friction material on every inner and outer pad. Do not include the metal backing plate. Replace the pads when they reach the vehicle’s service limit, when a wear sensor calls for replacement, or sooner if they are cracked, contaminated, separating from the backing plate, or wearing unevenly because of a system fault.
Inspect and measure the rotors rather than judging them only by appearance. Compare thickness with the minimum value stamped on the rotor or listed in service information. Deep scoring, radial cracks, severe corrosion, blue heat spots, excessive thickness variation, or runout outside specification may require rotor replacement. Resurfacing is suitable only when the manufacturer allows it and the finished rotor will remain above its discard thickness.
Also inspect:
- Caliper piston boots for tears, heat damage, or leakage.
- Guide pins for smooth travel and correct lubricant.
- Pad abutment areas for rust that prevents free movement.
- Brake hoses for cracks, bulges, kinks, rubbing, or wetness.
- Wheel bearings and suspension parts if braking produces looseness or vibration.
- Wear-sensor wiring and connectors for damage or incorrect routing.
New pads cannot correct a seized caliper, leaking hose, damaged rotor, or corroded pad seat. Fix the cause of abnormal wear before returning the vehicle to service.
Final Brake Pad Checks
Before moving the vehicle, perform a complete static check. A rushed final check is one of the most dangerous mistakes in brake work.
Restore pedal pressure: With the vehicle stationary, press and release the brake pedal several times until it becomes firm and the travel stabilizes. Never move the vehicle while the pedal still drops unusually low. If the pedal remains soft, sinks under steady pressure, or does not stabilize, stop and recheck the entire system.
Check brake fluid: Inspect the reservoir on level ground and set the level only as the vehicle manufacturer directs. Use only new brake fluid of the specified grade if fluid is needed. Do not assume a low reservoir is solved by topping it off; inspect for leaks and abnormal pad wear. Confirm the cap and diaphragm are clean and seated correctly.
Check the assembly: Look for leaks, loose tools, pinched hoses, misrouted sensor wires, missing clips, and contact between rotating and stationary parts. Confirm both wheels are installed and torqued.
Reset the rear brake system if required: Exit electronic parking-brake maintenance mode and perform any calibration or apply-and-release sequence listed by the automaker. Confirm no brake or parking-brake warning remains.
Test Drive and Bed In the New Brake Pads
Start with a low-speed test in a clear, level, traffic-free area. Check that the pedal remains firm, the vehicle stops straight, and there is no grinding, severe vibration, smoke, fluid leak, or warning light. Stop immediately if anything feels unsafe.
After the initial test, follow the bedding or break-in instructions supplied by the vehicle, rotor, and pad manufacturer. Procedures differ: some replacement pads call for a series of controlled stops, while others call for gentle use over a set distance. Do not mix procedures or perform repeated hard stops unless the exact product instructions require them.
When no more specific procedure is available, Brembo advises gentle, brief braking and avoiding sudden braking during the initial bedding period. Recheck for unusual odor, heat, noise, pulling, and vibration after the first drive. Some odor can occur as coatings cure, but smoke, a glowing rotor, or one wheel much hotter than the others can indicate brake drag.
Note: Recheck wheel-fastener torque only when the vehicle or wheel manufacturer calls for it. Do not loosen and retighten caliper fasteners as a routine “recheck” unless the service procedure specifically requires that step.
Troubleshooting After Brake Pad Replacement
| Symptom | Possible Cause | What to Do |
|---|---|---|
| Piston will not retract | Wrong tool or direction, parking brake not in service mode, seized piston, blocked hose, or incorrect procedure | Stop forcing it. Confirm the exact procedure and inspect the caliper and hose. |
| Soft or sinking pedal | Pads not seated, fluid leak, air introduced, damaged component, or hydraulic fault | Do not drive. Inspect for leaks and follow the service manual’s diagnostic and bleeding procedure. |
| Vehicle pulls during braking | Sticking caliper, contaminated pad, hose restriction, uneven rotor condition, or installation error | Stop the test and compare both sides for temperature, movement, contamination, and hardware position. |
| Grinding or scraping | Pad reversed, missing hardware, shield contact, rotor damage, or incorrect parts | Do not continue driving. Disassemble and correct the cause. |
| One wheel is very hot or smells burnt | Dragging piston, seized slide pin, pad binding, parking-brake fault, or restricted hose | Park safely without touching hot parts. Allow cooling and diagnose the drag before driving again. |
| Squeal after installation | Incorrect bedding, reused or missing hardware, glazed surfaces, contamination, or pad movement | Verify parts, hardware, lubrication points, rotor condition, and the correct bedding procedure. |
What to Know Before Replacing Brake Pads
- Replace pads according to measured wear, warning indicators, damage, or the manufacturer’s service limit—not a universal mileage or 1/4-inch rule.
- Use the correct piston-retraction method. A C-clamp is suitable only for designs that press straight inward and only when the service procedure allows it.
- Pump the pedal before moving the vehicle, then verify fluid level, leaks, warning lights, parking-brake operation, and wheel torque.
- Inspect the rotors and calipers every time. New pads installed over a damaged rotor or in a sticking caliper may wear quickly and brake poorly.
- Choose pads approved for the exact application and intended use. Street, towing, fleet, and track compounds can have different heat, dust, noise, and bedding characteristics.
Frequently Asked Questions
How often should I replace my brake pads?
There is no universal mileage interval. Pad life changes with vehicle weight, driving conditions, braking habits, towing, terrain, pad material, and caliper condition. Inspect them at the maintenance intervals specified by the automaker and replace them at the vehicle’s measured service limit or when damage or a wear warning requires it.
Can I replace brake pads without professional help?
An experienced DIYer with safe lifting equipment, a torque wrench, the correct piston tool, and exact service information may be able to replace pads. Use a professional when the vehicle has an unfamiliar electronic parking brake, seized or leaking components, carbon-ceramic rotors, complex fixed calipers, or a pedal or warning-light problem.
What symptoms indicate worn-out brake pads?
Warning signs include a pad-wear message, indicator squeal, grinding, reduced friction material, or abnormal inner-to-outer wear. Pulling, vibration, a soft pedal, smoke, or a burning smell may involve rotors, calipers, hoses, fluid, or other faults and should not be blamed on pads alone.
Are there different types of brake pads?
Yes. Common formulations include ceramic, semi-metallic, low-metallic, and non-asbestos organic compounds. Noise, dust, cold response, heat capacity, rotor wear, and bedding needs vary. Use a pad approved for the exact vehicle and suited to normal driving, towing, fleet, or performance use.
How do I know if my rotors need replacement?
Replace a rotor when it is at or below its discard thickness, cracked, badly scored, heat-damaged, corroded beyond safe service, or outside the manufacturer’s runout or thickness-variation limit. Resurfacing is an option only when permitted and when the finished rotor remains safely above its minimum thickness.
Do I have to replace brake pads on both sides?
Yes. Replace the matching pads on both wheels of the same axle. Replacing only one side can create different friction and wear conditions. If one side is much more worn, diagnose the caliper, guide pins, hose, pad seats, and rotor before installing the new set.
Can I push an electronic parking-brake piston in with a C-clamp?
Do not assume you can. Many electronic parking-brake systems require maintenance mode, a scan tool, or a vehicle-specific switch procedure before the piston can be retracted. Forcing it can damage the actuator or caliper. Follow the exact service manual.
Why is the brake pedal soft after replacing pads?
The pads may not yet be seated against the rotors, so pump the pedal before moving the vehicle. If it does not become firm and stable, do not drive. Check for a leak, an overextended piston, air in the hydraulic system, damaged hardware, or another brake fault.
Conclusion
Replacing brake pads is manageable only when the vehicle is supported safely and every model-specific detail is known. Verify the exact parts and service procedure, inspect the entire brake at both wheels of the axle, retract each piston correctly, keep friction surfaces clean, torque every fastener to specification, and complete the pedal, leak, low-speed, and bedding checks before normal driving. When the piston will not retract, wear is uneven, fluid is leaking, or the pedal does not become firm, stop and have the brake system inspected by a qualified technician.
Sources
- Brembo brake-pad removal and installation instructions — axle-pair replacement, caliper support, piston retraction, lubrication, torque, pedal checks, and low-speed testing.
- PowerStop brake kit installation guide — piston compression, screw-in rear-piston caution, and reservoir monitoring.
- PowerStop brake lubrication guide — approved lubrication points and the need to keep lubricant off friction surfaces.
- OSHA: Asbestos—Automotive Brake and Clutch Repair Work — brake-dust control, wet-cleaning, HEPA methods, and dry-brushing cautions.
- NHTSA VIN Decoder — vehicle identification and VIN verification.
- Brembo indications and bedding-in guidance — rotor-condition checks and conservative initial braking after replacement.







Leave a Reply