
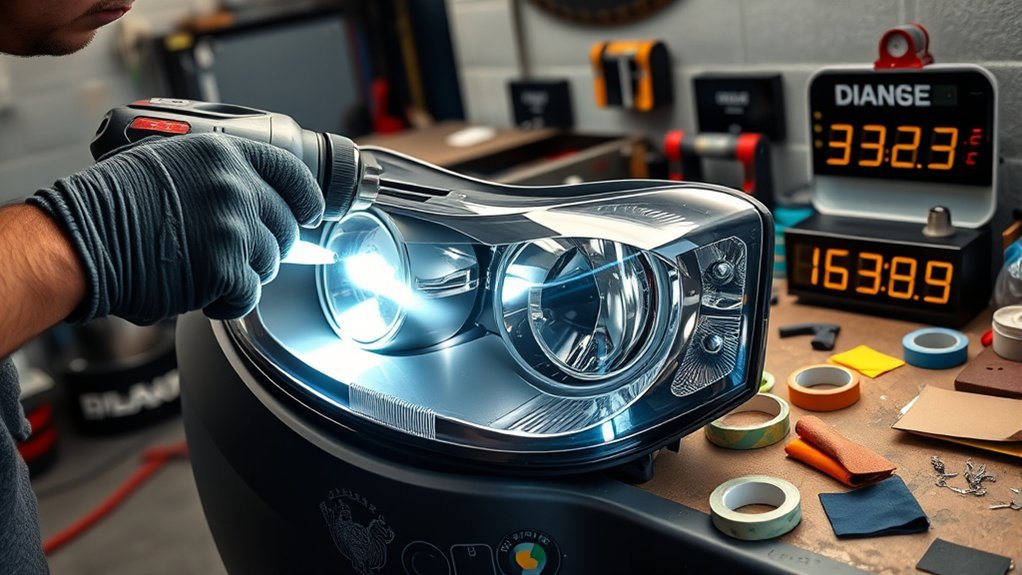
Cloudy or yellow headlights are usually caused by damage to the outer protective layer on a plastic lens. You can often restore that exterior surface by cleaning it, sanding through the correct abrasive sequence, polishing out the fine scratches, and applying a compatible UV-protective coating. The key is to match the method to the lens condition and follow the restoration kit’s instructions instead of using one grit sequence for every headlight.
Quick Answer
Wash and inspect the plastic lenses, mask the surrounding paint, then follow a headlight-restoration kit’s sanding sequence from coarser to finer abrasives. Polish until the sanding haze is gone, clean the surface as directed, and finish with a compatible UV coating. Replace the assembly if damage or moisture is inside the lamp.
Key Takeaways
- Confirm the haze is on the outside of a plastic lens; sanding will not repair internal moisture, reflector damage, cracks, or glass.
- There is no universal starting grit. Use the abrasive sequence supplied by your kit and choose a system that matches the amount of oxidation.
- Keep abrasives wet when the instructions call for wet sanding, use light to moderate pressure, and remove the failed coating evenly before moving to finer grits.
- A UV-protective coating is an essential finishing step because sanding removes or thins the lens’s original weather-resistant surface.
- Allow the coating to cure for the full time on its label before driving in rain, washing the vehicle, or touching the lens.
At a Glance
| Time Required | About 30–60 minutes of hands-on work for a pair, plus the coating’s stated cure time |
| Difficulty | Easy to moderate |
| Tools Needed | Plastic-lens restoration kit, soap, clean water, spray bottle, microfiber towels, painter’s tape, gloves, eye protection, and an optional drill if the kit requires one |
| Cost | Varies by kit and whether you already own the required drill or applicators; usually far less than replacing a complete headlamp assembly |
Warning: Work on cool, switched-off headlights in a shaded, well-ventilated area. Wear the gloves and eye protection specified by the product maker. Do not use fuel, solvent, concentrated alcohol, tire cleaner, or an unlabeled household clear coat on a polycarbonate lens; incompatible chemicals can cause crazing, cracking, or coating failure.
In an AAA laboratory study of two approximately 11-year-old sedan headlamps, deteriorated low beams produced about 22% of the light measured from new assemblies. Restoration raised output to roughly 70%, while replacement performed best. Results vary by vehicle and damage.
Before You Begin: Make Sure the Lens Can Be Restored
Headlight restoration works on surface oxidation, yellowing, light pitting, and fine exterior scratches. Look at the lens in daylight, then run a clean fingernail lightly across the outside. A dull, rough, or chalky exterior usually points to weathering that can be sanded and polished.
Do not sand first if the problem is condensation inside the housing, peeling or burned reflectors, a cracked lens, broken mounting tabs, electrical trouble, or haze on the inner surface. A plastic restoration kit cannot reach or repair those defects. The 3M restoration FAQ also states that internal moisture and backside damage are outside the repair scope of its system.
Most modern headlight covers are plastic, but some older vehicles use glass. Confirm the material in the owner’s manual or by checking the restoration product label. Do not use a plastic-lens sanding system on glass unless the product specifically says it is suitable for glass.
Note: If the lens becomes clear but the road illumination is still weak or uneven, inspect the bulb, electrical supply, headlamp aim, reflector, and complete assembly. Lens polishing cannot correct every cause of poor light output.
Tools and Materials You Need
- A restoration kit labeled for plastic automotive headlight lenses
- The complete abrasive sequence supplied with the kit
- Plastic-safe polishing or clarifying compound
- A compatible UV-protective coating or clear-coat applicator
- Mild car-wash soap, clean lukewarm or cold water, and a spray bottle
- Clean microfiber towels or the applicators supplied with the kit
- Low-tack automotive painter’s tape
- Disposable gloves and eye protection
- An electric drill only when the kit is designed for drill use
Read the full directions and safety label before opening the coating. Some kits use hand sanding, while others specify a drill, a certain speed range, or a particular pad. Mixing parts from unrelated systems can create poor adhesion or leave sanding marks.
Step 1: Thoroughly Clean Your Headlights
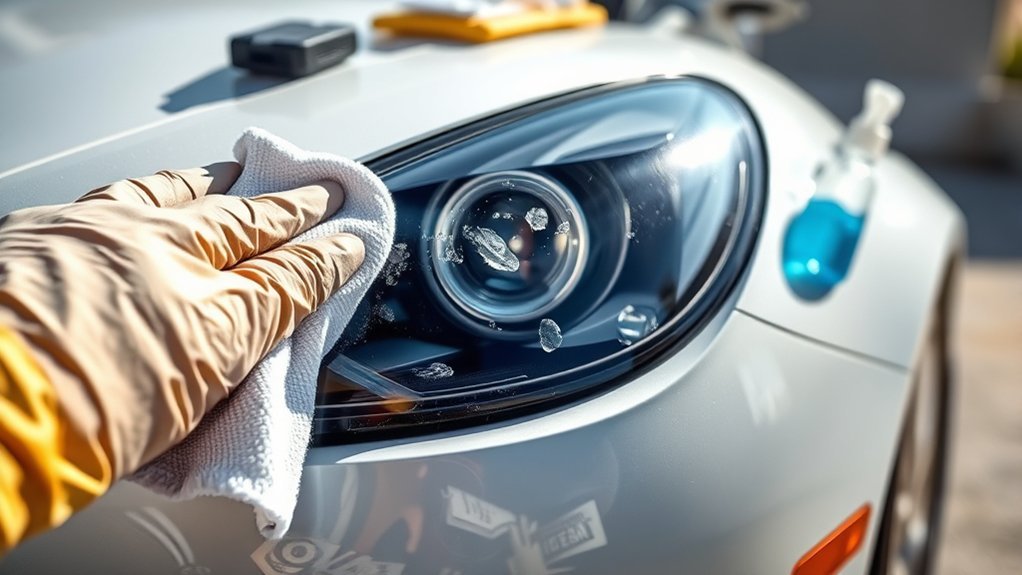
Wash each lens and the surrounding bodywork with mild car-wash soap and clean water. Use a soft microfiber towel to lift dirt from the face, edges, corners, and crevices. Rinse well and dry the painted area around the lamp so masking tape can stick.
This cleaning step matters because trapped sand or road grit can drag across the plastic and create deeper scratches. It also helps you see whether the discoloration is on the exterior surface or inside the assembly.
Avoid aggressive degreasers and solvent-based shortcuts. A General Motors service bulletin hosted by NHTSA warns that several chemicals, including concentrated cleaners and solvents, can craze or crack exterior polycarbonate lamp lenses. It recommends lukewarm or cold water, a soft cloth, and car-wash soap for routine cleaning.
Step 2: Mask the Surrounding Paint and Trim
Apply low-tack painter’s tape around the complete edge of each headlight. Press the tape down firmly so sanding slurry and compound cannot work underneath it. Two layers near tight corners and raised body lines provide extra protection when you are using a drill-mounted pad.
Do not place tape over chipped, peeling, weak, or recently repainted surfaces without checking the paint first. Tape can lift a poorly bonded finish. Extend the protected area far enough that the sandpaper, backing pad, or polishing cloth cannot touch the bumper, fender, grille, or trim.
| Masking Check | Why It Matters |
|---|---|
| Tape follows the entire lens edge | Prevents the abrasive from cutting paint or trim |
| No gaps or loose corners | Keeps slurry and compound from reaching the finish |
| Paint is sound beneath the tape | Reduces the chance of lifting chipped or poorly bonded paint |
| Tape is replaced if it becomes wet or loose | Maintains protection throughout sanding and polishing |
Step 3: Select the Correct Sandpaper Grit Sequence
Sandpaper numbers work in reverse: a lower number is coarser, while a higher number is finer. The starting grit must be coarse enough to remove the failed outer layer without being more aggressive than the lens needs.
Do not assume every headlight should begin at 600 grit. Manufacturers use different systems. For example, one Sylvania consumer kit uses 400, 1000, and 2000 grit, while a 3M kit uses 500, 800, and 3000 grit components. Other systems may begin with a finer abrasive for light haze. Follow the exact order supplied with your product.
| Lens Condition | Best Approach |
|---|---|
| Light surface haze with no yellow crust or pitting | Use a light-duty kit or the finer starting step specified by the manufacturer |
| Moderate yellowing or a visibly failed coating | Use the complete coarse-to-fine sequence in a full restoration kit |
| Heavy pitting, deep scratches, or a very hard failed layer | Use a heavy-duty system exactly as directed or seek professional restoration |
| Cracks, internal haze, reflector damage, or repeated coating failure | Inspect or replace the headlamp assembly instead of sanding the exterior |
Step 4: Sand the Headlights Evenly
Keep the lens and waterproof abrasive wet when the kit calls for wet sanding. A spray bottle makes it easy to maintain a thin film of clean water and rinse away plastic residue. If the abrasive becomes clogged, torn, or stops cutting, replace it instead of pressing harder.
For hand sanding, use even overlapping passes and the pressure stated in the instructions. Some systems call for circular motion, while others use straight or crosswise passes. The goal is not a particular hand pattern; it is an evenly sanded surface with no untouched yellow or glossy patches.
For drill-assisted kits, keep the pad flat or at only a slight angle, move it slowly and steadily, and do not hold it in one place. Excess pressure or heat can smear the plastic and make the damage harder to remove. Use only the drill speed and backing pad listed by the kit maker.
After the first abrasive step, rinse and dry the lens briefly for inspection. It should look uniformly frosted, with the original yellowing and failed coating removed. If clear, glossy, or yellow spots remain, continue with that same grit before moving on. Then rinse away all residue and repeat with each finer grit in order.
Pro Tip: Finish both headlights through the sanding and polishing stages before opening a single-use coating applicator. This keeps the first coating from being disturbed while you work on the second lens.
Step 5: Apply a Plastic-Safe Polishing Compound
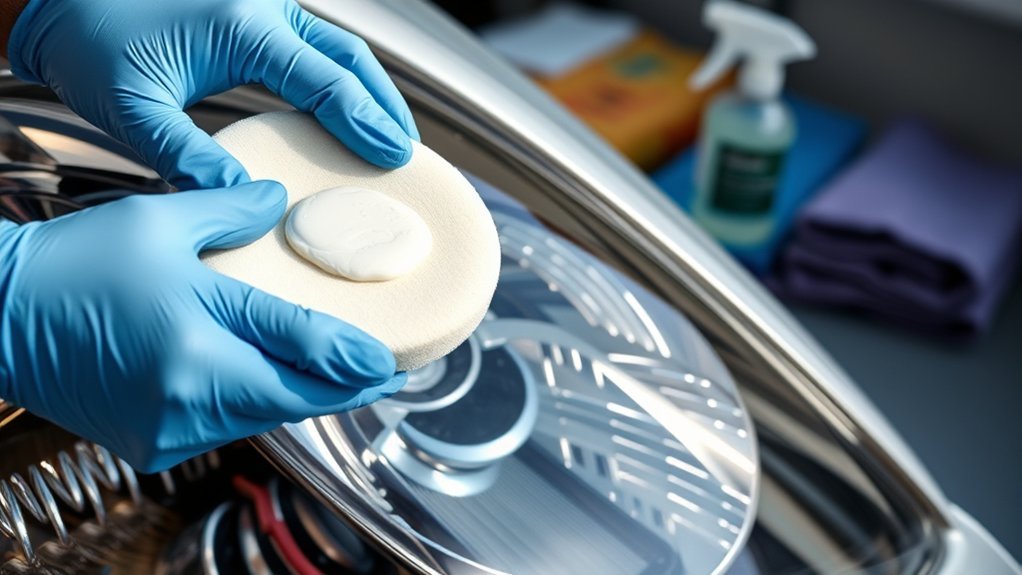
Use only the clarifying or polishing compound recommended for plastic headlight lenses. Some products are applied to a wet lens; others require a clean, dry surface. Follow the label rather than using a universal rule.
- Prepare the pad or towel: Use the supplied applicator or a clean microfiber towel. If the kit uses a machine pad, attach it securely before powering the tool.
- Use a small amount: Spread the compound over the lens before starting a drill or polisher so it does not sling onto the paint.
- Polish evenly: Work across the entire lens with steady overlapping passes. Keep a machine pad moving and do not run it dry.
- Inspect the finish: Wipe away residue with a clean towel. The coarse sanding haze should be gone. If visible sanding scratches remain, return to the finest corrective abrasive step specified by the kit, then polish again.
A hand applicator can work well, but a kit-designed drill or machine system may reduce effort on severe oxidation. Do not substitute an aggressive paint-cutting compound unless its manufacturer specifically approves it for the lens material.
Step 6: Seal the Headlights With UV Protection
Sanding removes the damaged outer layer and may also remove much of the original UV-resistant coating. A compatible protective finish is therefore part of the restoration, not an optional cosmetic extra.
Clean the polished lens exactly as the coating maker directs, then remove every trace of moisture from the lens, seams, and surrounding trim. Put on the supplied glove and apply the coating with the provided towel, wipe, or applicator. Use smooth, controlled strokes and avoid repeatedly brushing over an area once the product begins to set.
Cure times vary. The Sylvania instructions cited above specify at least one hour before touching the lens and four to six hours for a full cure, with no driving or water exposure until cured. Other coatings use different times, so the product label controls.
Do not apply a general-purpose aerosol clear coat, furniture finish, or unverified chemical treatment. Use a coating specifically labeled for restored polycarbonate automotive lenses and compatible with the sanding or polishing system.
Avoid These Common Headlight Restoration Mistakes
- Starting with the wrong grit: A grit that is too coarse adds unnecessary scratches, while one that is too fine may not remove the failed layer. Match the system to the damage.
- Skipping grit steps: Each finer abrasive must remove the scratches from the previous one. Large jumps can leave marks that polishing will not hide.
- Sanding a glass lens or internal defect: Plastic-lens kits are not a cure for every type of headlamp damage.
- Letting the surface dry during wet sanding: Unless the product specifies dry sanding, keep the abrasive and lens wet to control residue and scratching.
- Using excessive pressure or holding a drill in one spot: Heat can smear or deform the plastic.
- Moving on while yellow or glossy patches remain: The first corrective step must remove the damaged layer evenly.
- Skipping the UV coating: An unprotected polished lens can weather again sooner.
- Using WD-40, strong solvent, or concentrated cleaner as a restoration method: An oily film may change the appearance briefly but does not rebuild the damaged protective layer, and incompatible chemicals can harm plastic.
- Exposing the coating to rain or washing too soon: Moisture can spoil adhesion before the finish cures.
- Failing to check the beam afterward: Clearer plastic does not guarantee correct bulb output, aim, or reflector condition.
Troubleshooting a Hazy, Streaked, or Uneven Finish
The lens is still yellow in patches: The damaged surface layer was not removed evenly. Return to the first corrective grit in your kit and continue until the dry lens has a uniform frosted appearance.
Coarse scratches remain after polishing: Go back to the finest sanding step capable of removing those marks, then repeat the later abrasive and polishing stages. Do not try to bury deep scratches under extra coating.
The lens looks cloudy immediately before coating: A light, even haze may be normal for some coating-based systems because the final coating fills the fine sanding pattern. Check the product directions before repeating the polish.
The coating looks streaked: Do not keep wiping a coating after it starts to flash or become tacky. Let it cure, then follow the manufacturer’s correction or removal instructions. Applying more product at random can make the surface worse.
Moisture or haze is inside the lamp: Exterior polishing will not solve it. Inspect vents, seals, cracks, and the housing, or have the assembly serviced.
The headlights remain dim: Check bulb condition and fitment, electrical voltage, headlamp aim, reflectors, and lens damage. Replace or professionally inspect the assembly when light output remains poor.
Tips for Maintaining Newly Restored Headlights
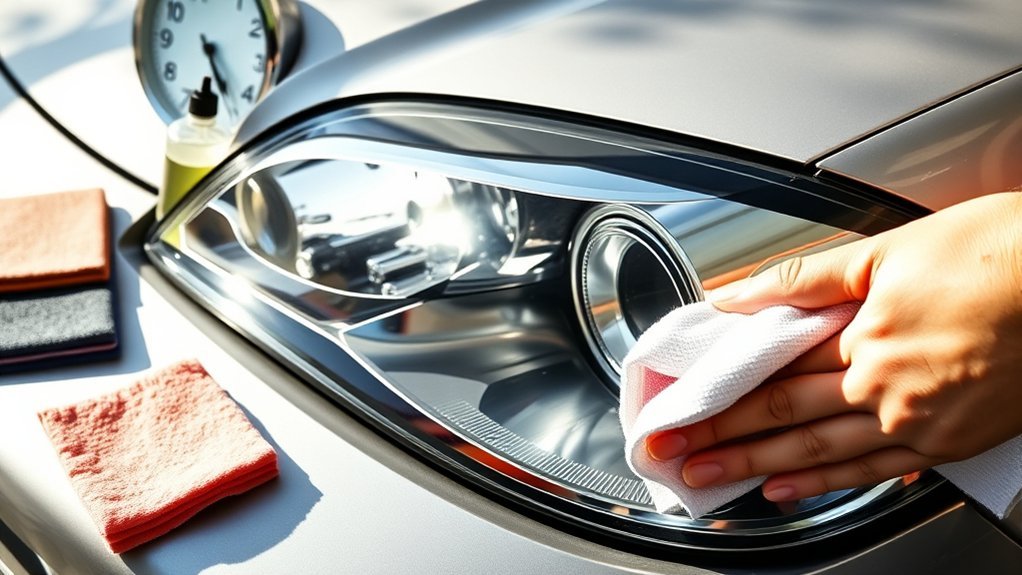
Wash restored headlights with mild car-wash soap, clean water, and a soft towel as part of your normal vehicle-cleaning routine. Remove bug residue and road film before they harden, but avoid strong solvents, abrasive household cleaners, and concentrated chemicals.
Inspect the lenses in daylight every few months and compare the left and right sides. Look for renewed haze, yellowing, coating edges, peeling, or fine cracks. Parking in shade or using covered storage when practical can reduce sun exposure, but no coating lasts forever in every climate.
Do not automatically sand the lenses every six or twelve months. Reapply a maintenance coating only when the product maker allows it, and repeat a full restoration only when exterior deterioration returns. Unnecessary sanding removes additional material and may shorten the useful life of the lens.
How to Choose the Best Headlight Restoration Kit
Check the included materials. A complete system should contain the abrasives needed for its stated damage range, a plastic-safe compound or clarifier, clean applicators, and a UV-protective finishing product. Confirm that one package contains enough material for both headlight assemblies.
Match the kit to the damage. A light-duty polish may be enough for slight haze, while a heavily oxidized lens needs a full abrasive sequence. Deep pitting, cracks, internal damage, or repeated failure may make replacement the better choice.
Choose hand or drill application. Hand kits are simple and reduce the chance of heat buildup, but they require more effort. Drill kits can work faster when used at the specified speed with the correct pad. Do not use a drill with a hand-only kit.
Assess UV protection. Look for a coating specifically labeled for polycarbonate automotive lenses. The package should state preparation steps, application method, cure time, and water-exposure limits.
Confirm compatibility and safety. Check whether the kit is intended for plastic rather than glass, whether it requires a particular temperature range, and what protective equipment the label calls for.
Compare value, not just package price. A low-cost kit is not a bargain if it omits the protective coating, contains too little material for two lenses, or requires extra pads and tools. Consider the complete system, expected labor, warranty terms, and whether the damage is severe enough to justify professional service or replacement.
How Long Does Headlight Restoration Take and Last?
Active working time depends on the kit and the amount of oxidation. Some professional systems advertise roughly 10 to 15 minutes for a lens, while consumer kits may take around 30 minutes or more for a pair. Heavy pitting, hand sanding, and repeated corrective steps add time. The coating’s cure period is separate and may last several hours.
There is no reliable universal schedule that says every restored headlight will last six or twelve months. Durability depends on how completely the failed layer was removed, the coating used, surface preparation, sunlight, weather, washing chemicals, road abrasion, and storage. Follow the coating maker’s inspection and maintenance guidance rather than sanding on a fixed calendar.
Frequently Asked Questions
How do you polish headlights step by step?
Wash and inspect the plastic lenses, mask nearby paint, follow the kit’s abrasive sequence from coarser to finer grits, polish away the fine sanding haze, clean the surface as directed, apply a compatible UV coating, and allow it to cure fully before water exposure.
How do you remove a cloudy film from headlights?
First determine whether the cloudiness is exterior oxidation or moisture inside the assembly. Exterior haze can usually be removed with a plastic-lens restoration system. Internal haze, cracked housings, damaged reflectors, and failed seals require inspection or replacement rather than exterior sanding.
Does WD-40 actually clean headlights?
WD-40 may leave an oily film that makes a lens look different for a short time, but it does not remove oxidation through a controlled abrasive process or restore the lost UV-protective layer. Use a product labeled for plastic headlight restoration instead, and avoid unapproved chemicals.
Do you start with lower- or higher-grit sandpaper?
Start with the grit specified by the kit for the amount of damage. Lower numbers are coarser and remove failed coating faster; higher numbers are finer and remove the scratches left by earlier steps. Never assume that 600 grit, 2000 grit, or any other single grit is correct for every lens.
Can toothpaste permanently restore cloudy headlights?
Toothpaste may lightly abrade surface grime, but it is not a complete restoration system and does not provide a durable automotive UV coating. A purpose-made kit gives you a controlled abrasive sequence, plastic-compatible compound, and protective finish.
When should you replace a headlight instead of polishing it?
Consider replacement or professional inspection when the lens is cracked, the housing holds moisture, mounting tabs are broken, reflectors are damaged, the haze is inside, the coating repeatedly fails, or light output remains weak after the exterior lens is clear.
Conclusion
Polishing cloudy headlights is effective when the damage is on the exterior of a plastic lens and you use a complete, compatible restoration system. Clean and mask carefully, follow the supplied grit sequence, remove the failed layer evenly, polish out the sanding marks, and finish with UV protection. If the defect is internal, structural, or still limits the beam after restoration, have the headlamp inspected or replaced rather than sanding it again.
Sources
- AAA: Dangers of Driving With Cloudy Headlights — laboratory findings on degraded, restored, and replacement headlamp output
- 3M Ultra Headlight Restoration Kit — plastic-lens compatibility, masking, progressive abrasives, and kit contents
- 3M Headlight Restoration Kit FAQ — grit sequencing, uniform sanding, UV coating removal, and limits of exterior restoration
- Sylvania Headlight Restoration Kit Instructions — wet-sanding sequence, coating application, and cure time
- General Motors Lamp Damage Service Bulletin — chemical-damage cautions and safe routine cleaning guidance for polycarbonate lenses







Leave a Reply