
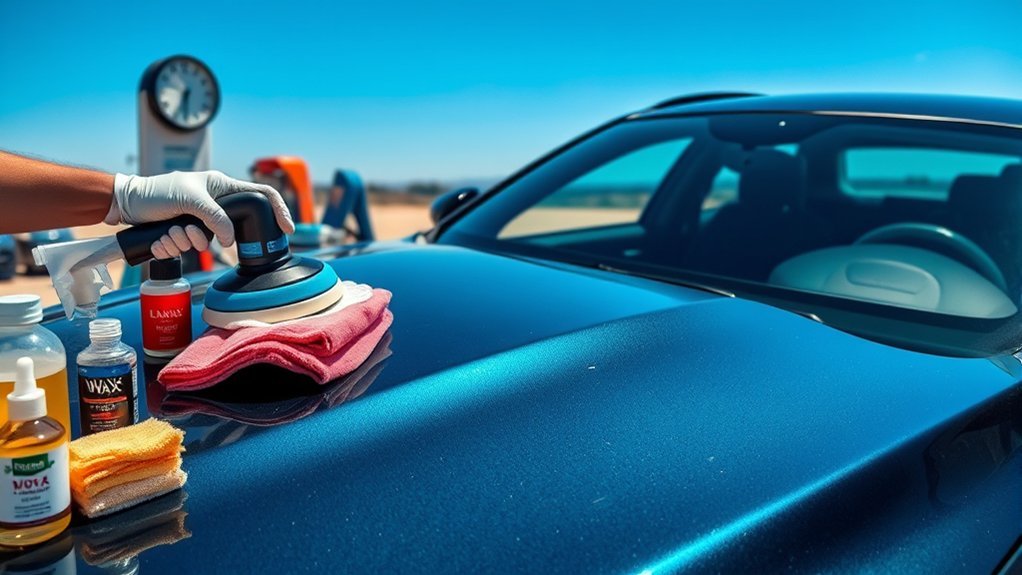
Detailing a car means cleaning, restoring, and protecting each surface rather than giving the vehicle a quick wash. A safe detail starts with an inspection, uses separate tools for dirty and delicate areas, and adds clay or polish only when the paint actually needs those steps. The process below covers a complete exterior and interior detail without treating every vehicle or finish the same.
Quick Answer
To detail a car, work on cool surfaces, remove interior clutter, clean the wheels, rinse and hand-wash from top to bottom, and dry the paint. Decontaminate and polish only when needed, apply suitable protection, then vacuum and clean each cabin material with compatible products before finishing the glass.
Key Takeaways
- Use automotive cleaners and separate wash media for wheels, paint, glass, and interior surfaces.
- A thorough rinse and lubricated hand wash are essential; a foam cannon is optional.
- Clay removes bonded contamination, while compound and polish correct paint defects. Neither is required during every detail.
- Always test cleaners in a hidden area and follow the vehicle manual and product label.
- Gentle maintenance washes usually preserve a finished detail better than frequent aggressive cleaning.
At a Glance
| Time Required | About 3–6 hours for a maintained car; longer for heavy stains, contamination, or paint correction |
| Difficulty | Beginner for cleaning and protection; intermediate for machine polishing |
| Tools Needed | Buckets, wash mitt, wheel brushes, drying towels, vacuum, soft brushes, microfiber towels, automotive cleaners, and paint protectant |
| Cost | Typically $30–$120 for basic supplies; extractors, pressure washers, and polishers increase the cost |
Getting Started With Car Detailing Basics
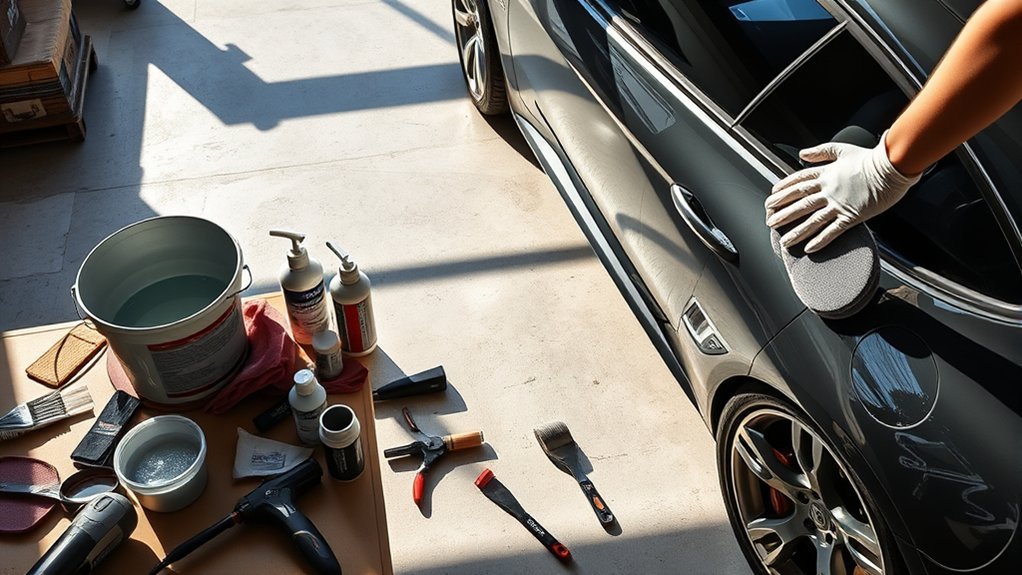
Car detailing goes beyond removing visible dirt. The goal is to clean each material safely, correct defects only when practical, and leave protection that makes future maintenance easier.
A useful order for most vehicles is:
- Inspect the vehicle and prepare the work area.
- Remove trash, mats, valuables, and loose personal items.
- Clean the wheels and tires with dedicated tools.
- Rinse, wash, and dry the exterior.
- Inspect the paint and decontaminate or polish only if needed.
- Apply wax, sealant, or another compatible protectant.
- Vacuum and clean the interior from the upper surfaces downward.
- Clean the glass and perform a final inspection.
Some detailers clean the interior first, especially when the cabin requires hours of stain treatment. Either order can work, but completing the dirty wheel and exterior work before final interior glass cleaning helps prevent water spots, overspray, and tracked-in debris.
Warning: Work in a ventilated area and follow every product label. Do not mix cleaning chemicals. Keep liquids away from exposed wiring, airbag seams, seat controls, speakers, charging ports, and high-voltage components. Stop if a cleaner changes the color, gloss, texture, or softness of a test area.
Before You Begin Detailing Your Car
Park on a level surface where the body, glass, wheels, and brakes can cool. Shade usually gives you more working time and reduces premature drying, but the product label should always control because some products are formulated for different conditions.
Walk around the vehicle before applying water or chemicals. Look for:
- Loose trim, damaged badges, cracked lenses, peeling clear coat, and exposed paint chips
- Matte or satin paint, vinyl wraps, paint-protection film, or ceramic coatings
- Repainted panels or body-shop repairs that may respond differently to polish
- Curbed, uncoated, anodized, polished, or damaged wheels
- Aftermarket window tint and delicate interior screens
- Mold, rodent waste, sewage, blood, or other contamination that may require professional remediation
Check the owner’s manual for surface-specific restrictions. Matte finishes, soft tops, wraps, coated wheels, natural leather, open-pore wood, and specialty screens may require methods that differ from ordinary gloss paint and coated interior trim.
Note: Prevent dirty washwater from flowing into a storm drain. The U.S. Environmental Protection Agency recommends using appropriate washwater collection or disposal practices, washing over a suitable permeable area where local rules permit, or using a commercial car wash that captures and treats its wastewater.
Essential Tools You Need for Effective Detailing
You do not need a professional shop full of equipment, but you do need clean, surface-specific tools. Avoid using the same towel or brush on wheels, paint, glass, and interior trim.
Basic Exterior Detailing Tools
- Two wash buckets, ideally with grit screens
- A clean microfiber or soft synthetic wash mitt
- Automotive shampoo mixed according to its label
- Dedicated wheel bucket, wheel brushes, and tire brush
- Large microfiber or soft synthetic drying towels
- Soft detailing brushes for badges, grilles, and seams
- Automotive glass cleaner and low-lint glass towels
- Paint protectant suitable for the vehicle’s finish
Optional Decontamination and Correction Tools
- Iron remover or tar remover labeled safe for the surface
- Fine detailing clay or a synthetic clay towel
- Clay lubricant recommended by the clay manufacturer
- Inspection light
- Dual-action polisher, appropriate pads, and a mild polish
- Paint-depth gauge for advanced correction work
A clay product is designed to remove bonded contamination that ordinary washing leaves behind. Both 3M’s cleaner-clay guidance and automotive clay manufacturers call for adequate lubrication. Never drag dry clay across paint.
Basic Interior Detailing Tools
- Vacuum with crevice, brush, and upholstery attachments
- Several clean microfiber towels
- Soft interior brushes and a vent brush
- Material-compatible interior cleaner
- Carpet and upholstery cleaner
- Leather cleaner and conditioner when appropriate
- Tint-safe glass cleaner
- Wet-dry vacuum or extractor for deeper fabric cleaning
Choose products by surface compatibility rather than brand name. A cleaner that works on coated vinyl may not be appropriate for a touchscreen, instrument lens, perforated leather, suede-like material, or unfinished metal.
Exterior Car Detailing Steps
The safest exterior process moves from the dirtiest areas to the most delicate finishing work while keeping wheel tools away from the body.
Step 1: Clean the Wheels and Tires
Make sure the wheels and brakes are cool. Rinse loose dirt away, then clean one wheel at a time so the product does not dry on the finish.
- Confirm that the cleaner is safe for the wheel finish.
- Apply the cleaner according to its label.
- Agitate the tire, wheel face, lug area, and barrel with separate brushes.
- Rinse thoroughly before moving to the next wheel.
- Clean the wheel brushes before storing them.
Acidic or highly alkaline cleaners may stain or damage bare, polished, anodized, damaged, or specialty-coated wheels. When the finish is uncertain, begin with mild automotive shampoo and a hidden-area test.
Step 2: Pre-Rinse and Pre-Wash
Rinse the vehicle from the roof downward to remove loose dust, grit, pollen, and mud. Pay attention to wheel arches, rocker panels, lower bumpers, panel gaps, and the area behind the license plate.
A foam cannon or pump sprayer can help soften heavy road film, but it is optional. Do not allow the foam or cleaner to dry. Rinse it away before beginning contact washing.
Pro Tip: If the lower panels are much dirtier than the roof and glass, use a second wash mitt for the lower third of the vehicle. This keeps the grittiest wash media away from the more visible upper paint.
Step 3: Hand-Wash From Top to Bottom
Fill one bucket with the correct shampoo mixture and a second bucket with clean rinse water. A two-bucket method helps reduce the chance of returning grit to the paint. Meguiar’s provides an example of this method in its official bucket-washing instructions.
- Load the mitt with wash solution.
- Wash a small section using light, straight overlapping passes.
- Rinse the mitt in the clean-water bucket.
- Reload it with wash solution before continuing.
- Wash the roof, glass, upper panels, middle panels, and lower panels in that order.
- Rinse the entire vehicle before soap begins to dry.
Do not scrub bird droppings, insects, or tar with heavy pressure. Soften the contamination with a compatible remover and allow the chemistry to work before wiping gently.
Step 4: Dry the Car Safely
Drying prevents mineral deposits and reveals contamination that washing did not remove. Use a clean, absorbent towel and light pressure. Patting or gently pulling the towel across lubricated or well-rinsed paint is safer than aggressive rubbing.
Open the doors, trunk, hatch, fuel door, and mirrors to release trapped water. A filtered vehicle dryer or low-pressure air blower can help clear grilles, emblems, mirrors, and panel seams. Do not use excessive air pressure around loose trim or damaged seals.
Step 5: Inspect and Decontaminate the Paint if Needed
After washing and drying, place your hand inside a clean, thin plastic bag and lightly glide it over the paint. The bag increases sensitivity. A rough or gritty feel may indicate bonded contamination.
Use the least aggressive method that solves the problem:
- Iron remover: Dissolves some ferrous contamination without mechanical rubbing. Follow the label and never let it dry.
- Tar remover: Targets asphalt and adhesive residue. Verify compatibility with paint, plastic, coatings, and protective film.
- Fine clay: Mechanically removes contamination that remains after washing or chemical treatment.
To clay the paint, lubricate a small section generously and move the clay with light pressure. Stop when the surface feels smooth. Fold or knead the clay to expose a clean face. Discard a traditional clay bar if it falls on the ground because embedded grit may scratch the paint.
A clean car does not automatically need clay or polish. Inspect first, then use only the correction step the surface requires.
Step 6: Polish Only When the Paint Needs Correction
Polishing can reduce light swirls, oxidation, water-spot etching, and fine defects by refining the paint surface. It is not the same as applying wax, and it should not be automatic.
Begin with a clean test area about 2 feet square. Use the mildest pad and polish combination likely to work. Inspect the result before repeating the process on the rest of the car. The 3M random-orbital polishing procedure likewise uses controlled sections, overlapping passes, and inspection between steps.
Warning: Do not machine-polish matte or satin paint, textured trim, unprotected edges, decals, vinyl wraps, or paint-protection film unless the finish manufacturer specifically allows it. Use extra caution on repainted panels, sharp body lines, and areas with peeling or thinning clear coat. Deep scratches, clear-coat failure, and unknown paint history should be evaluated by a professional.
Keep the machine pad flat, keep it moving, clean the pad often, and avoid excessive heat. Stop when the planned improvement is achieved. Chasing every defect can remove more paint than the result justifies.
Step 7: Apply Paint Protection
Protection adds gloss, makes routine cleaning easier, and reduces direct exposure to ordinary contamination. Common options include:
- Traditional wax: Easy to apply and valued for appearance, but usually requires more frequent renewal.
- Synthetic sealant: Often chosen for longer-lasting protection and straightforward application.
- Spray protectant: Fast to use and useful for maintenance, although durability varies widely.
- Ceramic coating: Requires careful preparation and application. Existing coated vehicles should be maintained with coating-compatible products.
Follow the product label for panel temperature, application direction, dwell time, curing, and buffing. Apply thinly and evenly. More product rarely creates more protection and often makes removal harder.
Do not apply ordinary polish or wax to matte finishes, unpainted textured trim, wraps, or protective film unless the product is specifically approved for that material.
Step 8: Finish Glass, Trim, Jambs, and Tires
Clean door jambs, trunk channels, badges, grilles, and exterior trim with a soft brush or towel. Avoid flooding door-latch mechanisms, cameras, sensors, electrical connectors, and openings.
Clean exterior glass with one towel for the initial wipe and a second dry towel for the final buff. Lower each side window slightly so you can clean the upper edge. Use a product labeled safe for aftermarket tint when cleaning the interior side of tinted glass.
If you apply tire dressing, use a thin coat on the sidewall only. Keep dressing off the tread, brake components, pedals, motorcycle seats, and walking surfaces. Wipe away excess product to reduce sling.
Optional Engine-Bay Detailing
Engine-bay cleaning is not required for a complete appearance detail. If you choose to do it, work only on a cool vehicle, remove loose debris first, and use minimal moisture. Apply cleaner to a towel or brush instead of flooding the compartment.
Warning: Do not spray high-pressure water around electrical connectors, air intakes, fuse boxes, ignition components, damaged insulation, charging equipment, or high-voltage hybrid and electric-vehicle components. Follow the vehicle manufacturer’s instructions or use a qualified professional when the safe procedure is uncertain.
Interior Car Detailing Steps
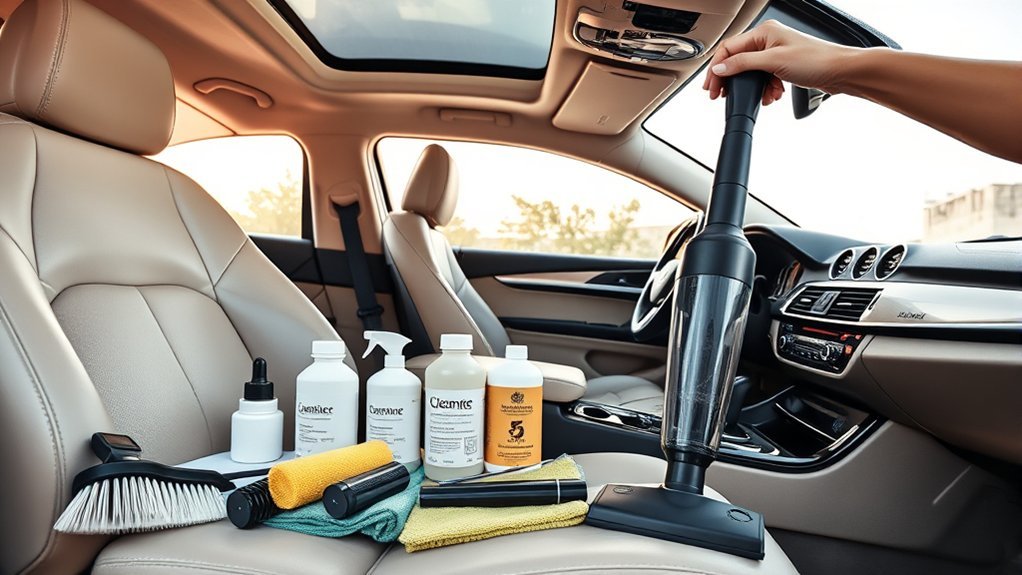
Interior detailing works best from the upper surfaces downward so dust and debris fall onto areas that have not yet received their final cleaning.
Remove Trash, Mats, and Personal Items
Remove trash, floor mats, loose cargo, cup-holder inserts, and personal items. Check under the seats, inside door pockets, in the center console, beneath removable cargo floors, and around seat tracks.
Collect coins, screws, stones, glass, and other hard objects before vacuuming. These items can damage attachments or become projectiles when compressed air is used.
Clean child-restraint seats only according to the restraint manufacturer’s instructions. Harsh chemicals, soaking, machine washing, or lubricating restraint components can damage some seats and harness systems.
Vacuum the Interior Thoroughly
Begin with the headliner area, dashboard, vents, and upper seat surfaces. Use a soft brush to loosen dust while holding the vacuum nozzle nearby. Continue with seat seams, carpet edges, rails, pedals, storage pockets, and beneath the mats.
Move power seats carefully to gain access, keeping fingers, cords, and vacuum hoses clear of the tracks. Do not force objects into seat mechanisms or wiring.
| Task | Purpose |
|---|---|
| Dry vacuuming | Removes abrasive grit before wet cleaning |
| Spot treatment | Targets stains without soaking the entire surface |
| Shampooing or extraction | Removes deeper soil and cleaner residue |
| Complete drying | Helps prevent musty odors and moisture problems |
Clean the Dashboard, Panels, Vents, and Controls
Spray cleaner onto a towel or brush rather than directly onto switches, speakers, screens, or seams. Work from the dashboard downward, using a soft brush around vents, buttons, badges, and textured trim.
Use a clean damp towel for delicate instrument lenses and glossy trim unless the owner’s manual allows another method. Ford’s vehicle-cleaning guidance, for example, recommends a clean, damp, soft cloth for instrument-panel and cluster surfaces.
Avoid glossy dressings on the steering wheel, pedals, gear selector, floor mats, seat surfaces, or dashboard areas where reflections could reduce visibility.
Clean Fabric Seats, Carpets, and Mats
Test the cleaner in an inconspicuous area. Treat individual spots first, working from the outside of a stain toward its center to reduce spreading.
- Apply only enough cleaner to dampen the fibers.
- Allow the product to dwell for the time listed on its label.
- Agitate gently with a suitable brush or towel.
- Blot or extract the loosened soil and cleaner.
- Repeat lightly rather than saturating the padding in one pass.
- Dry the material completely before closing the vehicle.
Clean removable carpet mats outside the vehicle. Rubber or all-weather mats should be rinsed thoroughly and dried before reinstallation. Do not apply slippery dressing where shoes contact the mat.
Clean and Condition Leather Seats
Vacuum grit from seams and perforations before wiping the leather. Use a soft cloth and a mild, material-compatible cleaner. Ford’s leather-seat instructions recommend removing loose dirt, cleaning with a mild solution, and drying with a clean soft cloth.
Do not saturate perforated leather, airbag seams, stitching, seat controls, or heated and ventilated seat openings. Apply conditioner only when the leather type and vehicle manufacturer permit it. Modern coated leather may need much less conditioner than older uncoated material.
Clean Headliners, Seat Belts, and Delicate Materials
Headliners can separate from their backing when soaked. Blot small areas with minimal cleaner rather than scrubbing or saturating the fabric.
Clean seat belts with the method approved in the owner’s manual. Avoid bleach, dye, strong solvents, pressure washing, and heavy saturation. Allow each belt to dry fully before retracting it.
Suede-like upholstery, natural wood, brushed metal, piano-black trim, open-pore materials, and specialty fabrics require dedicated products and very light pressure.
Clean Touchscreens and Interior Glass
Turn screens off and allow them to cool. Wipe with a clean, dry microfiber towel first. If moisture is needed, lightly dampen the towel with a product approved by the screen or vehicle manufacturer. Never flood the screen edge or spray directly into controls.
Clean interior glass last because dashboard and upholstery work can leave overspray or fingerprints. Use one towel to spread the glass cleaner and another dry, low-lint towel to finish. Inspect from different angles for haze.
Address Odors and Dry the Cabin
Do not rely on fragrance to hide an odor. Check for damp carpet, food, pet accidents, clogged cabin filters, spilled drinks, mildew, water leaks, and debris beneath seats or cargo panels.
Leave doors or windows open in a secure, well-ventilated location until damp surfaces are completely dry. Persistent mold, rodent contamination, sewage, fuel, smoke, or unexplained chemical odors may require professional cleaning and mechanical inspection.
Tips for Maintaining Your Car After Detailing
A maintenance schedule should respond to actual conditions rather than a fixed calendar. A garaged weekend vehicle may need less attention than a daily driver exposed to road salt, insects, tree sap, industrial fallout, or intense sun.
- Wash when visible dirt or contamination begins to accumulate.
- Remove bird droppings, insect residue, and tree sap promptly with a compatible product.
- Use automotive shampoo and clean wash media to preserve existing protection.
- Dry standing water before mineral spots form.
- Vacuum high-traffic areas before grit becomes embedded.
- Renew paint protection when water behavior, slickness, gloss, or product instructions indicate that performance has declined.
- Inspect drainage channels, weather seals, and floor areas for trapped moisture.
Vehicles with ceramic coatings, matte finishes, wraps, or paint-protection film should be maintained with products approved for those surfaces. Abrasive cleaner, clay, compound, or polish may alter the finish or reduce coating performance.
Common Mistakes to Avoid When Detailing Your Car
- Working on hot panels or wheels: Products can dry too quickly and become difficult to remove.
- Using household dish detergent as a routine wash: It is not designed around the needs of automotive finishes and existing paint protection.
- Using one towel for everything: Wheel grit, dressing, polish, and glass residue can contaminate other surfaces.
- Scrubbing without first rinsing: Loose grit can be dragged across the paint.
- Treating foam as mandatory: Foam is useful in some situations, but safe contact washing depends on rinsing, lubrication, clean media, and light pressure.
- Claying every time: Clay can leave light marring and is unnecessary when the paint already feels smooth.
- Polishing without a test spot: Aggressive products may remove more paint than needed.
- Allowing chemicals to dry: Dried residue can stain, streak, or become harder to remove.
- Oversaturating the interior: Moisture can enter foam, wiring, adhesives, airbag seams, and electronic components.
- Skipping final inspection: Trapped water, polish residue, streaked glass, and missed cleaner are easier to correct immediately.
Troubleshooting Common Detailing Errors
| Problem | Likely Cause | Safe Next Step |
|---|---|---|
| New swirl marks | Dirty wash media, insufficient rinsing, heavy pressure, or dry wiping | Replace or clean the wash media, improve lubrication, and assess whether mild polishing is justified |
| Paint still feels rough | Bonded iron, tar, overspray, or environmental contamination | Identify the contamination and use a compatible chemical remover or lubricated fine clay |
| Water spots after washing | Water dried before the vehicle was towel-dried | Rewash or use a compatible spot remover; etched spots may require cautious polishing |
| Wax or sealant looks streaky | Too much product, wrong temperature, incomplete curing, or a contaminated towel | Follow the label, use less product, and buff with a clean towel |
| Glass remains hazy | Interior film, dirty towels, dressing overspray, or cleaner residue | Use a clean two-towel process and inspect the inside and outside separately |
| Carpet smells musty | Excess cleaning solution, damp padding, or a water leak | Extract moisture, ventilate the cabin, and investigate leaks before adding fragrance |
| Interior surface becomes shiny or sticky | Too much dressing, incompatible cleaner, or residue buildup | Stop using the product and remove residue with the mildest manufacturer-approved method |
| White residue appears on trim | Dried wax or polish on textured plastic | Use a soft brush and a compatible trim cleaner; mask the trim before future polishing |
Frequently Asked Questions
What are the most common car-detailing mistakes?
Common mistakes include working on hot surfaces, using dirty towels, failing to rinse loose grit, allowing chemicals to dry, using one brush on wheels and paint, claying or polishing unnecessarily, oversaturating the interior, and applying products to materials they were not designed to treat.
How do you properly detail a car step by step?
Inspect the vehicle, remove clutter, clean the wheels, rinse and hand-wash the body, dry it, inspect for contamination, clay or polish only when needed, apply paint protection, vacuum the cabin, clean each interior material, clean the glass, and perform a final inspection.
What is the proper order for detailing a car?
A practical order is preparation, wheels, exterior wash, drying, optional decontamination, optional paint correction, paint protection, interior cleaning, glass, and final inspection. A heavily stained cabin can be started earlier so it has more drying time, but the same surface-specific safety rules apply.
What does three-step detailing mean?
The phrase is used in different ways. In paint correction, it may describe compounding, polishing, and protection. In basic detailing, it may mean cleaning, correcting, and protecting. It should not be interpreted to mean that every vehicle must be clayed or aggressively polished during every detail.
Do you need to clay and polish a car every time?
No. Clay is appropriate when bonded contamination remains after washing, and polish is appropriate when correctable paint defects justify removing or refining a small amount of the surface. Smooth, defect-free paint may need only washing and protection.
Can you use dish soap to detail a car?
Dish soap is not the best routine choice because it is formulated for kitchen soil rather than automotive paint, trim, coatings, and existing protection. Use a properly diluted automotive shampoo unless a specific corrective process and product manufacturer instruct otherwise.
How often should a car be detailed?
There is no universal interval. Wash and vacuum according to use and contamination. Perform deeper interior cleaning or paint decontamination when inspection shows it is needed, and renew paint protection according to the product instructions and observed performance.
How should you detail a ceramic-coated, matte, or wrapped car?
Use products approved for that exact finish. Avoid abrasive clay, compound, polish, ordinary wax, and aggressive chemicals unless the coating, paint, wrap, or film manufacturer specifically permits them. When the finish history is unknown, use a mild wash and seek product-specific guidance before correction.
Conclusion
A complete car detail is a sequence of careful cleaning, inspection, optional correction, and protection. Wash with clean tools and plenty of lubrication, clay only when bonded contamination remains, and polish only when the paint condition justifies an abrasive step. Inside the vehicle, use minimal moisture and match every cleaner to the material.
Detailing cannot guarantee a specific increase in resale price, but a consistently clean, protected, and well-presented vehicle is easier to inspect, more pleasant to use, and less likely to suffer avoidable cosmetic neglect. Regular gentle maintenance will also reduce how much aggressive cleaning is needed later.
Sources
- U.S. Environmental Protection Agency: What You Can Do at Home — washwater handling and storm-drain pollution prevention
- Meguiar’s Automotive Wash Instructions — automotive shampoo and two-bucket washing guidance
- 3M Perfect-It Cleaner Clay — bonded-contaminant removal and clay lubrication
- 3M Random-Orbital Polishing Procedure — controlled paint-correction technique and test sections
- Ford Leather-Seat Cleaning Guidance — vacuuming, mild cleaning, and soft-cloth drying
- Ford Vehicle-Cleaning Guidance — care of instrument panels, lenses, interior materials, and exterior surfaces







Leave a Reply