
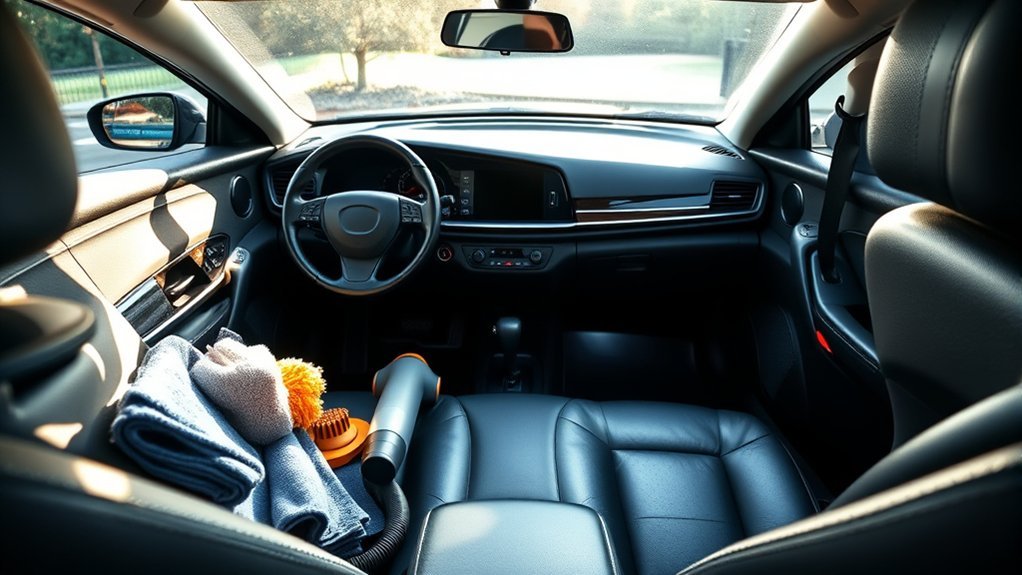
Cleaning your car interior is easier when you work in the right order and match each cleaner to the material in front of you. Start by removing trash and loose dirt, then clean from the top of the cabin downward. Use as little moisture as possible around screens, switches, seat-belt mechanisms, airbag seams, and electrical components.
Quick Answer
To clean a car interior, remove personal items, take out the floor mats, vacuum loose debris, and clean each surface with a material-safe product. Work from the dashboard and seats down to the carpets. Use minimal moisture, keep cleaner out of electronics and restraint mechanisms, and let everything dry before reinstalling the mats.
Key Takeaways
- Check your owner’s manual before using cleaner on seats, screens, instrument lenses, or specialty trim.
- Vacuum before applying liquid so grit does not become mud or scratch delicate surfaces.
- Apply cleaner to a cloth or brush instead of spraying dashboards, screens, switches, or seats directly.
- Avoid soaking upholstery, carpets, headliners, seat belts, airbag seams, and electrical areas.
- Remove the source of an odor instead of covering it with a strong fragrance.
- Allow damp materials to dry fully and secure the driver’s floor mat to its factory retainers.
At a Glance
| Time Required | 30–90 minutes, depending on vehicle size and soil level |
| Difficulty | Easy |
| Tools Needed | Vacuum, crevice tool, soft brushes, microfiber towels, bucket, and material-safe cleaners |
| Cost | About $0–$30 if you already own a vacuum and towels |
Warning: Never mix bleach, ammonia, disinfectants, or other cleaning products. Open the doors or windows for ventilation, follow every product label, and wear any gloves or eye protection the label requires. Keep liquids out of switches, charging ports, speakers, airbag seams, seat-belt retractors, and electrical modules.
Check Your Vehicle’s Materials Before Cleaning
Do not assume every dark seat is leather or every glossy panel can tolerate glass cleaner. A vehicle may contain cloth, genuine leather, coated leather, vinyl, synthetic upholstery, microsuede, soft-touch plastic, clear instrument lenses, painted trim, metal accents, and one or more display coatings.
Read the interior-care section of your owner’s manual before choosing a cleaner. Manufacturer directions take priority over general detailing advice. For example, Ford’s vehicle-cleaning guidance recommends mild soap-and-water cleaning for several common interior materials, while some manufacturers place stricter limits on their screens and upholstery.
Test any new product on a hidden area. Apply a small amount, wait for the area to dry, and inspect it in good light. Stop if you see color transfer, swelling, gloss changes, stickiness, fading, or a visible ring.
Note: Cleaning and disinfecting are different. For routine dirt, soap, water, and physical wiping are often enough. The CDC advises that disinfecting is not necessary in many routine situations unless illness or another specific contamination concern is present.
Essential Tools for Cleaning Your Car Interior
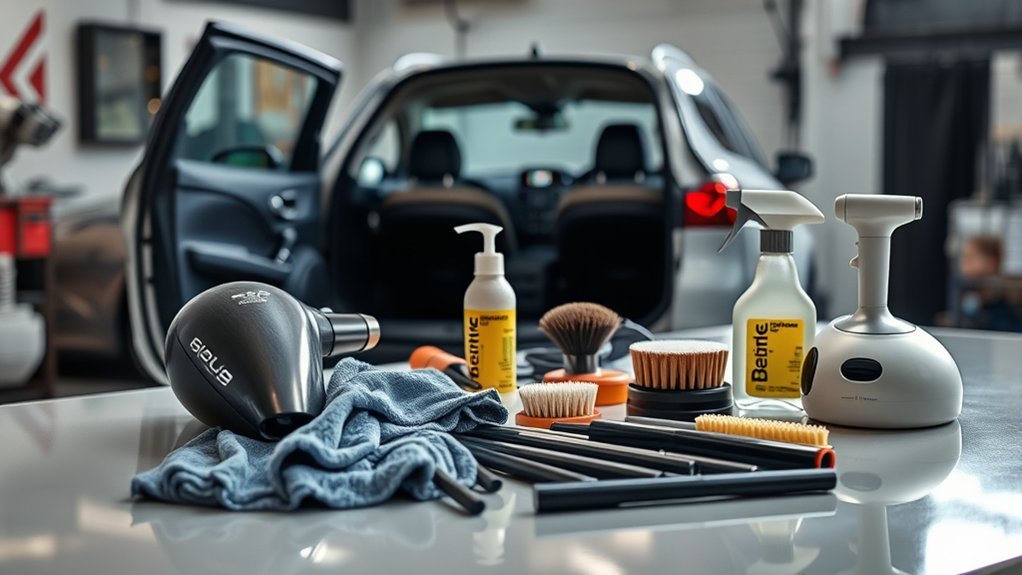
A small, organized tool kit makes the job faster and reduces the risk of using the wrong product. Useful supplies include:
- Vacuum with a crevice tool: Removes grit from carpets, seat tracks, seams, cup holders, and narrow gaps.
- Soft vacuum brush: Helps lift dust from vents and textured trim without scratching.
- Microfiber towels: Keep separate towels for glass, screens, upholstery, and general trim.
- Soft detailing brushes: Loosen debris around switches, seams, vents, and emblems.
- Upholstery brush: Agitates fabric and carpet when the material permits brushing.
- Rubber pet-hair brush: Gathers embedded hair from carpet and cloth upholstery.
- Material-safe cleaner: Choose separate products when necessary for fabric, leather, plastic, glass, and displays.
- Clean water: Useful for dampening towels and removing cleaner residue.
- Disposable gloves: Helpful for unknown spills, sticky residue, and chemical cleaners.
Products carrying the EPA Safer Choice label meet the program’s ingredient criteria, but certification does not automatically mean a product is compatible with every automotive material. Check both the label and your owner’s manual.
The safest cleaner is the one your vehicle manufacturer allows for that exact material—not the strongest product on the shelf.
Best Order for Cleaning a Car Interior
Cleaning in a consistent order prevents dust, crumbs, and dirty liquid from falling onto an area you already finished.
- Park in a shaded, ventilated area and allow hot interior surfaces to cool.
- Remove trash, personal items, child seats when appropriate, and floor mats.
- Dust and vacuum from the upper cabin downward.
- Clean the headliner and upper trim only where needed.
- Clean the dashboard, vents, console, door panels, and controls.
- Clean the touchscreen, instrument lens, and interior glass with separate towels.
- Clean the seats according to their material.
- Clean seat belts and buckles without soaking their mechanisms.
- Clean the floor mats outside the vehicle.
- Vacuum and spot-clean the carpet.
- Dry all damp materials and perform a final inspection.
- Reinstall the fully dry mats and secure the driver’s mat to its retainers.
Pro Tip: Fold each microfiber towel into quarters. You will have eight usable wiping faces and can switch to a clean section as soon as one becomes dirty.
Step-by-Step Guide to Decluttering Your Car
Remove personal belongings, loose papers, food packaging, bottles, and other trash before you vacuum. Use one bag for waste and another container for items that belong elsewhere.
Check the glove box, center console, seat-back pockets, door pockets, under-seat areas, cargo compartment, spare-tire area, and any hidden storage bins. Do not discard registration, insurance information, wheel-lock keys, emergency equipment, or vehicle tools.
Remove the floor mats so dirt shaken loose during cleaning stays outside the cabin. When removing a child restraint, note its installation path and consult the restraint and vehicle manuals before reinstalling it.
Techniques for Vacuuming and Hard-to-Reach Areas
Vacuum dry debris before using liquid. This prevents dust from turning into muddy residue and removes grit that could scratch plastic or upholstery.
- Start high: Use a soft brush or low suction on upper surfaces, vents, and seat seams.
- Move the seats: Slide each seat forward and backward to reach the tracks and carpet below it. Keep fingers and tools away from exposed wiring.
- Use the crevice tool: Vacuum between seat cushions, beside the console, around pedals, and along carpet edges.
- Agitate carpet: Brush carpet fibers lightly while vacuuming to release sand and pet hair.
- Make a second pass: Vacuum in a different direction to collect debris hidden by the carpet pile.
Use a smooth vacuum attachment on delicate upholstery. Do not drag a rough nozzle across leather, synthetic leather, soft plastic, instrument lenses, or display surfaces.
Effective Methods for Cleaning Floor Mats
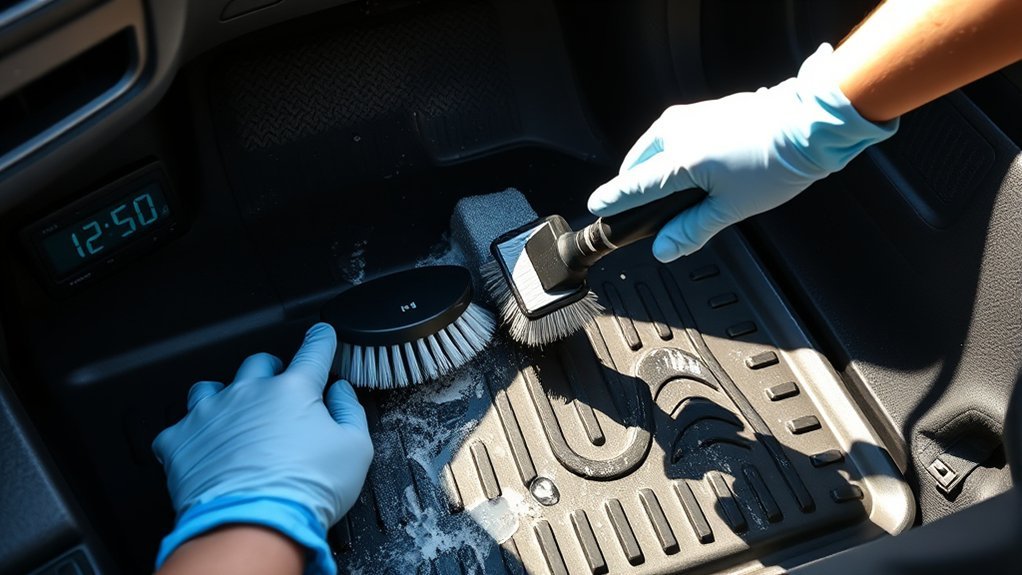
Clean floor mats outside the vehicle so water, mud, and cleaner do not soak the carpet or nearby electronics.
| Mat Type | Cleaning Method |
|---|---|
| Rubber or vinyl | Shake or vacuum loose dirt, rinse when the manufacturer permits it, scrub with mild cleaner, rinse away residue, and dry both sides. |
| Carpet | Vacuum thoroughly, treat stains with a compatible upholstery cleaner, agitate lightly, blot or extract moisture, and dry completely. |
| Pet-hair buildup | Use a rubber brush or gloved hand to gather hair into piles before vacuuming. |
| Salt or mineral residue | Vacuum dry residue first, then use a cleaner approved for the mat material and blot repeatedly instead of flooding it. |
| Reinstallation | Wait until the mats are dry, attach the driver’s mat to its factory retainers, and never stack one mat on another. |
Do not apply glossy dressing to a floor mat. A slick mat can reduce foot traction, and an unsecured or stacked driver’s mat can interfere with pedal movement.
How to Clean Fabric Seats
Start by vacuuming the seat surface, seams, and the gap between the seatback and cushion. Identify any wires, heating elements, ventilation openings, occupant sensors, or airbag seams before applying moisture.
Choose a Compatible Fabric Cleaner
Use a low-residue upholstery cleaner approved by the vehicle or upholstery manufacturer. An enzyme-based cleaner may help with food, pet, or other organic stains, but only when the label confirms compatibility with the fabric.
Avoid assuming that a strong fragrance, abundant foam, or the word “natural” makes a cleaner safer. Test the product on a hidden area and follow its dilution and dwell-time instructions.
Fabric Seat Cleaning Technique
- Blot fresh liquid with a clean, absorbent towel. Do not rub it deeper into the seat.
- Apply a small amount of cleaner to a towel or brush rather than saturating the seat.
- Work from the outside edge of a stain toward its center.
- Agitate lightly with a soft brush if the fabric permits it.
- Blot lifted soil and cleaner with a clean microfiber towel.
- Repeat with small amounts instead of flooding the cushion.
- Wipe or extract remaining residue according to the product directions.
Too much liquid can penetrate the foam beneath the cover, prolong drying, leave rings, produce odor, or reach wiring and occupancy sensors.
Drying Fabric Seats
Leave the doors or windows open in a secure, shaded location and use a fan to move air across the seats. Avoid high heat from a hair dryer or heat gun. Do not sit on the seats or close the vehicle for long-term storage until the fabric and underlying padding are dry.
How to Clean Leather and Synthetic Seats
First determine whether the upholstery is genuine leather, coated leather, vinyl, synthetic leather, or another specialty material. These surfaces can look similar but require different care.
- Vacuum seams and perforations with a smooth attachment.
- Dampen a soft towel with the cleaner or mild solution approved by the vehicle manufacturer.
- Wipe a small section without pressing liquid into perforations or seams.
- Use a soft brush only when the manufacturer permits it.
- Remove residue with a clean, slightly damp towel.
- Dry the surface with a soft lint-free towel.
Do not automatically apply leather conditioner. Some coated leather and synthetic upholstery do not absorb it, and some manufacturers advise against conditioners or protectants. The Tesla Model Y cleaning instructions, for example, specify mild soap and warm water for general seat cleaning and warn against several chemical products.
If your owner’s manual approves a conditioner for genuine leather, use a small amount, spread it evenly, and buff away excess. A greasy or glossy finish usually means too much product remains on the surface.
Refresh Hard Surfaces for a Polished Look
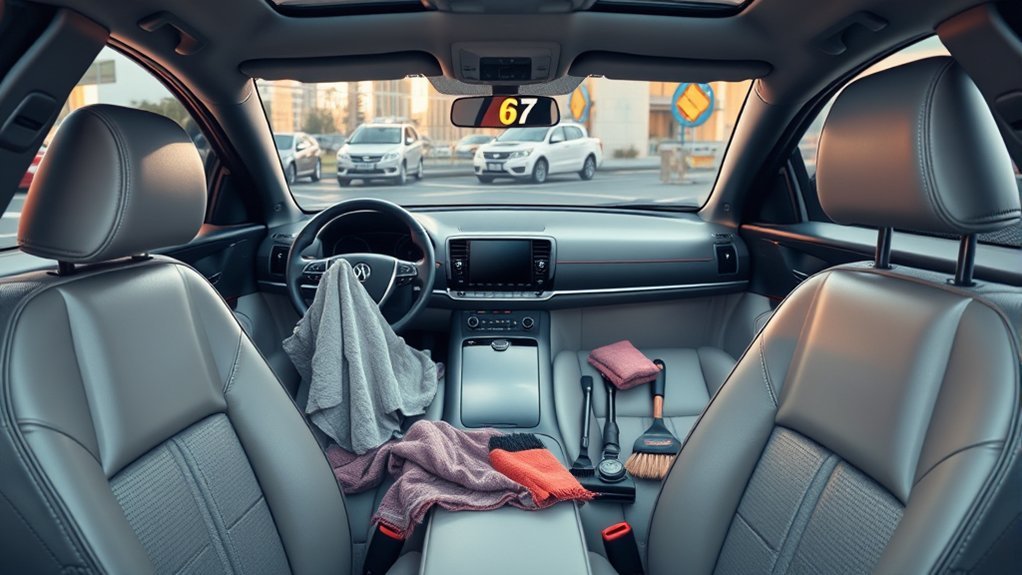
Hard surfaces include the dashboard, console, door panels, cup holders, steering wheel, shifter, handles, knobs, and buttons. These parts may use different coatings, so do not treat the whole cabin with one undiluted product.
| Surface | Safe Approach |
|---|---|
| Dashboard and door panels | Vacuum or dust first, apply compatible cleaner to a towel, wipe gently, and dry away residue. |
| Vents and seams | Use a soft brush while holding the vacuum nearby. Do not spray liquid into the vent. |
| Cup holders | Remove inserts when possible, loosen residue with a damp towel, and dry the bottom before reassembly. |
| Knobs and buttons | Use a barely damp towel or swab and prevent liquid from entering the gaps. |
| Steering wheel, shifter, and pedals | Clean away grime, remove all residue, and never apply a slippery or glossy dressing. |
Finish each section with a clean, dry towel. A natural, even finish is safer and usually looks better than a greasy shine.
How to Clean Touchscreens and Instrument Panels
Turn the display off or activate its screen-cleaning mode when available. Use a clean, soft, lint-free cloth intended for screens. Start dry and add only the amount of moisture permitted by the owner’s manual.
Do not spray the display directly. Avoid household glass cleaner, abrasive towels, paper towels, and alcohol-based products unless the vehicle manufacturer specifically approves them. Ford recommends a soft cloth and controlled moisture for its SYNC display; see Ford’s touchscreen-cleaning instructions.
Clean clear instrument-cluster lenses with equally gentle methods. These lenses can scratch or develop haze when exposed to abrasive cleaners or dirty towels.
How to Clean Interior Glass and Mirrors
Use a dedicated glass towel and a cleaner compatible with the window, tint film, mirror coating, camera area, and manufacturer instructions.
- Wipe the glass with one lightly dampened towel.
- Use overlapping passes to cover the entire surface.
- Buff with a second dry glass towel.
- Inspect from a different angle to find streaks.
- Lower side windows slightly to clean the upper edge, then raise them and finish the lower section.
Spray the towel instead of the glass so liquid does not run into the dashboard, door panel, speaker, camera housing, or window switch.
How to Clean Headliners, Seat Belts, and Child Seats
Headliner
Vacuum the headliner gently with a soft attachment if needed. For a spot, dab with a barely damp towel and a compatible cleaner. Do not scrub aggressively or soak the fabric because moisture can weaken the adhesive beneath it and cause sagging.
Seat Belts and Buckles
Extend the belt and wipe it with the mild solution allowed by the vehicle manufacturer. Do not bleach, dye, steam, saturate, twist, or apply dressing to a seat belt. Keep liquid out of the retractor and buckle. Leave the belt extended until it is completely dry.
Inspect the belt for cuts, fraying, stiff sections, damaged stitching, or retraction problems. Cleaning cannot repair structural damage; contact the vehicle manufacturer or a qualified repair facility when damage is present.
Child Restraints
Follow the child-restraint manufacturer’s cleaning instructions exactly. Harness webbing, buckle assemblies, foam, and flame-resistant covers can have strict restrictions. Do not machine-wash, soak, iron, lubricate, or use strong chemicals on a harness unless the restraint manufacturer expressly allows it.
Remove Stains and Odors Without Causing Damage
Treat spills quickly, but identify the material and contamination before choosing a product.
- Fresh liquid: Blot with an absorbent towel. Press down and lift rather than rubbing sideways.
- Food or sticky residue: Remove solids with a blunt plastic edge, then soften the remaining residue with a compatible damp towel.
- Grease or cosmetics: Use the manufacturer-approved cleaner sparingly and repeat small treatments.
- Pet accident: Remove solids, blot liquid, and use a compatible enzyme cleaner when permitted.
- Unknown stain: Begin with the mildest approved method and stop if the material changes color or texture.
- Mildew or persistent damp odor: Locate the leak or wet padding. Surface fragrance will not solve moisture trapped below the carpet.
For odor control, remove trash, clean the contamination, dry the affected material, and replace a dirty cabin air filter when the vehicle’s maintenance information calls for it. Strong fragrance can mask an odor temporarily but may bother passengers with sensitivities.
Warning: Do not use an ozone generator as a casual do-it-yourself odor treatment. The EPA warns that ozone can harm the lungs and may be ineffective against many contaminants at concentrations that meet public-health standards.
Dry and Reassemble the Interior
Use clean towels to remove remaining moisture, then ventilate the vehicle in a shaded, secure place. A fan can speed drying without subjecting upholstery, adhesives, or electronics to excessive heat.
Before closing the vehicle, press a dry white towel against cleaned fabric and carpet. Continue drying if the towel picks up moisture or cleaner. Check seams, carpet padding edges, and the underside of floor mats.
Reinstall mats only after both sides are dry. Secure the driver’s mat to the factory anchors and verify that it cannot move into the accelerator, brake, or clutch pedal area. Never place an additional mat on top of it.
Practical Car Interior Cleaning Schedule
There is no universal day-based schedule for every driver. Adjust your routine for passengers, pets, food, weather, allergies, work use, and how often the vehicle is driven.
- After each trip: Remove food waste, leaking containers, and items that could roll into the pedal area.
- Weekly or as needed: Remove trash, shake mats, and wipe fresh spills.
- Monthly: Vacuum high-traffic areas and wipe the steering wheel, controls, console, and door handles.
- Every few months: Deep-clean mats, seats, carpets, glass, vents, and storage compartments as needed.
- Immediately: Address bodily fluids, pet accidents, standing water, mold, chemical spills, or unknown contamination.
Use the vehicle’s maintenance schedule—not a generic cleaning rule—for cabin air filters and mechanical service.
Avoiding Common Mistakes in Car Cleaning
- Spraying surfaces directly: Overspray can enter switches, displays, speakers, seams, and electrical components.
- Using one cleaner everywhere: Screens, leather, plastic, glass, fabric, and painted trim may have different restrictions.
- Skipping the test spot: Even an automotive product can discolor a specific coating or upholstery dye.
- Using dirty towels: Trapped grit can scratch glossy plastic and instrument lenses.
- Overwetting fabric: Moisture can reach padding, sensors, wiring, and adhesive.
- Scrubbing stains outward: Aggressive rubbing can spread contamination and damage fibers.
- Applying slippery dressing: Steering wheels, pedals, shifters, mats, and seat surfaces need secure grip.
- Retracting a wet seat belt: Moisture can enter the retractor and remain trapped.
- Closing the car while damp: Trapped moisture encourages musty odors and may promote microbial growth.
- Using fragrance instead of cleaning: Odor returns when its source remains in the carpet, padding, HVAC system, or storage area.
Troubleshooting Car Interior Cleaning Problems
Streaks on Plastic or Glass
Use less product and buff with a clean, dry towel. Wash or replace towels contaminated with dressing, fabric softener, wax, or oily cleaner.
Sticky or Greasy Dashboard
Wipe the surface with the mild manufacturer-approved method to remove excess product. Do not continue layering dressing over the residue.
Water Ring on Fabric
Stop adding spot treatments. If the material permits it, lightly clean the entire affected panel from seam to seam so the moisture boundary does not remain concentrated around the original stain.
Seat or Carpet Stays Damp
Increase ventilation and fan airflow. Check beneath mats and along carpet edges for trapped water. Persistent wetness may indicate a leak, soaked padding, or a drainage problem that requires professional inspection.
Cleaner Caused Discoloration
Stop using the product and blot away residue with the mildest method allowed by the manufacturer. Do not attempt to correct the area with stronger solvents. Contact the vehicle manufacturer, upholstery supplier, or a qualified detailer when the finish has changed.
Odor Returns After Cleaning
Inspect under seats, beneath floor mats, in the cargo area, around the spare tire, and below accessible carpet edges. Also consider the cabin air filter, HVAC evaporator area, water leaks, or contamination that reached the seat or carpet padding.
Frequently Asked Questions
How do you clean a car interior step by step?
Remove trash and personal items, take out the floor mats, vacuum from top to bottom, clean the dashboard and controls, clean the screens and glass separately, treat the seats according to their material, clean the mats and carpets, dry everything, and reinstall the secured floor mats.
What are the most common interior-detailing mistakes?
Common mistakes include spraying cleaner directly onto electronics, using one product on every material, skipping a test spot, soaking fabric, using abrasive towels, applying slippery dressing to driving controls, and closing the vehicle before damp upholstery has dried.
What is the 30-60-90 rule for cars?
It is not an interior-cleaning schedule. In automotive service, the phrase commonly refers to larger maintenance checkpoints around 30,000, 60,000, and 90,000 miles. Actual service requirements vary, so follow the maintenance schedule for your exact vehicle.
In what order should you clean the inside of a car?
Work from the top downward: declutter, remove mats, dust and vacuum, clean upper trim and the dashboard, clean screens and glass, clean seats and belts, then finish with mats, carpet, drying, and reassembly.
How often should you clean your car interior?
Remove trash and spills promptly, vacuum high-traffic areas about monthly or as needed, and perform a deeper cleaning every few months. Vehicles carrying children, pets, food, tools, or many passengers may need more frequent attention.
Can you use household cleaner inside a car?
Only when the vehicle manufacturer and the cleaner label confirm compatibility. Many household cleaners are too strong for display coatings, instrument lenses, upholstery finishes, painted trim, or touch-sensitive controls. A mild soap-and-water solution is allowed for some materials, but not every surface.
Conclusion
A clean car interior is easier to maintain when you remove loose dirt first, use the mildest compatible cleaner, and keep moisture away from sensitive components. Follow the owner’s manual, test products in hidden areas, and treat screens, upholstery, glass, seat belts, and hard trim as separate materials. Regular light cleaning will also reduce the need for aggressive products or time-consuming deep cleaning later.
Sources
- Ford: How Do I Clean My Vehicle? — general guidance for cloth, leather, vinyl, and seat-belt cleaning
- Ford: How to Clean the SYNC Touchscreen — display-cleaning precautions
- Tesla Model Y Owner’s Manual: Cleaning — upholstery, carpet, seat-belt, touchscreen, and floor-mat cautions
- CDC: Cleaning and Disinfecting with Bleach — cleaning-versus-disinfecting guidance, ventilation, and chemical-mixing warning
- U.S. EPA Safer Choice — certified cleaning and car-care product information
- U.S. EPA: Ozone Generators Sold as Air Cleaners — health and effectiveness concerns involving ozone-generating devices







Leave a Reply