
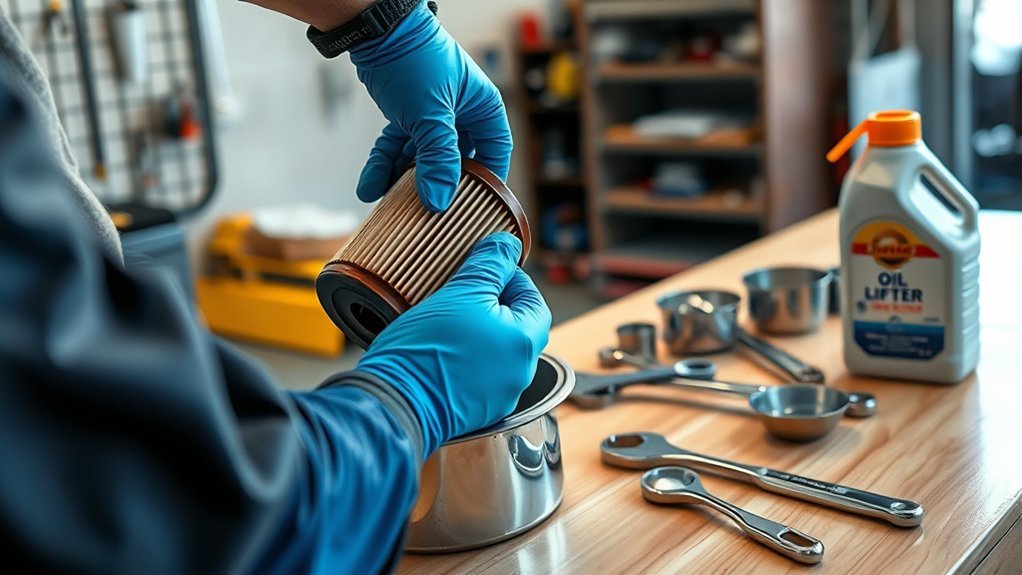
Changing your engine oil at home can save a trip to the shop, but the correct oil, filter, tools, torque settings, and service interval depend on the exact vehicle. Before opening the drain plug, use the model year, VIN, and engine information to confirm every specification in the owner’s manual or manufacturer service information. A careful setup is more important than working quickly.
Quick Answer
To change your oil, verify the vehicle’s oil grade, capacity, filter, drain-plug seal, and torque specifications. Secure the vehicle, drain the warm oil, replace the filter and required seal, refill gradually, check for leaks, confirm the final level, reset the maintenance reminder, and recycle the used oil and filter.
Key Takeaways
- Never assume that a socket size, oil viscosity, capacity, filter, washer, or tightening torque applies to every vehicle.
- Do not work beneath a vehicle supported only by a jack. Use rated ramps or jack stands at the specified support points.
- Check that the old filter gasket came off with the filter before installing the replacement.
- Add oil gradually and use the vehicle’s correct dipstick or electronic-level procedure before topping off.
- Shut the engine off immediately if the oil-pressure warning remains on after startup.
- Keep used oil separate from other fluids and take the oil and drained filter to an approved collection facility.
At a Glance
| Time Required | About 45–90 minutes, including setup, draining, inspection, and cleanup |
| Difficulty | Beginner to intermediate, depending on access to the drain plug and filter |
| Tools Needed | Correct socket, ratchet, torque wrench, filter tool, drain pan, funnel, gloves, eye protection, rags, and safe lifting equipment if required |
| Cost | Varies by oil capacity and specification; include the specified oil, filter, drain-plug seal, and any tools you do not own |
Confirm Your Vehicle’s Oil-Change Specifications
Do not buy supplies based only on the vehicle’s make and model. One model may be sold with several engines, and each engine can have a different oil capacity, filter, viscosity, or drain-plug torque.
Use the VIN, model year, engine size, and engine code to verify the following:
- Oil viscosity: Examples include 0W-16, 0W-20, 5W-20, and 5W-30, but only the specified grade should be used unless the manufacturer provides an approved alternative.
- Oil performance specification: Look for the API, ILSAC, manufacturer, or regional approval required by the manual. The American Petroleum Institute oil-category guide also directs owners to consult the vehicle manual first.
- Refill capacity: Confirm whether the listed figure is for a change with the filter or without it.
- Oil filter: Verify the exact spin-on filter or cartridge element and any required O-rings.
- Drain-plug seal: Determine whether the vehicle uses a washer, gasket, O-ring, or another sealing design.
- Tightening torque: Find the specified torque for the drain plug and, when applicable, the filter housing or cap.
- Maintenance interval: Follow the owner’s manual, maintenance schedule, or oil-life monitor, including severe-service instructions.
- Reminder reset: Find the model-specific procedure before beginning the work.
Note: A battery-electric vehicle without an internal-combustion engine does not need engine-oil changes. Plug-in hybrids and conventional hybrids still have an engine and may require oil service.
Essential Tools for Your Oil Change
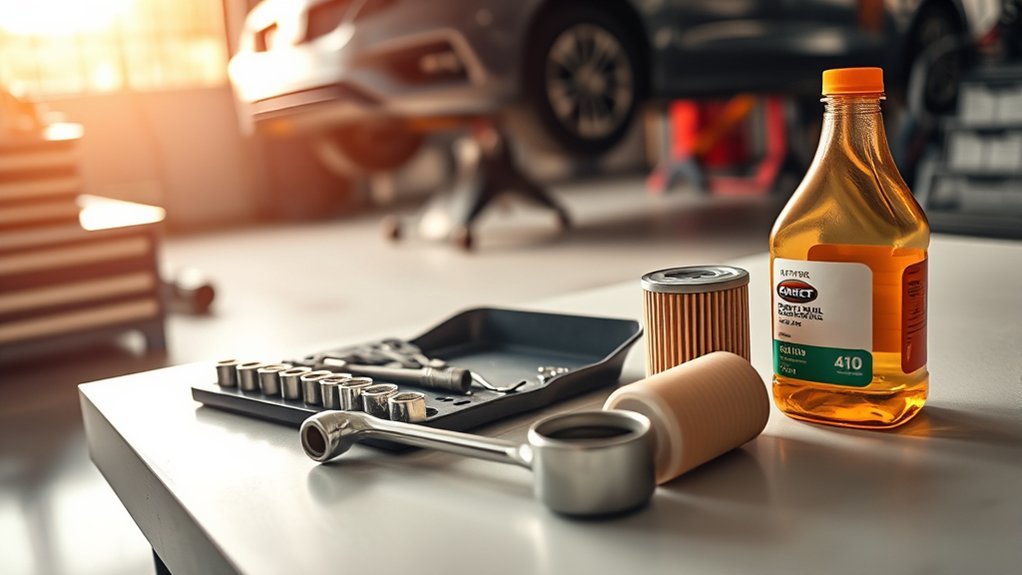
Having the correct tools ready prevents rushed decisions after the oil begins draining. The exact socket and filter tool depend on the vehicle, so verify their sizes before starting.
- Correct socket and ratchet: Use a six-point socket that fits the drain plug securely.
- Torque wrench: Use it to tighten the drain plug and any filter housing that has a published torque specification.
- Oil-filter tool: A cup-style socket, band wrench, pliers-style wrench, or cartridge-cap socket may be required.
- Oil drain pan: Choose one that holds more than the engine’s total oil capacity.
- Funnel: Use a clean funnel that fits the oil-fill opening.
- Wheel chocks: Chock the wheels that remain on the ground.
- Ramps or jack stands: Use only equipment with a load rating suitable for the vehicle.
- Gloves and eye protection: These help protect against hot oil, dirt, and splashes.
- Rags or absorbent pads: Place them beneath likely drip points and keep them ready for cleanup.
- Pickup tool and light: A flashlight and magnetic pickup tool can help around undercovers and tight engine bays.
You will also need the correct amount of approved oil, a new filter, the specified drain-plug washer or seal when replacement is required, and any filter-cap O-rings included with a cartridge filter.
Essential Safety Precautions Before Changing Oil
Park on a firm, level surface away from traffic. Apply the parking brake, place an automatic transmission in Park, or place a manual transmission in gear. Turn off the engine and remove the key or keep the keyless remote away from the vehicle.
Warning: Never put any part of your body beneath a vehicle supported only by a jack. If additional clearance is needed, use rated ramps or jack stands at the manufacturer’s approved support points. Chock the wheels and confirm that the vehicle is stable before reaching underneath.
Manufacturer guidance requires firm, level ground and warns against working beneath a vehicle supported only by a jack. Review the exact jacking points in the owner’s manual before lifting the vehicle. See this manufacturer example of safe jack use.
Warm oil usually drains more freely, but the engine, exhaust, drain plug, and oil can cause burns. Run the engine only long enough to warm the oil, shut it off, and allow hot components to cool to a safe handling temperature.
Wear gloves and eye protection. Keep loose clothing, hair, tools, and hands away from belts and fans. Start or run the engine only where there is enough ventilation to prevent exhaust buildup.
Hybrid Warning: Make sure the power system and READY indicator are off before working. A hybrid engine or cooling fan may start automatically when the power mode is on. Do not touch orange high-voltage cables, connectors, or battery components.
Current hybrid maintenance safety guidance warns that the engine and fan may start without warning and that orange wiring must not be touched.
Step-by-Step Guide to Changing Your Oil
Work slowly and keep the manual or verified service procedure nearby. If the drain plug, filter, or underbody panel cannot be reached without forcing a part, stop and confirm the correct access method.
Essential Tools Required and Final Checks
Before opening the engine, compare every supply with the specification list. Confirm that the oil container shows the required viscosity and performance approval. Check the filter number, drain-plug seal, socket fit, torque setting, and drain-pan capacity.
Inspect the new filter before installation. For a cartridge filter, confirm that all required O-rings are included and identify the correct O-ring grooves. Installing an O-ring in the wrong groove can cause a leak or damage the housing.
Pro Tip: Write the oil capacity, drain-plug torque, filter-housing torque, and maintenance-reset steps on a clean sheet of paper. This keeps oily hands away from your phone or manual during the job.
Step-by-Step Process
- Warm and shut down the engine. Run it briefly if the manufacturer recommends draining warm oil. Park on level ground, turn the engine off, and wait until the oil and exhaust are safe to handle.
- Open the hood. Locate the oil-fill cap and dipstick or electronic oil-level instructions. Remove the fill cap if the manufacturer’s procedure calls for it. This also helps prevent accidentally refilling through the wrong opening.
- Raise and support the vehicle only if necessary. Some vehicles provide enough access without lifting. Otherwise, use approved lift points, rated ramps or stands, wheel chocks, and a firm, level surface. Test the vehicle’s stability without placing yourself underneath it.
- Remove the underbody cover if equipped. Keep the screws, clips, and panels organized. Do not force plastic retainers or leave a loose panel beneath the vehicle.
- Position the drain pan. Place it beneath the drain plug with room for the oil stream to move as pressure decreases. Make sure the pan can hold more than the engine’s full capacity.
- Remove the drain plug. Use the correct six-point socket. Apply steady pressure, finish loosening the plug by hand, and move your hand away as the oil begins flowing.
- Allow the oil to drain. Wait until the flow slows to an occasional drip. Do not reach into hot oil to retrieve a dropped plug.
- Inspect and reinstall the drain plug. Clean the plug and sealing surface. Check for damaged threads, cracks, or metal debris. Install the correct new washer or seal when specified, start the plug by hand to avoid cross-threading, and tighten it to the published torque.
- Remove the old oil filter. Reposition the drain pan first because the filter can release more oil. Use the correct filter tool and allow the remaining oil to drain.
- Check the old gasket. Confirm that the old filter gasket came off with the filter. If it remains stuck to the engine, remove it and clean the mounting surface. Installing a new filter over an old gasket can cause a major leak.
- Prepare the new filter. Apply a light film of clean engine oil to the new filter gasket. For a cartridge filter, install the new O-rings in the correct grooves and lubricate them as directed. Do not pre-fill a filter unless the vehicle or filter manufacturer specifically allows it.
- Install the new filter. Follow the instructions printed on the filter or supplied by the vehicle manufacturer. Spin-on filters are commonly tightened by hand after gasket contact, while cartridge caps often have a specific torque. Do not guess or use an impact tool.
- Refill gradually. Use a clean funnel and begin with slightly less than the listed change capacity. The published capacity is a reference amount, not permission to pour in extra oil without checking the level.
- Reinstall the fill cap and lower the vehicle. Confirm that no tools remain underneath. Refit the underbody panel, remove the stands or ramps safely, and place the vehicle level before making the final oil-level check.
- Start the engine and watch the warning light. The oil-pressure light should turn off promptly. Shut the engine down immediately if it stays on, a low-pressure message appears, or you hear abnormal knocking or rattling.
- Check for leaks. Let the engine run only as directed, then inspect the drain plug, filter, and filter housing. Keep hands and clothing away from moving or hot parts.
- Shut down and wait. Follow the manufacturer’s waiting period so oil can return to the oil pan. Some vehicles require a few minutes; others use a specific electronic measurement procedure.
- Check and correct the level. On a dipstick vehicle, wipe the stick, insert it fully, remove it again, and read both sides. Add small amounts until the level is within the correct range. Do not exceed the full mark.
- Reset the maintenance reminder. Use the exact procedure for the vehicle. Do not reset the monitor unless the oil service was completed.
- Record the service. Save the date, mileage, oil brand and specification, viscosity, quantity, filter part number, and receipt. A clear record helps with future maintenance and warranty questions.
A manufacturer procedure shows why these details matter: the 2023 Honda HR-V instructions specify a new washer, a 30 lb-ft drain-bolt torque, a 4.4-quart capacity with the filter, a gasket inspection, a leak check, and a waiting period before reading the dipstick. Those figures apply to that vehicle—not every engine. See the official Honda oil-change procedure.
Common Mistakes to Avoid
- Buying supplies before verifying the engine: The same model name may have several engine options.
- Using the wrong socket: A loose-fitting or 12-point tool can round the drain plug.
- Working beneath a jack: A jack raises the vehicle but is not a safe substitute for approved support equipment.
- Removing a plug from the wrong housing: Identify the engine-oil pan and drain plug before loosening anything.
- Cross-threading the drain plug: Start it by hand for several turns before using a wrench.
- Guessing the torque: Under-tightening can leak, while over-tightening can strip the oil pan or damage a filter housing.
- Reusing a seal that requires replacement: Install the exact washer, gasket, or O-ring specified for the vehicle.
- Leaving the old filter gasket behind: A double gasket can release oil rapidly after startup.
- Putting a cartridge O-ring in the wrong groove: Match its location to the filter and manufacturer instructions.
- Overtightening the filter: Follow the filter’s turn-after-contact instruction or specified torque.
- Adding the full capacity without checking: Residual oil can remain in the engine, and published capacities are reference quantities.
- Checking on a slope: The final reading should be made with the vehicle level.
- Ignoring the warning light: A persistent oil-pressure warning requires immediate shutdown.
- Forgetting the fill cap or dipstick: Confirm both are fully installed before driving.
- Resetting the reminder early: Reset it only after the service is complete.
Oil Change: Understanding Oil and Filter Specs
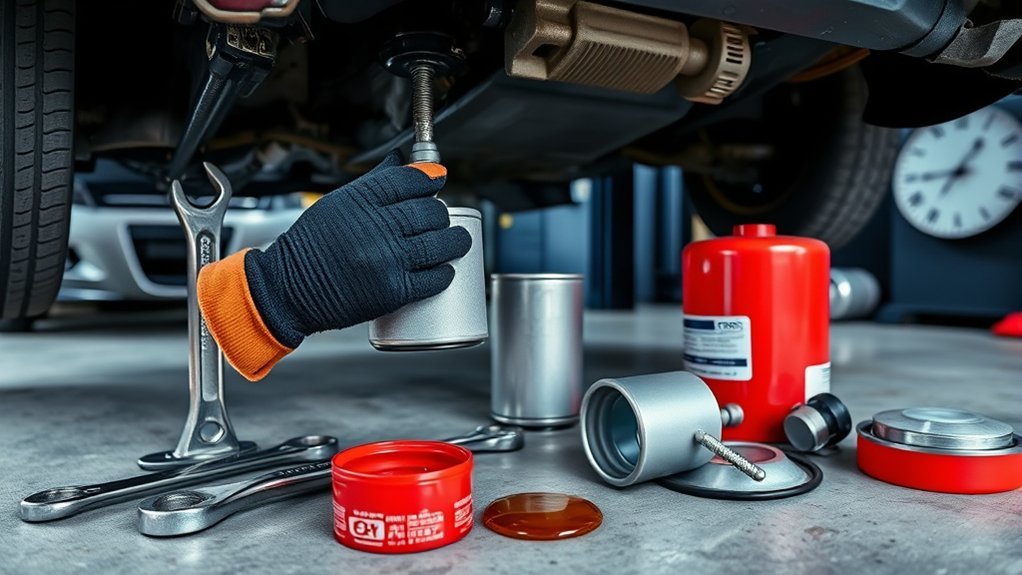
Oil selection involves more than choosing synthetic or conventional oil. The container must meet the viscosity and performance specification required for the engine.
| Specification | What to Verify |
| Viscosity | Use the exact grade or an approved temperature-based alternative listed by the manufacturer. |
| Performance Standard | Match the required API, ILSAC, manufacturer, diesel, or regional approval—not just the viscosity. |
| Capacity | Confirm the engine and whether the capacity includes a filter replacement. |
| Filter | Verify thread, gasket, bypass-valve, cartridge, housing, and O-ring requirements through an exact vehicle lookup. |
| Service Interval | Follow the time/mileage schedule or maintenance monitor and any severe-use schedule. |
Synthetic oil can provide strong low-temperature flow and high-temperature stability, but the correct choice is the oil that meets the vehicle manufacturer’s requirements. Do not assume that every newer vehicle requires the same synthetic oil or that installing synthetic oil automatically extends the approved service interval.
Use an oil carrying the required certification or approval. API’s Engine Oil Licensing and Certification System explains the quality marks used on licensed engine oils.
Replace the filter according to the vehicle’s maintenance schedule. Oil and filter service are commonly paired, but the manufacturer’s instructions remain the controlling source. A high-quality filter must still be the correct design for the engine.
The safest specification is not the one used by a similar vehicle—it is the viscosity, approval, capacity, filter, seal, and torque listed for the exact engine being serviced.
Troubleshooting Common Oil Change Issues
| Problem | What to Do |
| Oil-pressure warning stays on | Shut the engine off immediately. Check the oil level, missing oil, filter installation, drain plug, leaks, and whether the correct filter was fitted. Do not continue running the engine to “see if it clears.” |
| Leak around the filter | Turn off the engine. Check for a double gasket, damaged or misplaced O-ring, loose filter, cracked housing, dirty sealing surface, or incorrect filter. |
| Leak around the drain plug | Check the specified seal, torque, plug condition, and oil-pan threads. Do not keep tightening a leaking plug beyond the specification. |
| Oil level is above full | Do not drive until the excess is removed. Recheck on level ground using the correct waiting and measurement procedure. |
| Oil level is below the safe range | Add the approved oil in small amounts, wait, and recheck. Inspect for leaks if the level falls after service. |
| Drain plug will not tighten | Stop. The threads may be stripped or cross-threaded. Do not run the engine until the sealing problem is professionally repaired. |
| Filter is stuck | Use the correct filter tool and confirm the loosening direction. Do not puncture or crush a filter unless there is enough clearance and the method cannot damage nearby parts. |
| Oil looks dark soon after service | Color alone does not prove that the oil or filter is wrong. Verify the service record, level, warning lights, leaks, viscosity, and required approval. |
| Wrong oil was added | Do not guess whether it is safe. Compare the installed oil with the manufacturer’s permitted grades and approvals. Drain and refill it before driving when it does not meet the specification. |
Warning: Stop the engine immediately for a persistent oil-pressure warning, rapid oil loss, a large leak, or new knocking. Running the engine without proper oil pressure can cause severe damage within a short time.
How to Dispose of Oil and Filters Responsibly
Pour the used oil into a clean, leak-proof container with a secure cap. An empty oil jug often works well. Label it clearly and keep it upright during storage and transport.
Do not mix used oil with coolant, brake fluid, fuel, water, paint, solvents, degreasers, or other chemicals. Contaminated oil may be rejected by a collection facility and can become more difficult to manage safely.
The U.S. Environmental Protection Agency recommends checking with local maintenance facilities, waste collectors, recycling centers, and government waste officials to find an approved drop-off location. Never pour oil onto the ground, into a storm drain, down a household drain, or into the trash.
Allow the filter to drain into the oil pan and place it in a sealed bag or suitable container. Take it to a facility that accepts used oil filters. EPA rules allow certain properly hot-drained filters to be managed as nonhazardous waste, but state and local requirements may be stricter. Review EPA’s used-oil and filter guidance and follow the collection facility’s instructions.
Note: Keep the used oil, filter, oily rags, and absorbent material away from children, pets, flames, and ignition sources while awaiting disposal.
Frequently Asked Questions
How often should I change my oil?
Follow the time and mileage interval in the owner’s manual or the vehicle’s oil-life monitor. The correct interval can change with engine design, oil specification, short trips, towing, extended idling, dust, temperature, and other severe operating conditions. Do not rely on one universal 3,000- or 5,000-mile rule.
Can I use synthetic oil in my vehicle?
Use synthetic oil when it meets every viscosity and performance specification required by the vehicle. Some engines require synthetic oil, while others permit more than one oil type. Switching to synthetic oil does not automatically allow a longer interval than the manufacturer approves.
What oil viscosity should I use?
Use the viscosity listed for the exact model year and engine. Do not select 0W-20, 5W-30, or another grade only because it is common or because a similar vehicle uses it. Also confirm the required API, ILSAC, manufacturer, or diesel performance approval.
Is it necessary to change the oil filter every time?
Follow the vehicle’s maintenance schedule. Many manufacturers pair an oil change with a filter replacement because the filter collects contaminants and retains old oil. Use the exact filter specified for the engine and replace all required cartridge-filter O-rings.
Can I change my oil without a lift?
Yes, when the drain plug and filter are safely accessible with the vehicle on level ground. If more clearance is required, use rated ramps or jack stands at approved support points. Never crawl beneath a vehicle supported only by a jack.
Can I mix different motor-oil brands?
Compatible oils can generally be mixed for topping up when they meet the same required viscosity and performance specification. For a complete oil change, using one verified product makes the service record clearer. Never add an oil that lacks the engine’s required approval merely because its viscosity matches.
What should I do if I overfill the engine?
Recheck the level on level ground using the specified waiting procedure. If it remains above the full mark, remove the excess before driving. Too much oil can become aerated or create other operating problems, and adding extra oil does not improve protection.
Conclusion
A successful oil change depends on careful verification rather than a universal socket size, oil grade, capacity, or mileage rule. Confirm the exact specifications, support the vehicle safely, inspect the old filter gasket, replace the required seals, use the correct torque, refill gradually, and check for leaks and warning lights before driving.
Finish the job by confirming the final oil level, resetting the maintenance reminder, recording the service, and recycling the used oil and filter. Stop and seek professional help if the drain-plug threads are damaged, a major leak appears, or the oil-pressure warning does not turn off.
Sources
- Honda Owner’s Manual: Changing the Engine Oil and Oil Filter — backs up model-specific capacity, washer, torque, gasket, leak-check, and oil-pressure guidance.
- Honda Owner’s Manual: Safe Jack Use — supports firm, level ground, correct jacking points, and the warning not to work beneath a jack-supported vehicle.
- Honda Owner’s Manual: Hybrid Maintenance Safety — supports power-system, automatic-start, fan, hot-component, ventilation, and high-voltage precautions.
- American Petroleum Institute: Oil Categories — supports checking the owner’s manual and matching the required oil performance category.
- U.S. EPA: Managing, Reusing, and Recycling Used Oil — supports sealed-container handling and responsible recycling.
- U.S. EPA: Used Oil Frequently Asked Questions — supports keeping oil separate from chemicals and correctly managing drained oil filters.







Leave a Reply