
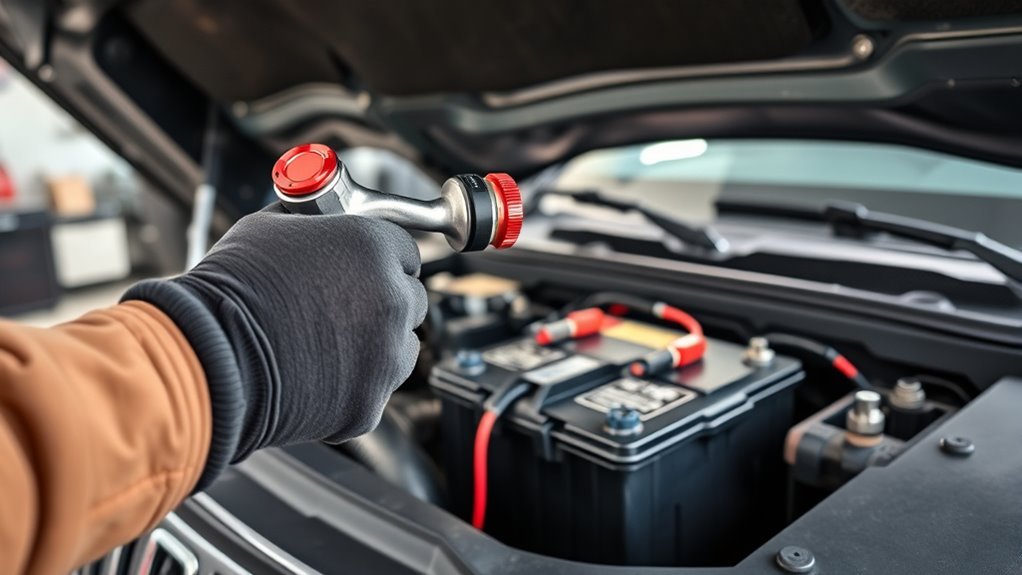
Changing a Jeep Grand Cherokee battery is manageable at home, but you must identify the vehicle’s model year and powertrain first. Depending on the generation, the 12-volt battery may be in the engine bay, beneath a front seat, or below the rear cargo floor. Some Engine Stop/Start models also have a second auxiliary battery.
Quick Answer
Turn the ignition off, position any powered seat before disconnecting power, and verify the battery location and type by VIN. Disconnect the negative cable first and the positive cable second. Install the matching replacement battery, reconnect positive first and negative last, secure the vent tube and hold-down, and then test the vehicle.
Key Takeaways
- The battery location changes by generation: older models commonly use the engine bay, WK2 models place it beneath the front passenger seat, and WL gas models place it beneath the front driver seat.
- A Grand Cherokee 4xe has a separate 12-volt battery and high-voltage traction system. Do not touch the high-voltage service disconnect, cables, connectors, or battery casing.
- Match the original battery’s chemistry, size, terminal layout, capacity, and vent arrangement instead of buying by model name alone.
- Disconnect negative first and reconnect it last. Keep tools from bridging a positive terminal to metal bodywork.
- A persistent warning light or no-start after replacement may indicate a loose connection, auxiliary-battery fault, charging problem, stored code, or incorrect battery.
At a Glance
| Time Required | About 45–90 minutes, depending on the location and access panels |
| Difficulty | Beginner to intermediate; the battery is heavy and some under-seat layouts are cramped |
| Tools Needed | Safety glasses, gloves, socket set, ratchet, extension, trim tool, terminal brush, torque wrench, multimeter, and battery lifting strap |
| Cost | The price of a VIN-matched battery plus any core charge; dual-battery systems and professional labor cost more |
Warning: Wear eye protection and gloves, remove metal jewelry, and keep flames, cigarettes, and sparks away. Do not handle a battery that is frozen, cracked, swollen, leaking, or unusually hot. On a Grand Cherokee 4xe, never open or disturb the high-voltage battery, service disconnect, cables, connectors, or related components.
Locate the Battery in Your Jeep Grand Cherokee
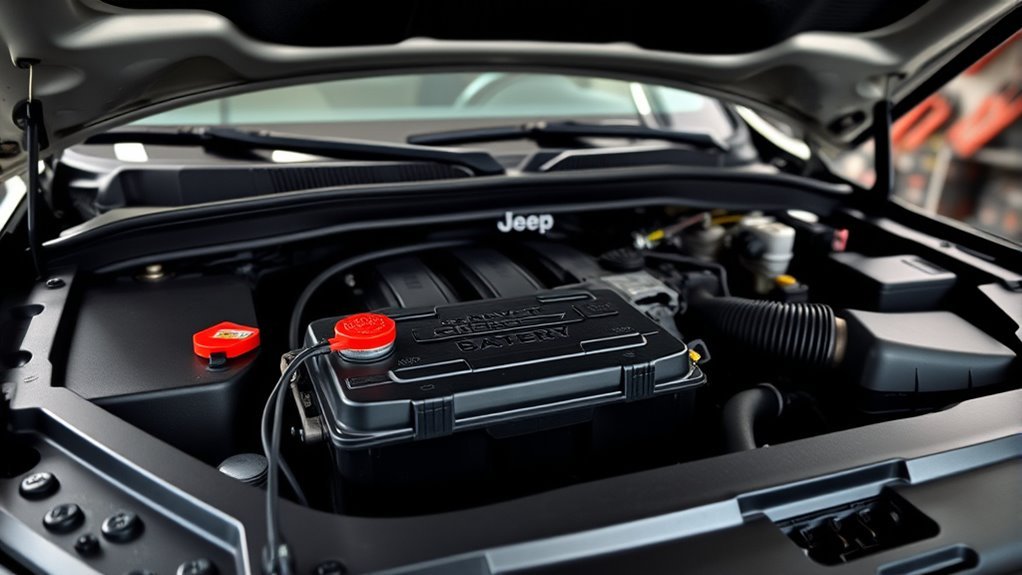
Start by confirming the model year, generation, engine, and whether the vehicle is a gas model or 4xe. Jeep changed the battery position several times, so a procedure for one Grand Cherokee may not fit another.
| Model or generation | Typical 12-volt battery location | Important note |
|---|---|---|
| 2010 and many earlier Grand Cherokees | Engine compartment | The documented 2010 model places it near the front of the engine compartment behind the left headlamp. |
| 2011–2021 WK2 | Beneath the front passenger seat | The access panel is normally reached from the rear passenger footwell after moving the front passenger seat forward. |
| 2022-and-newer WL gas models and Grand Cherokee L | Beneath the front driver seat on the documented WL layout | Move the powered seat into the required access position before disconnecting the battery. |
| Grand Cherokee 4xe | Rear cargo area beneath the spare tire on the documented 2023 layout | This is the 12-volt battery, not the high-voltage traction battery. Follow the hybrid supplement for the exact model year. |
Use the official Mopar owner-manual portal or a VIN-based parts catalog before purchasing or removing anything. Production changes, seating layouts, engines, markets, and optional Engine Stop/Start systems can affect the battery and access procedure.
Note: The remote positive and negative posts under the hood are mainly provided for jump-starting or approved charging procedures. Their presence does not mean the removable battery itself is under the hood.
Check for a Main and Auxiliary Battery
Some Grand Cherokees equipped with Engine Stop/Start use both a main 12-volt battery and a smaller auxiliary battery. Do not assume that every model has two batteries, and do not assume that replacing the main battery will correct every Start/Stop warning.
Check the owner’s manual, battery compartment, original equipment labels, or VIN-based parts information for:
- A second small battery beside or near the main battery
- Extra positive and negative cables leading to a battery-isolation system
- An Engine Stop/Start button or related messages in the instrument cluster
- Diagnostic codes or warnings referring to Battery B, auxiliary-battery state of charge, or “Service Start/Stop System”
If the vehicle has two batteries, both should be tested. A weak auxiliary battery can cause repeat Start/Stop faults, discharged-battery complaints, or a no-start even when the main battery is relatively new.
Choose the Correct Replacement Battery
Do not select a replacement by year and model name alone. Match the original battery or confirm the specification by VIN. The replacement must have the correct:
- Battery chemistry: AGM, enhanced flooded, or conventional flooded lead-acid as specified
- Physical group size: The case must fit the tray and hold-down correctly
- Terminal orientation: Positive and negative posts must be in the correct positions
- Cold-cranking and reserve capacity: Meet or exceed the manufacturer’s requirement without changing the battery type
- Vent arrangement: Interior-mounted batteries must accept the original vent hose, and any unused vent opening must be sealed as directed
- Main or auxiliary application: A small auxiliary battery is not interchangeable with the main starting battery
Pro Tip: Photograph the original battery label, cable routing, vent hose, hold-down, and terminal orientation before removal. This gives you a reference if the replacement has ports or covers in different positions.
What Tools and Gear You’ll Need
Fastener sizes can vary, but many Grand Cherokee battery jobs use 10 mm and 13 mm hardware. Confirm the sizes on your vehicle instead of forcing a loose-fitting socket.
- Safety glasses and acid-resistant or sturdy work gloves
- 10 mm and 13 mm sockets, plus any additional size required by the vehicle
- Quarter-inch and three-eighths-inch ratchets
- Short extension for a recessed hold-down bolt
- Plastic trim-removal tool
- Small flat-blade screwdriver for clips, if needed
- Torque wrench covering the required service-manual range
- Battery terminal brush or nonmetallic cleaning brush
- Shop towels and a small amount of baking-soda solution for external corrosion only
- Digital multimeter or battery tester
- Battery lifting strap or carrier
- Approved battery-terminal protectant
Do not rely on generic torque values. Use the owner’s information or model-specific service procedure for the terminal clamp, hold-down, seat, or access-cover fasteners you remove.
Prepare the Vehicle Safely
- Park on a level surface away from flames, heaters, welding work, or smoking.
- Shift into Park, apply the parking brake, turn off all accessories, and place the ignition in OFF.
- Remove the key fob from the vehicle and keep it several feet away so the vehicle does not wake unexpectedly.
- Open any door, liftgate, or access panel that will be needed after power is disconnected.
- For an under-seat battery, move the powered seat fully into the position needed for access before disconnecting the cables.
- Wait for the vehicle’s modules to power down. Follow any model-specific waiting period in the owner’s manual or hybrid supplement.
- Remove metal jewelry and keep loose tools away from the positive terminal.
4xe Warning: Unplug the charging cable, turn the vehicle off, close the driver’s door, and follow the hybrid supplement before disconnecting the 12-volt battery. Do not remove the high-voltage service disconnect or touch high-voltage wiring, connectors, battery housings, or exposed electrical components.
Replace the Jeep Grand Cherokee Battery Step by Step
1. Access the Battery
For an engine-bay battery, remove only the covers or intake pieces identified by the model-specific procedure. Keep fasteners organized and do not pull on wiring harnesses.
For a WK2 under-seat battery, slide the front passenger seat forward and approach the battery cover from the rear passenger footwell. For a WL gas model, follow the same basic access principle at the driver-seat battery location. Remove the carpeted flap, trim, and access cover without forcing the clips.
For a 4xe 12-volt battery located beneath the cargo floor, remove the cargo-floor panels and spare tire as directed by the hybrid supplement. Do not disturb the nearby high-voltage service disconnect.
2. Disconnect the Negative Terminal
Identify the negative post by the minus symbol. Loosen the clamp and lift it straight from the post. Move the cable aside and cover it with a clean shop towel or insulating cap so it cannot spring back into contact.
If the negative cable includes an Intelligent Battery Sensor or electrical connector, do not pry against the sensor, hang the cable by its wiring, or strike it with a tool. Follow the model-specific procedure if the sensor connector must be unplugged.
3. Disconnect the Positive Terminal
Open the positive-terminal cover, loosen the clamp, and lift it from the positive post. Prevent the cable or tool from contacting grounded body metal. Never allow a wrench to bridge the positive post and the vehicle body.
4. Remove the Hold-Down and Vent Hose
Remove the battery hold-down bracket and retain every fastener. If the battery has a vent hose, note its routing and detach it gently. Inspect the hose for cracks, blockage, pinching, or a loose connector.
Do not discard a vent elbow, adapter, or unused-port plug that must be transferred to the replacement battery.
5. Lift Out the Old Battery
Vehicle batteries are heavy. Keep the case upright, use its handle or a battery carrier, and lift with both hands and a straight back. Do not tip the battery onto trim, wiring, carpet, or the seat rail.
Stop if the case is cracked, leaking, swollen, or too difficult to lift safely. A shop can remove a damaged battery with appropriate handling equipment.
6. Clean and Inspect the Compartment
Vacuum or wipe loose dirt from the tray. Inspect the hold-down, cables, ground connection, terminal clamps, vent hose, and nearby wiring for:
- White, green, or blue corrosion
- Loose or stretched cables
- Cracked insulation
- Heat discoloration
- Damaged terminal clamps
- Acid residue or a wet battery tray
- Loose seat-rail or access-panel hardware
A small amount of baking-soda solution may be used on external corrosion after the battery is removed. Keep liquid out of connectors, sensors, vents, and the replacement battery. Dry the area completely before installation.
7. Install the New Battery
Compare the old and new batteries side by side. Confirm the case size, height, terminal polarity, vent ports, label, and hold-down lip before lowering the replacement into place.
Set the battery upright in the tray without trapping wires or the vent hose. Reinstall the hold-down and tighten it to the model-specific specification. The battery must not slide, rock, or lift, but overtightening can crack the case or distort the tray.
Reconnect the vent hose firmly. Install the supplied plug in the unused vent opening when the battery design requires one. Never leave an interior-mounted battery’s required vent connection open.
8. Reconnect Positive First and Negative Last
- Place the positive clamp fully down on the positive post.
- Tighten it to the specified torque and close its protective cover.
- Place the negative clamp fully down on the negative post.
- Tighten it to the specified torque.
- Reconnect any sensor plug or cable connection required by the model-specific procedure.
Try to rotate each terminal gently by hand. A properly secured clamp should not move on the post.
Note: Make the clean, tight metal-to-metal connection before applying protection. Dielectric grease does not improve conductivity. After tightening, use only a thin exterior coating or an approved terminal protectant to reduce moisture and corrosion.
Reconnect the Battery and Verify Functionality
Reinstall the access cover, trim, carpet, spare tire, cargo floor, or engine-bay components in the reverse order of removal. Confirm that no cable is pinched beneath a cover or seat rail.
Check the Terminal Connections
Before starting the vehicle, verify:
- Positive and negative clamps are on the correct posts
- Both clamps are fully seated and cannot rotate
- The positive cover is closed
- The hold-down is installed
- The vent hose is connected and not kinked
- The unused vent port is sealed where required
- No tools or loose fasteners remain in the compartment
- Seat movement will not strike or pinch the battery cables
Test the Electrical Systems
- Turn the ignition on and watch the instrument cluster for abnormal warnings.
- Start the vehicle and confirm that it cranks normally.
- Test the headlights, interior lights, windows, locks, power seats, climate controls, and infotainment system.
- Reset the clock, radio presets, seat memory, mirror memory, and one-touch window functions if they were lost.
- Allow the vehicle to complete its normal initialization and take a short, cautious drive if no serious warning is present.
Some temporary indicators may clear after normal operation. Do not assume every warning is a relearn issue. A battery, charging, airbag, ABS, power-steering, hybrid-system, or persistent Start/Stop warning should be diagnosed rather than ignored.
Do not force the steering wheel from lock to lock unless the owner’s manual or a model-specific service procedure directs you to do so. If a steering-angle or stability-control warning remains, scan the vehicle for diagnostic trouble codes.
Test the New Battery and Charging System
A voltage check is useful, but it does not replace a proper battery test. After the vehicle has been off long enough for surface charge and module activity to settle, a charged conventional 12-volt battery is often near 12.6 volts. A fully charged AGM battery may rest higher.
A battery can show acceptable open-circuit voltage and still fail under cranking load. For a meaningful assessment, use a conductance or load tester set for the battery’s correct type and rating.
Charging voltage on a modern Grand Cherokee can vary because the vehicle manages alternator output based on battery condition, temperature, electrical demand, and operating mode. Do not condemn the alternator from one fixed voltage reading. Diagnose the system when:
- The battery warning light remains on while the engine is running
- The new battery repeatedly loses charge
- The vehicle needs another jump-start
- Headlights pulse or dim with the engine running
- Battery Saver or charging-system messages return
- The battery or cables become unusually hot
Identify and Resolve Common Battery Issues
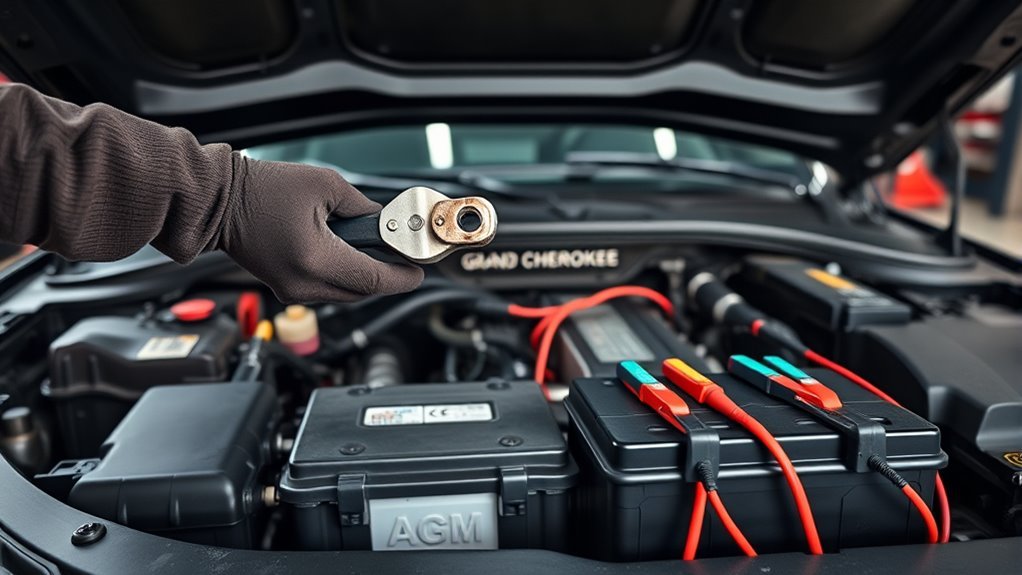
Symptoms of Battery Failure
Common signs of a weak battery or poor battery connection include:
- Slow or uneven engine cranking
- Rapid clicking when the start button is pressed
- Dimming interior or exterior lights during cranking
- Slow power-seat, window, or liftgate operation
- Intermittent infotainment resets
- Engine Stop/Start unavailable messages
- Repeated need for a jump-start
- Corroded, loose, or hot terminal connections
The battery-shaped warning light usually points to a charging-system problem while the engine is running, not simply an old battery. Stop unnecessary electrical loads and arrange diagnosis if that light stays on.
Troubleshoot Problems After Battery Replacement
| Symptom | Possible cause | What to check |
|---|---|---|
| No lights and no crank | Loose clamp, reversed connection, discharged replacement battery, or open main connection | Verify polarity, terminal seating, cable connections, battery charge, and applicable high-current fuses |
| Rapid clicking | Low state of charge or high resistance at a terminal | Charge and test the battery; clean and retighten both terminal connections |
| Service Start/Stop message | Weak auxiliary battery, charging issue, stored code, or battery-isolation fault | Determine whether two batteries are fitted, test both, and scan the vehicle |
| Battery dies again | Charging-system problem, parasitic draw, frequent short trips, or weak auxiliary battery | Test charging performance, inspect both batteries where equipped, and perform a key-off draw test |
| Warning lights remain after a short drive | Stored diagnostic fault, disconnected sensor, low voltage, or unrelated system problem | Recheck the installation and read diagnostic trouble codes instead of repeatedly disconnecting the battery |
Maintain the Battery for Long-Lasting Performance
Battery life varies with heat, cold, trip length, charging condition, electrical accessories, storage time, and battery quality. Age is useful context, but testing is more reliable than replacing a battery on a fixed calendar.
| Action | Suggested interval | Purpose |
|---|---|---|
| Inspect terminals and cables | During routine service | Find looseness, corrosion, heat damage, or cracked insulation |
| Test battery condition | Before extreme weather or when symptoms appear | Check charge and cranking capability before a no-start |
| Inspect the vent hose | Whenever an interior battery is accessed | Keep the connection secure and the hose free of kinks or damage |
| Use a compatible maintainer | During extended storage | Limit deep discharge; select the correct AGM or flooded-battery mode |
| Test both batteries where equipped | When Start/Stop or no-start symptoms occur | Prevent a weak auxiliary battery from being overlooked |
Do not open, refill, or add water to a sealed maintenance-free or AGM battery. If the battery is serviceable, follow the instructions printed on that specific battery rather than applying a general maintenance procedure.
When the Jeep is stored for an extended period, use a charger or maintainer approved for the installed battery chemistry. Connect it through the points and method specified by Jeep and the charger manufacturer.
Recycle the Old Battery Safely
Keep the old battery upright in a stable plastic tray during transport. Cover the terminals with nonconductive caps or tape so metal objects cannot short them. Do not transport a leaking battery inside the occupied passenger compartment without appropriate containment.
Return the battery to the retailer, an automotive service facility, or a household hazardous-waste collection program. The U.S. Environmental Protection Agency advises against placing lead-acid vehicle batteries in household trash or municipal recycling bins.
When to Use a Professional Technician
Arrange professional service when:
- The battery is leaking, swollen, frozen, cracked, or hot
- The replacement requires removal of a seat or safety-system component not covered by the owner procedure
- The terminal, cable, IBS, vent system, or battery tray is damaged
- The vehicle has repeated charging or Start/Stop faults
- A new battery goes flat again
- Diagnostic warning lights remain after the installation is checked
- The vehicle is a 4xe and the work would involve any high-voltage component
- You cannot lift and control the battery safely
Frequently Asked Questions
Can you replace a Jeep Grand Cherokee battery yourself?
Yes, many owners can replace the 12-volt battery with basic hand tools, eye protection, gloves, and safe lifting technique. Verify the location, battery specification, venting, and disconnect procedure first. Do not perform DIY work on a 4xe high-voltage battery or related components.
Where is the battery in a Jeep Grand Cherokee?
The location depends on the model. Many older vehicles have an engine-bay battery. The 2011–2021 WK2 normally places it beneath the front passenger seat. The redesigned WL gas model places it beneath the front driver seat on the documented layout. The documented 2023 4xe places its 12-volt battery below the spare tire.
Does a Jeep Grand Cherokee have two batteries?
Some Engine Stop/Start configurations use a main battery and a smaller auxiliary battery, while other Grand Cherokees use one 12-volt battery. A 4xe also has a separate high-voltage traction battery, which is not part of a normal 12-volt DIY replacement.
Does the replacement battery have to be AGM?
Use AGM only when the original battery, owner information, or VIN-based specification calls for AGM. Do not downgrade an AGM or Start/Stop application to a conventional flooded battery. Match the group size, terminal layout, capacity, and vent design as well.
How do you reset a Jeep Grand Cherokee after replacing the battery?
Start the vehicle, test its electrical equipment, restore lost clock and memory settings, and allow normal initialization. Some temporary indicators may clear during a short drive. Do not assume every warning is a reset issue; scan persistent faults and follow the owner’s manual instead of forcing a universal steering-wheel procedure.
Why will the Jeep not start after a new battery is installed?
Common causes include a loose terminal, incorrect polarity, a discharged new battery, an overlooked auxiliary battery, a damaged cable or sensor, a blown high-current fuse, or a charging-system fault. Recheck the installation and battery charge before scanning for diagnostic trouble codes.
Conclusion
Changing a Jeep Grand Cherokee battery begins with identifying the correct model-year layout. Once you know whether the battery is in the engine bay, beneath a front seat, or below the cargo floor, the basic sequence is straightforward: prepare the vehicle, disconnect negative first, remove the hold-down and vent connection, install the exact replacement, and reconnect positive first.
Take extra care with interior battery venting, auxiliary batteries, Intelligent Battery Sensor wiring, and 4xe high-voltage components. After installation, test the battery and vehicle rather than assuming every warning will clear on its own, and return the old battery to an approved recycling location.
Sources
- 2010 Jeep Grand Cherokee User Guide — documents the engine-compartment battery location on the 2010 model.
- 2021 Jeep Grand Cherokee Owner’s Manual — official WK-generation operating and battery safety information.
- 2023 Jeep Grand Cherokee and Grand Cherokee L Owner’s Manual — WL gas-model battery and jump-start information.
- 2023 Jeep Grand Cherokee 4xe Hybrid Supplement — 12-volt battery location and high-voltage safety requirements.
- FCA Start/Stop Battery Service Guidance Hosted by NHTSA — auxiliary-battery and Start/Stop diagnostic information.
- U.S. EPA Used Household Batteries Guidance — safe handling and recycling of automotive lead-acid batteries.







Leave a Reply