
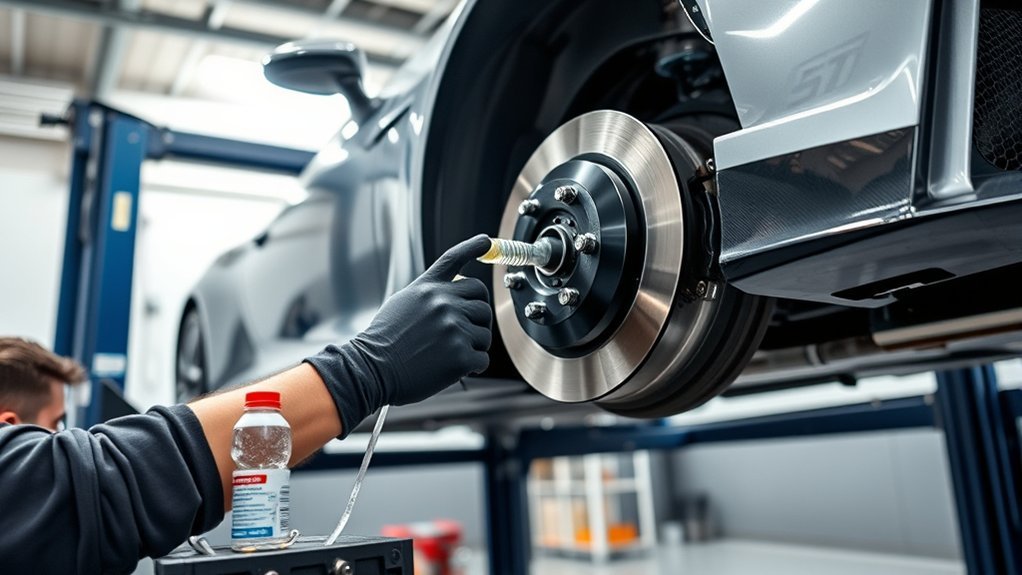
Bleeding brakes for track use removes trapped air and replaces heat-stressed fluid, but the safe procedure is not universal. The correct fluid, wheel order, pressure limit, ABS routine, and shutdown steps depend on the exact vehicle. Use the factory service procedure first, then apply the general method below only where it agrees with that procedure.
Quick Answer
Use fresh brake fluid that meets your vehicle maker’s exact specification, support the car safely, and follow the factory bleeding sequence. With a helper, close each bleeder before the pedal is released and keep the reservoir above its minimum level. Some ABS, hybrid, EV, and electro-hydraulic systems also require a scan tool or special service mode.
Key Takeaways
- The common “farthest wheel first” rule is not correct for every vehicle; use the manufacturer’s sequence.
- Match the DOT grade and any track-use boiling-point requirement in the owner’s manual or track-preparation guide.
- Never let the reservoir run low, reuse drained fluid, or release the pedal while a manual bleeder screw is open.
- Do not drive until the pedal is firm, the reservoir is correctly filled and capped, every bleeder is dry, and no brake warning remains.
At a Glance
| Time Required | About 45–90 minutes for a conventional four-wheel system; longer when ABS or electro-hydraulic routines are required |
| Difficulty | Intermediate; advanced or professional service for systems requiring a scan tool, special bleed mode, or high-voltage precautions |
| Tools Needed | Factory service instructions, specified brake fluid, box-end wrench, clear hose, catch bottle, gloves, eye protection, wheel chocks, floor jack, jack stands, torque wrench, and any required pressure bleeder or scan tool |
| Cost | Varies by fluid quantity and tools already owned; specialty bleeders, scan tools, or professional service increase the cost |
Warning: Brakes are a safety-critical system. Do not rely on this general guide when the factory procedure calls for battery disconnection, a scan tool, a special bleed mode, or trained service. Never work under a vehicle supported only by a jack, and never take a car onto a track with a soft pedal, leak, warning light, or uncertain bleed result.
Why Bleeding Your Brakes Is Essential for Track Performance
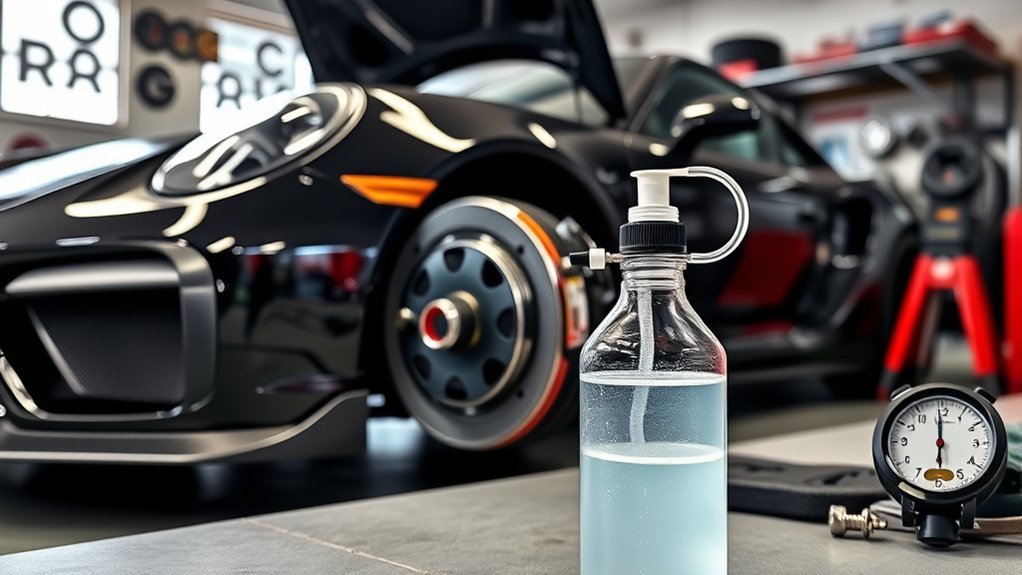
Air in a hydraulic brake circuit can create a soft or inconsistent pedal because the air compresses as pressure rises. Old or overheated fluid can also boil under repeated hard braking, producing vapor and a sudden loss of pedal firmness. A correct bleed restores clean, bubble-free fluid to the serviced parts of the system and helps deliver repeatable pedal response.
Track use places far more heat into the pads, rotors, calipers, and fluid than ordinary road driving. That does not mean every car needs the same race fluid or the same service interval. For example, Ford specifies fresh DOT-compliant fluid with a dry boiling point above 500°F for certain track-use vehicles, while Chevrolet’s 2025 Corvette track guide calls for qualified DOT 4 fluid above 590°F on the covered models. Those figures are vehicle-specific, not universal targets.
A firm pedal is not enough by itself: the correct fluid, bleeding order, bleeder torque, electronic service mode, and post-service checks all matter.
Verify the Vehicle-Specific Procedure Before You Start
Find the factory service information for the exact model, model year, brake package, and powertrain. Confirm all of the following before opening a bleeder:
- Brake-fluid specification: Use the DOT grade and manufacturer specification printed in the owner’s manual, reservoir-cap label, or service manual. Federal rules set minimum boiling points for DOT fluids, but they do not make every grade suitable for every vehicle. See 49 CFR 571.116.
- Bleeding sequence: Do not assume right rear, left rear, right front, left front. Some vehicles use a diagonal, front-first, or electronically controlled sequence.
- Bleeding method: Confirm whether the system permits manual, vacuum, or pressure bleeding and whether the pedal may be operated while a pressure bleeder is attached.
- ABS or brake-by-wire routine: Some systems require a scan tool to cycle valves, circulate fluid, calibrate a pedal sensor, or complete an automated bleed.
- Power-down instructions: Some electro-hydraulic systems can pressurize themselves when a door opens or a key is detected. Follow the factory shutdown and battery-disconnection steps exactly.
- Torque values: Look up the correct bleeder-screw and wheel-fastener torque. Do not copy a value from another vehicle.
Note: Hybrid, EV, electric-parking-brake, and integrated brake-control systems may have several hydraulic sections. Hyundai’s published procedure for certain Sonata Hybrid and Ioniq models, for example, requires special tools, a defined wheel order, electronic bleed modes, fluid circulation, and pedal-sensor calibration.
Tools You Need for Effective Brake Bleeding
Gather everything before lifting the car. Stopping midway because fluid or a tool is missing increases the chance of contamination or an empty reservoir.
- Factory service instructions for the exact vehicle
- Fresh, unopened brake fluid that meets the required DOT and manufacturer specification
- Correct-size box-end wrench or flare-nut tool for the bleeder screws
- Clear tubing that fits tightly over each bleeder
- Stable catch bottle or collection container
- Nitrile gloves, safety glasses, absorbent pads, and clean water for immediate paint cleanup
- Wheel chocks, suitable floor jack, correctly rated jack stands, and a level work surface
- Torque wrench and the correct sockets for wheels and bleeders
- Pressure bleeder, vacuum bleeder, one-way bleeder screws, or scan tool only when approved by the factory procedure
About 500 mL may be enough for a light conventional bleed, but a complete flush, large brake system, or repeated track preparation may require more. Buy enough sealed fluid to finish the specified process without reusing drained fluid or allowing the reservoir to run low.
A pressure or vacuum bleeder can make one-person work easier, but it must be compatible with the vehicle and used at the specified pressure. A one-way “speed bleeder” can also simplify some conventional systems, but it does not replace an ABS automated bleed or a model-specific service mode.
Pro Tip: Fit the wrench over the bleeder before attaching the clear hose. This keeps the hose seated while you open and close the screw and makes bubbles easier to see.
How to Properly Bleed Your Brakes
The steps below describe a common two-person manual method for a conventional hydraulic system. Stop and use the factory procedure whenever it differs.
1. Prepare the Vehicle and Fluid
- Park on a firm, level surface. Set the parking brake only if the service procedure permits it, chock the wheels, switch the vehicle off, and keep the key or transmitter away from the car when required.
- Loosen wheel fasteners before lifting if wheel removal is necessary. Lift only at approved points and support the vehicle with correctly rated jack stands.
- Clean around the reservoir cap so dirt cannot enter. Open the reservoir as directed by the service manual and fill with the specified fresh fluid. Do not leave the reservoir casually uncovered or merely “slightly loosened” unless the factory procedure says to do so.
- Locate the first bleeder in the manufacturer’s sequence. Clean the screw, fit the wrench, attach the clear tube, and place the other end in a stable catch bottle.
2. Bleed Each Brake Circuit
- Have an assistant press the pedal slowly several times, then hold steady pressure. Use the number and pedal travel specified by the service manual; there is no universal pump count.
- Open the bleeder slowly. Fluid and bubbles should move through the clear tube as the pedal travels downward.
- Close the bleeder before the assistant releases the pedal. Releasing the pedal with the screw open can pull air back into the circuit.
- Repeat until the procedure’s required fluid condition is reached—usually no visible bubbles and fresh fluid at the outlet.
- Check and refill the reservoir after every few cycles and after each wheel. Keep the level safely above the minimum or the stricter level named by the service manual.
- Move through the exact manufacturer-specified sequence. Repeat any ABS, parking-brake, pressure-bleed, or scan-tool cycle the service information requires.
3. Finish and Inspect
- Tighten each bleeder to the vehicle’s specified torque, remove the hose, clean the area, and reinstall the dust cap.
- Fill the reservoir to the specified final level and secure the cap. Do not overfill.
- Inspect the reservoir, lines, hoses, fittings, calipers, and every bleeder for moisture or leaks.
- Reinstall the wheels and torque the fasteners in the specified pattern and to the specified value.
- With the vehicle stationary, verify that the pedal becomes firm and does not continue sinking under steady pressure. Follow the manual for ignition-on, engine-running, or “ready” checks because pedal behavior differs among conventional, boosted, hybrid, and brake-by-wire systems.
- Confirm that no brake, ABS, stability-control, or service warning remains. Complete any required scan-tool calibration or fault-clear procedure.
4. Perform a Controlled Function Check
Only after all static checks pass, perform a low-speed brake check in a traffic-free area. Confirm predictable pedal travel, straight stopping, and normal warning-light operation before gradually increasing speed. Reinspect for leaks afterward. Do not make the first test a public-road trip or a track session.
Avoid These Common Mistakes When Bleeding Brakes
Using a Generic Bleeding Sequence
The old rule of starting with the wheel farthest from the master cylinder works on some vehicles but fails on others. Published manufacturer procedures show front-first, diagonal, cross-car, and electronically staged sequences. An incorrect order can leave air in a branch, ABS hydraulic unit, pressure-supply unit, or pedal simulator.
Letting the Reservoir Level Fall
If the reservoir runs dry, air can enter the master cylinder or electronic hydraulic unit and force you to restart the entire procedure. Check the level often and maintain the stricter limit in the service instructions. Some procedures require the fluid to remain at MAX; others specify a point well above MIN.
Pumping Too Fast or Releasing Too Soon
Rapid pumping can aerate fluid, and releasing the pedal before the bleeder is closed can draw air back into the system. Use slow pedal strokes, steady holding pressure, and clear communication between the person at the pedal and the person at the caliper.
Using the Wrong Fluid or Contaminated Tools
Do not choose fluid only because a higher DOT number sounds better. Use the exact approved specification, keep the bottle tightly sealed, and prevent water, petroleum products, dirt, or old fluid from entering the system. Never use silicone DOT 5 unless the vehicle manufacturer specifically requires it.
Combining Incompatible Bleeding Methods
Do not assume more pressure is better. Some service instructions warn against operating the pedal while a pressure-feed bleeder is attached because the combination can damage master-cylinder components. Follow both the vehicle and tool instructions.
Driving Before Completing Static Checks
A test drive is not the first verification step. First secure the reservoir, torque the bleeders and wheels, inspect for leaks, confirm a stable pedal, clear required service routines, and verify that warning lights operate normally. Then make a controlled low-speed check away from traffic.
Track-Day Brake Fluid Selection and Service Timing
DOT 3 and DOT 4 are performance classifications with federal minimum boiling points. Under FMVSS No. 116, DOT 3 fluid has minimum dry and wet boiling points of 401°F and 284°F, while DOT 4 has minimums of 446°F and 311°F. A product can exceed those minimums, so compare the actual wet and dry ratings as well as the vehicle maker’s specification.
For track use, follow the vehicle maker’s track-preparation guide where one exists. Ford’s track-use guidance for the covered vehicle calls for fresh DOT-compliant fluid above a stated dry boiling point from a sealed container. The 2025 Corvette Track Preparation Guide gives a different threshold and replacement schedule for its covered brake systems.
Do not use “every two or three track days,” “every 30,000 miles,” or “every two or three years” as a universal rule. Replace or test fluid at the interval required by the vehicle maker, sanctioning body, fluid manufacturer, and your actual heat exposure. Replace fluid immediately if it has boiled, become contaminated, or been left open long enough for its condition to be uncertain.
How to Care for Your Brakes After Bleeding
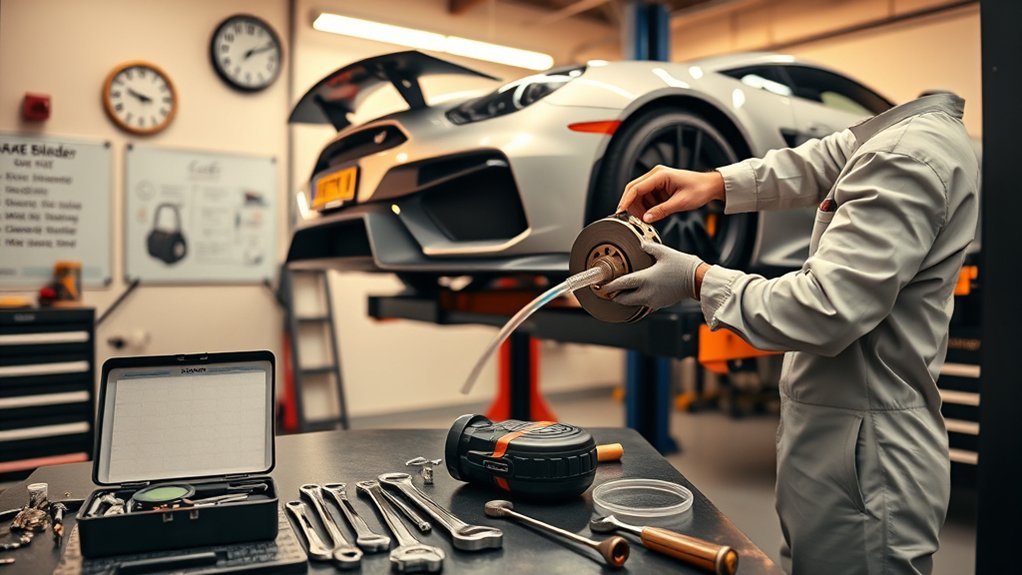
After the controlled function check, inspect every bleeder and connection again. A small wet ring can reveal a loose screw, damaged seat, cracked hose, or leaking fitting before it becomes a larger problem.
Monitor pedal feel during the next few stops. Sponginess, increasing pedal travel, pulling, delayed response, fluid loss, or a warning light means the vehicle should be stopped and inspected rather than driven harder.
Brake fluid can damage paint. If it spills on a painted surface, rinse it off promptly with clean water according to the vehicle maker’s instructions. Keep used fluid in a labeled, closed container and take it to an approved household hazardous-waste or automotive-fluid collection site. Do not pour it onto the ground, into a drain, or into a storm sewer; the U.S. EPA recommends checking local household hazardous-waste options.
Track preparation also includes pad thickness, rotor condition, hose condition, caliper hardware, wheel torque, tire condition, and cooling time between sessions. Bleeding alone cannot correct worn pads, cracked rotors, sticking calipers, damaged hoses, or overheated components.
How to Diagnose Spongy Brakes After Bleeding
A soft pedal after bleeding usually means the job is incomplete or another fault is present. Do not keep driving to “work the air out.” Check the following:
- Remaining air: Repeat the correct sequence and any required ABS or electronic bleed routine.
- Reservoir ran low: Air may have entered the master cylinder or hydraulic control unit, requiring a restart or special procedure.
- External leak: Inspect bleeders, calipers, wheel cylinders, hoses, hard lines, fittings, and the master cylinder.
- Flexible-hose expansion: A damaged hose can swell under pressure and create excess pedal travel.
- Caliper orientation: A caliper installed with its bleeder below the trapped-air pocket may not bleed correctly.
- Master-cylinder bypass: A pedal that slowly sinks under steady pressure with no visible external leak can indicate an internal hydraulic fault.
- Brake-booster concern: Loss of power assist more commonly causes a hard pedal and increased effort, not a classic air-like spongy pedal.
- ABS, hybrid, or electro-hydraulic air: Air inside a modulator, pressure unit, or simulator may require a scan tool, special service mode, or pressure bleeder.
When to Consult a Mechanic for Brake Problems
Stop and seek qualified help when the pedal remains soft, sinks, or travels farther than normal; the reservoir level falls; fluid appears at any fitting; a brake or ABS warning stays on; the vehicle pulls; braking is inconsistent; or the factory procedure requires equipment you do not have.
Grinding, severe vibration, overheating, smoke, cracked rotors, damaged hoses, seized bleeders, stripped threads, or a history of boiled fluid also call for a full brake inspection. On hybrids, EVs, and brake-by-wire vehicles, use a technician trained on the exact system when the procedure involves stored hydraulic pressure, high voltage, battery isolation, or electronic calibration.
Frequently Asked Questions
What are the most common mistakes when bleeding brakes?
The biggest mistakes are using the wrong fluid, following a generic wheel order, letting the reservoir run low, pumping too quickly, releasing the pedal while the bleeder is open, using dirty tools, over-tightening bleeders, skipping an ABS routine, and driving before checking pedal firmness and leaks.
What is the 30-30-30 rule for brakes?
There is no broadly recognized manufacturer or federal brake-maintenance standard called the 30-30-30 rule. Do not use it to schedule fluid, pad, or inspection service. Follow the maintenance schedule, track-preparation guide, and measured condition for your exact vehicle.
How do you bleed brakes step by step?
Verify the factory procedure and fluid, support the vehicle safely, fill the reservoir, attach a clear hose to the first specified bleeder, have a helper slowly apply and hold the pedal, open the screw, close it before pedal release, refill the reservoir, and repeat in the required order. Finish with torque, leak, warning-light, and low-speed function checks.
How many times should you pump the brake pedal when bleeding?
There is no universal number. Some manual procedures say to pump slowly several times and hold; others specify a precise count, and some pressure-bleed procedures say not to pump the pedal at all. Use the exact factory instructions for the vehicle and bleeding method.
Can you bleed ABS brakes without a scan tool?
Sometimes, if no air entered the hydraulic control unit and the manufacturer permits a normal base-brake bleed. A scan tool or special service mode is required on other vehicles, especially after the reservoir runs dry, a hydraulic unit is opened, or an electro-hydraulic component is replaced.
Should you use DOT 3 or DOT 4 brake fluid for a track day?
Use the grade and manufacturer specification approved for the exact vehicle. Many track-preparation guides require fresh high-performance DOT 4 with a stated boiling point, but that is not permission to substitute fluid in every car. Never use silicone DOT 5 unless the manufacturer specifically calls for it.
Conclusion
Good track braking starts with the correct vehicle-specific procedure, not a universal wheel order or pump count. Use approved fresh fluid, keep the reservoir full, close each bleeder before pedal release, complete any ABS or electronic routine, and verify a firm, leak-free system at low speed. When the pedal or procedure is uncertain, professional service is the safer choice.
Sources
- 49 CFR 571.116—Motor Vehicle Brake Fluids — federal DOT fluid performance, labeling, contamination, and storage requirements
- Ford Track Use Owner’s Manual Guidance — an official example of vehicle-specific track-fluid requirements
- 2025 Chevrolet Corvette Track Preparation Guide — high-performance fluid, battery-disconnection, and electro-hydraulic bleeding guidance
- Hyundai TSB 20-BR-001H — example of a hybrid brake system requiring special tools, sequence, bleed modes, circulation, and calibration
- Acura 2023 Brake Bleeding Service Bulletin — manual bleeding, front-first sequence, reservoir checks, fluid handling, and tool cautions
- U.S. EPA Household Hazardous Waste Guidance — safe local disposal and handling principles for potentially hazardous household fluids







Leave a Reply