
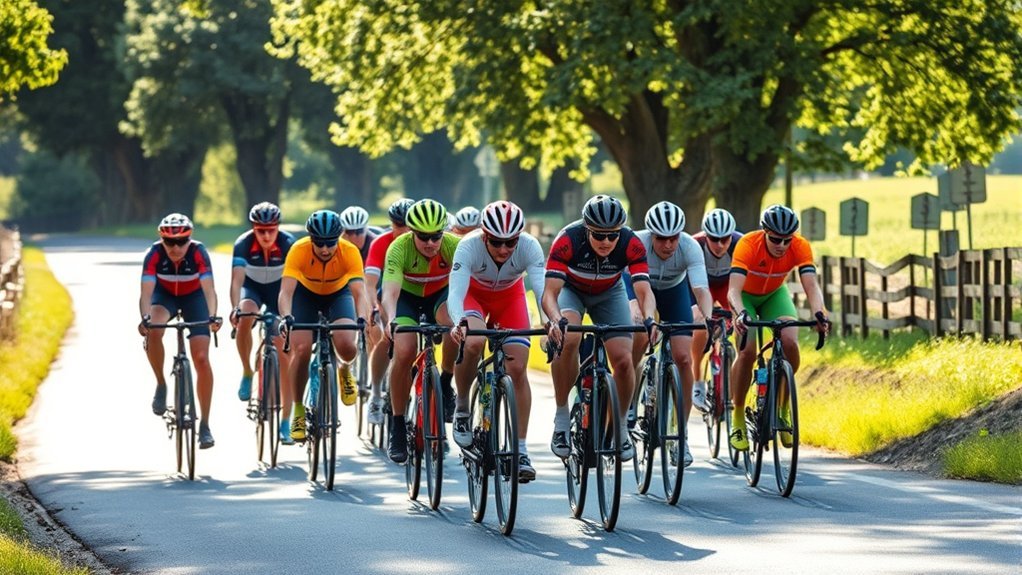
A good cycling group ride should feel smooth, predictable, and welcoming—not chaotic. That depends on more than fitness. You need a roadworthy bike, the right ride for your ability, clear communication, steady bike handling, and respect for traffic laws and other riders. Learn the group’s rules before the start, stay alert, and never sacrifice safety just to hold a wheel.
Quick Answer
Safe group riding depends on preparation, predictable movement, clear hazard calls, and respect for the planned pace. Arrive with a working bike and basic supplies, obey traffic controls individually, avoid overlapping wheels, and learn the group’s signals. In a paceline, hold a steady speed, rotate smoothly, and skip pulls when needed.
Key Takeaways
- Choose a ride that matches your pace, distance, terrain, and experience.
- Learn the route, regroup points, drop policy, and communication system before departure.
- Ride predictably: hold your line, avoid sudden braking, and never overlap the wheel ahead.
- Obey every traffic signal and stop sign yourself instead of blindly following the group.
- Join pacelines only with permission, stay out of aerobars, and rotate smoothly without changing the group’s pace.
At a Glance
| Time Required | About 10–15 minutes for preparation and the pre-ride briefing, plus the scheduled ride time |
| Difficulty | Beginner to intermediate; close pacelines require additional practice and bike-handling skill |
| Tools Needed | Helmet, phone and identification, water, food, spare tube or plug kit, tire lever, pump or inflator, multitool, lights, and weather layers |
| Cost | Usually no extra cost beyond normal cycling equipment; club, event, or insurance fees may vary |
Key Aspects of Group Rides Every Cyclist Should Know
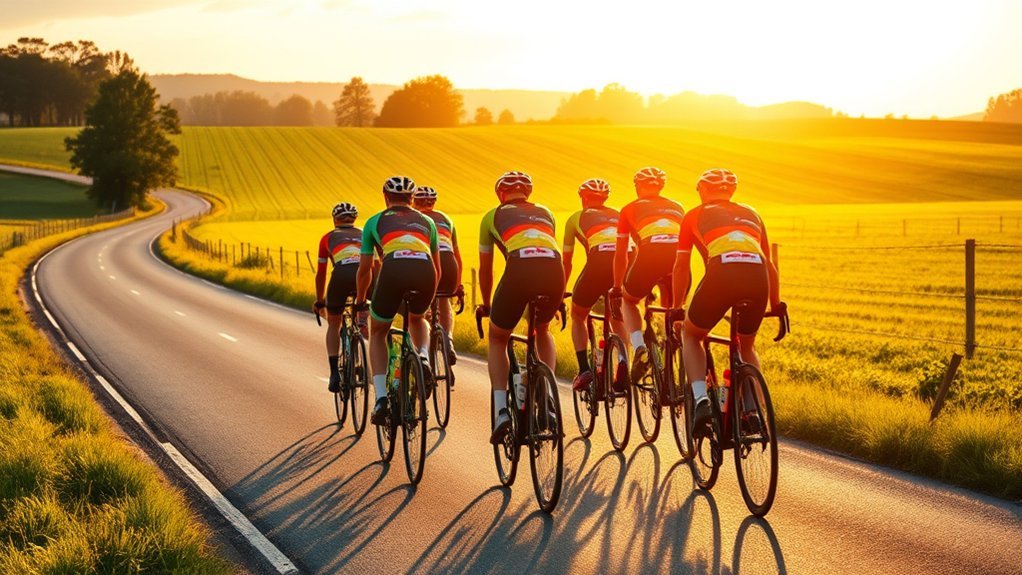
Proper group ride etiquette begins before anyone turns a pedal. You should know what kind of ride you are joining, prepare your bike and supplies, arrive early enough for the briefing, and tell the leader when you are new to the group.
Choose the Right Group Ride
Do not choose a ride by distance alone. Ask the organizer about the expected average pace, climbing, surface, technical difficulty, planned stops, and whether the group waits for riders who fall behind.
- No-drop ride: The group has planned regroup points or a sweep rider and does not intentionally abandon participants who follow the stated ride requirements.
- Drop ride: Riders who cannot maintain the pace may need to finish the route independently.
- Regroup ride: The group may separate on climbs or fast sections but waits at named locations.
- Social ride: The emphasis is usually conversation, inclusion, and a moderate pace rather than continuous paceline work.
- Training ride: The route may include hard efforts, rotations, sprints, or sections where riders are expected to be self-sufficient.
Note: “No-drop” does not mean every rider can ignore the published pace, distance, equipment rules, or route. Ask how the group handles flats, wrong turns, and riders who cannot continue.
Complete a Pre-Ride Bike Check
Verify that your bicycle fits, shifts correctly, and has working brakes. Check tire pressure and condition, wheel security, chain condition, and any accessories that could loosen. The National Highway Traffic Safety Administration advises riders to use a bike that fits and works, wear a properly fitted helmet, remain visible, plan the route, and stay focused on traffic.
Bring enough equipment to solve common problems without relying on someone else:
- A properly fitted helmet that meets the applicable safety standard in your location
- Water and enough food for the ride length and weather
- A spare tube or tubeless plug kit suitable for your tires
- Tire levers and a pump or compatible inflation device
- A small multitool and any bike-specific emergency item you may need
- A charged phone, identification, emergency contact information, and payment method
- Front and rear lights when visibility may be poor
- Rainwear, warm layers, sunscreen, or other weather protection
- Any medication you normally need to carry
Listen to the Pre-Ride Briefing
The ride leader should explain the route, expected pace, major hazards, planned stops, regroup points, drop policy, communication calls, and emergency procedure. Some groups appoint a sweep rider to remain near the back and help account for participants.
If the briefing is unclear, ask before departure. Important questions include:
- Which calls and hand signals does this group use?
- Will the group ride single file or two abreast?
- Where will it regroup after climbs, descents, or busy intersections?
- What happens if someone has a mechanical problem?
- Is paceline experience expected?
- Are e-bikes permitted, and what pace rules apply to them?
Respect Different Riders
A well-run group does not pressure a beginner to ride beyond their control. Less experienced riders should tell the leader their skill level and may stay near the back of a paceline, skip pulls, or ride outside the rotation when the leader approves.
Stronger riders should support the planned pace rather than forcing constant accelerations. E-bike riders should also avoid using motor assistance to surge away from the group after corners, hills, or stops.
Essential Etiquette for Group Rides
Good etiquette is mostly predictable behavior. Other riders should not have to guess whether you are about to brake, swerve, stand, accelerate, or leave the line.
Arrive Ready and on Time
Be at the meeting point early enough to sign in, introduce yourself, check equipment, and hear the briefing. Do not make the group wait while you fill bottles, repair a known problem, or search for missing equipment.
Obey Traffic Controls Individually
Follow traffic signs, signals, lane markings, and local bicycle laws. Never assume it is safe to enter an intersection merely because the rider ahead went through. Each rider must look, decide, and stop when required.
If part of the group clears a traffic light and the rest cannot, the front riders should continue to an agreed safe regroup point rather than encouraging the back of the group to run the light. USA Cycling likewise advises riders near the front to consider whether the whole group can safely clear a turn or intersection.
Warning: Group momentum never overrides traffic law or your personal responsibility to check an intersection. Do not shout “clear” unless the ride’s procedure specifically allows it, and never treat another rider’s call as a substitute for looking yourself.
Hold a Predictable Line
Ride smoothly and avoid sudden lateral movement. Look ahead for parked vehicles, potholes, drainage grates, debris, pedestrians, and opening doors so you can adjust gradually.
Leave a gap that matches your skill, speed, visibility, and road conditions. A close racing-style gap is not appropriate for every recreational group. Increase space on wet roads, rough pavement, descents, and low-visibility sections.
Never overlap your front wheel with the rear wheel of the rider ahead. If that rider moves sideways, contact can turn your front wheel and cause a crash. British Cycling specifically advises avoiding wheel overlap and using gradual speed adjustments instead of grabbing the brakes.
Understand Half-Wheeling
Half-wheeling is different from overlapping wheels. It occurs when two riders are traveling side by side and one repeatedly inches ahead. The other rider accelerates to become level, the first rider edges ahead again, and the pace keeps rising.
If you are riding two abreast, keep your handlebars approximately level with your partner and follow the group’s formation. Ride single file when instructed, when local law requires it, or when road width, traffic, visibility, and safety make it necessary.
Protect the Planned Pace
When you feel strong, extend your time at the front instead of increasing the speed. When you are struggling, take a short pull or skip the rotation rather than slowing the whole line while you are on the front. USA Cycling’s group ride guidance recommends adjusting the length of your pull instead of changing the group’s pace.
On climbs, follow the ride leader’s plan. Some groups hold a steady pace; others allow riders to climb at their own speed and regroup at the top. Do not assume the fastest climber controls the ride.
Show Respect on and Off the Bike
- Do not litter or discard tubes, wrappers, or cartridges.
- Warn nearby riders before moving around the group.
- Move to the back or outside the line before coughing, spitting, or clearing your nose.
- Do not confront motorists, pedestrians, or other riders on behalf of the group.
- Thank volunteers, ride leaders, and riders who help with a mechanical issue.
- Do not join an unfamiliar group’s wheel without asking.
How to Communicate Effectively in Group Rides
Group communication should be brief, calm, and early enough for riders behind you to react. Signals must travel through the group, but riders should not repeat a warning so loudly or frequently that important information becomes noise.
Learn the Group’s Signals
Hand signals and verbal calls are not completely universal. Directional terms such as “car up,” “car back,” “car down,” or “car behind” can mean different things in different clubs and countries. Ask what the group uses during the briefing.
Common practices include:
- Road hazard: Point toward the pothole, glass, debris, or other hazard when it is safe to remove one hand from the bar. Add a short verbal call when needed.
- Slowing or stopping: Use the ride’s agreed hand signal and clearly call “slowing” or “stopping.”
- Turn: Signal the direction in advance and pass the call through the group.
- Moving around an obstruction: Indicate the required direction only if the group recognizes that signal and you can perform it safely.
- Single file: The leader may call “single up” or another agreed term before a narrow or busy section.
- Mechanical problem: Call “mechanical,” raise a hand when safe, and move out of the group’s path gradually.
- Rider separated: Tell the leader or sweep instead of assuming someone else noticed.
British Cycling advises riders to ask when they do not understand a signal and to pass useful warnings through the group.
Pass Calls Without Causing Panic
Repeat a call in the same words when possible. Do not add guesses or turn a minor surface defect into an emergency shout. The rider nearest the hazard should identify its location, and each following rider should continue looking ahead rather than staring only at the wheel in front.
The safest group rider is predictable: look ahead, communicate early, and make every change in speed or direction as smoothly as conditions allow.
Pro Tip: Look through and beyond the rider ahead instead of locking your eyes on their rear tire. You will notice braking, turns, traffic, and road hazards earlier and need fewer abrupt corrections.
How to Master Pacelines: Techniques and Best Practices
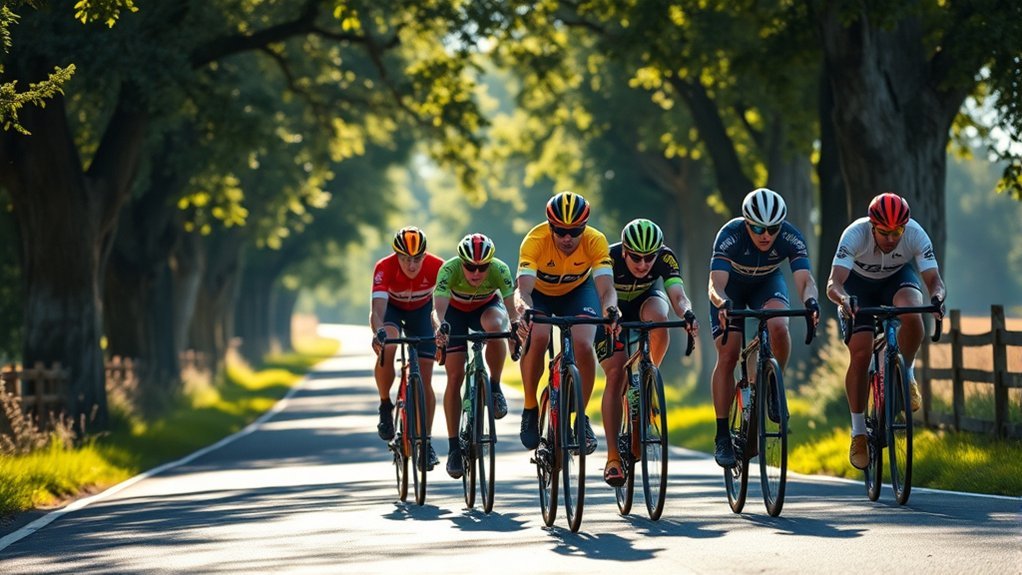
A paceline is a single or double line in which riders share the work at the front and recover in the draft. Drafting can reduce aerodynamic drag and energy demand, especially at higher speeds, but the benefit is not a fixed percentage. It depends on spacing, position, posture, wind, speed, and the number of riders.
A peer-reviewed 2023 study of single pacelines found that drag reductions varied substantially by posture and position. Treat drafting as a useful efficiency benefit—not a reason to ride closer than your skill or the conditions allow.
Join a Paceline Correctly
- Ask the group or ride leader before joining.
- Enter from the back rather than cutting into the middle.
- Observe the rotation direction and pull length before taking a turn.
- Match the existing pace gradually.
- Stay at the back or outside the rotation if you are not ready to pull through.
USA Cycling’s paceline guidance advises unfamiliar riders to ask permission and join from the rear.
Maintain a Safe Position
Ride in a straight line and choose a gap that feels safe. Do not overlap wheels. Keep your hands where you can steer and brake promptly, and keep your eyes far enough ahead to anticipate changes.
If the gap begins to close, make a small, gradual adjustment. You may soft-pedal, sit more upright, move slightly into the wind when it is safe, or apply light braking while continuing to pedal. Avoid sudden braking that creates an accordion effect through the line.
If a gap opens, close it steadily. A hard sprint followed by abrupt braking wastes energy and destabilizes the riders behind you.
Take a Smooth Pull
- Reach the front without accelerating beyond the established pace.
- Hold the same speed and line while scanning well ahead.
- Choose a pull length you can complete without exhausting yourself.
- Before rotating, confirm that traffic and road space make the move safe.
- Use the group’s agreed elbow flick or verbal signal.
- Move aside smoothly without braking.
- Ease your effort enough to drift toward the back.
- Check that you are clear of the final rider before moving back into line.
Pull length may range from only a few pedal strokes to several minutes depending on the ride, speed, wind, and number of riders. The goal is a steady shared effort, not proving how long you can stay at the front.
Avoid Common Paceline Errors
- Do not surge when you reach the front.
- Do not stop pedaling suddenly when riders are close behind.
- Do not swerve around a hazard at the last moment.
- Do not stare only at the wheel ahead.
- Do not rotate into traffic without checking.
- Do not stand abruptly and allow your rear wheel to kick backward.
- Do not allow a gap to grow and then sprint recklessly to close it.
- Do not pressure a tired or inexperienced rider to take a pull.
Warning: Do not wear headphones or ride in aerobars while participating in a close paceline. You need to hear warnings and keep immediate access to steering and braking controls. Leave the line if traffic, rain, poor visibility, rough pavement, or a technical descent makes close drafting unsafe.
Skip a Pull Safely
If you need to recover, tell the rider beside or behind you and remain at the back rather than entering the rotation. Do not wait until you are exhausted at the front. A short or skipped pull is safer than slowing the line, losing control, or being unable to rejoin the back.
How to Avoid Hazards and Keep the Group Together
Group cohesion comes from planning and communication, not from forcing every rider to remain inches apart. The leader should set clear expectations, and each rider should report hazards, mechanical issues, or missing participants promptly.
Scan for Hazards
Look beyond the riders directly ahead. Identify potholes, debris, gravel, wet paint, drainage grates, railroad tracks, parked vehicles, opening doors, animals, pedestrians, and narrowing lanes early enough to respond smoothly.
Point out or call hazards without forcing yourself into an unsafe one-handed position. The first priority is maintaining control of your own bicycle.
Handle Intersections and Lane Changes
- Approach traffic controls at a speed that allows the group to stop safely.
- Do not ride around stopped group members to enter the intersection.
- Check behind before changing lane position.
- Signal turns and lane changes according to local law.
- Allow the group to split when a light changes, then regroup safely.
- Do not block an intersection while waiting for riders behind.
- Cross railroad tracks as close to a right angle as conditions safely permit, and create extra space between riders.
Keep Account of Riders
Use planned regroup points rather than unplanned roadside stops. The leader and sweep should communicate when a rider is missing. Riders near the back should report a separation instead of assuming the front knows.
If you lose contact with the group:
- Stay calm and do not take reckless risks to chase.
- Continue along the known route when it is safe and appropriate.
- Check the route file, group message, or agreed regroup location.
- Contact the leader or sweep when you can stop safely.
- Tell the group if you decide to leave the ride or return independently.
Respond to a Mechanical Problem
- Call “mechanical” clearly and raise a hand when safe.
- Hold your line until surrounding riders have room to react.
- Move gradually toward a safe stopping place away from moving traffic.
- Do not stop in the travel lane, on a blind bend, or at the bottom of a fast descent.
- Follow the ride’s policy for who stops to help.
- Move the bicycle completely off the road before beginning a repair.
- Tell the leader if the problem cannot be fixed or you cannot continue.
Respond to a Crash or Medical Emergency
Do not create a second crash by stopping suddenly in the road. Riders who can continue safely should move beyond the incident and stop in a secure location. Designate someone to warn approaching traffic without standing in its path.
Warning: Call emergency services when a rider may be seriously injured, is unconscious, has trouble breathing, has severe bleeding, or cannot move safely. Follow the dispatcher’s instructions. Do not move a seriously injured rider unless remaining in place creates an immediate danger.
Adjust for Weather and Road Conditions
- Rain: Increase following distance, brake earlier, reduce cornering speed, and avoid painted markings and metal surfaces when they are slick.
- Descents: Create more space, avoid passing unexpectedly, and abandon the paceline when visibility or speed makes close drafting unsafe.
- Low light: Use appropriate front and rear lights, reflective equipment, and a pace that matches visibility.
- Gravel or rough pavement: Loosen the formation, avoid abrupt steering, and warn riders before surface changes.
- Crosswinds: Follow the leader’s formation instead of spreading unpredictably across an open road.
- Extreme heat or cold: Shorten pulls, monitor riders for distress, and use planned stops before problems become emergencies.
Riders who are still developing group skills should practice looking behind, signaling, braking smoothly, cornering, and riding a straight line in a low-traffic setting. NHTSA recommends developing bike-handling skills in a safe environment before relying on them in traffic.
Frequently Asked Questions
What should I wear for a group ride?
Wear a properly fitted helmet and clothing suited to the temperature, wind, and chance of rain. Breathable layers work well because you can add or remove them during the ride. Gloves and eye protection can improve comfort, while bright or reflective clothing and working lights help others see you in poor visibility.
How do I handle mechanical issues during a ride?
Call “mechanical,” maintain your line until nearby riders can react, and move gradually to a safe place away from traffic. Carry a suitable tube or plug kit, tire lever, inflation device, and multitool. Follow the group’s policy about who stops, and tell the leader if you cannot repair the problem or continue.
Can I join a group ride if I am a beginner?
Yes, but choose a beginner-friendly or no-drop ride with a pace and distance you can manage. Tell the leader that you are new, ask where you should ride, and avoid a close paceline until you can hold a straight line, look behind, signal, brake smoothly, and respond predictably around other riders.
What should I bring on a group ride?
Bring water, food, a charged phone, identification, emergency contact information, payment, weather layers, and a basic repair kit. The repair kit should match your bicycle and normally include a spare tube or tubeless plugs, tire levers, an inflation device, and a multitool.
How do I find local group rides?
Check local cycling clubs, bicycle shops, recreation departments, advocacy organizations, event calendars, and established online cycling groups. Before attending, confirm the route, pace, surface, distance, drop policy, equipment rules, and whether the ride welcomes first-time participants.
What should I do if I get dropped?
Do not chase recklessly or run traffic controls to regain contact. Follow the route toward the next planned regroup point, contact the leader or sweep when you can stop safely, and tell someone if you leave the route. On a drop ride, be prepared to navigate and finish independently.
Can I use headphones or aerobars during a group ride?
Do not use headphones or ride in aerobars while you are in a close paceline. You need to hear calls and maintain immediate steering and braking control. A ride leader may also prohibit these items anywhere in the group, so check the ride rules before departure.
Sources
- National Highway Traffic Safety Administration: Bicycle Safety — helmet fit, visibility, pre-ride preparation, traffic rules, and predictable riding
- USA Cycling: 9 Best Practices for Group Rides — preparation, hazard communication, intersections, pacing, braking, and half-wheeling
- USA Cycling: Tips for Pacelines — joining, positioning, rotation, headphones, aerobars, wheel overlap, and speed control
- British Cycling: Riding in a Group—Top 10 Tips — communication, looking ahead, braking, wheel overlap, pace control, and half-wheeling
- Van Druenen and Blocken, Aerodynamic Impact of Cycling Postures on Drafting in Single Paceline Configurations — how drafting benefits vary by posture, position, and paceline configuration
Conclusion
A safe group ride is built on preparation, communication, and predictable bike handling. Arrive with a working bike and the equipment you need, learn the route and group rules, obey traffic controls individually, and make every change in speed or direction smoothly. In a paceline, protect the established pace, avoid overlapping wheels, rotate only when it is safe, and skip a pull before fatigue affects your control.
Just as important, look after the riders around you. Report hazards, account for anyone who becomes separated, and stop for mechanical or emergency situations according to the group’s plan. When every cyclist understands their responsibilities, the ride becomes safer, more efficient, and more enjoyable for beginners and experienced riders alike.







Leave a Reply