
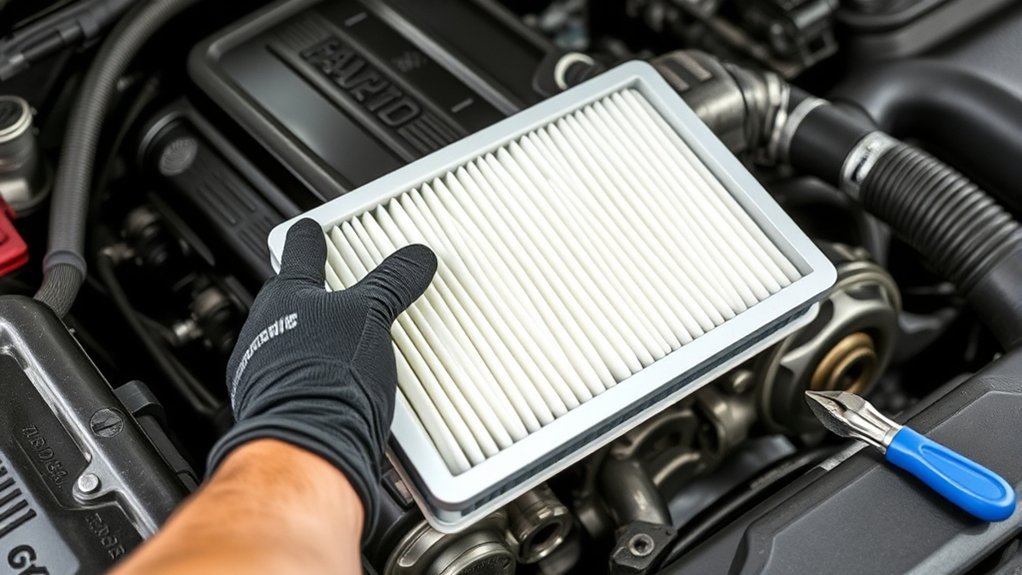
Replacing an engine air filter is usually a simple DIY maintenance job, but the correct filter and service interval depend on your exact vehicle. A properly fitted filter helps the engine draw clean air while keeping dust and debris out of the intake. The key is to verify the part, protect the open airbox from dirt, and seat the new filter without gaps.
Quick Answer
To replace an engine air filter, turn the vehicle fully off, open the airbox, note the old filter’s orientation, remove it without dropping debris into the intake, clean the housing, and install the exact replacement with its seal fully seated. Follow the owner’s manual for the correct part and service interval.
Key Takeaways
- Match the filter to the vehicle’s year, make, model, engine, and airbox—not appearance alone.
- Use the owner’s manual or maintenance monitor for the replacement interval; dusty conditions may require earlier service.
- A clogged filter may reduce acceleration, but replacing it usually does not improve MPG on a modern computer-controlled vehicle.
- Replace disposable paper filters. Clean a reusable filter only with the procedure approved by its manufacturer.
- Keep loose dirt out of the clean side of the intake and confirm that the filter seal and airbox lid sit evenly.
At a Glance
| Time Required | About 10–20 minutes on many vehicles; longer when ducts or access panels must be removed |
| Difficulty | Beginner for an easily accessible airbox |
| Tools Needed | Correct filter, owner’s manual, gloves, clean rag, and any screwdriver, socket, Torx bit, or trim tool specified for the airbox |
| Cost | Usually the cost of the filter only; the exact price varies by vehicle, engine, filter media, and brand |
Signs That Indicate Your Air Filter Needs Replacement
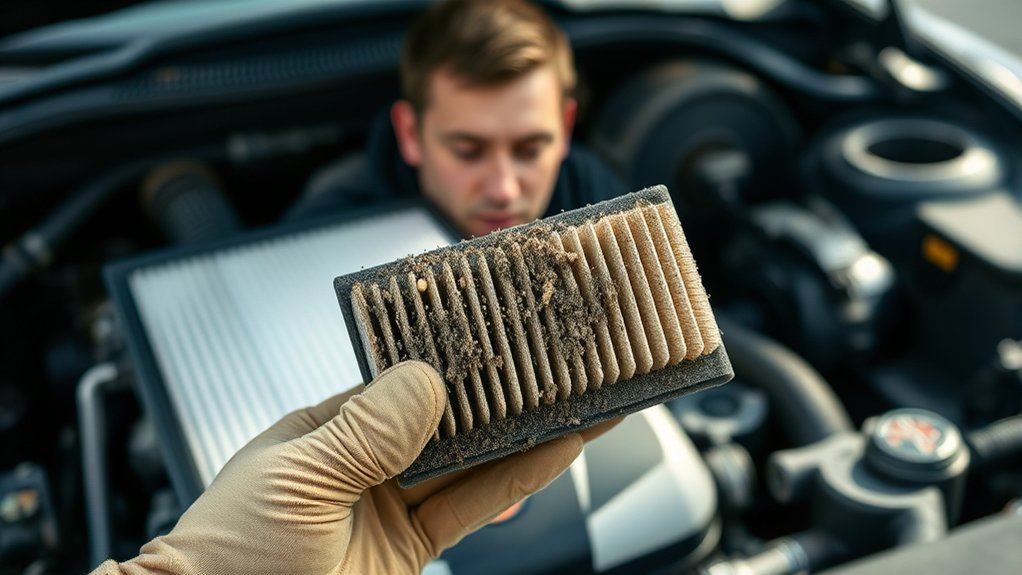
The most dependable reasons to replace an engine air filter are a scheduled maintenance reminder, a visibly damaged filter, heavy debris buildup, or a restriction confirmed during inspection. Symptoms alone cannot prove that the filter is the cause of a performance problem.
Possible signs that justify inspecting the filter and the rest of the intake system include:
- Reduced power under heavy acceleration: A severely restricted filter can limit the air available when the engine is under load.
- An intake whistle or hissing sound: This may come from a restriction, but it can also point to a loose airbox lid, damaged intake duct, disconnected hose, or other air leak.
- A maintenance or filter-life message: Some vehicles calculate service needs or use an air-filter restriction monitor.
- Heavy dirt, leaves, insects, or rodent debris: Material packed between the pleats can restrict airflow.
- Torn, wet, oily, warped, or collapsed media: Physical damage is a reason to replace the filter and investigate the cause.
On a modern fuel-injected vehicle, replacing a clogged engine air filter may improve acceleration, but it usually does not improve fuel economy.
A check-engine light is not a specific air-filter warning. It may indicate an intake leak, airflow-sensor problem, misfire, fuel-system fault, emissions problem, or another condition. Inspect the filter and airbox, but read the diagnostic trouble codes and diagnose the fault instead of assuming that a new filter will switch the light off.
Why Replacing Your Engine Air Filter Is Essential
The engine air filter sits between the outside air inlet and the engine’s intake. Its job is to trap abrasive dust, grit, insects, leaves, and other material before they reach airflow sensors, turbocharger components, throttle passages, cylinders, and other intake parts.
A serviceable filter must do two things at the same time: capture contaminants and allow enough airflow for the engine’s operating needs. As dirt accumulates, restriction increases. A severely loaded filter may limit power at high airflow, while a torn filter, damaged gasket, warped housing, or incorrectly closed lid may allow unfiltered air to bypass the media.
Note: The U.S. Department of Energy and EPA explain that replacing a clogged filter on a modern fuel-injected gasoline vehicle or diesel can improve acceleration but generally does not improve MPG. Older carbureted vehicles may gain a small fuel-economy benefit. See FuelEconomy.gov’s vehicle-maintenance guidance.
Regular inspection also gives you a chance to find other problems, including a cracked intake hose, loose clamp, damaged airbox, water entry, oil contamination, missing fastener, or rodent nest. Those issues can matter as much as the condition of the filter itself.
Choosing the Correct Engine Air Filter
Do not choose a filter only because its length and width look close to the old one. Vehicles from the same model year may use different filters for different engines, production dates, trims, markets, or intake housings.
Before buying the replacement, confirm:
- The vehicle’s year, make, and model.
- The engine size or engine code.
- Any production-date, trim, hybrid, turbocharged, or market-specific fitment notes.
- The part number printed on the old filter, when it is still readable.
- The shape, overall dimensions, gasket profile, locating tabs, and sealing surface.
- The filter listing in the owner’s manual, OEM parts catalog, or a reputable manufacturer’s fitment catalog.
A 17-character VIN can help confirm the vehicle’s identity. The NHTSA VIN Decoder provides manufacturer-reported vehicle information, but you should still use the vehicle manufacturer’s service information or a verified parts catalog to select the filter.
Pro Tip: Place the old and new filters side by side before installation. Compare the frame, gasket, tabs, pleat direction, and overall height. Stop if the new filter rocks in the housing, leaves a gap, or prevents the lid from sitting flat.
Common Engine Air Filter Types
- Disposable pleated paper: Common original-equipment style. Replace it rather than washing, oiling, or aggressively blowing it out.
- Dry synthetic reusable filter: Some designs can be cleaned, but only with the filter manufacturer’s approved process.
- Oiled cotton reusable filter: Requires the correct cleaner, complete drying, and the specified amount of filter oil.
- Foam or multilayer filter: More common in certain off-road, powersports, specialty, or older applications. Follow the exact service instructions for that filter.
An engine air filter is not the same as a cabin air filter. The engine filter protects the engine’s intake. The cabin filter cleans air entering the passenger compartment through the heating and air-conditioning system.
Tools Needed for a Smooth Air Filter Replacement
Many airboxes use spring clips and require no tools. Others use screws, bolts, Torx fasteners, hose clamps, trim clips, or an intake duct that must be moved. Check the owner’s manual or service information before starting.
Essential Tools Overview
- The exact replacement filter for the vehicle and engine.
- Gloves to protect your hands from dirt and sharp plastic or metal edges.
- A clean, slightly damp rag for the dirty side of the housing.
- A flashlight for inspecting the airbox, seal, ducts, and fasteners.
- The required hand tool, which may be a Phillips or flat screwdriver, socket, Torx bit, pliers, or trim tool.
- A phone camera to record the original filter orientation and duct routing.
Safety Gear Recommendations
Park on a level surface, set the parking brake, and turn the ignition fully off. Remove the key or keep the key fob away from the vehicle. On a hybrid or stop-start vehicle, confirm that the READY indicator is off. Let hot underhood parts cool before reaching into the engine compartment.
Warning: An electric cooling fan may start without the engine running. Keep hands, loose clothing, hair, jewelry, rags, and tools away from fans, belts, pulleys, hot exhaust parts, and other moving or heated components. Follow the safety instructions in the vehicle’s owner’s manual.
Wear eye protection when loose dust may fall from an elevated or heavily contaminated housing. A dust mask can also help when the filter contains fine dust, pollen, ash, or rodent debris.
Step-by-Step Instructions for Replacing Your Air Filter
- Verify the filter and procedure. Confirm the exact vehicle, engine, replacement part, airbox location, required tools, and any model-specific instructions. Some vehicles use more than one engine air filter.
- Make the vehicle safe. Park on level ground, set the parking brake, switch the vehicle fully off, and allow the engine compartment to cool.
- Locate the airbox. Follow the intake duct from the front air inlet toward the engine. The filter housing is usually a plastic box connected to that duct, but its location varies.
- Clean the housing exterior. Wipe or gently vacuum loose dirt from the top, seams, and fasteners before opening the airbox. This reduces the chance of debris falling inside.
- Record the original setup. Take a photo of the lid, clips, ducts, sensor connectors, and filter orientation. Note which side of the old filter faces the incoming air.
- Release the housing. Undo the clips, screws, bolts, or quarter-turn fasteners. Move only the hoses, ducts, covers, or wiring retainers specified by the vehicle instructions. Do not pull on wires.
- Lift the lid carefully. Open it only as far as needed. Avoid stressing attached ducts, airflow sensors, vacuum hoses, or wiring.
- Remove the old filter. Lift it straight out when possible. Keep leaves and loose dirt from spilling into the clean side of the intake that leads toward the engine.
- Inspect the old filter. Look for torn media, a distorted frame, a damaged seal, wetness, oil, heavy dust, rodent material, insect buildup, or a collapsed section. Unusual contamination may point to another problem that should be corrected.
- Inspect the housing and intake. Check the lid, lower housing, gasket channel, intake snorkel, clamps, ducts, drain openings, and visible sensor connectors for cracks, looseness, water, or debris.
- Clean the housing safely. Wipe the dirty side with a clean, slightly damp rag. If you use a vacuum, keep debris from being pulled or pushed into the clean-side opening. Do not leave fibers, tools, screws, or rags inside.
- Install the new filter. Set it in the same orientation as the old one. Make sure locating tabs engage and the entire gasket lies flat in its channel without folds, gaps, or pinched sections.
- Close the airbox. Seat the lid evenly before fastening it. If the lid will not close with light pressure, reopen it and check the filter fit. Do not force the lid or use the screws to pull a misaligned housing together.
- Secure every connection. Reattach clips, fasteners, ducts, clamps, wiring retainers, and any sensor connector that was intentionally removed. Tighten fasteners only to the specified torque or until properly seated.
- Perform a final check. Remove all tools and rags, confirm that nothing is near the fan or belts, and close the hood. Start the vehicle only after the intake system is fully assembled.
Warning: Do not start or drive the vehicle with the filter missing, the airbox open, an intake duct disconnected, or a sensor unplugged. Unfiltered air and loose debris can enter the intake, and the engine may run poorly or set diagnostic trouble codes.
Mistakes You Don’t Want to Make When Replacing Your Air Filter
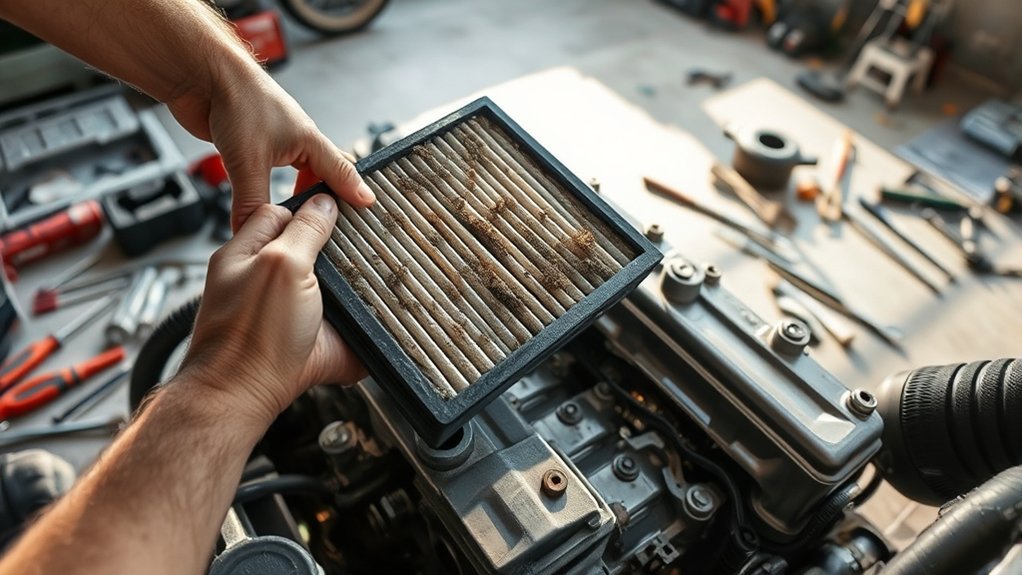
- Installing a nearly matching filter: A small difference in height, gasket shape, or locating tabs can create an unfiltered bypass path or keep the lid from closing.
- Opening a dirty airbox without cleaning around it: Loose grit can fall directly into the housing.
- Forgetting the original orientation: Some filters are directional or shaped to fit only one way.
- Pinching the gasket: A folded or rolled seal can allow dirty air around the media.
- Forcing the lid closed: Resistance usually means the filter, hinge tabs, duct, or lid is misaligned.
- Overtightening plastic screws: This can strip threads, crack the housing, or distort the lid.
- Washing a disposable paper filter: Water, solvent, aggressive brushing, or improvised compressed-air cleaning can damage the media and seal.
- Using the wrong reusable-filter process: Different cotton, foam, synthetic, and heavy-duty filters require different cleaners, drying methods, and oiling procedures.
- Applying too much oil to an oiled filter: Follow the filter manufacturer’s exact amount and waiting time rather than saturating the media.
- Ignoring a cracked duct or loose clamp: A new filter cannot correct an intake leak downstream of the airbox.
- Leaving a connector or hose loose: This can cause rough running, warning lights, abnormal noise, or unmetered airflow.
- Resetting or clearing codes without diagnosis: Recheck the work and read the codes first so useful fault information is not lost.
Advantages of Regularly Replacing Your Engine Air Filter
Replacing the filter when the vehicle manufacturer calls for it keeps the intake system operating as designed. The benefit is not a guaranteed horsepower or MPG increase; it is the restoration of proper filtration and available airflow when the existing filter is restricted, damaged, or overdue.
Restored Airflow and Engine Performance
A heavily restricted filter can reduce the airflow available during high engine demand. Replacing it may restore throttle response or acceleration that was lost because of the restriction. The change may be subtle when the old filter was still serviceable.
If power does not improve after the replacement, do not keep replacing parts. Other causes may include a loose intake duct, airflow-sensor fault, ignition problem, fuel-delivery issue, exhaust restriction, turbocharger fault, transmission concern, or another engine condition.
Fuel Economy: What to Expect
For most modern fuel-injected, computer-controlled gasoline vehicles and modern diesels, replacing a clogged engine air filter does not produce a measurable MPG improvement during normal driving. The engine-management system adjusts fuel delivery based on measured airflow and operating conditions.
Older vehicles with carburetors can respond differently because a restriction may alter the fuel-and-air mixture. For those vehicles, replacing a clogged filter can improve both acceleration and fuel economy by a small amount. Vehicle age and engine-control design therefore matter.
Protection From Dust and Debris
A correctly installed filter helps keep abrasive contamination out of the intake. The seal, airbox lid, ducts, and clamps are part of that protection. A new filter installed with a gap can be less effective than an older filter that still seals correctly.
Timely inspection can also reveal water intrusion, oil contamination, damaged plastic, missing fasteners, rodent nesting, or other conditions before they create a larger intake-system problem.
When to Change Your Air Filter
Use the schedule in the owner’s manual, maintenance guide, dashboard maintenance system, or manufacturer service information for your exact model and engine. There is no single mileage interval that applies to every vehicle.
As examples, Ford gives a model-dependent range of 15,000–30,000 miles, while the 2026 Honda HR-V Owner’s Manual uses its Maintenance Minder and specifies 15,000-mile replacement in dusty conditions. Those examples show why the exact vehicle instructions take priority over a generic rule.
Inspect or service the filter sooner when the vehicle is regularly exposed to:
- Unpaved roads, off-road use, farms, mines, or construction sites.
- Desert dust, heavy pollen, wildfire ash, or industrial soot.
- Frequent driving behind other vehicles on dusty roads.
- Rodent activity, leaves, insects, or nesting material near the air inlet.
- Floodwater, deep standing water, heavy spray, or evidence of water inside the housing.
- An air-filter restriction warning or maintenance reminder.
Replace a disposable filter when the scheduled interval arrives or when it is torn, wet, oil-soaked, collapsed, heavily loaded, incorrectly shaped, or unable to seal. Service a reusable filter only at the interval and with the method specified by its manufacturer.
Troubleshooting After Air Filter Replacement
Whistling or Hissing After Replacement
Switch the vehicle off and recheck the filter gasket, lid alignment, clips, screws, ducts, clamps, and hoses. A pinched seal, open clip, loose duct, or displaced vacuum hose can create an intake noise. Confirm that the replacement filter is not too tall or incorrectly oriented.
Rough Idle or Check-Engine Light
Check whether an airflow sensor, intake-air-temperature sensor, hose, or duct was disconnected or disturbed. Verify that no debris entered the clean side of the intake. Read the diagnostic trouble codes before clearing them. If the cause is not obvious, have the intake and engine-management system diagnosed.
Airbox Lid Will Not Close
Do not force it. Compare the old and new filters again, inspect locating tabs, and make sure the gasket is inside its channel. Check whether the lid hinge tabs or lower housing are misaligned. A filter that prevents normal closure may be the wrong part even when its outer dimensions appear similar.
Performance Did Not Improve
A filter replacement only corrects a filter-related restriction or sealing problem. If the old filter was not severely restricted, there may be little noticeable change. Continued low power, poor acceleration, stalling, smoke, unusual noise, or warning lights require further diagnosis.
Engine Air Filter Types and Replacement Questions
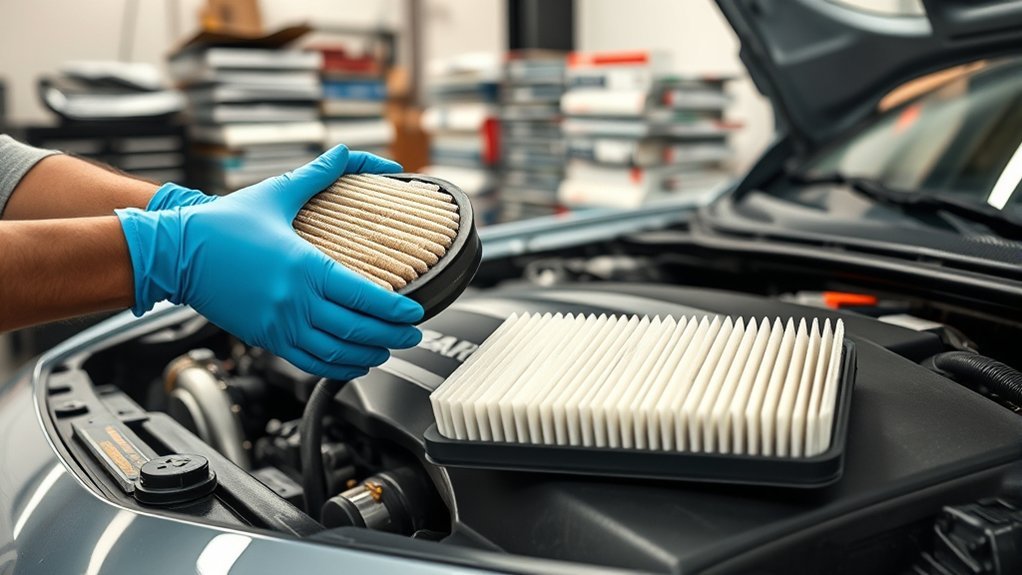
Most passenger vehicles use a pleated disposable panel or round filter, but reusable cotton, foam, and dry synthetic filters are also available for certain applications. Each media type has different replacement or cleaning requirements, so the filter manufacturer’s instructions matter.
- Which filter type should you choose? Use the filter type and performance specification approved for the vehicle. OEM and reputable aftermarket filters can both be suitable when the fit, seal, filtration requirements, and application listing are correct.
- How often should you service it? Follow the vehicle’s maintenance schedule or filter-life monitor. Inspect earlier in dusty, smoky, wet, or debris-heavy conditions.
- Can you replace it yourself? Many accessible airboxes are beginner-friendly and take about 10–20 minutes. Stop and use professional service information when major ducts, wiring, sensors, body panels, or tightly packaged components must be removed.
Frequently Asked Questions
Can I clean my engine air filter instead of replacing it?
Clean it only if it is specifically designed to be reusable. Most pleated paper filters are disposable and should be replaced. Washable cotton, foam, synthetic, and heavy-duty filters require different procedures, so follow the exact instructions supplied by the filter manufacturer. K&N, for example, publishes separate cleaning methods for its different filter media.
How often should I check my engine air filter?
Follow the inspection schedule in the owner’s manual or maintenance system. Check it sooner after dusty-road driving, off-road use, wildfire ash, construction exposure, water entry, or rodent activity. Do not replace it by calendar or mileage alone when the manufacturer provides a different schedule.
Will a dirty engine air filter affect fuel economy?
Usually not on a modern fuel-injected, computer-controlled gasoline vehicle or modern diesel, although a severe restriction can reduce acceleration. An older carbureted vehicle may lose a small amount of fuel economy when its filter is clogged.
Should I use an OEM or aftermarket engine air filter?
Either can work when the filter is correctly listed for the exact vehicle and meets the required fit, seal, filtration, and airflow specifications. Compare the new filter with the old one and do not install a part that leaves a gap or prevents the airbox from closing normally.
Can a clogged engine air filter damage the engine?
A severe restriction can reduce available power, but dirt bypass is usually the greater contamination concern. Torn media, a damaged gasket, a warped housing, a loose lid, or a cracked intake duct can allow unfiltered air into the engine. Correct fit and sealing are therefore essential.
Is the engine air filter the same as the cabin air filter?
No. The engine air filter cleans air entering the engine for combustion. The cabin air filter cleans air entering the passenger compartment through the heating and air-conditioning system. They use different housings, parts, and service procedures.
Conclusion
Engine air filter replacement is straightforward when the airbox is accessible, but accuracy matters more than speed. Verify the exact filter, follow the vehicle’s service schedule, prevent debris from entering the intake, and make sure the gasket and housing seal evenly. A correctly installed filter supports normal airflow and protects the intake without relying on exaggerated fuel-economy promises.
After installation, investigate any whistle, rough idle, warning light, loose lid, or unchanged performance rather than assuming the new filter caused or solved every engine problem. When access is difficult or the intake system has damaged parts, professional service is the safer choice.
Sources
- FuelEconomy.gov — Keeping Your Vehicle in Shape — explains the effect of clogged engine air filters on modern and older vehicles.
- Ford — How Often Should I Change the Engine Air Filter? — provides an example of a model-dependent replacement range.
- 2026 Honda HR-V Owner’s Manual — Maintenance Minder — supports vehicle-specific service reminders and earlier replacement in dusty conditions.
- National Highway Traffic Safety Administration — VIN Decoder — supports confirming manufacturer-reported vehicle identity.
- K&N — Air Filter Cleaning Instructions — demonstrates why reusable filters must be serviced according to their exact media and manufacturer procedure.







Leave a Reply