
Classic car paint codes help you identify the color a vehicle received at the factory, but finding the code is only the first part of an accurate match. Before ordering paint, confirm the car’s model year and identity, inspect the correct body or trim tag, and determine whether the visible finish is original, faded, repaired, or completely repainted.
Quick Answer
Look for your classic car’s paint code on its body or cowl tag, door jamb, firewall, glove box, trunk area, radiator support, or factory paperwork. Copy the complete code exactly. Then verify it by model year and test the mixed paint because age, repairs, and factory color variants can affect the final match.
Key Takeaways
- Confirm the exact year, make, model, body style, and assembly information before decoding any tag.
- A paint code identifies the factory formula or color family; it does not guarantee that fresh paint will match an aged panel.
- Copy every letter, number, suffix, slash, and upper- or lower-body designation shown on the label.
- For a repainted or faded vehicle, use a protected paint sample, variant chips, a spectrophotometer, and a spray-out card.
- Use a compatible paint system and follow the manufacturer’s technical and safety data before applying any coating.
At a Glance
| Time Required | About 15–45 minutes to inspect common locations and verify the code; longer if the tag is missing or the car has been repainted |
| Difficulty | Easy to locate a clear tag; moderate when historical records or professional color matching are needed |
| Tools Needed | Flashlight, phone camera, soft cloth, vehicle documents, model-year reference material, and a magnifying glass if needed |
| Cost | Usually free to identify the code; paint samples, historical records, and professional scanning or formulation services cost extra |
Understanding the Importance of Classic Car Paint Codes
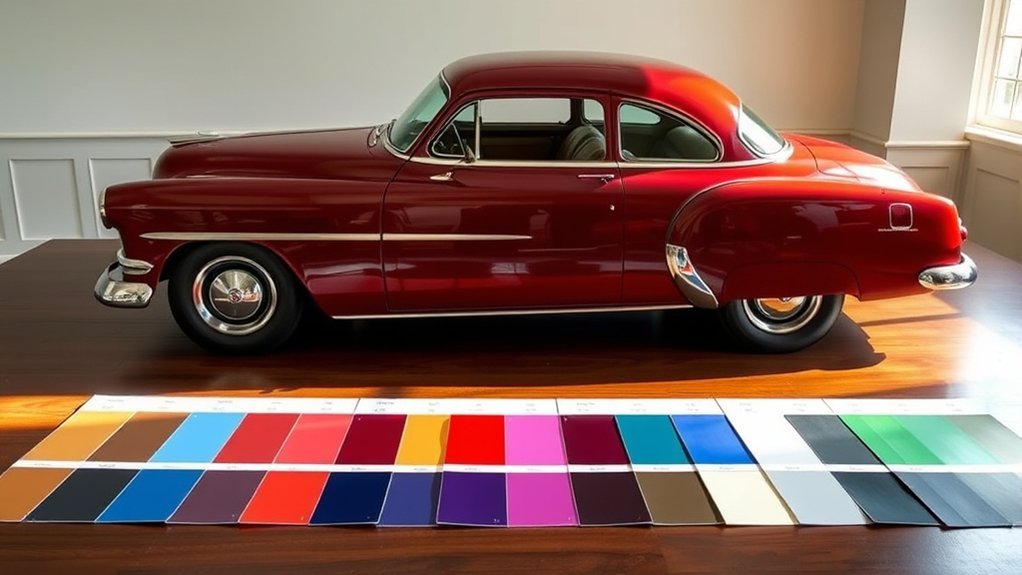
A classic car paint code records the factory’s identification for an exterior color or paint combination. Depending on the manufacturer and model year, it may appear on a metal body plate, cowl tag, trim tag, paper build sheet, service-parts label, certification sticker, or other factory record.
The code is important because color names alone are not precise enough. A manufacturer may reuse a familiar name in different years, change the formula while keeping a similar name, or offer several related shades. Two colors called “Racing Green,” “Ermine White,” or “Matador Red” may not share the same formula.
Factory documentation can also support an authenticity-focused restoration. A readable tag, build record, dealer paperwork, dated photographs, and receipts create a stronger record than an unsupported color claim. However, the code does not prove that the paint currently on the vehicle is original.
Treat the factory paint code as the starting formula—not as a promise that newly mixed paint will disappear against a panel that has aged for decades.
Verify the Vehicle Before Decoding a Paint Code
Classic-car tags and code systems can change within the same brand. Before searching a chart or ordering paint, record the following information:
- Model year: Use the vehicle’s documented model year, not only the year shown on a registration renewal.
- Manufacturer and division: Chevrolet, Pontiac, Buick, Cadillac, Ford, Mercury, Plymouth, Dodge, and other divisions may use different records or tag layouts.
- Model and body style: A convertible, wagon, coupe, or truck may place its identification plate in a different area.
- VIN or serial number: Record it exactly, but do not assume the VIN itself always contains the paint code.
- Assembly plant: Plant information can help explain tag differences and factory paint variants.
- Build date: Midyear production changes sometimes affect tags, colors, or formulas.
Note: Do not copy a code from an online photo simply because the pictured car looks similar. Verify the code against your exact model year and the original tag or documentation.
How to Locate Your Classic Car’s Paint Code
Start with the areas most likely to hold a factory tag or label for your vehicle’s era. Use a flashlight and photograph each plate before cleaning it. A high-resolution photo often reveals characters that are difficult to read while crouched beside the vehicle.
- Inspect the driver-side door opening. Check the door edge, hinge pillar, latch post, and surrounding jamb.
- Look under the hood. Inspect the firewall, cowl, radiator support, inner fenders, and underside of the hood.
- Search the trunk. Check the deck lid, spare-tire well, trunk floor, side panels, and underside of the trunk mat.
- Check the glove box and interior storage areas. Some later service-parts labels were placed inside a glove compartment or rear storage panel.
- Review factory documents. Look for a build sheet, warranty booklet, owner’s manual insert, dealer invoice, broadcast sheet, or restoration records.
- Consult a model-year source. Use manufacturer archives, factory service literature, or a recognized marque club’s documented tag guide.
PPG’s OEM Color Code Locations Guide confirms that manufacturers may use more than one possible location. Its examples are useful references, but the downloadable guide is model-year specific and should not replace documentation for your particular classic.
Pro Tip: Photograph the whole tag and a close-up of the code. The surrounding fields, rivets, typeface, and tag position can help an expert identify the correct decoding system and spot a replacement plate.
How to Decode Your Classic Car’s Paint and Trim Numbers
Do not assume that every number on a data plate refers to exterior paint. A classic vehicle may list body, trim, paint, option, production, and assembly information together.
Paint Code vs. Trim Code, VIN, and Option Codes
- Paint or color code: Identifies an exterior color, color combination, or paint formula family.
- Trim code: Usually identifies interior upholstery, material, and color—not the exterior paint.
- VIN or serial number: Identifies the vehicle and may encode its manufacturer, model, body, engine, plant, or sequence, depending on the year.
- RPO or option code: Identifies installed equipment or a production option. Some manufacturers use an option code to identify a color.
- Body or cowl tag: A plate containing production details. Its paint field must be decoded using the correct year and plant format.
Copy the Entire Code
Write down every character exactly as shown. Include leading zeros, spaces, dashes, suffixes, slashes, and labels such as PAINT, PNT, COLOR, EXT PNT, U, L, upper, lower, roof, or trim. A missing suffix can point to a different formula or assembly source.
If the car has two exterior colors, the tag may list separate codes for the upper and lower body, roof and body, or primary and secondary color. Stripe, wheel, engine-bay, dashboard, and interior paints may use separate specifications that are not included in the main exterior code.
Decoding Common Formats of Classic Car Paint Codes
Manufacturers have changed code formats many times, so the examples below are orientation points rather than universal decoding rules.
| Manufacturer family | Examples you may encounter | Important caution |
|---|---|---|
| General Motors divisions | A paint field on a body or cowl tag, an option code, or a later WA-formatted number on a service-parts label | The format and location vary widely by division, plant, and decade. |
| Ford, Lincoln, and Mercury | A color field on an older warranty or data plate; later labels may use an EXT PNT field with a short code | Use a decoder made for the exact model year; do not apply a current label format to an early car. |
| Chrysler, Dodge, Plymouth, and Jeep | A body tag or build/broadcast sheet on many classics; later labels may identify the field as PAINT or PNT | Multiple codes may identify the body, roof, stripe, or two-tone combination. |
| European and Asian manufacturers | A plate or sticker in a door opening, engine compartment, trunk, or spare-wheel area; codes may contain letters, numbers, dashes, or slashes | Copy the full code and any suffix. Imported models may use a different tag from a similar domestic-market model. |
General Motors Examples
Some later GM service-parts labels show a WA-prefixed number and separate upper- or lower-body information. Older Chevrolet, Pontiac, Buick, Oldsmobile, and Cadillac vehicles can use different body-tag formats, and the code may need to be decoded by division, year, and assembly plant.
The GM Heritage Archive provides downloadable vehicle information kits for many historic GM models. These can help verify available factory colors and other model-year information, although not every kit contains an individual vehicle’s build record.
Ford Examples
Ford’s current support information places the exterior code in the EXT PNT field on the door-jamb label for supported vehicles. Classic Ford products may instead use a warranty plate, body plate, or other year-specific tag. Ford’s modern two-character example should not be treated as a rule for every classic Ford, Lincoln, or Mercury.
For a later Ford label, compare your tag with Ford’s official paint-code guidance. For an older vehicle, use the correct factory shop manual, parts catalog, or documented model-year decoder.
Suffixes, Two-Tone Codes, and Special Finishes
A suffix may identify a production plant, paint supplier, formula revision, or variation. Likewise, a slash or second code may indicate a roof color, lower-body color, stripe, or two-tone combination. Never discard the second half of a code because a supplier’s search box accepts only the first portion; contact the supplier and confirm how its database handles the complete factory entry.
Common Locations for Paint Codes on Classic Cars
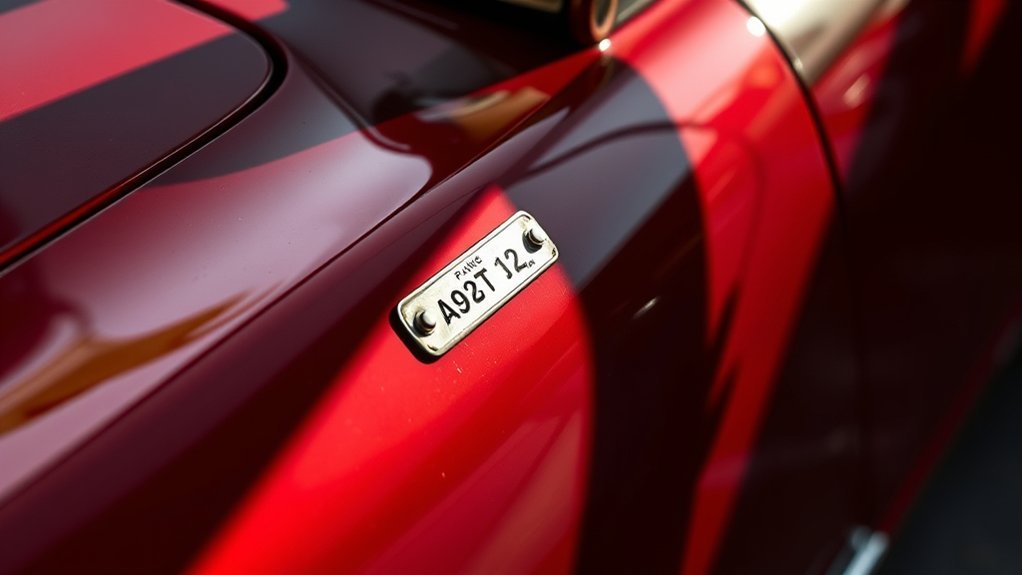
Paint-code locations vary, but the following checklist gives you an efficient search order:
- Driver-side door, hinge pillar, or latch post
- Passenger-side door jamb
- Firewall or cowl area
- Radiator support or inner fender
- Glove compartment or glove-box door
- Trunk lid, trunk floor, or spare-tire well
- Under a rear storage cover or removable interior panel
- Under the hood or on an engine-compartment plate
- Factory build sheet, broadcast sheet, warranty booklet, or dealer invoice
Inspect without damaging original material. A tag may be hidden under dirt, overspray, undercoating, carpet, or a replacement trim panel. Use a soft dry cloth first. Avoid aggressive polish, sandpaper, paint stripper, or strong solvent on an original plate or paper label.
Warning: Do not remove, restamp, alter, or replace a VIN plate or legally regulated identification label. If a tag is loose, damaged, or questionable, photograph it in place and consult the appropriate motor-vehicle authority or a qualified restoration expert.
What to Do If Your Paint Code Is Missing
A missing tag does not end the search. Work through the evidence in order, keeping the goal clear: are you trying to restore the original factory color, or match the color currently on the car?
- Check every possible tag location. A previous owner may have moved carpet, panels, or the glove-box liner without realizing a label was behind it.
- Search the vehicle’s documents. Review old restoration invoices, dealer records, build sheets, warranty material, photographs, and judging sheets.
- Use official model-year literature. Manufacturer archives and factory color charts can narrow the list of available colors.
- Inspect protected areas. Look under weatherstripping, behind a door panel, beneath trim, under the package tray, inside the trunk, or behind a hinge where sunlight and polishing could not easily alter the paint.
- Compare professional color chips. A refinish shop can compare cleaned protected paint with a variant deck or historical chip book.
- Scan the current finish. A spectrophotometer can produce candidate formulas for a surviving or repainted color.
- Create and document a spray-out. Have the selected formula sprayed on a prepared test card using the intended paint system.
Do not rely on a hidden patch without examining it carefully. A previous repair may extend into door openings, the trunk, or the engine bay. Compare several protected areas before treating one sample as original.
The Importance of Accurate Color Matching in Restoration
A factory code narrows the search, but several factors can make fresh paint look different from the vehicle:
- Sun and weather exposure: Ultraviolet light, heat, moisture, and oxidation can change the surface color.
- Factory variants: Paint batches, suppliers, assembly plants, and production conditions can create more than one valid formula for the same code.
- Metallic and pearl orientation: Spray-gun distance, pressure, reducer, coat wetness, and technique affect how flakes lie and reflect light.
- Previous repairs: A panel may already have a different variant or a blended repair.
- Film build and undercoat: Primer shade, number of coats, and clearcoat can affect the final appearance.
- Viewing conditions: A match that looks acceptable indoors may fail in direct sunlight or under another light source.
Professional refinish systems use physical color chips, formulation databases, and digital instruments to narrow these differences. Axalta explains that its scanning tools evaluate both color and flake characteristics because vehicles sharing a make, model, and original color can still vary due to age, plant, weather, and operating history.
Pro Tip: Ask for a spray-out card before buying enough material for a full panel or body. View it beside the car in sunlight, shade, and artificial light, and compare it from several angles.
When Blending May Be Needed
Even after selecting the closest variant, a repair may need to be blended into an adjacent panel so the eye does not see a hard transition. Blending is a refinishing technique, not proof that the formula is wrong. Metallic, pearl, faded, and previously repaired finishes are especially difficult to butt-match at a panel edge.
Tips for Ordering Touch-Up Paint for Classic Cars
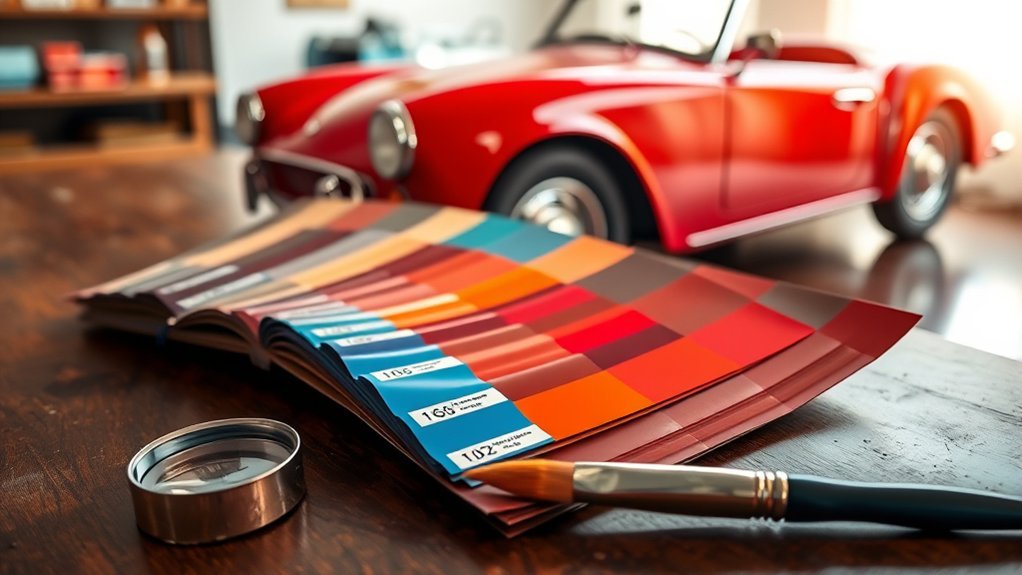
Before placing an order, decide whether you are correcting a small chip, repairing a panel, or refinishing the whole vehicle. The correct product, quantity, and matching standard differ for each job.
Identify and Document Your Color Code
Give the supplier the complete code plus the year, make, model, body style, assembly plant if known, and whether the finish is original or repainted. Send a clear photograph of the tag when possible.
For a two-tone car, identify which code applies to the repair area. Also confirm whether moldings, wheels, stripes, interior metal, or the engine bay use a separate specification.
Choose a Compatible Paint System
Ask the paint manufacturer or trained supplier to confirm:
- whether the formula is intended for a single-stage or basecoat/clearcoat system;
- whether a primer, sealer, ground coat, or tinted undercoat is required;
- whether the finish is solid, metallic, pearl, matte, satin, or gloss;
- which reducer, activator, hardener, and clearcoat are compatible;
- whether the product can be applied over the existing coating;
- the required flash times, temperature range, and film build; and
- whether the formula has alternate variants that should be checked first.
PPG’s Custom Restoration Guide recommends following the complete restoration process and the technical data sheet for every product used. Mixing unrelated primers, bases, hardeners, or clears can cause lifting, wrinkling, poor adhesion, slow curing, or loss of gloss.
Verify the Color Before Ordering a Large Quantity
For a chip repair, a small test dab on a separate card may be enough to catch a major error. For a panel or complete restoration, request a properly prepared and sprayed test card. A liquid sample in a bottle does not show how metallic or pearl paint will look after application and clearcoat.
Compare the test in several lighting conditions. If the match is poor, confirm that the supplier used the complete code and correct model year before asking for tint adjustments or another variant.
Warning: Automotive paint, reducers, aerosols, primers, and hardeners can expose you to solvents, dust, and other hazardous chemicals. Some catalyzed 2K products contain isocyanates. Read the safety data sheet and product instructions. Do not spray a catalyzed automotive coating in a home garage without the training, ventilation, protective equipment, respiratory controls, and legal setup required for that product.
Use Touch-Up Paint Only for Suitable Damage
A brush bottle or pen is best suited to small stone chips and narrow scratches. It will not make a large scrape, peeling clearcoat, rust blister, or dented panel disappear. Rust must be removed and the substrate repaired before coating it. A failing or delaminating finish usually requires more than a surface touch-up.
How to Handle Repainted Vehicles: Finding the Right Color Match
On a repainted vehicle, the factory code answers a historical question: what color was assigned when the car was built? It may not answer the practical question: what paint matches the car today?
| Inspection area or evidence | What to do | What it can tell you |
|---|---|---|
| Factory tag or build record | Decode the original paint field using a model-year source. | The documented factory color or combination |
| Weatherstripping, trim, hinges, and hidden seams | Inspect several protected areas for older layers. | Possible surviving original paint or evidence of multiple repaints |
| Current exterior surface | Clean and polish a small test area before comparing or scanning. | The color that a local repair must match now |
| Professional spectrophotometer scan | Scan a flat, clean, representative area and review candidate formulas. | A practical starting formula for the present finish |
| Spray-out card | Apply the intended system and compare it under several light sources. | Whether the formula, variant, technique, and undercoat produce an acceptable match |
If the goal is factory authenticity, use the documented original code and compare it with surviving protected paint and historical chips. If the goal is a local repair without repainting the entire car, match the current exterior finish. Those goals can lead to different formulas.
Resources for Classic Car Enthusiasts: Community and Support
Good restoration research combines official information with model-specific experience. Use sources in this order:
- Factory records and manufacturer archives: These are the best starting point for model-year colors, codes, specifications, and production information.
- Factory service manuals and parts books: These may show plate locations, tag layouts, finishes, or service paint references.
- Automotive refinish manufacturers: Their databases, variant decks, technical data sheets, and trained distributors help translate a code into a usable modern coating system.
- Recognized marque clubs and judging organizations: Experienced members may have documented plant-specific tags, running changes, and authentic underhood or interior finishes.
- Professional restoration and collision shops: A qualified shop can inspect layers, scan the current color, produce spray-outs, and advise whether blending is needed.
Community advice is valuable, but preserve the source behind every conclusion. Save photographs of the original tag, screenshots or copies of factory literature, the selected formula, spray-out cards, product labels, technical data sheets, and final invoices with the vehicle’s restoration records.
Frequently Asked Questions
How do you read a classic car paint color code?
First confirm the vehicle’s exact model year, make, model, and assembly information. Locate the factory body tag, trim tag, service-parts label, or build record. Find the field marked paint, color, PNT, EXT PNT, upper, lower, or a similar label. Copy the complete entry and decode it with a year-specific factory or refinish reference.
What is the best paint to use on a classic car?
There is no single best paint for every classic. The correct choice depends on the original appearance, substrate, existing coatings, desired durability, authenticity goal, application environment, and local requirements. Use one compatible refinish system and follow its technical data sheets rather than mixing unrelated primers, bases, hardeners, and clears.
Can I get a paint code from a registration number or VIN?
A registration document usually does not print the factory paint code. Some dealer and refinish databases can use a VIN—or a registration number linked to vehicle data—to suggest a color. Treat that result as a candidate and verify it against the vehicle’s tag, model-year records, or a physical color match.
Will paint mixed from the factory code match an original panel exactly?
Not always. The factory code is the correct starting point, but paint can fade or oxidize, and valid factory variants may exist. Metallic and pearl appearance also changes with application technique. Compare variants and approve a spray-out card before painting a large area.
How do I find the paint color if the tag is missing?
Search factory paperwork, manufacturer archives, old invoices, photographs, and protected areas of the body. Compare several hidden paint samples with historical chips. A professional shop can also scan the current finish and prepare a spray-out card. Decide whether you want the documented factory color or a match to the vehicle’s present repaint.
How are two-tone classic car paint codes identified?
A tag may show two codes separated by a space, dash, or slash, or it may label them as upper and lower, roof and body, or primary and secondary. The layout varies by manufacturer and year. Copy both codes exactly and verify which color belongs on each part of the car.
Conclusion
Finding a classic car paint code requires more than spotting a number and ordering a bottle. Confirm the vehicle’s identity, decode the correct year-specific tag, document every part of the code, and decide whether you are restoring the factory color or matching the finish that is on the car now.
For the most reliable result, combine the original code with protected paint samples, historical records, professional variant tools, and a spray-out card. That process protects the vehicle’s appearance, reduces costly paint mistakes, and leaves future owners with a clear record of how the restoration color was chosen.
Sources
- GM Heritage Archive: Vehicle Information Kits — historic GM model-year literature and specifications
- Ford Support: Vehicle Paint Codes — current Ford door-jamb label and EXT PNT guidance
- PPG OEM Color Code Locations Guide — examples of manufacturer label locations and formats
- PPG Custom Restoration Guide — restoration procedures and product-data-sheet guidance
- Axalta 2025 Annual Report — professional color variants, spectrophotometer scanning, and VIN-assisted retrieval
- OSHA Autobody Repair and Refinishing — chemical, sanding, solvent, and spray-finishing hazards







Leave a Reply