

Carburetor tuning can improve starting, idle quality, throttle response, fuel use, and power—but only when you work in the right order. The carburetor is often blamed for problems caused by ignition timing, vacuum leaks, low fuel volume, a sticking choke, or worn engine parts. Start with a sound baseline, follow the exact manual for your carburetor model, and change only one setting at a time.
Quick Answer
To tune a carburetor, first verify ignition timing, engine health, fuel pressure, choke operation, and vacuum leaks. Then set float level to the carburetor’s own specification, adjust idle mixture for the highest stable vacuum, correct accelerator-pump response, and tune cruise and full-load metering in small, logged steps. Never use universal pressure or jet settings.
Key Takeaways
- Identify the exact carburetor model and use its installation or tuning manual before adjusting fuel pressure, float level, jets, rods, springs, or linkage.
- Fix ignition, vacuum-leak, fuel-delivery, choke, and engine-health problems before blaming the carburetor.
- Tune in order: fuel pressure, float level, hot idle, transition response, cruise metering, power enrichment, and secondary operation.
- Make one small change at a time and record the result. Random changes can hide the real cause and create new problems.
- Use a wideband oxygen sensor or chassis dyno for load tuning when possible; sound, smell, and spark-plug color alone are not precise enough for every engine and fuel blend.
At a Glance
| Time Required | About 45 minutes for basic idle setup; several hours for road, load, or dyno testing |
| Difficulty | Intermediate; advanced if jets, metering rods, power valves, air bleeds, or throttle plates must be changed |
| Tools Needed | Carburetor manual, screwdrivers, wrenches, tachometer, timing light, manifold-vacuum gauge, fuel-pressure gauge, safety glasses, fire extinguisher, and a notebook; a wideband oxygen sensor is strongly recommended for load tuning |
| Cost | Basic adjustment may cost nothing if you own the tools; gauges, gaskets, jets, metering parts, or professional dyno time add cost |
Warning: Gasoline and its vapors can ignite, and engine exhaust contains carbon monoxide. Work outdoors or with effective exhaust extraction and ventilation, keep an appropriate fire extinguisher within reach, wear eye protection, eliminate sparks and open flames, and stop immediately if fuel leaks or flooding appear. Never run the engine in a closed garage.
Why Carburetor Tuning Matters
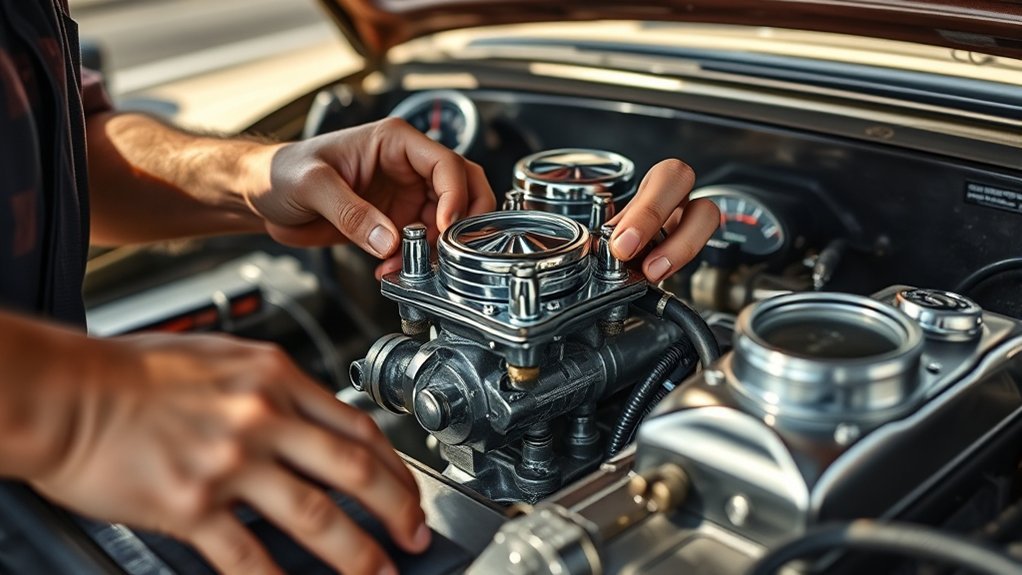
A carburetor meters fuel through several circuits as airflow, throttle position, and engine load change. A correct calibration supports clean starting, a stable idle, smooth tip-in, steady cruise, and safe power under load. A poor calibration may cause hard starting, stalling, surging, hesitation, black exhaust smoke, fuel odor, fouled plugs, detonation, overheating, or weak acceleration.
Rich and lean symptoms can overlap, so avoid diagnosing by one clue. For example, a lean off-idle stumble can feel similar to a rich bog, and ignition misfire can make a wideband oxygen sensor report misleadingly lean because unburned oxygen reaches the exhaust. Use several checks together: fuel pressure, float level, manifold vacuum, ignition timing, accelerator-pump discharge, wideband data, and a controlled road or dyno test.
The best carburetor tune is not the richest or leanest setting—it is the calibration that gives repeatable starting, clean transitions, safe load operation, and stable performance in the vehicle’s real conditions.
Before You Tune a Carburetor
Do not begin with jets or mixture screws. First make sure the engine and fuel system can provide a dependable baseline. Edelbrock’s owner’s manual specifically advises confirming ignition condition, timing, filters, fuel pressure, and vacuum lines before changing calibration because many apparent carburetor problems come from another system.
- Identify the carburetor. Record the manufacturer, model, list or part number, choke type, primary and secondary style, current jets or rods, power valve or step-up springs, and float design. Download the exact manual.
- Check engine condition. Correct low or uneven compression, valve-lash errors, worn ignition parts, incorrect spark-plug heat range or gap, and unstable timing before tuning fuel.
- Set ignition timing first. Follow the engine or vehicle specification. Verify initial timing, total advance, and vacuum advance operation. Use a dwell meter if the distributor has breaker points.
- Check for vacuum leaks. Inspect the carburetor base gasket, intake manifold, PCV system, brake-booster hose, distributor vacuum hose, and every unused port. A leak can make the idle mixture screws seem ineffective.
- Inspect fuel delivery. Confirm clean filters, sound hoses, correct line routing, adequate pump volume, and a regulator or return system suited to the carburetor.
- Verify choke operation. The choke must close enough for a cold start, open in stages as the engine warms, and be fully open before hot tuning.
- Use the installed air cleaner. Final tuning should be checked with the normal air cleaner, hood, exhaust, and accessories in place because these can affect airflow and heat.
Note: If the vehicle is emissions-controlled, keep all required emissions equipment working. Carburetor or linkage changes must not bypass or render emissions controls inoperative, and state inspection rules may also apply.
Understanding Carburetor Basics and Components
A carburetor uses the pressure drop created as air speeds through its venturi to draw and meter fuel, but the supporting circuits vary by design. Automotive carburetors do not all use the same internal layout. Holley-style carburetors commonly use replaceable main jets, power valves, accelerator-pump cams or nozzles, and vacuum or mechanical secondaries. Carter AFB and Edelbrock Performer designs use primary jets, tapered metering rods, step-up springs, secondary jets, a weighted air valve, and an accelerator pump. Slide-type motorcycle carburetors may also use a distinct jet-needle circuit, which should not be treated as a universal automotive layout.
| Circuit or Part | What It Does | Common Symptoms When Incorrect |
|---|---|---|
| Idle circuit | Meters fuel and air with the throttle nearly closed. | Rough idle, stalling, fuel odor, screws with little effect. |
| Transition or transfer slot | Bridges the gap between idle and the main circuit as the throttle first opens. | Off-idle stumble or an idle that cannot be adjusted correctly. |
| Main metering | Controls most cruise and higher-airflow fuel delivery through jets, rods, or both. | Cruise surge, poor fuel economy, weak power, or excessive richness. |
| Power enrichment | Adds fuel as load rises through a power valve, metering-rod step, enrichment valve, or similar device. | Lean load response, detonation, or excessive richness when the system opens too early. |
| Accelerator pump | Provides a brief fuel shot when the throttle opens faster than airflow can pull fuel through the main circuit. | Tip-in hesitation, stumble, or a rich puff from too much pump fuel. |
| Float, needle, and seat | Maintain the designed fuel level in the bowl. | Flooding, fuel spilling from vents, starvation, or inconsistent metering. |
| Secondaries | Add airflow and fuel when the engine needs more capacity. | Bogging if they open too quickly or weak high-load response if they open too slowly or not fully. |
Tools and Baseline Record
Gather the manual and tools before starting. At minimum, use a reliable tachometer, timing light, manifold-vacuum gauge, low-pressure fuel gauge, correct screwdrivers and wrenches, safety glasses, wheel chocks, and a fire extinguisher. A wideband oxygen sensor with a secure exhaust bung is the most useful upgrade for cruise and load testing.
Write down the starting configuration before changing anything. Include fuel pressure, float setting, hot idle speed, idle vacuum, timing, mixture-screw positions, jets or rod-and-jet combination, power valve or step-up springs, accelerator-pump position, secondary spring or air-valve setting, outside temperature, elevation, and the fuel used. This record lets you return to a known baseline.
Pro Tip: Mark each adjustment in a notebook and change only one system per test. If you alter fuel pressure, float level, jets, pump shot, and timing together, you will not know which change helped or hurt.
Adjusting Fuel Pressure and Float Levels
Fuel pressure and float level must be correct before idle or jet tuning because both affect the pressure difference that moves fuel through the carburetor. The correct number and inspection method depend on the exact model.
| Carburetor Example | Manufacturer Guidance | Why the Exact Manual Matters |
|---|---|---|
| Quick Fuel models with a sight window | Quick Fuel instructions commonly use about 6.5 psi and place fuel around the middle of the sight window for the covered models. | That setting must not be copied to every Holley-style carburetor. |
| Holley Street Avenger with a removable sight plug | The Street Avenger manual places the fuel level at the bottom edge of the sight hole. | A “halfway up the window” rule would be too high for this design. |
| Edelbrock Performer Series | The Edelbrock owner’s manual recommends 5.5 psi with an adjustable regulator and says idle pressure should not exceed 6.0 psi for the covered Performer models. Float height is measured internally with the air horn removed. | These carburetors do not use a Holley-style external sight-window procedure. |
- Place the vehicle on level ground, set the parking brake, chock the wheels, and route the gauge according to its manufacturer’s safety instructions.
- Start the engine only in a safe, ventilated area. Bring it to normal operating temperature and inspect all fuel fittings, bowl gaskets, plugs, and vents for leakage.
- Measure pressure at idle. When a safe remote gauge or data system is available, also verify that pressure and fuel volume do not collapse under load.
- Set the regulator to the exact carburetor specification. Do not assume 6.5 or 7 psi is safe for every model.
- Set the float level using the procedure for that bowl: clear sight window, removable sight plug, or internal float-height measurement.
- After each adjustment, recheck pressure, fuel level, and leakage. A pressure change can alter the float-level result.
Warning: If fuel drips from boosters at idle, spills from a bowl vent, leaks around a fitting, or pools on the intake, shut the engine off immediately. Correct excessive pressure, float height, debris in the needle and seat, damaged parts, or heat-related fuel boiling before restarting.
How to Perfect Your Idle Mixture and Throttle Response
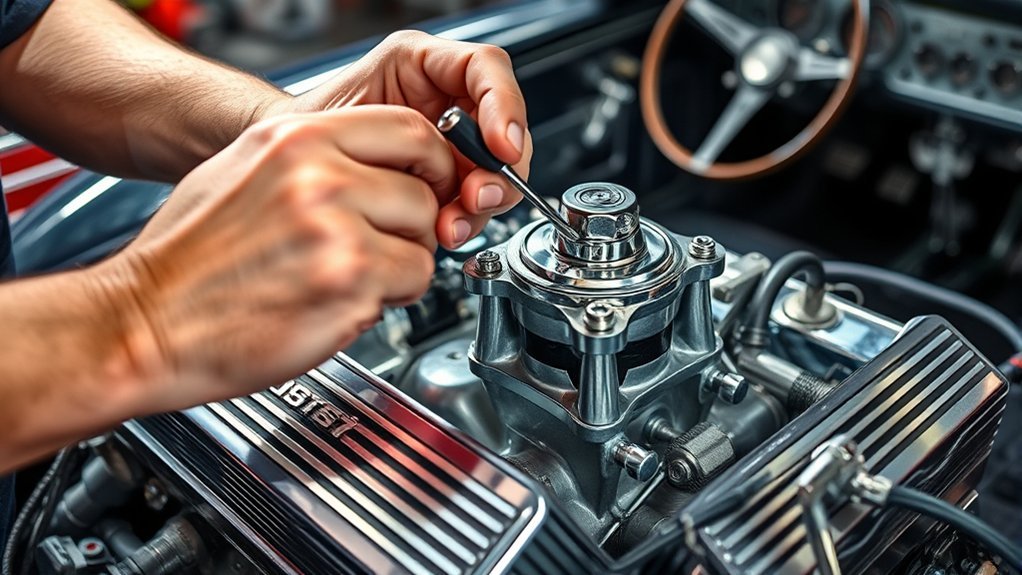
Idle tuning should be done only after the engine is fully warm, the choke is open, ignition timing is stable, fuel pressure and float level are correct, and vacuum leaks have been ruled out. Use the manufacturer’s starting position for the mixture screws rather than a universal number of turns.
Proper Idle Mixture Adjustment
- Connect a vacuum gauge to a true manifold-vacuum port and connect a tachometer if the vehicle does not have an accurate one.
- Set the curb-idle speed close to the vehicle or engine specification. For an automatic transmission, follow the manual’s instruction about whether the final check is made in Park, Neutral, or Drive with an assistant holding the brake.
- Turn each mixture screw in small, equal steps—typically about 1/8 turn at a time on a Holley Street Avenger—while watching vacuum and rpm.
- Find the highest stable manifold vacuum and smoothest idle without using the curb-idle screw to hide a mixture problem. On multi-screw systems, alternate among all screws.
- Reset curb-idle speed, then repeat the mixture check because idle speed and mixture interact.
- Reconnect any vacuum accessories that were disconnected for the approved procedure and verify that idle remains stable with normal electrical and air-conditioning loads.
If a mixture screw has little or no effect, stop turning it. Possible causes include a vacuum leak, blocked idle passage, damaged screw or seat, throttle blades exposing too much transfer slot, incorrect gasket alignment, excessive fuel level, or fuel entering through another circuit.
Throttle Linkage Tuning Techniques
With the engine off, have an assistant press the accelerator while you confirm that the primary throttle moves smoothly from idle to full opening and returns firmly to the idle stop. Check that the linkage does not bind against the air cleaner, fuel line, choke, wiring, or transmission linkage.
Automatic-transmission kickdown or throttle-valve linkage must use the correct geometry and adjustment for the transmission. An incorrect TV-cable setup can damage some transmissions, so do not change carburetor lever position or cable adjustment merely to improve pedal feel. Follow the transmission manufacturer’s procedure.
Do not force the throttle plates completely shut as a tuning method. They need the designed curb-idle position and transfer-slot relationship. Engines with long-duration camshafts may need a manufacturer-approved secondary idle-speed adjustment or idle-bypass system rather than excessive primary-throttle opening.
Diagnosing Idle Quality Issues
- Idle improves when a vacuum leak is added: the mixture may be too rich, the choke may not be fully open, or fuel level may be too high.
- Idle improves when the choke is partly closed: look for a vacuum leak, blocked idle circuit, low fuel level, or an overly lean calibration.
- Vacuum needle moves rapidly: investigate ignition misfire, valve trouble, or a mechanical engine problem instead of continuing to turn mixture screws.
- Mixture screws are almost closed but the engine still idles: fuel may be entering from exposed transfer slots, dripping boosters, a leaking power valve, or another unintended path.
- Idle changes when the brake pedal is pressed: inspect the brake booster and hose for a vacuum leak.
Addressing Causes of Off-Idle Hesitation and Improving Acceleration
Off-idle hesitation is usually a transition problem, not proof that the main jets are too small. Check the accelerator pump, transfer-slot exposure, ignition advance, fuel level, and vacuum leaks before changing main metering.
- Watch the pump discharge with the engine off. Move the throttle by hand. Fuel should begin discharging as soon as the throttle moves. Keep your face away from the carburetor and avoid creating sparks.
- Remove linkage slack at idle. On Holley designs, the pump lever should respond immediately, but the system must still have the manufacturer-specified clearance at wide-open throttle so the diaphragm is not damaged.
- Change pump timing before volume when appropriate. A different pump-cam position can start or extend the shot. A larger nozzle delivers fuel faster but for a shorter time; a smaller nozzle delivers it more slowly.
- Confirm ignition response. Sticking mechanical advance, incorrect vacuum advance, weak spark, or retarded timing can mimic a lean stumble.
- Test under the same condition each time. Note vehicle speed, gear, rpm, throttle movement, engine temperature, and whether the symptom occurs only from a stop or during a rolling tip-in.
Holley’s accelerator-pump guidance emphasizes immediate pump-linkage movement and small, tested changes. Do not drill a generic 0.093-inch hole in the throttle blades as a routine cure. Throttle-plate holes are an advanced, carburetor-specific last resort that can permanently change idle airflow; many modern performance carburetors provide a safer idle-bypass or secondary-idle adjustment.
Next Steps: Fine-Tuning Secondary Jetting and Opening Rates
Once starting, fuel pressure, float level, idle, and tip-in are correct, move to cruise, power enrichment, full-load jetting, and secondary operation. Perform load testing on a chassis dyno or in a legal, controlled area with an assistant or data logger. Do not watch a handheld gauge while driving.
Adjusting Jet Sizes
Begin with the manufacturer’s stock calibration or the last known good combination. Use wideband data, repeatable acceleration tests, engine sound, plug condition, and—when available—dyno torque to decide whether a change is needed. Make one small step at a time, retest, and return to the previous setting if performance or safety worsens.
- Holley and Quick Fuel: main jets primarily affect the main metering range. Power-valve channel restrictions and power-valve opening point affect enrichment under load on applicable models.
- Carter AFB and Edelbrock Performer: primary jets and tapered metering rods work together. The rod’s cruise and power diameters, plus the step-up spring, determine different parts of the calibration. Use the model-specific calibration chart instead of selecting a jet by diameter alone.
- Never drill jets. Drilling can create an irregular passage and destroys the manufacturer’s flow calibration. Install a properly sized, marked jet instead.
Note: A wideband reading is evidence, not a complete diagnosis. Exhaust leaks, misfire, sensor placement, fuel blend, and transient pump fuel can distort the number. Use the engine builder’s safe target and validate under load.
Monitoring Throttle Response
Evaluate light tip-in, moderate acceleration, steady cruise, and full-load operation separately because different circuits overlap in each condition. Record when the symptom begins and ends rather than describing the entire carburetor as “rich” or “lean.”
A vacuum-secondary Holley does not prove secondary operation by free-revving in the driveway. The Street Avenger instructions explain that the engine must be under load for the secondaries to open. A paper-clip position check on the diaphragm rod, a data logger, or controlled dyno observation is more useful.
If a Quick Fuel carburetor has a Quick-Set or Quick-Link-style secondary adjustment, use the exact instruction sheet for that part. Do not assume that a half-turn or quarter-turn setting from another model is a safe baseline.
Fine-Tuning Opening Rates
| Condition | Likely Direction | Next Check |
|---|---|---|
| Bog as vacuum secondaries begin opening | They may be opening too quickly. | Try the next heavier diaphragm spring after confirming fuel level, ignition, and primary pump response. |
| Engine feels flat and secondaries open late | They may be opening too slowly. | Try the next lighter spring and retest under the same load. |
| Mechanical-secondary stumble | Secondary pump timing or volume may be inadequate. | Verify both pump systems and linkage before changing main jets. |
| AFB-style air-valve bog | The weighted air valve may be admitting secondary airflow too quickly for the engine signal. | Use the exact Carter or Edelbrock procedure; do not copy a weight or clearance from a different casting. |
Holley notes that opening vacuum secondaries too early is more harmful than holding them closed slightly longer. The goal is a smooth increase in power, not a noticeable “kick.”
Specific Techniques for Tuning Holley and Carter AFB Carburetors
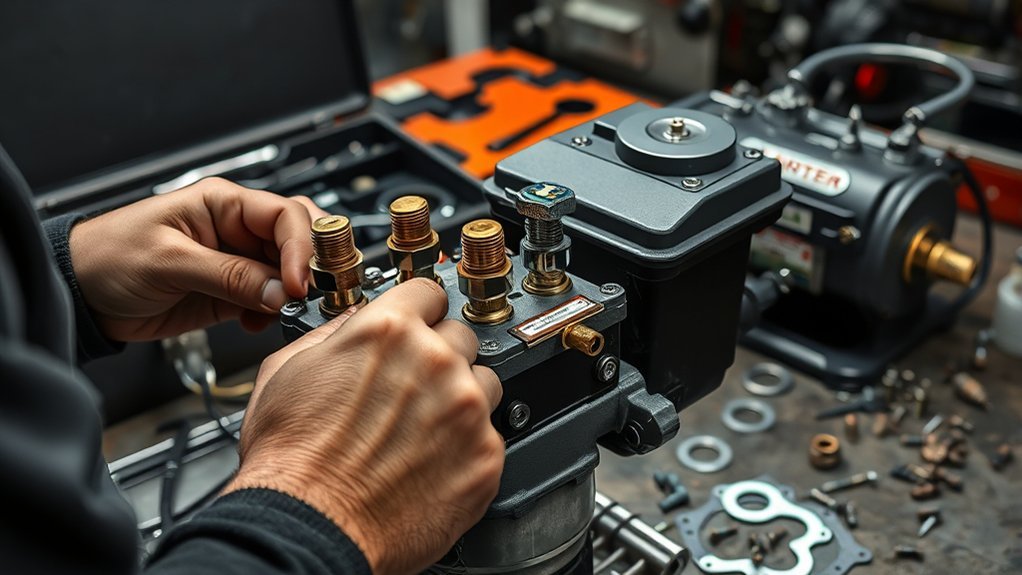
Holley and Carter AFB-style carburetors can both run well, but their calibration systems are not interchangeable. Use the carburetor’s list or part number to choose the correct manual and service parts.
Holley 4150, 4160, and Related Models
- Set fuel pressure and float level to the instruction sheet for the exact model. Some use a clear sight glass; others use the bottom edge of a removable sight hole.
- Adjust idle mixture in equal, small steps for the highest stable manifold vacuum, then reset curb idle.
- Make sure the accelerator-pump linkage moves immediately. Check the manufacturer’s wide-open-throttle clearance before changing the cam or discharge nozzle.
- Select a power valve by the applicable Holley procedure and the engine’s real manifold-vacuum behavior. Do not diagnose it from a single 2,000–2,500 rpm driveway reading.
- Tune vacuum-secondary opening under load with spring changes. A heavier spring delays opening; a lighter spring advances it.
Carter AFB and Edelbrock Performer Models
- Control fuel pressure carefully. For the Performer Series models covered by Edelbrock’s manual, 5.5 psi is the recommended regulated setting and idle pressure should not exceed 6.0 psi.
- Measure float height and drop with the air horn positioned exactly as the manual states. Do not use a Holley sight-window rule.
- Use the calibration chart for the exact part number. Primary cruise and power changes may require a different metering rod, jet, or both.
- Use step-up springs to change when the metering rods move to the power step. Match spring choice to manifold vacuum and drivability.
- Check the secondary air valve and linkage for free movement. Opening-rate changes are model-specific; an arbitrary 0.020-inch clearance or added weight is not a universal specification.
Quick Fuel Models
Many Quick Fuel carburetors use four-corner idle mixture, clear sight windows, replaceable air bleeds, and adjustable secondary-opening hardware, but the details vary. The Quick Fuel installation instructions state that the covered carburetors were set using 6.5 psi and may require idle-mixture, idle-speed, or jet changes for a different engine combination. Treat those numbers as model guidance, not a rule for every carburetor.
Altitude, Weather, and Fuel Changes
Air density falls as elevation rises, so a carburetor calibrated at low altitude usually becomes richer at higher elevation. Temperature and humidity also change air density. Recheck calibration after a large elevation change, a major seasonal change, or a switch in fuel blend.
Use the carburetor maker’s correction method. For example, the Holley Street Avenger manual suggests one jet-size reduction for each 2,000 feet of elevation increase for the models it covers, while the Edelbrock Performer manual uses a “2% leaner per 1,500 feet” guide with its calibration chart. These are not interchangeable universal formulas.
Most finished motor gasoline sold in the United States contains about 10% ethanol by volume, according to the U.S. Energy Information Administration. Verify that hoses, pump parts, floats, gaskets, and carburetor components are compatible with the fuel you use. A fuel change can affect mixture demand, hot-start behavior, storage life, and material durability.
Carburetor Tuning Troubleshooting Chart
| Symptom | Check First | Possible Next Step |
|---|---|---|
| Black smoke, fuel smell, or loading up | Choke opening, fuel pressure, float level, needle and seat, booster drip. | Correct flooding before changing jets; inspect power enrichment if the problem remains. |
| Surging or lean idle | Vacuum leaks, idle passages, fuel level, ignition stability. | Reset idle mixture after the fault is repaired. |
| Off-idle hesitation | Immediate accelerator-pump shot, pump clearance, transfer-slot exposure, timing advance. | Change pump cam or nozzle in one small step and retest. |
| Bog when secondaries open | Secondary opening rate, rear float level, primary tune, ignition under load. | Slow vacuum secondaries with a heavier spring or correct the mechanical-secondary pump system. |
| Fuel drips from boosters at idle | Excessive fuel pressure or level, debris in needle and seat, too much throttle opening. | Shut down, repair the cause, and verify transfer-slot position. |
| Hard hot restart | Flooding, choke position, heat soak, fuel boiling, leaking bowl or boosters. | Correct heat shielding, pressure, float, or needle-and-seat issues before leaning the main circuit. |
| Weak full-load power | Fuel volume, secondary opening, wideband data, ignition timing, exhaust restriction. | Tune power enrichment and main metering on a dyno or controlled load test. |
How to Confirm the Carburetor Is Tuned
A finished tune should pass more than one driveway test. Confirm the following:
- The engine starts cold with normal choke operation and starts hot without flooding.
- Hot idle is stable in the required gear and with normal accessories operating.
- The throttle returns freely to idle and reaches full opening without binding.
- Light tip-in, moderate acceleration, steady cruise, and full-load operation are smooth.
- Fuel pressure and float level remain within the exact carburetor specification.
- No fuel leaks, booster drip, vent overflow, detonation, backfire, or abnormal exhaust smoke is present.
- Wideband and load-test results stay within the safe range chosen for the engine, fuel, and intended use.
- The final jet, rod, spring, pump, timing, weather, elevation, and fuel settings are recorded for future troubleshooting.
Frequently Asked Questions
How often should I tune my carburetor?
There is no universal “every few months” schedule. Recheck it when symptoms appear, after ignition or engine changes, after a carburetor rebuild, when changing fuel type, or after a major change in elevation or weather. A stable, sealed system may need only periodic inspection and baseline verification.
What tools do I need for carburetor tuning?
Use the exact carburetor manual, screwdrivers, wrenches, a tachometer, timing light, manifold-vacuum gauge, low-pressure fuel gauge, safety glasses, wheel chocks, a fire extinguisher, and a notebook. A dwell meter is useful for breaker-point ignition, and a wideband oxygen sensor is strongly recommended for cruise and load tuning.
Can I tune my carburetor without professional help?
A careful owner can perform basic checks and idle adjustments when the fuel system is safe and the correct manual is available. Seek a qualified technician for persistent flooding, internal modifications, damaged linkage, transmission-TV cable setup, high-performance load tuning, marine fuel systems, or any job beyond your experience.
What are common signs of a poorly tuned carburetor?
Common signs include hard starting, unstable idle, stalling, hesitation, bogging, surging, black smoke, fuel odor, fouled plugs, poor fuel economy, detonation, and weak power. These symptoms can also come from ignition, vacuum leaks, low fuel delivery, choke faults, or engine wear, so test before changing calibration.
Does altitude affect carburetor tuning?
Yes. Higher elevation means lower air density, so a low-altitude calibration usually becomes richer. Follow the correction chart or jetting rule for the exact carburetor model. Do not apply one percentage or jet change to every carburetor.
What air-fuel ratio should a carbureted engine use?
There is no single safe target for every engine. The correct reading depends on fuel composition, load, combustion chamber, compression, ignition timing, cooling, sensor accuracy, and intended use. Use the engine builder’s guidance and validate cruise and full-load operation with a wideband sensor or dyno.
Can I tune a carburetor by ear?
You can use sound and feel to help set a smooth hot idle, but they are not enough for accurate load tuning. Use a vacuum gauge and tachometer for idle, then use wideband data, repeatable road tests, or a chassis dyno for cruise and full-load calibration.
Should I drill holes in the throttle plates to fix a rough idle?
Not as a general first step. Drilling permanently changes idle airflow and can create a new tuning problem. First correct timing, vacuum leaks, fuel pressure, float level, and transfer-slot exposure. Use a manufacturer-approved secondary-idle or idle-bypass adjustment when available, and leave permanent modifications to an experienced carburetor specialist.
Conclusion
Successful carburetor tuning is a controlled diagnostic process, not a search for one magic screw position or jet size. Verify the engine and ignition first, use model-specific fuel-pressure and float specifications, set the hot idle, correct transition response, and then tune cruise, power enrichment, and secondaries under load. Keep safety equipment nearby, record every change, and return to the last good baseline whenever a test makes the vehicle worse.
Sources
- Holley Street Avenger Carburetor Installation Instructions — idle-mixture, float-level, vacuum-leak, secondary-opening, and jetting procedures.
- Quick Fuel Technology Installation Instructions — model-specific fuel-pressure, float, power-valve, and setup guidance.
- Edelbrock Performer Series Carburetor Owner’s Manual — fuel pressure, metering rods and jets, altitude correction, float specifications, and troubleshooting.
- Holley: Accelerator Pump Tuning for Holley Carburetors — pump linkage, nozzle, and off-idle hesitation guidance.
- OSHA Carbon Monoxide Poisoning Fact Sheet — ventilation and gasoline-engine exhaust safety.
- U.S. EPA Enforcement Alert on Tampering and Defeat Devices — federal emissions-control tampering requirements.







Leave a Reply