
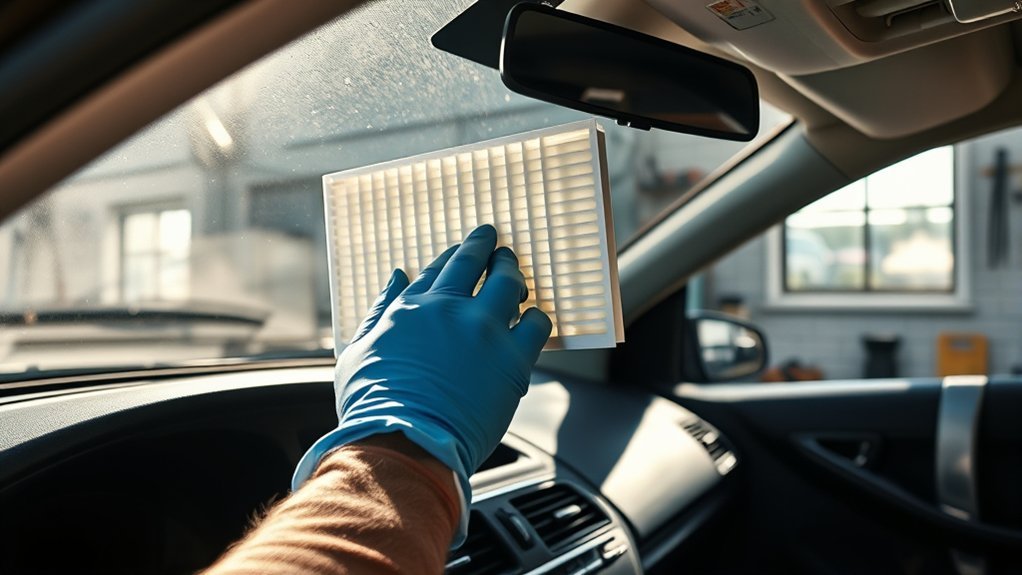
Replacing a cabin air filter is often a simple DIY maintenance job, but the correct filter, location, access method, and airflow direction depend on the vehicle. Before opening the glove box or removing trim, confirm the procedure for your exact model year and verify the replacement filter by year, make, model, engine, trim, and VIN when available. Careful preparation helps prevent broken clips, poor filter fit, and airflow problems.
Quick Answer
Most cabin air filters are simple to replace, but the location and procedure vary by vehicle. Verify the correct filter, switch off the HVAC system, open the vehicle-specific access panel, remove the old filter, match the new filter’s airflow or UP marking to the instructions, reassemble the housing, and test the blower.
Key Takeaways
- Follow your owner’s manual or maintenance schedule instead of relying on one universal replacement interval.
- Confirm the filter’s fit before installation; similar-looking filters may have different dimensions, frames, or tabs.
- An AIR FLOW arrow follows the vehicle’s airflow direction, while an UP arrow must point upward.
- Do not force the glove box, damper arm, access cover, screws, or trim clips.
- If airflow or odor problems remain after replacement, the filter may not be the only HVAC issue.
At a Glance
| Time Required | About 10–30 minutes for many vehicles; difficult under-dash or cowl-mounted filters can take longer |
| Difficulty | Easy to moderate, depending on access |
| Tools Needed | Owner’s manual, flashlight, gloves, clean cloth, and a trim tool or screwdriver only when the vehicle procedure calls for one |
| Cost | Often about $15–$50 for the filter alone; premium media, unusual fitments, and professional labor can cost more |
How to Replace Your Cabin Air Filter
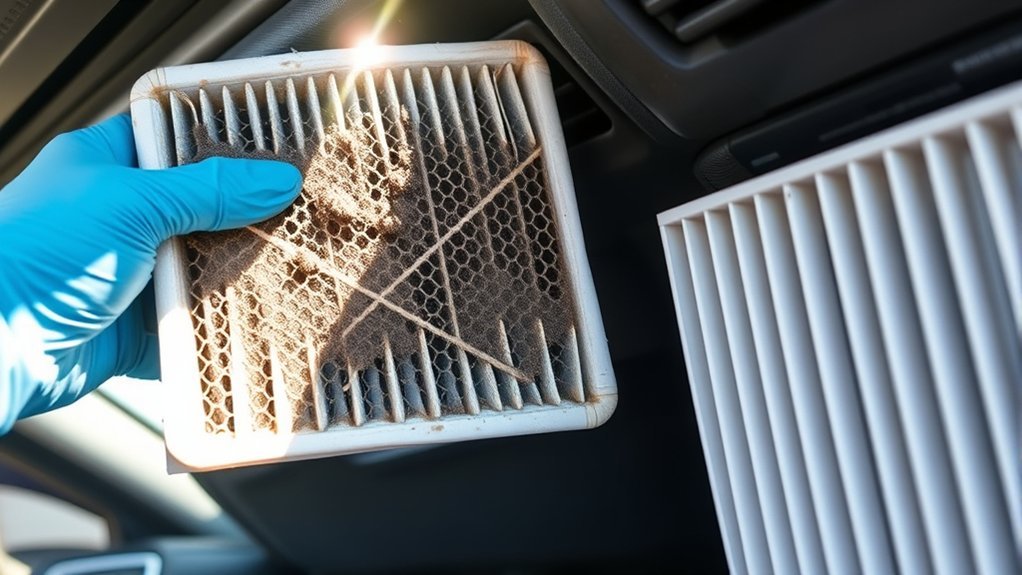
A cabin air filter removes dust, pollen, leaves, and other particles from air entering the passenger compartment through the heating and air-conditioning system. A dirty filter can restrict airflow, but the replacement procedure is not identical on every vehicle.
Many cabin filters are behind the glove box. Others are under the passenger-side dashboard, beneath a cowl panel, or inside an under-hood housing. Bosch advises checking the vehicle manual because filter locations and access procedures differ by application. See the Bosch cabin-filter installation guidance for examples of these location differences.
Warning: Switch off the blower and ignition before opening the filter housing. Do not force the glove box, damper arm, stop tabs, trim clips, wiring, or access cover. Stop and check the vehicle instructions if a part does not release with light pressure.
Before You Begin
Start with the correct information and replacement part. This is more important than finishing the job quickly.
- Confirm fitment: Match the filter to the vehicle’s year, make, model, engine, trim, and production date. Use the VIN when the catalog offers a VIN lookup.
- Read the vehicle procedure: Check the owner’s manual, maintenance guide, manufacturer service information, or instructions supplied with the filter.
- Check how many filters are required: Some vehicles use one panel, while others use two filters installed side by side or one after another.
- Inspect the new filter: Compare its length, width, thickness, frame shape, tabs, and airflow markings with the old filter before installation.
- Prepare the work area: Park on a level surface, set the parking brake, turn off the HVAC system and ignition, and empty the glove box when it must be lowered.
Note: Some older vehicles were sold without a cabin filter even though a similar model had one. Do not cut an opening or attempt a retrofit unless the vehicle manufacturer provides an approved procedure and compatible parts.
Accessing Your Cabin Filter
First, identify the filter location for your exact vehicle. The following access methods are common, but only use the one shown in your vehicle instructions.
- Behind the glove box: The glove box may lower after its side stops are pressed inward. Some designs also use a small damper arm that must be detached carefully.
- Under the dashboard: A filter door may be positioned near the passenger footwell and secured by clips or screws.
- Under the hood: The filter may sit near the base of the windshield beneath a weather strip, cowl cover, or dedicated access lid.
- Inside the center console: A few applications require removal of a side trim panel or lower console cover.
If the filter is behind the glove box, open the box and support it while releasing the stops. Do not let it drop against the hinges. If a damper arm is present, note how it attaches before disconnecting it. The glove box may only need to swing downward; complete removal is not always necessary.
Locate the filter access cover, which is often a narrow plastic panel with tabs at one or both ends. Release the tabs as shown in the vehicle procedure. If the cover uses screws, use the correct driver instead of a blade that could damage the fastener.
Pro Tip: Take a clear photo of the old filter, its markings, the access cover, and any glove-box damper before removing them. The photo gives you a reliable reference during reassembly.
Replacing Your Cabin Air Filter
Once you can reach the filter housing, work slowly enough to keep loose leaves and dust from falling into the blower area. A filter that slides out with resistance may be caught on a tab, folded edge, or second filter panel.
Tools Needed for Replacement
Many glove-box installations require no tools. Depending on the vehicle, you may need:
- A vehicle-specific replacement cabin air filter
- The owner’s manual or manufacturer instructions
- A flashlight
- Work gloves
- Safety glasses if loose debris is present
- A clean cloth or low-suction vacuum with a narrow nozzle
- A plastic trim-removal tool
- The correct screwdriver or socket for the access fasteners
- A small bag for containing the dirty filter
A flathead screwdriver should not be treated as a universal requirement. Use one only when the instructions specify it, and avoid prying directly against visible trim.
Step-by-Step Replacement Process
- Turn off the vehicle and HVAC system. Keep the blower off so it cannot pull loose debris into the system while the housing is open.
- Open the vehicle-specific access area. Lower the glove box or remove the required access panel without forcing its stops, damper, clips, or screws.
- Photograph the old filter. Capture any AIR FLOW, UP, top, front, or rear markings before moving it.
- Remove the filter carefully. Pull it straight out where possible. If the vehicle uses two pieces, note which piece comes out first and how the panels overlap.
- Inspect and clean the housing. Remove reachable leaves with a cloth or low-suction vacuum. Do not push tools deeply into the blower opening, and do not blast compressed air into the HVAC case.
- Compare the filters. Confirm that the new filter matches the old filter’s dimensions, frame, tabs, panel count, and intended seating position.
- Install the new filter in the correct direction. Follow the housing mark, owner’s manual, filter instructions, or the verified position of the old filter.
- Close the access cover. Make sure each tab or fastener is secure and the cover sits flat without pinching the filter.
- Reassemble the glove box or trim. Reconnect the damper arm and engage the stops in their original positions.
- Test the system. Start the vehicle, select fresh-air mode, and run the blower through several speeds. Listen for rubbing, fluttering, or whistling and confirm that airflow reaches the vents.
Maintenance Tips for Longevity
- Record the replacement date and odometer reading.
- Inspect the filter more often when driving on dirt roads, near construction, in wildfire smoke, in heavy traffic, or during high-pollen seasons.
- Keep the exterior cowl-air intake clear of leaves when it is safe and accessible.
- Replace a disposable filter if it is torn, wet, deformed, heavily loaded, or contaminated by rodents.
- Do not spray fragrance, cleaner, disinfectant, or oil onto a disposable filter unless its manufacturer specifically requires a treatment.
- Use the filter media specified for the vehicle; a thicker filter is not automatically a better fit.
Getting Your Filter Orientation Right
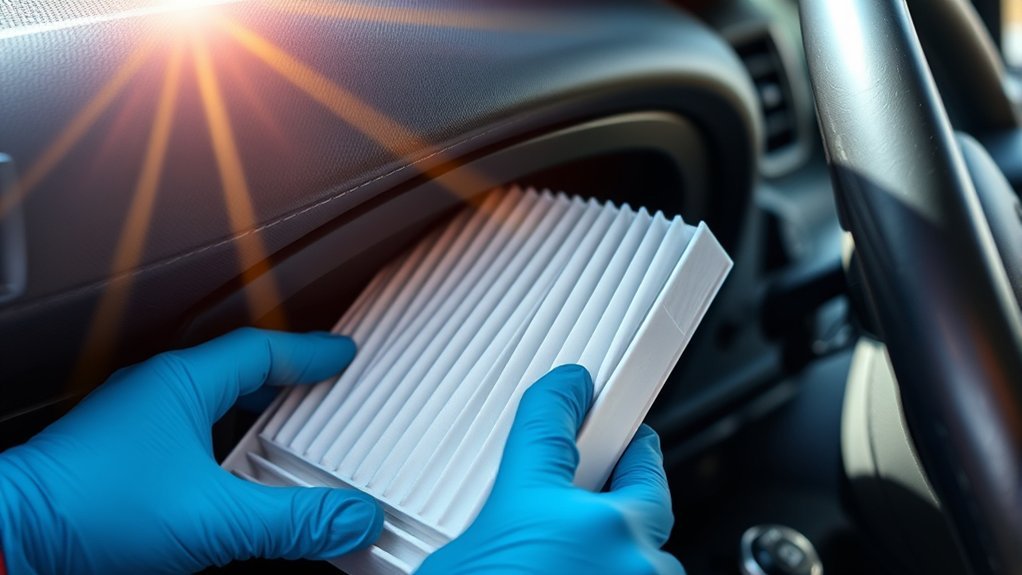
Correct orientation helps the filter fit its housing and work as designed. The original instruction that every airflow arrow should point toward the cabin is not reliable because airflow direction varies among vehicles.
Importance of Filter Orientation
A correctly installed filter should sit flat in its tray or housing, seal around its edges, and allow the access cover to close normally. An incorrect position can fold the media, leave a bypass gap, interfere with a two-piece installation, create noise, or restrict airflow.
Do not assume that a darker or dirtier side of the old filter always identifies the inlet side. Dust patterns can be uneven, and a previous installer may have fitted the filter incorrectly.
Identifying the Correct Filter Position
- AIR FLOW arrow: Point this arrow in the actual direction air moves through the housing. Follow the housing mark, vehicle instructions, or filter-specific instructions.
- UP arrow: Keep this arrow pointing upward. It describes physical orientation rather than airflow.
- TOP or FRONT marking: Position the filter according to that label.
- No marking: Match the verified old-filter position and frame shape. If the old position is uncertain, check manufacturer instructions rather than guessing.
- Two-piece filter: Follow the required order and overlap. Some second panels must slide sideways before the first panel can be seated.
“AIR FLOW” and “UP” do not mean the same thing. Read the exact wording beside the arrow before installing the filter.
Common Orientation Mistakes
- Assuming every arrow points toward the passenger compartment
- Treating an UP arrow as an airflow arrow
- Copying an old filter that may already have been installed backward
- Folding the filter to make an incorrect part fit
- Installing two filter panels in the wrong order
- Leaving the filter edge outside its guide track
- Closing the access cover while part of the filter protrudes
How Often Should You Replace a Cabin Air Filter?
There is no single replacement interval for every vehicle. Follow the maintenance schedule in the owner’s manual or the vehicle’s maintenance reminder. For example, Ford recommends 15,000–20,000 miles for many Ford models, depending on the vehicle.
Operating conditions can shorten filter life. Toyota notes in its cabin-filter owner instructions that dusty areas and heavy traffic may require earlier replacement.
Even when the scheduled interval is longer, inspecting the filter about once a year is a practical way to catch severe dirt, moisture, damage, or debris. Replace it sooner when its condition or HVAC symptoms justify replacement.
Signs of a Dirty Cabin Air Filter
A dirty filter does not always trigger a dashboard warning. Check the filter when you notice one or more of these symptoms:
- Less air from the vents at the same blower setting
- Airflow that improves when the filter is temporarily removed for inspection
- A visible layer of dust, leaves, insects, or pollen on the filter
- Whistling or fluttering near the filter housing
- Windows that take longer to clear or fog more easily in fresh-air mode
- A stale or musty odor when the blower starts
- Debris entering the vents because the filter is torn or poorly seated
Note: A new filter will not fix every odor. Persistent musty smells can come from moisture on the evaporator, a blocked drain, contaminated ductwork, or debris elsewhere in the HVAC case.
Choosing the Right Cabin Air Filter
Fit comes first. Choose a filter listed for the exact vehicle before comparing filtration features.
Particulate Filters
A standard particulate filter is designed mainly to catch dust, pollen, road debris, and similar particles. It is often the closest replacement for a basic factory filter and usually offers a good balance of airflow, filtration, and price.
Activated-Carbon Filters
Activated-carbon or carbon-enhanced filters add odor-absorbing media. They can help reduce some traffic, smoke, and outdoor odors, but they cannot remove every gas or correct an odor caused by a dirty evaporator or HVAC leak.
HEPA-Grade Filters
Some vehicle-specific filters use high-efficiency media. Bosch states that its HEPA cabin-filter line is tested to ISO 29463-3. Confirm that a high-efficiency filter is approved for your application because media thickness and airflow resistance can differ.
Reusable Filters
Most original-equipment-style paper or nonwoven filters are disposable and should not be washed. However, purpose-built washable filters are available. For example, K&N identifies its cabin filters as washable and reusable. Clean a filter only when its manufacturer explicitly approves washing and provides a procedure.
Cost: DIY Cabin Filter Replacement vs. Professional Service
DIY replacement can avoid a labor charge, but the original article’s exact $19.67 part price, $57.99 service price, and $38.30 savings should not be treated as general figures. Actual cost depends on the vehicle, filter media, supplier, local labor rate, and access difficulty.
A basic replacement filter for a common vehicle may cost about $15–$50. Activated-carbon, HEPA-grade, reusable, original-equipment, or unusual multi-panel filters may cost more. Professional service adds labor and may be priced as part of a maintenance package.
Before approving professional replacement, ask for:
- The filter brand and part number
- The separate parts and labor charges
- Whether the quote includes only the filter or also an HVAC cleaning service
- Whether the vehicle requires unusual trim, cowl, or under-dash removal
- The reason replacement is recommended, including the old filter’s condition
Professional replacement can be worthwhile when access requires extensive trim removal, the filter is near sensitive wiring, the housing is damaged, or you are not comfortable releasing the glove-box components.
Maintaining Your Cabin Air Filter for Better Performance
A cabin filter normally requires inspection and replacement rather than routine cleaning. Keep a maintenance record and inspect the filter sooner when driving conditions expose it to heavy dust, smoke, pollen, leaves, or urban pollution.
To support reliable HVAC airflow:
- Use a filter with the correct dimensions and frame design.
- Seat every edge inside its guide or tray.
- Close the access cover fully so unfiltered air cannot bypass the housing.
- Keep the outside air-intake area clear of loose leaves when safely accessible.
- Replace a wet, moldy, torn, collapsed, or rodent-damaged disposable filter.
- Follow the specified cleaning and drying procedure for a washable filter.
- Recheck the installation if a new noise begins immediately after replacement.
Troubleshooting After Replacement
The New Filter Will Not Fit
Do not bend, cut, or crush the filter. Recheck the part number, vehicle trim, production date, panel count, frame shape, and installation direction. Make sure an old filter frame or removable tray is not still inside the housing.
The Access Cover Will Not Close
Remove the filter and confirm that it is fully seated in its tracks. Check for a folded pleat, protruding seal, reversed tray, trapped leaf, or incorrectly positioned second panel.
The Blower Makes a New Noise
Turn the blower off and inspect the installation. A loose filter, open cover, leaf in the blower area, or incorrectly seated edge can cause fluttering, ticking, or whistling.
Airflow Is Still Weak
Confirm that the filter is not excessively restrictive or installed incorrectly. If airflow remains weak, the cause may involve the blower motor, blower resistor or control module, blocked evaporator, mode door, duct, or another HVAC fault. A qualified technician can diagnose the system.
The Odor Remains
Verify that the filter is new and correctly seated. Persistent odor may require inspection of the evaporator, condensate drain, fresh-air intake, ductwork, carpet, or evidence of rodents. Avoid spraying unapproved chemicals into the housing.
Frequently Asked Questions
How often should I replace my cabin air filter?
Follow the interval in your owner’s manual or maintenance reminder. Many schedules fall somewhere around 12,000–30,000 miles or one to two years, but the correct interval is vehicle-specific. Inspect it sooner when you drive in dust, smoke, heavy traffic, construction areas, or high pollen.
What symptoms indicate a clogged cabin air filter?
Common signs include reduced vent airflow, visible dirt, slow window clearing, a new whistle near the housing, or a stale odor when the blower starts. These symptoms can have other causes, so inspect the filter before assuming it is the only problem.
Can I wash and reuse my cabin air filter?
Do not wash a standard disposable cabin filter. Water can damage its media, frame, or electrostatic treatment. A filter may be washed only when its manufacturer identifies it as reusable and supplies specific cleaning, drying, and retreatment instructions.
Are there different types of cabin air filters?
Yes. Common choices include basic particulate filters, activated-carbon filters for added odor control, vehicle-specific HEPA-grade filters, and washable reusable filters. Confirm exact fitment and vehicle compatibility before choosing a different media type.
Does replacing the cabin air filter affect HVAC performance?
Replacing a heavily clogged filter can restore airflow and help the heating and air-conditioning system move air more freely. It will not repair a weak blower motor, refrigerant problem, blocked evaporator, faulty door actuator, or other HVAC defect.
Where is the cabin air filter located?
It may be behind the glove box, under the passenger-side dashboard, beneath the windshield cowl, or in an under-hood housing. Check the owner’s manual or a manufacturer procedure for your exact vehicle before removing trim.
Which way should the cabin air filter arrow point?
An AIR FLOW arrow must point in the vehicle’s actual airflow direction, as shown by the housing or instructions. An UP arrow must point upward. Do not assume that every arrow points toward the cabin or toward the floor.
Conclusion
Replacing a cabin air filter can be a quick and affordable DIY task when you use the correct filter and follow the procedure for your exact vehicle. Confirm the location and fitment, turn off the HVAC system, protect fragile trim, record the old filter’s position, and distinguish an AIR FLOW arrow from an UP arrow. After reassembly, test the blower and investigate further if weak airflow, noise, or odors remain.
Sources
- Ford: When Should I Change the Cabin Air Filter? — model-dependent replacement intervals and severe-use conditions
- Toyota Owner’s Manual: Air-Conditioning Filter — replacement procedure and earlier replacement in dusty or high-traffic conditions
- Bosch Workshop Cabin Filters — location differences, installation guidance, and manual verification
- Bosch HEPA Cabin Filters — HEPA-grade automotive filter specifications and testing standard
- K&N Washable Cabin Air Filters — evidence that purpose-built reusable cabin filters are available







Leave a Reply