
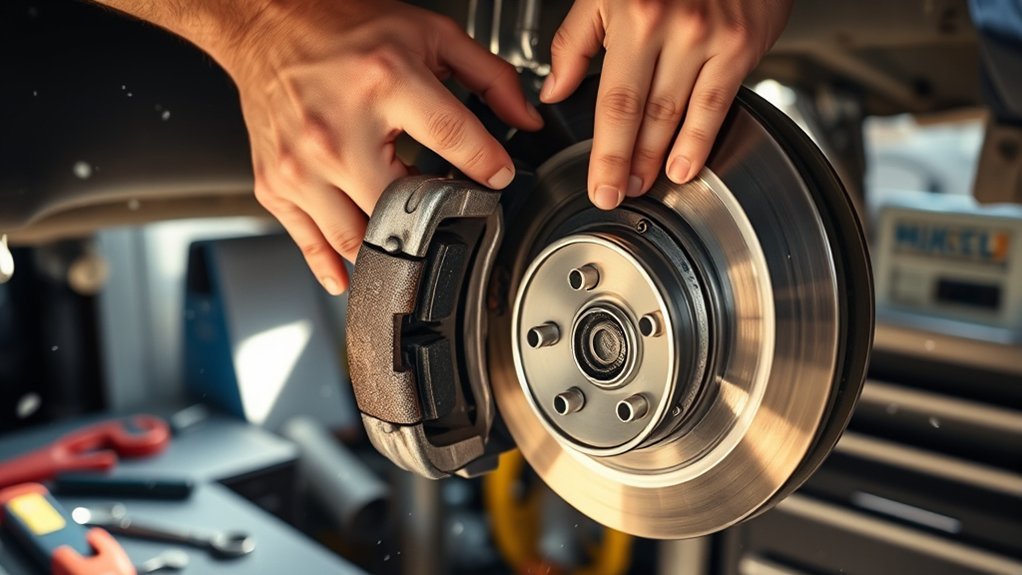
Replacing brake pads can restore safe, predictable braking, but it is not a one-size-fits-all repair. Caliper designs, electronic parking brakes, torque values, wear limits, and bedding procedures vary by year, make, model, trim, and axle. Use this guide with the factory service information for your exact vehicle, and stop if any step differs from the approved procedure.
Quick Answer
To replace brake pads safely, verify the vehicle-specific procedure, support the vehicle on jack stands, replace pads on both wheels of the same axle, inspect the rotors and calipers, use brake-specific lubricant only where approved, torque every fastener to specification, restore pedal pressure, and complete the pad maker’s bedding procedure.
Key Takeaways
- There is no universal brake-pad replacement mileage. Inspect the pads at the intervals listed for your vehicle and replace them at the specified wear limit or when a wear indicator activates.
- Never work under a vehicle supported only by a jack, and never let a caliper hang from its brake hose.
- Rear brakes may require a screw-in piston tool, electronic parking-brake service mode, a scan tool, or another model-specific procedure.
- Keep grease, brake fluid, and dirty hands away from pad and rotor friction surfaces.
- After assembly, pump the pedal until firm, check for leaks, torque the wheels correctly, test at low speed, and follow the pad manufacturer’s bedding instructions.
At a Glance
| Time Required | Several hours for a first-time DIYer; longer if hardware is seized or rotors need service |
| Difficulty | Intermediate; safety-critical work requiring vehicle-specific instructions |
| Tools Needed | Wheel chocks, floor jack, jack stands, lug wrench, sockets, torque wrench, caliper piston tool, support hook, measuring tools, and approved cleaning supplies |
| Cost | Varies by vehicle, pad formulation, axle, hardware, rotor condition, and whether specialized tools are required |
Warning: Brakes are safety-critical. Do not attempt this repair without the correct service information, tools, lifting points, and torque specifications. If the pedal remains soft, a leak is present, a piston will not retract correctly, or the vehicle requires programming you cannot perform, have the vehicle repaired by a qualified technician.
Before You Start: Verify the Exact Brake Procedure
Look up the factory service procedure by VIN, model year, trim, brake package, and axle. The same model may use different calipers, rotor sizes, wear sensors, bolts, or electronic parking-brake systems. Confirm all of the following before buying parts or lifting the vehicle:
- The correct brake pad part number and hardware kit
- Whether pads must be replaced with matching rotors or wear sensors
- Minimum pad and rotor thickness specifications
- Caliper, bracket, guide-pin, and wheel fastener torque values
- Whether any fasteners are single-use
- The approved piston retraction method
- Electronic parking-brake service-mode and initialization steps, if equipped
- The specified brake fluid and bedding procedure
Brake pads should normally be replaced as a complete set on the same axle so braking remains balanced. Do one side at a time when practical, leaving the other side assembled as a reference.
When You Should Not Do This Job Yourself
Use a professional repair shop if you do not have stable jack stands, a torque wrench, the correct piston tool, or reliable service information. Professional help is also the safer choice when you find leaking fluid, a torn piston boot, a seized caliper, damaged brake hoses, cracked rotors, severe rust, broken bleeder screws, an unstable pedal, or an electronic parking brake that requires a scan tool.
When Should Brake Pads Be Replaced?
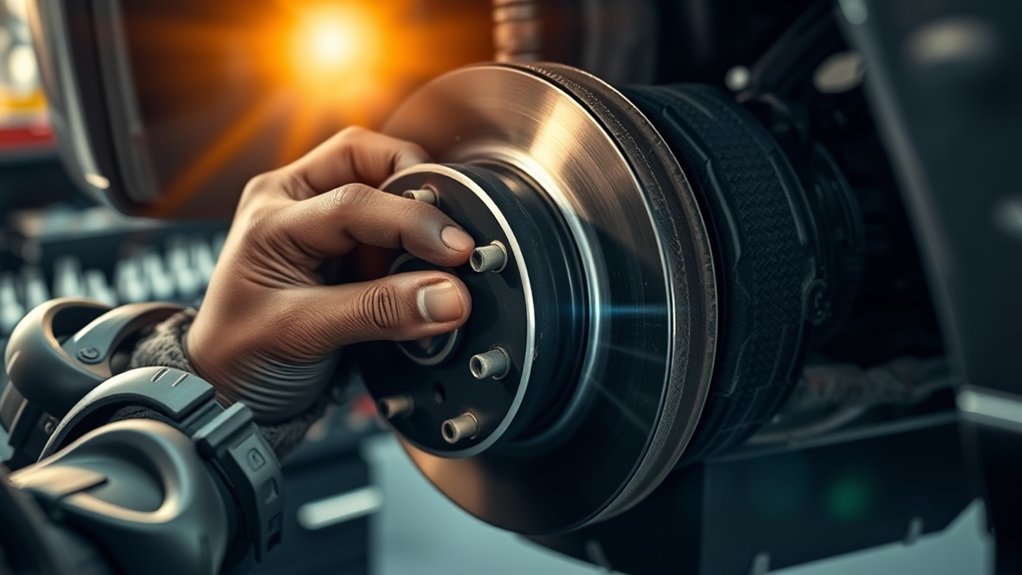
Brake-pad life changes with vehicle weight, driving style, traffic, terrain, towing, corrosion, pad formulation, and regenerative braking. A fixed interval such as 30,000 to 60,000 kilometers is only a rough range, not a replacement rule. Some manufacturers call for brake inspection during scheduled maintenance rather than replacement at a preset mileage. For example, Honda’s current Maintenance Minder instructions include front and rear brake inspection as a service item. Follow the schedule and wear limit for your vehicle.
Honda’s 2026 Maintenance Minder guidance lists brake inspection as a maintenance service item, illustrating why condition and manufacturer instructions matter more than a universal mileage number.
Common Signs of Worn or Faulty Brakes
- A wear-warning light or brake-pad life message
- A repeated metallic squeal from a mechanical wear indicator
- Grinding, scraping, or metal-on-metal noise
- Reduced braking response or longer stopping distance
- Pulling to one side during braking
- Pedal pulsation or steering-wheel vibration
- One pad wearing much faster than the matching pad
- Visible friction material at or below the service limit
Not every squeak means the pads are worn, but grinding, a warning light, fluid leakage, or a sudden change in pedal feel deserves immediate inspection. Measure the friction material itself, not the steel backing plate. Although some pad makers use 2 to 3 mm as a replacement point, your vehicle or brake manufacturer’s specification controls.
Replace brake pads based on measured wear, warning indicators, condition, and the vehicle’s service specification—not mileage alone.
Brake Pad Materials and Part Selection
Passenger vehicles commonly use non-asbestos organic, ceramic, or semi-metallic formulations. Ceramic pads are often chosen for low noise and cleaner-looking wheels, while semi-metallic pads can suit higher-heat or heavier-duty applications. These are tendencies, not guarantees. Friction compounds are engineered for specific vehicles, and the best choice is a pad approved for your exact application and driving needs.
OEM pads are designed around the vehicle manufacturer’s noise, pedal-feel, durability, and performance targets. A reputable aftermarket pad can also perform well when it matches the application and required standards. Avoid choosing by material name or price alone. Verify fitment, brake package, axle, wear-sensor requirements, and any rotor compatibility instructions.
Tools and Materials for Brake Pad Replacement
- Vehicle owner’s manual and model-specific service procedure
- Correct replacement pads, clips, shims, and wear sensors
- Wheel chocks
- Floor jack with adequate capacity
- Rated jack stands
- Lug wrench or breaker bar
- Correct sockets, hex bits, or Torx bits
- Torque wrench covering the required torque range
- Caliper piston compressor, spreader, C-clamp, or screw-in tool specified for the caliper
- Electronic parking-brake service tool or scan tool, if required
- Caliper support hook or strong bungee cord
- Micrometer or brake rotor measuring tool
- Brake-pad thickness gauge or ruler
- Approved brake cleaner and damp disposable wipes
- Brake-specific high-temperature lubricant approved for the application
- Safety glasses, protective gloves, and suitable work clothing
- Drain syringe or clean suction tool for excess reservoir fluid, if the service procedure calls for it
Note: A basic C-clamp is not correct for every caliper. Some rear pistons must be rotated while being pressed, and electronic parking-brake calipers may need service mode before any piston movement.
How to Replace Brake Pads Step by Step
1. Prepare the Work Area
Park on a dry, level, solid surface. Put the transmission in Park or in gear as specified, switch the vehicle off, remove the key or disable keyless starting, and chock the wheels that will remain on the ground. Follow the vehicle instructions for the parking brake. If you are servicing rear brakes with an electronic parking brake, do not apply or release it casually; enter the approved service mode first.
Wear eye protection and gloves. Keep children, pets, ignition sources, and unnecessary people away from the work area. Place all new parts beside the matching old parts so you can compare shape, clips, shims, sensors, and orientation.
Warning: Brake dust may contain asbestos or other harmful particles. The U.S. EPA advises against using compressed air, a dry rag, a dry brush, or a normal shop vacuum to clean brake assemblies. Use approved wet-cleaning or dust-control practices and dispose of contaminated wipes according to local rules.
Review the EPA’s current brake and clutch dust guidance before cleaning an older or unknown brake assembly.
2. Loosen the Wheel Fasteners
With the vehicle still on the ground, loosen each lug nut or wheel bolt slightly. Do not remove them yet. If the wheels use locking hardware, make sure the correct key is fully seated to prevent damage.
3. Lift and Support the Vehicle
Place the jack only at an approved lifting point. Raise the vehicle, position rated jack stands at the specified support points, and lower the vehicle onto the stands. Give the vehicle a careful stability check without putting any part of your body underneath it.
Warning: Never work on or reach beneath a vehicle supported only by a hydraulic or scissor jack.
4. Remove the Wheel and Inspect the Assembly
Remove the wheel fasteners and wheel. Before disassembly, photograph or note the positions of pads, clips, springs, shims, wear sensors, and directional markings. Check the brake hose for cracks, wetness, twisting, or chafing. Look for fluid around the caliper piston, bleeder, hose fittings, and inside the wheel.
Compare inner and outer pad thickness. A large difference can point to seized guide pins, a sticking piston, a restricted hose, or pads binding in the bracket. Correct the cause before installing new pads.
5. Check the Brake Fluid Reservoir
Clean around the reservoir cap so dirt cannot enter. Check the fluid level before retracting the piston because the level usually rises as fluid returns to the reservoir. Follow the service procedure on whether to loosen or remove the cap. If the reservoir is already near MAX, remove only enough fluid with a clean tool to prevent overflow.
Brake fluid can damage paint and irritate skin and eyes. Protect painted surfaces, avoid contamination, and clean any spill immediately according to the fluid and vehicle manufacturer’s instructions. Do not automatically top up a low reservoir before finding the cause; low fluid can indicate worn pads or a leak.
6. Retract the Caliper Piston Correctly
Use the specified piston tool and apply steady, even pressure. Watch the reservoir level while the piston moves. Do not force a piston that is cocked, seized, or supposed to rotate. On multi-piston calipers, control all pistons so one does not push outward while another is compressed.
For a rear caliper with an integrated parking brake, follow the exact mechanical or electronic reset procedure. Incorrectly forcing the piston can damage the adjuster or actuator. If the service procedure requires a scan tool or initialization routine, complete it exactly as written.
7. Remove the Caliper and Old Pads
Remove the correct guide-pin or caliper fasteners. Swing or lift the caliper away without opening the hydraulic system. Suspend it from a solid suspension point with a caliper hook or bungee cord.
Warning: Never allow the caliper to hang from the flexible brake hose. Stretching, kinking, or twisting the hose can cause internal or external damage.
Remove the old pads, shims, clips, and wear sensor as the service procedure allows. Springs and clips may be under tension, so release them in a controlled way. Do not press the brake pedal while the caliper is off the rotor unless the manufacturer’s procedure specifically requires it.
8. Inspect and Prepare the Rotors, Caliper, and Hardware
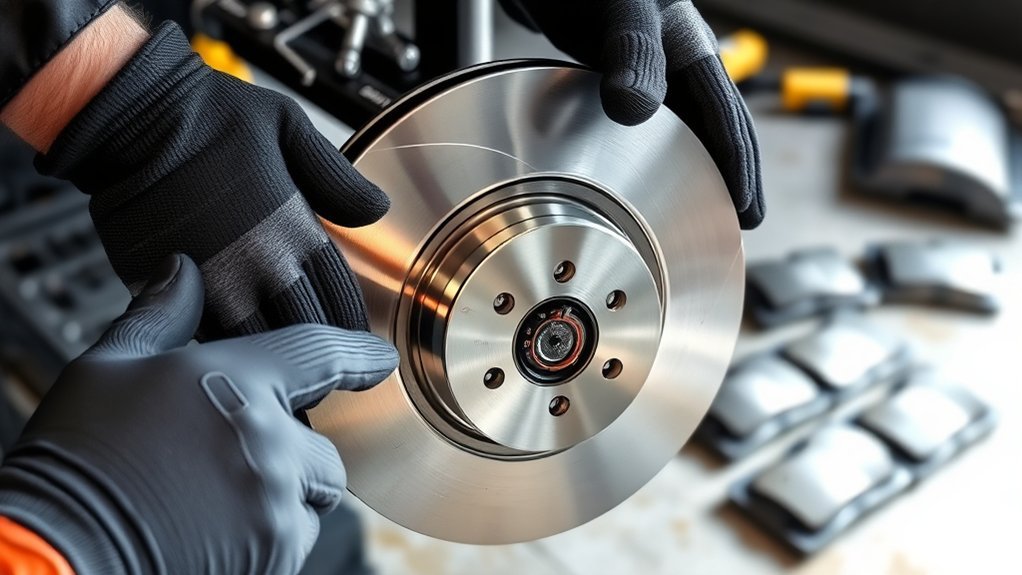
Inspect both rotor faces for deep scoring, cracks, heavy rust, heat spots, a pronounced wear lip, or friction-material deposits. Measure rotor thickness at several points with the correct tool and compare the smallest reading with the minimum specification. Check runout when the service information calls for it. Replace or machine rotors only when the vehicle and rotor manufacturer permit it, and service both rotors on the axle as required.
Check caliper guide pins for free movement, corrosion, torn boots, and correct lubricant. Replace damaged boots or corroded hardware. Clean the bracket and pad abutment areas with approved products and dust-control methods. The new pads must move freely in their seats without being loose.
If a rotor must be removed and is rusted to the hub, use the model-specific removal method. Penetrant may be used only where permitted and must not contaminate friction surfaces, studs, wheel-seat surfaces, or rubber parts. Use threaded extraction holes when provided. Avoid striking or damaging the rotor, hub, wheel bearing, or studs.
9. Install New Hardware and Brake Pads
Install new clips, shims, springs, and wear sensors supplied for the application. Match directional arrows, left/right markings, chamfers, and sensor positions to the instructions. The friction material must face the rotor.
Use only the brake-specific lubricant approved by the vehicle, caliper, or pad manufacturer. Apply a thin amount only to specified metal-to-metal contact points, such as pad ears, abutment clips, guide pins, or the pad backing plate when expressly directed. Do not use a blanket coating of anti-seize.
Warning: Never put grease, anti-seize, oil, brake fluid, or dirty cleaner residue on the pad friction material or rotor braking surfaces. Replace a contaminated pad rather than trying to clean it.
Brembo’s brake pad installation guidance likewise limits grease to approved locations and stresses correct pad direction, hardware placement, torque, pedal restoration, and low-speed testing.
10. Reinstall and Torque the Caliper
Position the caliper without pinching the piston boot or twisting the hose. Install the correct fasteners and any required new locking bolts. Tighten guide pins, caliper bolts, and bracket bolts to the exact manufacturer torque with a calibrated torque wrench. Do not guess and do not use impact tools for final tightening.
Confirm that clips are seated, sensor wiring follows its original route, the pads can move correctly, and the rotor turns as expected. A small amount of pad drag may be normal, but the wheel should not be locked by an incorrectly seated pad or parking-brake mechanism.
11. Repeat on the Other Side of the Axle
Replace the pads on the opposite wheel of the same axle. Compare the second side with the first and investigate uneven wear. Do not mix old and new pads on one axle or combine incompatible friction formulations.
12. Reinstall the Wheels
Clean rust and debris from the wheel-to-hub mounting faces without removing metal or applying unapproved lubricant. Install the wheel and start every fastener by hand. Snug the fasteners in the manufacturer’s sequence, lower the vehicle enough to prevent wheel rotation, and torque them in stages to the exact specification.
After the vehicle is fully lowered, remove the chocks only when it is safe to do so. Recheck that tools, drain syringes, and loose hardware are out of the engine bay and wheel areas.
13. Restore Pedal Pressure and Check the System
Before moving the vehicle, slowly press and release the brake pedal several times until it becomes firm and pedal travel stabilizes. This seats the pads against the rotors. Check the reservoir level again and inspect every serviced area for leaks. Use only new fluid of the specified grade if an adjustment is required.
If the pedal stays soft, sinks under steady pressure, or travels unusually far, do not drive. Reinspect the installation. If the hydraulic system was opened, it must be bled using the approved sequence and equipment; some ABS or brake-by-wire systems require a scan tool.
14. Test the Brakes and Bed the Pads
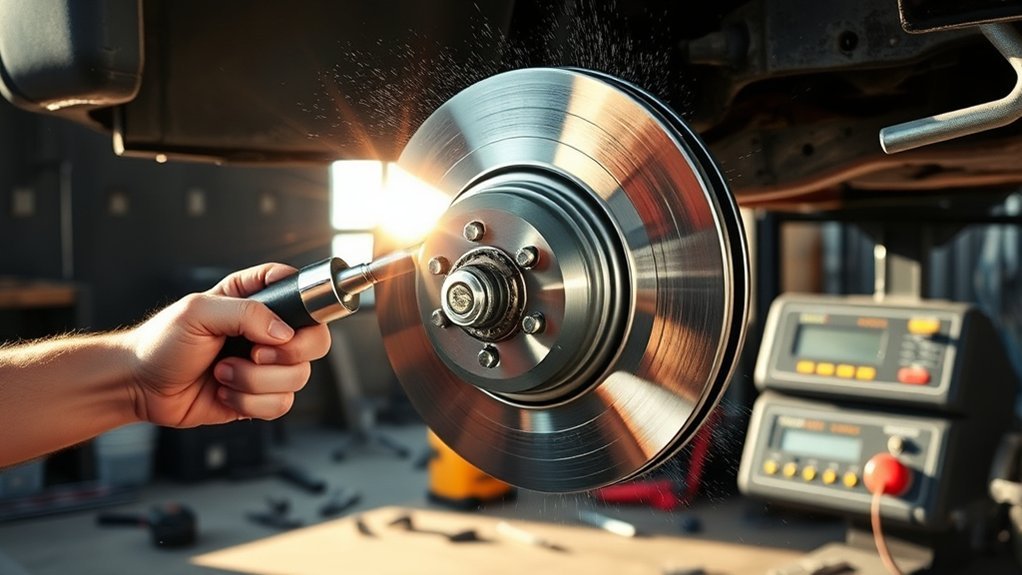
Test in a traffic-free area at walking speed first. Confirm that the vehicle stops straight, the pedal is firm, and there are no leaks, warning lights, scraping sounds, or abnormal vibrations. Increase speed gradually only after the first checks pass.
Follow the bedding instructions supplied with the pads and rotors. Bedding procedures differ. Some manufacturers call for a series of controlled stops and cool-down driving, while some vehicle manuals advise avoiding hard braking for an initial distance. Do not combine procedures or improvise aggressive stops on public roads.
For example, PowerStop publishes product-specific stop and cool-down sequences, while Honda’s 2026 Passport guidance advises avoiding hard braking for the first 200 miles (300 km) after pad or rotor replacement. The correct instruction is the one for your vehicle and installed parts.
Pro Tip: Record the date, mileage, pad brand and part number, measured rotor thickness, torque specifications used, and any wear pattern you found. These notes make the next inspection faster and can reveal a recurring caliper or alignment problem.
Common Brake Pad Replacement Mistakes
- Using a mileage number as the only trigger: inspect and measure the brakes instead.
- Working under a jack: always support the vehicle on approved jack stands.
- Forcing the piston: verify whether it presses, turns, or requires electronic service mode.
- Ignoring reservoir level: piston retraction can overflow brake fluid onto paint.
- Letting the caliper hang: support it so the hose is not stretched or kinked.
- Cleaning with compressed air: this can spread hazardous brake dust.
- Using anti-seize everywhere: use only approved brake lubricant at specified contact points.
- Greasing friction surfaces: contamination can reduce braking and may require pad replacement.
- Reusing damaged or single-use hardware: replace it as directed.
- Skipping rotor measurements: new pads cannot correct an undersized, cracked, or badly damaged rotor.
- Replacing only one side: pads are normally replaced as an axle set.
- Guessing torque: incorrect caliper or wheel torque can cause loosening, damage, or brake problems.
- Driving before pumping the pedal: the first pedal application may otherwise travel dangerously far.
- Using a universal bedding rule: follow the exact pad, rotor, and vehicle instructions.
Maintaining Brake Pads for Longer Life
Inspect the brakes at the interval in the owner’s manual or maintenance system and whenever a wheel is removed. Check pad thickness, wear balance, rotor condition, guide-pin movement, boots, hoses, fluid level, and warning indicators.
Smooth driving can reduce wear. Leave more following distance, anticipate stops, avoid riding the brake pedal, and use appropriate lower gears or regenerative braking on long descents as the owner’s manual allows. Towing, mountain driving, heavy traffic, corrosion, and high vehicle weight can shorten service life.
Use quality, application-approved pads and hardware. Correct fit, clean contact points, free-moving guide pins, sound boots, properly torqued wheels, and a completed bedding procedure help prevent uneven wear, noise, and vibration.
Brake Problems After Pad Replacement
Soft or Long Brake Pedal
Stop driving. Make sure the pedal was pumped until firm, the caliper is assembled correctly, and no leak is present. A pedal that remains soft may indicate air in the system, a hydraulic fault, incorrect piston adjustment, or another problem that requires professional diagnosis.
Vehicle Pulls to One Side
Check for a sticking piston or guide pin, a twisted hose, contaminated friction material, unequal pad fit, or a rotor problem. Tire pressure and suspension faults can also contribute. Do not continue normal driving until the cause is found.
Grinding or Scraping
Stop and inspect immediately. Possible causes include a reversed pad, missing hardware, a backing plate contacting the rotor, a foreign object, an incorrectly seated spring, or a severely damaged rotor.
Squeal After Installation
Some temporary noise can occur during bedding, but persistent squeal may come from incorrect pad orientation, missing shims, contaminated surfaces, binding pads, poor rotor finish, or unsuitable friction material. Verify every installation detail before adding any lubricant.
Pedal Pulsation or Steering-Wheel Vibration
Check rotor thickness variation, runout, rust or debris between the hub and rotor, uneven wheel torque, and uneven pad deposits. Do not assume every vibration means a “warped” rotor.
Brake or Parking-Brake Warning Light
Do not ignore it. Recheck fluid level, wear-sensor connections, electronic parking-brake service-mode exit, initialization steps, and stored faults. A scan tool or qualified technician may be required.
Frequently Asked Questions
How often should I check my brake pads?
Follow the maintenance schedule or maintenance reminder for your exact vehicle. Also inspect the pads whenever a wheel is removed and whenever you notice noise, pulling, vibration, a warning light, reduced braking, or an unusual pedal. Replacement should be based on the specified wear limit and condition, not mileage alone.
Can I replace brake pads without professional help?
An experienced DIYer can replace pads on some vehicles, but only with stable lifting equipment, the correct piston tool, a torque wrench, and model-specific instructions. Use a professional if the vehicle has a procedure you cannot complete, an electronic parking brake requiring a scan tool, a hydraulic leak, seized components, or an unstable pedal.
What signs indicate I need new brake pads?
Common signs include a wear-warning light, repeated metallic squeal, grinding, low measured friction material, reduced braking, or uneven wear. Pulling, vibration, and a soft pedal can indicate broader brake problems and should not be treated as pad wear alone.
Are aftermarket brake pads as good as OEM pads?
Reputable aftermarket pads can perform well when they are approved for the exact application and suit the vehicle’s weight, brake package, and use. OEM pads are engineered around the original vehicle’s performance, noise, and pedal-feel targets. Compare fitment, certification, hardware, warranty, and manufacturer instructions rather than choosing by price alone.
How much does brake pad replacement typically cost?
There is no reliable universal price. Cost changes with the vehicle, axle, pad formulation, labor rate, wear sensors, hardware, rotor condition, and electronic service requirements. Ask for a written estimate that separates pads, hardware, rotors, labor, shop supplies, and taxes.
Do I have to replace brake pads on both sides?
Yes, brake pads are normally replaced as a complete set on both wheels of the same axle. Replacing only one side can create unequal friction, braking imbalance, and inconsistent wear. Investigate any large side-to-side difference before installing the new set.
Do rotors always need replacement with new brake pads?
Not always. The rotors must be measured and inspected. They may be reusable if they remain above minimum thickness, meet runout and surface requirements, and are free of cracks or serious damage. Replace or machine them only as the vehicle and rotor manufacturer permit, and service both sides of the axle consistently.
Conclusion
A safe brake pad replacement depends on careful inspection and exact vehicle-specific information. Support the vehicle correctly, control brake dust, use the proper piston procedure, keep friction surfaces clean, replace pads as an axle set, measure the rotors, and torque every fastener to specification. Before driving, restore a firm pedal, check for leaks, perform a low-speed test, and complete the approved bedding procedure. When anything feels uncertain or abnormal, stop and have the braking system inspected professionally.
Sources
- Brembo: Instructions for Disassembly and Installation of Brake Pads — installation safety, piston retraction, lubrication, torque, pedal checks, testing, and wear guidance
- Brembo: Directional Brake Pads — arrows, chamfers, contact-point lubrication, and correct pad orientation
- U.S. Environmental Protection Agency: Brake and Clutch Repair Dust Practices — asbestos risk and approved dust-control precautions
- Honda 2026 HR-V Owner’s Manual: Maintenance Minder — scheduled front and rear brake inspection
- Honda 2026 Passport Owner’s Manual: Starting to Drive — initial brake break-in guidance
- PowerStop: Brake Pad Break-In Procedure — example of product-specific bedding and cool-down instructions







Leave a Reply