
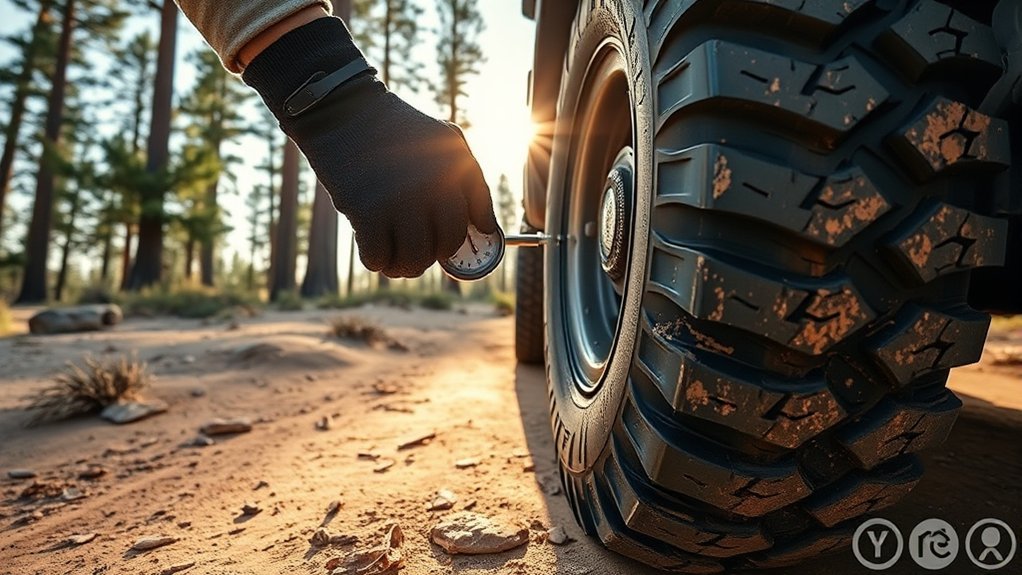
Airing down means lowering tire pressure for slow off-road travel so the tread can spread and the sidewall can flex over rough or loose ground. Done carefully, it can improve traction, flotation, and ride comfort. Done carelessly, it can cause poor handling, heat buildup, rim damage, or a tire bead that slips off the wheel.
Quick Answer
Start by checking your cold road pressure, tire type, vehicle load, and wheel setup. For firm dirt, a reduction of about 15% to 20% is a reasonable first test. Lower pressure only in small steps, drive slowly, watch for sidewall bulge or tire squirm, and reinflate before returning to pavement.
Key Takeaways
- There is no universal off-road PSI. The safe pressure depends on tire construction, wheel width, vehicle weight, axle load, speed, and terrain.
- Use the driver-door placard or owner’s manual for normal road pressure, not the maximum pressure molded into the tire sidewall.
- Reduce pressure in small steps and keep left and right tires on the same axle matched.
- Very low pressure increases the risk of bead unseating, sidewall damage, rim strikes, and heat buildup.
- Carry an accurate gauge and a compressor capable of reinflating every tire before pavement travel.
At a Glance
| Time Required | About 10–20 minutes to air down and 15–30 minutes to reinflate, depending on tire size and compressor output |
| Difficulty | Easy, but pressure selection requires judgment |
| Tools Needed | Accurate tire gauge, controlled deflator or valve tool, portable compressor, valve caps, and a full-size spare or repair kit |
| Cost | Varies; a basic gauge and deflator cost less than a high-output compressor setup |
What Is Airing Down and Why Is It Important for Off-Roading?
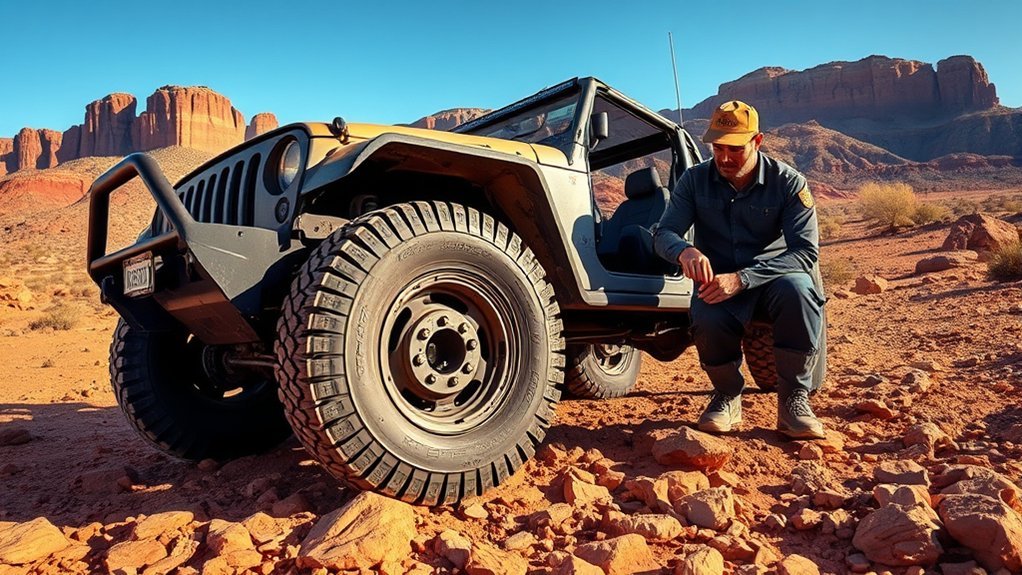
When you air down, you release some air from each tire before entering an off-highway trail. The lower pressure lets the tire flex more and lengthens its contact patch. That can improve traction on loose sand, uneven rock, mud, gravel, and deep off-road snow while reducing the harshness of bumps.
Airing down is a controlled, low-speed trail technique—not a replacement for the vehicle manufacturer’s road-pressure recommendation.
BFGoodrich’s off-road guidance confirms the main benefit but also warns that there is no single correct pressure for every setup. Tire type, terrain, temperature, vehicle weight, and wheel design all matter.
Warning: Never drive at normal road or highway speed on aired-down tires. Low pressure reduces sidewall stiffness, increases heat and tire squirm, and can lead to loss of control or tire damage. Reinflate before returning to pavement.
Benefits of Airing Down for Off-Roading Performance
The main benefits are better flotation, a more compliant tire, and a smoother low-speed ride. The gains are real, but they come with tradeoffs that should be understood before pressure is reduced.
Enhanced Traction on Loose or Uneven Terrain
Lower pressure increases the tire’s footprint and helps the tread remain in contact with irregular surfaces. In sand, the longer footprint can reduce digging. On rocks, additional flex helps the tread wrap around edges. In mud, pressure changes may help, but tread design, mud depth, throttle control, and vehicle weight still determine whether the tires clear mud or spin.
Traction does not improve forever as pressure falls. Once a tire becomes too soft, steering response worsens, the sidewall folds, and the bead can move on the wheel. Treat pressure changes as small experiments rather than a race to the lowest number.
Improved Ride Comfort
Aired-down tires absorb some trail impacts before those impacts reach the suspension and cabin. This can reduce vibration and bouncing on washboard roads, rocks, and trail ledges. A smoother tire can also help the driver maintain steady momentum instead of using excess throttle.
Ride comfort is not proof that the pressure is safe. Watch for heavy sidewall bulge, delayed steering, rubbing, heat, or a tire that looks different from the other tire on the same axle.
How Airing Down Changes Tire-Damage Risk
Moderate pressure reduction can help a tire flex around some sharp impacts instead of striking them as rigidly. That may reduce certain tread-area punctures and impact damage at low speed. However, very low pressure increases other risks, including sidewall pinching, rim contact, bead leakage, bead unseating, and heat damage.
The safest description is not “lower pressure prevents punctures.” It is “the correct trail pressure can reduce some impact loads while avoiding new risks caused by excessive deflection.”
When Should You Air Down Your Tires?
Consider airing down after leaving pavement and before entering a slow off-road section where extra flotation or tire compliance is useful. Common examples include soft sand, rough rock, washboard dirt, deep mud, and deep snow on an off-highway route.
Do not air down merely because a road is wet, icy, or snowy. On public roads, use the vehicle manufacturer’s cold pressure, suitable tires, reduced speed, and any legally required traction devices. Aired-down trail pressure is not a safe shortcut for winter-road grip.
| Situation | Air Down? | Key Condition |
|---|---|---|
| Graded dirt or washboard | Sometimes | Use a modest reduction and reduce speed |
| Loose sand | Often | Lower in small steps; avoid sharp turns |
| Rocky trail | Often | Crawl slowly and protect the sidewalls and rims |
| Mud | Sometimes | Tread pattern and mud depth matter as much as pressure |
| Deep off-road snow | Sometimes | Use only at low speed off-highway |
| Pavement or highway | No | Use the cold pressure on the placard or in the owner’s manual |
How Much Should You Air Down? Safer Guidelines for Different Terrains
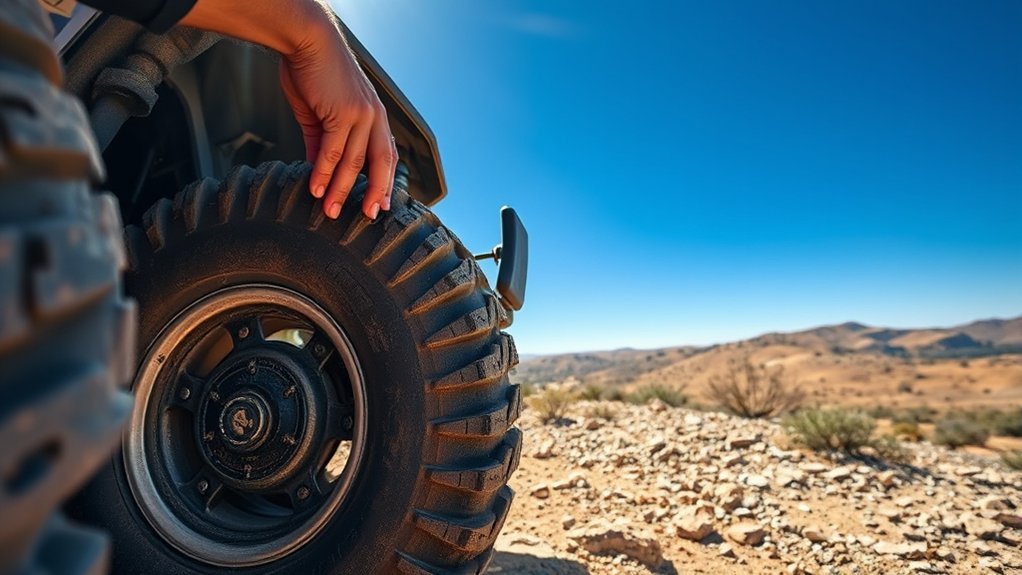
Begin with the vehicle’s correct cold road pressure from the driver-door placard or owner’s manual. NHTSA advises using the vehicle manufacturer’s cold pressure, not the maximum pressure printed on the tire sidewall.
For firm dirt or a rough trail, a reduction of about 15% to 20% from the cold road pressure is a practical first test for many light vehicles. This is consistent with the conservative starting approach in Toyo Tires’ off-road guidance. Stop, inspect, and adjust in 2 psi steps. Softer terrain may require a larger reduction, but a pressure that works for a light SUV may be unsafe for a loaded pickup on the same tire size.
| Terrain | Starting Approach | What to Watch |
|---|---|---|
| Firm dirt or gravel | Try 15%–20% below cold road pressure | Heat, steering response, sharp rocks, and speed |
| Washboard or rocky trail | Start near a 20% reduction; adjust by 2 psi | Rim strikes, pinched sidewalls, and tire squirm |
| Loose sand | Start near 20% down, then lower gradually only if flotation is poor | Bead movement, sharp steering, and digging from wheelspin |
| Mud | Start with a modest reduction and test traction | Mud packing, hidden rocks, and sidewall cuts |
| Deep off-road snow | Lower gradually for flotation at very low speed | Hidden obstacles, bead retention, and changing temperature |
Note: Michelin states that pressures below 20 psi may be used off-road only when speed stays below 15 mph and the tire still has enough load-carrying capacity at that pressure. That is a condition, not a universal recommendation to run 19 psi or less.
Factors That Change the Safe Pressure
- Vehicle and axle weight: A loaded truck needs more pressure than an unloaded, lighter vehicle.
- Tire construction: LT tires, passenger tires, flotation sizes, sidewall ply design, and load range respond differently.
- Wheel width and bead design: A wide wheel with a narrow tire may retain the bead less securely at low pressure.
- Speed and distance: Lower pressure requires lower speed and shorter travel to control heat.
- Terrain: Sand needs flotation; rocks require flex without rim contact; mud may need tread cleaning more than lower pressure.
- Temperature: Tire pressure changes with ambient temperature and rises as the tire heats during use.
Beadlocks, Heavy Loads, and Trailers
Beadlock wheels can help retain the outer tire bead at very low pressure, but they do not increase tire load capacity or prevent every form of damage. Follow the wheel maker’s torque and maintenance instructions and confirm whether the wheel is approved for road use in your area.
Heavy loads, slide-in campers, towing tongue weight, and trailer axle loads require extra caution. Do not copy another vehicle’s PSI. Use actual axle weights and the tire maker’s load-and-inflation information, or ask a qualified tire professional for a safe trail-pressure range.
Essential Tools for Airing Down Tires: Deflators, Gauges, and Compressors
You do not need a specific brand, but you do need tools that are accurate, durable, and sized for your tires.
- Tire pressure gauge: Choose a gauge with a useful range and readable increments. Compare it with a known accurate gauge occasionally.
- Controlled deflator: A clip-on, screw-on, or valve-core-removal tool speeds the process, but it should still allow frequent pressure checks.
- Portable compressor: Match airflow, hose length, duty cycle, electrical draw, and maximum pressure to your tire size and vehicle.
- Valve caps and spare valve cores: Dirt or a damaged core can create a slow leak after the trail.
- Recovery and tire-repair equipment: Carry a full-size spare when practical, plus repair tools appropriate for tread punctures. Sidewall cuts generally require tire replacement rather than a plug.
Pro Tip: Time your compressor at home from trail pressure to road pressure on one tire. Multiply by four and compare the result with the compressor’s duty cycle so you know whether it can finish the job without overheating.
Step-by-Step: Airing Down and Reinflating Tires
- Inspect the setup. Check the tread, sidewalls, valve stems, wheels, and spare. Do not air down a tire with a bulge, exposed cord, deep cut, or active leak.
- Record the cold road pressures. Check before driving, or after the vehicle has been parked long enough for the tires to cool. Record front and rear values separately if the placard lists different pressures.
- Choose a conservative starting target. For firm off-road travel, begin about 15% to 20% below the cold road pressure. Use more pressure for heavy loads and less only when terrain requires it and the setup can support it.
- Deflate in short intervals. Release air from each tire and check with the same gauge. Do not guess by appearance.
- Match tires by axle. Keep the left and right tires on each axle at the same pressure. Front and rear pressures do not have to match when axle loads or placard pressures differ.
- Test at low speed. Drive a short distance, then inspect for sidewall folding, rubbing, heat, bead leakage, or vague steering. Add 2 psi if the tire feels unstable or looks overly compressed.
- Recheck during the trail. Temperature, terrain, and a slow leak can change pressure. A TPMS warning may illuminate while aired down; verify actual pressure with a gauge.
- Reinflate before pavement. Inflate to the correct road pressure before normal-speed travel. Michelin specifically advises reinflating before returning to tarmac.
- Verify again when cold. Trail heat may make the final reading higher. Recheck the next morning and adjust to the vehicle placard.
Common Mistakes and Troubleshooting
The Vehicle Feels Vague or the Tires Squirm
Slow down and add 2–3 psi. Excessive sidewall flex, delayed steering, rubbing, or a tire that rolls under the wheel are signs that the pressure is too low for the load, speed, or wheel setup.
One Tire Keeps Losing Pressure
Stop and inspect the tread, valve core, valve stem, and bead area. A single tire that loses pressure faster than the others may have a puncture, damaged valve, debris in the bead, or wheel damage. Do not keep lowering the other tires to match a leaking one.
The Compressor Overheats or Stops
Follow its duty-cycle instructions, keep the unit ventilated, and allow it to cool. Avoid placing a hot compressor on dry grass. If the compressor repeatedly cannot restore road pressure, upgrade the equipment before the next trip.
The TPMS Light Stays On
Confirm every tire with a gauge, including the spare if your system monitors it. After reinflation, some systems clear after driving; others require a reset procedure in the owner’s manual. A warning that remains after correct inflation may indicate a leak or sensor fault.
A Bead Leaks or Unseats
Stop driving. Dirt may be trapped between the tire and wheel, or the bead may have moved. Installing or reseating a tire can be hazardous and should be handled by trained people with suitable equipment. Use the spare or seek professional help when a safe repair is not possible.
What Not to Do When Airing Down
- Do not use the tire sidewall’s maximum pressure as the normal road setting.
- Do not assume 12, 15, or 20 psi is safe for every vehicle.
- Do not make sharp, high-speed turns at low pressure; lateral force can unseat a bead.
- Do not run low pressure with an overloaded tire or exceed the tire’s load capacity.
- Do not rely on TPMS as a precision trail gauge.
- Do not deflate a hot tire to the cold placard pressure. Tire pressure naturally rises during use.
- Do not return to highway speed until all tires are restored to the proper road pressure.
Frequently Asked Questions
How do you properly air down tires?
Measure the cold road pressure, choose a conservative starting reduction, release air in short intervals, and use the same gauge on every tire. Match left and right pressures on each axle, test at low speed, and add air if steering becomes vague or the sidewalls fold. Reinflate before pavement.
What is the 3% tire rule?
There is no standard off-road “3% tire rule” for choosing trail pressure. Temperature changes are better treated as a reason to recheck pressure: tire pressure commonly changes by about 1–2 psi for each 10°F change in ambient temperature. Use cold readings and the vehicle placard for final road pressure.
How much should you air down your tires?
For many light vehicles on firm dirt, start about 15% to 20% below the correct cold road pressure and adjust in 2 psi steps. Soft sand may need more reduction. Vehicle weight, tire load capacity, wheel width, speed, and terrain determine the safe limit, so no single PSI fits every setup.
What is the 4 PSI rule?
It is not a rule that says 4 psi is a safe minimum. No universal off-road minimum exists, and 4 psi can unseat a bead or damage a tire on many standard wheels. Choose pressure from the tire, wheel, vehicle load, terrain, and speed—not from a fixed 4 psi floor.
Can you drive on pavement after airing down?
Only far enough and slowly enough to reach a safe reinflation point when no better option exists. Normal pavement and highway travel require the vehicle manufacturer’s road pressure. Low pressure can cause heat buildup, poor handling, shoulder wear, and tire failure.
Should front and rear off-road pressures be the same?
Not always. Keep left and right tires on the same axle equal, but front and rear pressures may differ because axle loads and placard pressures differ. A pickup carrying cargo or tongue weight often needs more rear pressure than an unloaded vehicle.
Conclusion
Airing down can make a major difference on sand, rocks, mud, gravel, and deep off-road snow, but the goal is controlled flex—not the lowest possible PSI. Start conservatively, adjust in small steps, drive slowly, monitor the tires, and protect the bead, sidewall, and rim. Most importantly, restore the vehicle manufacturer’s road pressure before normal pavement travel.
Sources
- NHTSA TireWise — cold-pressure checks, placard pressure, tire inspection, and underinflation safety.
- BFGoodrich Off-Road Tire Selection Guide — airing-down benefits, variable pressure factors, and bead-unseating risk.
- Michelin Tire FAQs — conditions for off-road pressure below 20 psi and the need to preserve load capacity.
- Michelin Mud-Driving Guidance — low-speed off-road use and reinflation before returning to pavement.
- Goodyear Tire Inflation Guide — cold inflation, temperature-related pressure changes, and correct inflation procedure.
- Toyo Tires Pressure Calculator — load-based pressure selection, reduced speed, and reinflation after difficult terrain.







Leave a Reply