
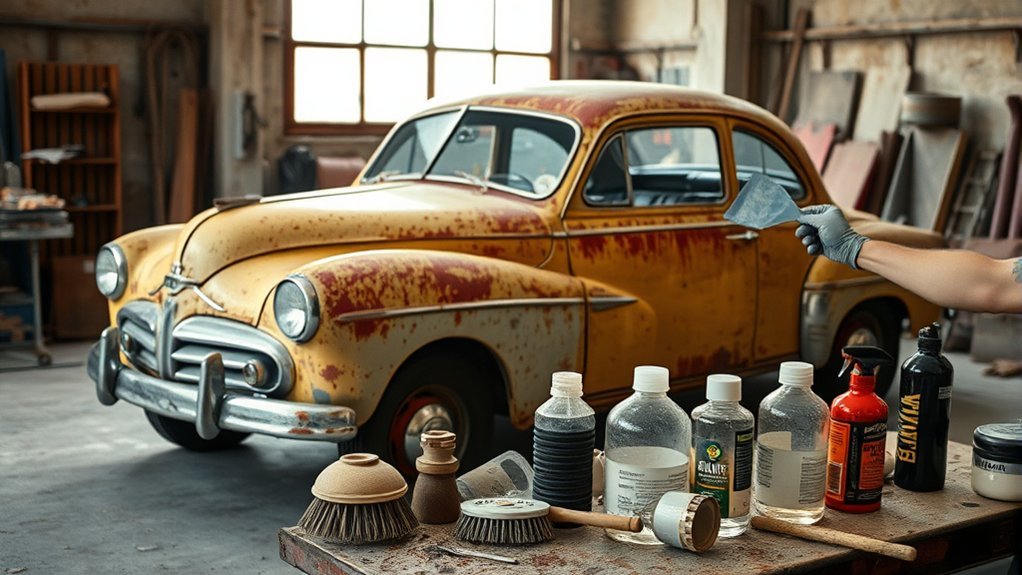
Rust repair on a classic car is less about attacking an orange stain and more about protecting sound metal, preserving original details, and sealing every exposed surface. A small surface spot may be a practical home repair. Rust that has thinned, cracked, or perforated a structural area needs skilled metalwork rather than more sanding or a coat of converter.
Quick Answer
Inspect both sides of the panel, remove paint and loose corrosion with the least aggressive safe method, and stop if the metal is thin, holed, or structural. Clean and degrease the repair, use one compatible primer-and-paint system, then restore seam sealer, cavity wax, and drainage so rust does not return.
Key Takeaways
- Classify the damage before choosing a tool: surface rust, scale, perforation, and structural rust require different repairs.
- Protect yourself from old coating dust, sparks, solvents, and paint chemicals; a basic paper dust mask is not suitable for every hazard.
- Remove rust until the remaining metal is solid. Converter and filler cannot restore lost metal strength.
- Use compatible products from one refinishing system and follow its technical data sheets, grit ranges, flash times, and recoat windows.
- Protect the back of the repair, seams, cavities, and drain paths—not just the visible face of the panel.
At a Glance
| Time Required | Several hours for a small surface repair, plus coating cure time; several days or more for welded panel work |
| Difficulty | Moderate for isolated surface rust; advanced for perforation, welding, structural areas, or color blending |
| Tools Needed | Inspection light, scraper or pick, sanding blocks, automotive abrasives, guarded power tools when appropriate, dust extraction, masking supplies, and product-specific PPE |
| Cost | Usually under a few hundred dollars in consumables for a small DIY spot, excluding tools; welded, structural, or professionally blended repairs can cost far more |
Understanding Rust: Causes and Effects on Classic Cars
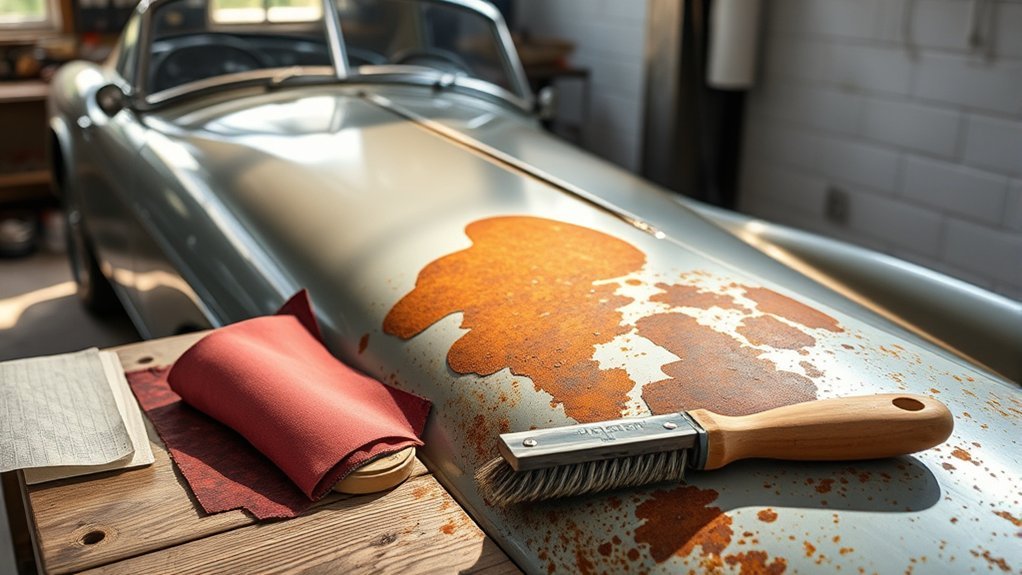
Rust is the corrosion product that forms when iron or steel reacts with its environment in the presence of moisture. As NASA’s corrosion guidance explains, corrosion degrades metal and can reduce its physical strength. Road salt, trapped water, failed seam sealer, damaged paint, mud, and poor drainage can speed the process.
Classic cars often have vulnerable seams, spot-welded flanges, boxed sections, window channels, rocker panels, wheel arches, floors, battery trays, frame or subframe sections, and lower door edges. The visible bubble may be only the front edge of a larger problem on the back of the panel.
Classify the Damage Before You Sand
| Rust Level | What It Looks Like | Typical Response |
|---|---|---|
| Surface rust | Light discoloration or shallow corrosion with solid metal underneath | Remove contamination and corrosion, refine the surface, then prime and paint |
| Scale and pitting | Flaking layers, rough pits, or swelling around seams | Strip farther than the visible edge, inspect both sides, and verify that enough sound metal remains |
| Perforating rust | Pinholes, soft metal, cracks, or holes | Cut out and replace the affected metal or replace the panel; do not bridge holes with filler alone |
| Structural or safety-critical rust | Damage near frame or unibody load paths, suspension mounts, steering mounts, seat or belt anchors, brake or fuel lines, or major body supports | Stop driving or disassembling as appropriate and obtain a professional structural assessment |
Warning: Do not grind, cut, or weld near a fuel tank, fuel or brake lines, wiring, upholstery, insulation, undercoating, or other combustible material. Remove or safely shield hazards, keep suitable fire-extinguishing equipment ready, and use a qualified professional when the work area cannot be made safe.
Essential Tools and Equipment for Rust Removal
The right setup depends on the rust level and the car’s construction. Start with inspection and hand tools, then move to power tools only when they are necessary and controllable.
Essential Hand Tools and Abrasives
- Inspection tools: bright work light, mirror or borescope, plastic scraper, pick, straightedge, and a marker for mapping the repair.
- Hand tools: sanding blocks, scrapers, wire brushes for suitable bare-steel areas, trim tools, and basic hand tools for removing moldings or liners.
- Power tools: a vacuum-assisted dual-action sander, drill-mounted abrasive tool, or guarded angle grinder fitted only with an attachment rated for the tool’s speed and the task.
- Abrasives: several grades rather than one disc. 3M’s refinishing guidance places paint-removal work around P120-P180 and primer preparation around P320-P400, while coarser grades may be used for filler shaping. The correct finish for bare metal and primer still depends on the coating maker’s technical data sheet.
- Cleaning and masking supplies: automotive wash, clean towels, wax-and-grease remover compatible with the paint system, lint-free wipes, masking paper or film, and quality automotive tape.
Safety Equipment and Work-Area Controls
Wear safety glasses and a face shield for flying particles, hearing protection, gloves suited to the chemical or mechanical task, long sleeves, and sturdy footwear. Keep the grinder guard and side handle installed and inspect abrasive wheels before use; OSHA’s abrasive-wheel requirements emphasize guards, wheel inspection, and eye protection.
Use local dust extraction and a respirator selected from the product safety data sheet and the actual contaminant. NIOSH warns that auto-body sanding dust may contain lead and chromium from coatings and abrasives. Do not dry-sweep the dust or blow it around with compressed air.
Two-component polyurethane primers, paints, and clear coats may contain isocyanates. OSHA links isocyanate exposure to serious breathing and skin hazards. Spraying these products requires professional-grade ventilation, protective equipment, and respiratory controls; a simple dust mask is not adequate.
Recommended Rust Removers and Treatments
Choose a treatment by surface and purpose, not by price alone. Product formulas, compatibility, and instructions change, so read the current label, safety data sheet, and technical data sheet before use.
| Method | Best Use | Limits |
|---|---|---|
| Mechanical sanding or controlled abrasive cleaning | Accessible body panels and local surface rust | Can thin or gouge sheet metal if pressure, speed, or grit is too aggressive |
| Automotive rust-removing gel or liquid | Pits, seams, or removable bare-steel parts when the product is approved for them | Must be rinsed, neutralized, or cleaned exactly as directed; trapped residue can ruin a coating |
| Rust converter | Firmly attached residue in pits when complete mechanical removal is impractical and the paint system permits it | Does not rebuild lost metal or make perforated steel structural |
| Professional media blasting | Stripped shells, frames, and removable parts when the media and pressure match the substrate | Can trap media or damage thin panels when performed incorrectly; requires immediate corrosion protection afterward |
| Vinegar or molasses bath | Some removable bare-steel hardware or parts, followed by thorough cleaning, drying, and protection | Slow, difficult to control on assembled bodywork, and not a substitute for a verified automotive refinishing process |
Note: Household CLR is not a general body-panel rust treatment. Its manufacturer says to avoid using the household product on cars except for rust on chrome or stainless-steel wheels. Use only a product whose current label approves the exact automotive surface.
Step-by-Step Rust Removal Process for Your Classic Car
1. Document the Area and Inspect Both Sides
Photograph moldings, seams, fasteners, paint breaks, factory markings, and panel gaps before disassembly. Record the paint code and check whether the finish is original, repainted, lacquer, enamel, or a newer system. On a high-value or historically significant car, preserving original material and finishes may be more important than making the area look newly restored.
Remove liners, trim, weatherstrips, access plugs, or nearby covers only when you can do so without damage. Inspect behind the visible rust with a light or borescope. Probe gently; aggressive poking can turn a thin but intact panel into a hole.
2. Make the Work Area Safe
Work in a clean, well-ventilated area away from open flames, pilot lights, fuel vapors, and combustible storage. Disconnect the battery when the service information and work being performed call for it. Protect glass, chrome, wiring, upholstery, engine components, and adjacent paint from sparks and abrasive dust.
Review every product’s label and safety data sheet before opening it. Arrange dust extraction and waste collection before sanding starts, not after the shop is covered in contaminated dust.
3. Wash, Dry, and Degrease
Wash away dirt, mud, and salt before sanding so abrasive paper does not grind contamination into the finish. Dry the car fully, including seams and drain paths. Then use a wax-and-grease remover approved by the chosen refinishing system, following the wipe-on and wipe-off directions.
Avoid soaking freshly exposed bare steel. If a chemical rust remover requires water rinsing, follow the label, dry the metal immediately, and apply the specified next treatment before flash rust develops.
4. Strip the Damaged Coating and Remove Loose Rust
Mark a repair boundary beyond bubbling or lifting paint. Begin with the least aggressive method that exposes the true edge of the damage. Keep a power tool moving, use light pressure, and avoid concentrating heat in one spot. Stop often to inspect the metal rather than chasing a cosmetic shine.
Work through progressively finer abrasives to remove deep scratches before primer. Do not assume one grit fits every stage, and do not wet-sand bare steel unless the coating manufacturer specifically permits it and provides a drying and treatment procedure.
5. Decide Whether the Metal Is Still Repairable
After the rust and failed coating are removed, inspect the panel under bright light. Check pits, seams, weld flanges, and the reverse side. If the steel is solid and retains useful thickness, it may be suitable for refinishing. If it is soft, cracked, pinholed, badly thinned, or detached from a seam, remove the damaged section and weld in sound metal or replace the panel.
Warning: Rust near frame rails, unibody reinforcements, suspension or steering mounts, seat and seat-belt anchors, brake components, or fuel-system parts is not a cosmetic repair. Have the car assessed by a qualified restoration or structural-repair professional before driving it.
6. Treat Pits, Seams, and Inaccessible Residue
Remove as much corrosion as practical before applying any chemical treatment. Use a rust remover or converter only where its current technical data sheet allows it. Observe required dwell time, temperature, neutralization, rinsing, drying, and overcoating instructions.
Do not bury active scale under filler. Do not assume blackened converter residue is proof that the metal is strong. Reinspect deep pits and seams after treatment.
7. Prime, Level, and Refinish With One Compatible System
Seal clean metal promptly with the primer system specified for the substrate and repair. Depending on the manufacturer, body filler may be applied to prepared bare metal or over a cured epoxy primer; self-etching primer may have limits with certain fillers or subsequent coatings. Follow one system’s technical data sheets rather than mixing rules from unrelated products.
Feather sound surrounding paint, apply filler only where needed, refine the repair, then use the specified primer-surfacer, sealer, color coat, and clear coat. Respect induction times, flash times, film thickness, sanding windows, temperature limits, and recoat windows. Test color and compatibility on a spray-out card or hidden sample before committing to a visible classic-car panel.
For catalyzed two-component coatings, large blends, metallic colors, or valuable original finishes, professional booth application is the safer route and often gives a better match.
8. Restore Protection Behind the Repair
A repair can look perfect outside and rust again from the back. After welding and refinishing, restore the protection appropriate to the location. 3M identifies cavity wax, seam sealers, coatings, and paint systems as core corrosion-protection measures.
Seal repaired seams, coat the reverse side, apply cavity wax inside boxed sections when suitable, and replace stone-chip or underbody protection where the car originally used it. Keep factory drain holes and ventilation paths open.
9. Let the Coating Cure, Reassemble, and Inspect
Allow the coating system to cure for the stated time before polishing, waxing, installing trim, or exposing the repair to rain. Reinstall removed parts with clean clips, seals, and fasteners. Confirm that drains are clear and that weatherstrips do not trap water.
Pro Tip: Recheck the repair after the first few wet drives and again at the next seasonal inspection. Early staining at a seam, paint edge, or fastener is easier to correct than a new blister.
Common Mistakes to Avoid During Rust Removal
| Mistake | Why It Fails | Better Approach |
|---|---|---|
| Treating every spot as surface rust | Hidden perforation or structural loss remains | Inspect both sides and classify the damage first |
| Starting with the most aggressive grinder | Thin sheet metal can be gouged, overheated, or needlessly removed | Begin with the least aggressive effective method and inspect often |
| Covering holes with filler or converter | Neither product restores missing steel or structural strength | Cut out and replace weak or perforated metal |
| Skipping cleaning and decontamination | Wax, oil, salt, silicone, or chemical residue can cause adhesion failure | Wash, dry, and use the paint system’s approved cleaner |
| Mixing unrelated primers, fillers, and topcoats | Incompatible products can lift, wrinkle, soften, or lose adhesion | Use one compatible system and follow its data sheets |
| Protecting only the visible face | Moisture can restart corrosion behind a seam or patch | Restore backside coating, seam sealer, cavity wax, and drainage |
| Rushing flash and cure times | Solvent trapping, poor sanding, dieback, or early failure may result | Follow temperature-adjusted flash, recoat, and cure times |
How to Maintain Your Classic Car to Prevent Rust
- Wash off salt and mud: Clean the wheel wells, underbody, seams, and lower panels after salty or muddy driving, then dry the car thoroughly.
- Keep water moving out: Clear door, rocker, cowl, trunk, and quarter-panel drains. Repair clogged channels and replace failed weatherstrips.
- Protect the finish: Repair chips before bare metal is exposed for long. Wax or protect cured paint according to the coating maker’s instructions.
- Inspect hidden areas: Check battery trays, carpet edges, trunk mats, spare-wheel wells, window channels, and the back of wheel arches for dampness or staining.
- Maintain seams and cavities: Renew cracked seam sealer, damaged stone-chip coatings, and cavity protection with products suitable for the existing finish.
- Store the car dry: Use a ventilated, weather-tight space. Control condensation, avoid putting a damp cover on the car, and do not park long-term over wet soil or grass.
- Schedule seasonal inspections: Look for bubbling, edge staining, lifting seam sealer, loose undercoating, or new pitting before and after the wet or road-salt season.
When Should You Call in the Pros for Rust Problems?
Call a qualified restoration or collision-repair professional when:
- Rust has reached frame, unibody, suspension, steering, seat, seat-belt, brake, or fuel-system mounting areas.
- The metal is perforated across a large area, badly thinned, cracked, or separating at seams.
- Repair requires welding close to fuel, wiring, upholstery, glass, lead-loaded joints, or heat-sensitive original finishes.
- The panel shape, gaps, or body alignment may have changed.
- The car has significant historical value and an incorrect repair could reduce originality or value.
- The job requires full-shell blasting, dipping, lead work, panel fabrication, a spray booth, or catalyzed two-component coatings.
- Rust keeps returning after previous repairs, suggesting trapped contamination, failed drainage, or untreated backside corrosion.
Ask the shop how it will inspect hidden areas, document the repair, protect the back of welded sections, reproduce factory seams and finishes, and prevent media or chemical residue from remaining inside the body.
Frequently Asked Questions
How do you get rust off a classic car?
Inspect both sides of the panel, strip loose paint and corrosion with the least aggressive safe method, and continue only until you reach solid metal. If the panel is thin, perforated, or structural, repair or replace the metal instead of covering it with converter or filler.
How long should you let WD-40 sit to remove rust?
WD-40’s official guidance says to let the Multi-Use Product sit for up to 10 minutes when loosening light rust. On a body-panel repair, remove every oily residue with a compatible degreaser before sanding or coating. WD-40 is not a substitute for removing scale, repairing holes, or preparing metal for primer.
Is vinegar or CLR better for rust?
Neither is the first choice for a painted classic-car body panel. Vinegar may be useful for some removable bare-steel parts if they are rinsed, dried, and protected promptly. The maker of household CLR says to avoid using it on cars except for rust on chrome or stainless-steel wheels. Use an automotive-labeled treatment approved for the exact surface.
What is the fastest way to remove rust from a car?
The fastest safe method depends on the rust and the part. Sanding or a controlled abrasive tool can handle a small surface spot. Professional media blasting may suit stripped shells, frames, or removable parts. Perforated metal is usually repaired fastest and most reliably by cutting out the damage and installing sound metal.
Can rust converter replace metal repair?
No. A converter may be useful for firmly attached residue in pits when its manufacturer and the paint system allow it, but it does not restore metal thickness or structural strength. Thin, cracked, soft, or perforated steel must be repaired or replaced.
How do you keep rust from returning after a repair?
Remove contamination, seal the metal with a compatible coating system, protect seams and the back of the repair, apply cavity wax or underbody protection where appropriate, keep drains open, and inspect the area after wet or salty driving.
Conclusion
Successful classic-car rust removal starts with an honest assessment. Clean surface corrosion can often be stripped, treated, primed, and painted at home. Thin, perforated, or structural metal needs proper panel repair. Whichever route you take, protect both sides of the repair, use a compatible coating system, and keep seams and drains maintained. That is what turns a quick cosmetic fix into a durable restoration.
Sources
- NASA Corrosion Fundamentals — corrosion definition and the loss of material properties.
- NIOSH: Autobody Repair—Sanding — lead, chromium, and dust-control hazards during body sanding.
- OSHA: Abrasive Wheels and Tools — guarding, wheel inspection, and eye-protection requirements.
- OSHA: Isocyanates — health risks associated with polyurethane coatings and painting.
- 3M: Refinish Sanding and Grit Selection — typical abrasive ranges for paint removal, featheredging, and primer preparation.
- 3M: Core Four Corrosion Protection — cavity wax, seam sealer, coatings, and paint-system protection after repair.







Leave a Reply