
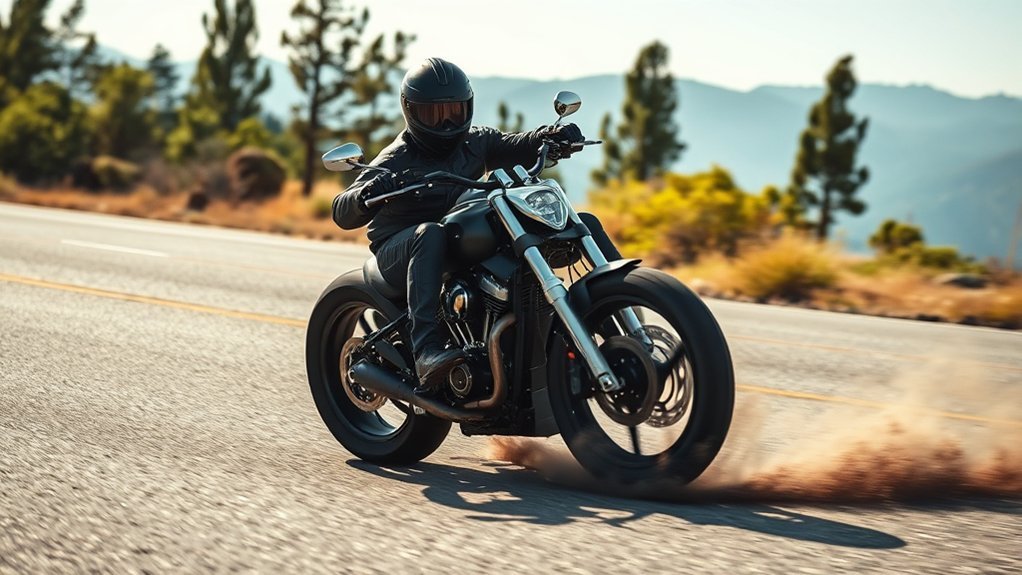
Motorcycle braking is not a fixed front-to-rear percentage. Safe stopping comes from using both brakes, building pressure smoothly, and adjusting for the motorcycle, load, surface, speed, and available traction. The goal is to stop hard without grabbing a control, locking a wheel, upsetting the chassis, or using more traction than the road can provide.
Quick Answer
Use both brakes together and build pressure progressively rather than following a fixed 70/30 formula. Keep your head and eyes up, and keep the motorcycle upright when possible. With ABS, maintain firm pressure; without ABS, avoid wheel lock and practice controlled stops in a closed, low-risk area.
Key Takeaways
- Use the front and rear brakes together for normal and emergency stops unless your owner’s manual gives model-specific instructions.
- Squeeze the front brake progressively and press the rear brake smoothly; do not grab the lever or stomp the pedal.
- ABS helps prevent wheel lock, but it cannot create traction or correct poor speed and line choices.
- Reduce speed before a curve. If you must brake while leaned, use lighter pressure and reduce lean as you slow.
- Inspect brake feel, fluid level, pad wear indicators, hoses, tires, brake lights, and warning lamps before problems become emergencies.
At a Glance
| Time Required | 20–30 minutes per practice session |
| Difficulty | Beginner to intermediate; advanced corner braking should be coached |
| Tools Needed | Full riding gear, owner’s manual, legal closed practice area, and cones or visible markers |
| Cost | Usually free with existing gear; cones and professional rider training cost extra |
Warning: Practice only in a legal area closed to traffic, at low speed, while wearing full protective gear. Do not attempt maximum-effort braking, wheel-lock recovery, or advanced trail braking for the first time on a public road. Follow your motorcycle’s owner’s manual and seek hands-on instruction from a qualified rider-training program.
Essential Motorcycle Braking Techniques Every Rider Should Master
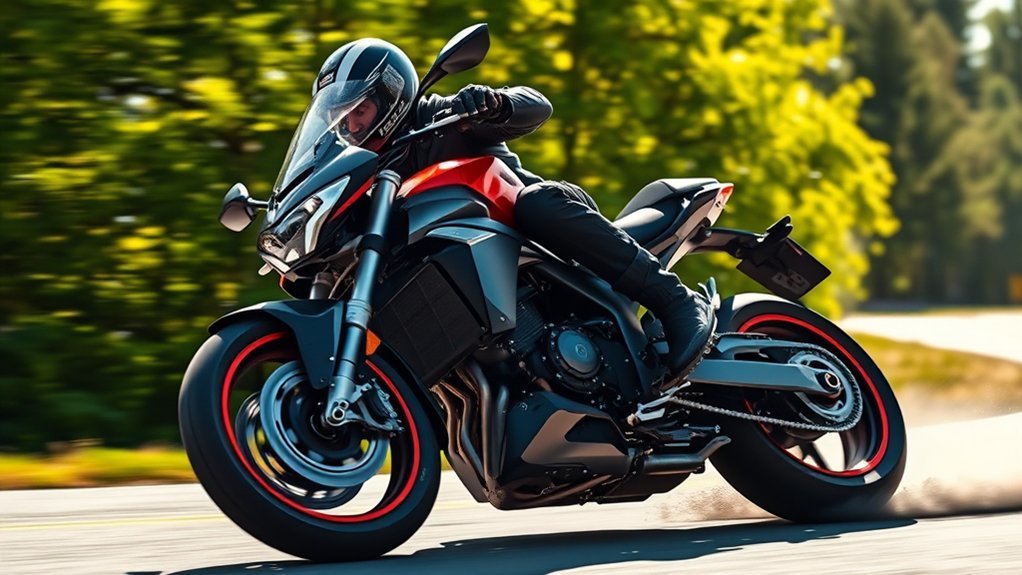
The basic street-riding technique is simple: close the throttle, keep your eyes up, apply both brakes at nearly the same time, and increase pressure smoothly. The California Motorcycle Handbook teaches riders to use both brakes for normal stops and to squeeze the front brake rather than grab it.
- Look ahead and choose a path. Keep your head up and scan for traffic behind you, an escape route, and the surface where you expect to stop.
- Roll off the throttle. Close it fully so the engine is not driving the rear wheel while you ask the tires to slow the motorcycle.
- Apply both brakes smoothly. Squeeze the front lever and press the rear pedal. Start gently, then add pressure as the suspension settles and the front tire loads.
- Keep your body stable. Hold the tank lightly with your knees, keep your arms relaxed, and avoid supporting your full weight on the handlebar.
- Use the clutch and gears correctly. On a manual motorcycle, squeeze the clutch as needed to prevent a stall and downshift smoothly as speed falls. Aim to be in first gear when fully stopped so you can move if necessary.
- Finish upright. Square the handlebars before the final stop, keep your eyes up, and place a foot down only when the motorcycle is nearly stopped.
Do not treat “70% front and 30% rear” as a control setting. The front brake often supplies most of the stopping force because braking transfers load forward, but the useful split changes with motorcycle geometry, passenger and cargo weight, slope, tire condition, and surface grip. Your job is to use both controls progressively and respond to the feedback from the motorcycle.
The strongest stop is not the one with the most sudden pressure. It is the one that builds tire load quickly, smoothly, and without exceeding available traction.
Get to Know Your Front and Rear Brakes
The front and rear brakes do different jobs, but they work best as a team. As the motorcycle slows, weight moves toward the front tire. That increases the front tire’s potential braking grip and reduces the load on the rear tire. The amount of transfer varies, so a cruiser, scooter, sport bike, touring motorcycle, and loaded adventure bike may not feel the same.
Front Brake Functionality
The front brake normally provides the largest share of hard-stop performance on dry pavement. Apply it with a progressive squeeze: take up free play, let the front suspension settle, then continue increasing pressure. Grabbing the lever before the tire is loaded can cause a skid on a non-ABS motorcycle or trigger ABS abruptly on an ABS-equipped motorcycle.
Finger count is not a universal rule. Some riders can produce and control enough force with two fingers; other motorcycles, gloves, hand sizes, and lever designs call for a full-hand squeeze. Use a grip that lets you close the throttle completely, apply the brake progressively, and maintain steering control. Never trap unused fingers between the lever and grip.
Rear Brake Role
The rear brake adds stopping force and can help keep the chassis settled. It is especially useful during normal stops, low-speed maneuvers, two-up riding, and on motorcycles that carry more static weight over the rear wheel. Because the rear tire becomes lighter during hard braking, rear-pedal pressure usually must be controlled carefully as deceleration rises.
| Aspect | Practical Guidance |
|---|---|
| Stopping force | Adds useful braking, but its share changes with load transfer, bike design, passenger weight, and surface grip. |
| Stability | Smooth rear-brake pressure can settle the motorcycle; stomping can lock or activate ABS at the rear. |
| Low speed | Light rear brake can help control walking-speed maneuvers when paired with steady throttle and clutch friction-zone control. |
| Slippery roads | Use both brakes gently and keep the bike upright; do not rely on the rear brake alone. |
Brake Application Techniques
For balanced deceleration, begin with both brakes and increase pressure in a controlled way. As weight transfers forward, continue building front-brake pressure while avoiding excessive rear pressure. The controls should feel progressive rather than abrupt.
Pro Tip: During practice, say “smooth, then firm” as you brake. The phrase discourages a grab while still reminding you to reach meaningful pressure quickly after the tire is loaded.
Adjustable levers may improve reach, but use only the approved adjustment range and confirm that the brake fully releases. A lever that touches the grip, has excessive travel, or changes feel during a ride needs inspection—not a technique workaround.
Key Factors Impacting Motorcycle Braking Performance
Stopping performance depends on more than the brake hardware. The following factors change how much traction is available and how quickly the motorcycle can use it:
- Speed: Higher speed adds both reaction distance and braking distance. Small increases in entry speed can require much more room to stop.
- Tires: Correct cold pressure, adequate tread, suitable tire type, and sound condition are essential. An underinflated, overinflated, worn, damaged, or mismatched tire can change feel and grip.
- Surface: Rain, gravel, sand, leaves, paint, metal covers, oil, frost, and polished pavement reduce or vary traction.
- Load: A passenger, luggage, or poor cargo placement changes weight distribution, suspension movement, and stopping distance. Set tire pressure and suspension preload as the manual directs.
- Slope: Downhill grades add load to the braking system and can increase the distance needed to stop.
- Motorcycle design: Wheelbase, center of gravity, suspension, tire size, linked brakes, ABS calibration, and riding position all affect brake response.
- Rider input: Delayed reaction, a tense grip, abrupt pressure, looking down, or failing to use the front brake can waste available stopping performance.
A NHTSA rider-braking study found that the timing and magnitude of a rider’s initial brake inputs were important to the outcome of simulated emergency events. That supports regular practice focused on early recognition and progressive pressure, not just raw hand strength.
Note: Wheel lock and brake fade are different. Wheel lock happens when braking demand exceeds tire grip. Brake fade is reduced braking effectiveness caused by heat, often after repeated or continuous braking on a long descent.
Master Emergency Braking for Safe Stops
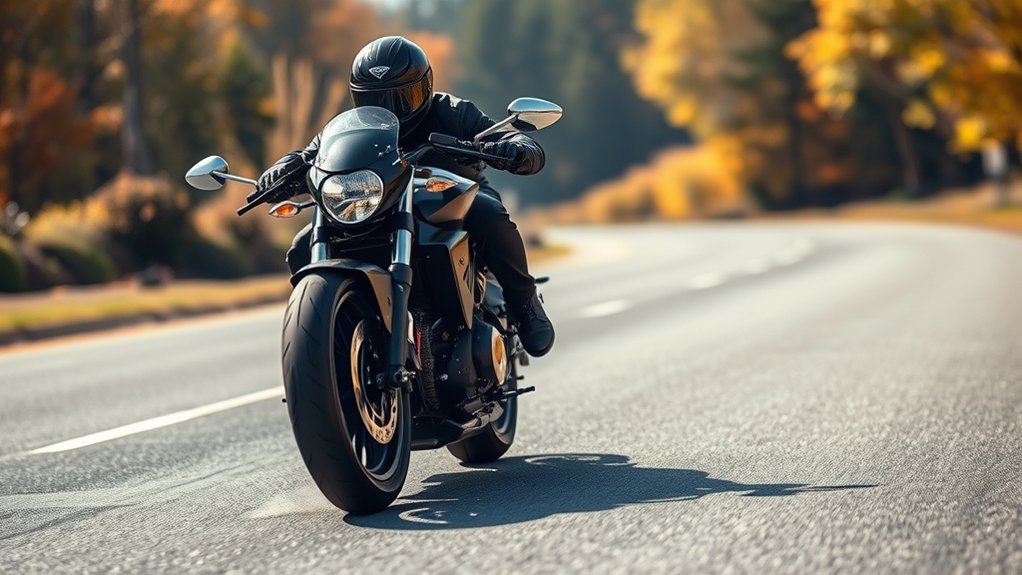
An emergency stop uses the same controls as a normal stop, but faster and closer to the available traction limit. The motorcycle should be upright and traveling straight whenever possible. Keep your eyes up, close the throttle, apply both brakes, and build firm pressure without a grab.
Prioritize Quick Stops
- Recognize the threat early. The sooner you act, the less braking force and distance you need.
- Straighten the motorcycle if space allows. An upright tire can devote more of its traction to braking.
- Apply both brakes progressively. Build front pressure as the fork settles and control rear pressure as weight moves forward.
- Pull in the clutch on a manual bike. Continue downshifting as time permits, but do not let gear selection distract from braking.
- Keep the bars square and eyes forward. Avoid looking at the obstacle or ground.
- Check behind after stopping. Be ready to move into an escape space if traffic approaching from the rear cannot stop.
Do not combine a maximum brake input with a sudden swerve. Brake first to reduce speed, release the brakes before the sharp steering input, complete the swerve, then straighten. Trying to brake at the traction limit while making an abrupt direction change can overwhelm the tires.
Practice Controlled Emergencies
Start in a clean, flat, legal area with no traffic, pedestrians, loose gravel, parking blocks, or fixed hazards. Use visible markers for a start point and a stopping zone. The Motorcycle Safety Foundation recommends practicing smooth, progressive stops with both brakes at different speeds.
- Warm up: Make several normal stops at walking and neighborhood speeds.
- Set a consistent entry speed: Begin around 10–15 mph in a straight line.
- Brake at the marker: Close the throttle and apply both brakes smoothly.
- Evaluate: Note whether you looked up, kept the bars straight, used both brakes, and stopped without a skid.
- Repeat before adding speed: Make several consistent stops before increasing speed in small steps.
- Stop when technique declines: Fatigue and repeated hard stops can reduce learning and heat the brakes.
ABS, Linked Brakes, and Non-ABS Technique
How to Brake With ABS
On an ABS-equipped motorcycle, apply both brakes firmly and continuously. You may feel pulsing or feedback through the lever or pedal. Keep pressure applied and let the system manage wheel slip; do not pump the controls. ABS helps prevent lockup, but it does not create grip, eliminate reaction distance, or guarantee a shorter stop on every surface.
The 2024 Honda Fury owner’s manual, for example, explains that its ABS is designed to help prevent lockup, that control feedback can be normal, and that ABS may not shorten stopping distance in every circumstance. Operation details and activation speeds vary by model, so read your own manual.
How to Brake Without ABS
Without ABS, practice approaching maximum usable pressure without locking a wheel. If the front tire locks, release enough pressure to restore rolling traction, then reapply smoothly. Keep the motorcycle upright and the handlebars straight. Rear-wheel lock recovery is more complex if the rear of the bike moves out of line, so it should be practiced only with qualified instruction in a controlled setting.
Linked and Cornering-ABS Systems
Linked or combined brakes may apply some braking at both wheels when one control is used. That does not automatically mean one control provides maximum braking; many systems still require both controls for full performance. Lean-sensitive or “cornering” ABS can improve stability while leaned, but available traction is still shared between turning and braking. Follow the manufacturer’s instructions and do not treat electronic aids as permission to enter a curve too fast.
The National Transportation Safety Board concluded that motorcycle ABS can improve safety by supporting braking performance and stability during evasive actions.
Braking in Curves and Turns
The safest basic plan is to set your speed before the curve, look through the turn, and use steady or gently increasing throttle once your line is established. Sometimes traffic, debris, or a tightening bend still requires braking while leaned.
- If you have room: Reduce lean, straighten the motorcycle, then apply stronger braking.
- If you cannot straighten first: Apply both brakes smoothly with less pressure than you could use upright. As speed drops, reduce lean and add more brake pressure.
- Near the stop: Square the handlebars so the motorcycle is balanced and upright.
The MSF riding-tips guide explains that braking while leaned is possible, but pressure must be gradual because part of the tire’s traction is already being used for cornering.
Warning: Trail braking is an advanced corner-entry technique, not a substitute for basic speed judgment. Learn it through professional coaching rather than experimenting near traffic, guardrails, curbs, or oncoming lanes.
Practice Emergency Braking Techniques Effectively
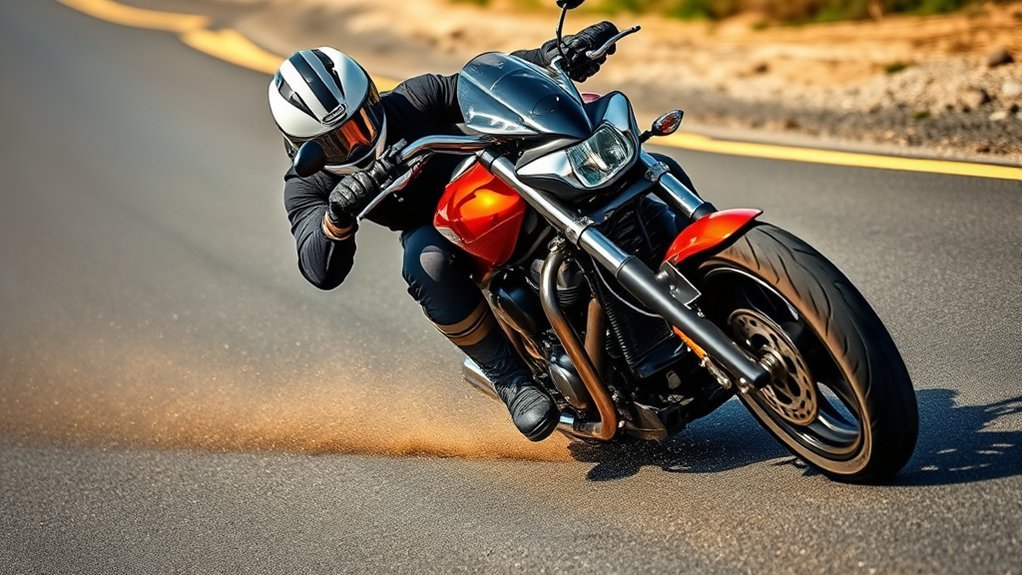
Effective practice should build repeatable technique rather than chase the shortest possible stop on the first attempt. Use the same approach speed, marker, body position, and stopping lane so you can compare one run with the next.
Focus on one skill at a time: early recognition, smooth initial pressure, stronger front-brake use, controlled rear pressure, clutch timing, or keeping your eyes up. Once those parts are consistent, combine them. Practice on your own motorcycle because brake feel, lever reach, ABS feedback, weight, and tire behavior differ between models.
End the session if the lever feel changes, the brakes smell unusually hot, the stopping distance grows, the tires begin to slide, or you become tense or tired. Let the brakes cool and inspect the motorcycle before continuing.
Pro Tip: Record the entry speed and stopping point only after the technique is stable. A shorter stop with poor control is not progress; repeatability, straight tracking, and smooth pressure matter first.
Adjust Braking for Road, Weather, Hills, and Load
Wet or Low-Traction Surfaces
Slow earlier, keep the motorcycle more upright, and use both brakes with gentler, more progressive inputs. Avoid abrupt changes on lane paint, metal plates, manhole covers, leaves, gravel, sand, oil, and frost. Increase following distance and test brake response carefully after riding through deep water, following your owner’s manual.
Long Downhill Grades
Select a lower gear before the descent and use engine braking with intermittent brake applications. Do not drag the brakes continuously. Repeated heat can reduce effectiveness and change lever feel. If braking performance fades, slow safely, pull over, and allow the system to cool; do not continue at normal speed.
Passengers and Cargo
Extra weight usually increases stopping distance and may increase the useful contribution from the rear brake, but it does not justify a fixed brake ratio. Set tire pressure and suspension preload for the load, secure cargo low and centered, leave more following distance, and rehearse smooth stops before entering busy traffic.
Maintain Your Braking System for Optimal Performance
Brake maintenance is model-specific. Use the owner’s manual for inspection points, fluid type, service intervals, wear limits, torque values, and ABS procedures. A safe pre-ride and routine inspection should include:
- Brake controls: Test the front and rear controls separately. Each should feel firm, move smoothly, release fully, and hold the motorcycle when applied.
- Brake light: Confirm that both the front lever and rear pedal activate it.
- Fluid level and condition: Check reservoirs with the motorcycle positioned as the manual specifies. Low fluid may reflect pad wear or a leak; do not simply top it off without finding the cause.
- Brake pads: Replace pads at the manufacturer’s wear indicator or stated service limit. A universal “2 mm” rule is not reliable for every motorcycle.
- Rotors and drums: Look for deep scoring, cracks, contamination, unusual discoloration, damage, or pulsing during braking.
- Lines and hoses: Check for leaks, cracks, rubbing, kinks, corrosion, loose fittings, or bulges.
- ABS warning lamp: Confirm that it behaves as described in the owner’s manual. A lamp that stays on can mean ABS is unavailable even if conventional braking still works.
- Tires and wheels: Verify pressure, condition, tread, and that no fluid or lubricant has reached the tire or brake surfaces.
Honda’s manual directs riders to inspect pads when fluid is below the lower mark or lever or pedal travel becomes excessive, and to have the motorcycle inspected if the pads are not worn because a leak may be present. That is a better model for maintenance advice than assuming every low reservoir only needs more fluid.
Warning: Do not ride with a spongy or sinking lever, fluid leak, grinding noise, badly worn pads, damaged hose, severe pulsing, brake drag, one-sided pulling, or a new warning light. Brake fluid can damage paint, and opening a hydraulic system introduces service and bleeding requirements. Have a qualified technician inspect the motorcycle when you are not trained and equipped for the repair.
Frequently Asked Questions
What gear should I be in while braking?
Downshift smoothly as the motorcycle slows and aim to be in first gear when stopped. During an emergency, braking and maintaining control come first; squeeze the clutch on a manual motorcycle to prevent a stall, then complete the downshifts as time and attention allow.
How does weight distribution affect braking?
Braking transfers load toward the front tire, which usually lets the front brake provide more stopping force while the rear tire becomes easier to skid. A passenger, cargo, bike geometry, slope, and suspension settings change that transfer, so use both brakes and avoid a fixed percentage rule.
Can I brake while leaning into a turn?
Yes, but less traction is available for braking while the tires are also cornering. Apply both brakes smoothly with lighter pressure, reduce lean as speed falls, and add pressure as the bike becomes upright. For a maximum stop, straighten first when traffic and road space allow.
What should I do if my brakes feel spongy?
Stop riding and inspect the system. A spongy or sinking control can result from air, a leak, overheated or contaminated fluid, hose expansion, or a component fault. Do not assume bleeding alone will solve it; use the service manual or have a qualified technician diagnose the cause.
How can weather conditions affect braking performance?
Rain, cold, frost, standing water, and windblown debris can reduce or vary traction and lengthen the space needed to stop. Slow earlier, stay smooth, keep the motorcycle upright, increase following distance, and avoid abrupt inputs on paint, metal, leaves, oil, gravel, or ice.
Should I use two fingers or four on the front brake?
Use the method that your training and motorcycle support. You need enough controlled force, a fully closed throttle, and no fingers trapped between the lever and grip. Lever design, hand size, gloves, and brake effort differ, so a universal finger-count rule is not appropriate.
Should I pump motorcycle brakes when ABS activates?
No. On an ABS-equipped motorcycle, keep firm, continuous pressure on both brakes and let the system cycle. Pulsing at the lever or pedal can be normal. Always confirm the exact procedure and warning-light behavior in your owner’s manual.
Conclusion
Mastering motorcycle braking means building a repeatable habit: see the hazard early, keep your eyes up, use both brakes, and increase pressure smoothly. The front brake usually does most of the work in a hard stop, but no fixed front-to-rear percentage fits every motorcycle or surface. Practice upright stops at low speed, learn how your ABS or linked system feels, reduce speed before curves, and maintain the brakes and tires to the specifications in your owner’s manual.
Sources
- California DMV Motorcycle Handbook — both-brake use, progressive front-brake application, quick stops, curves, and pre-ride checks.
- Motorcycle Safety Foundation: Stops — progressive stopping practice with both brakes.
- Motorcycle Safety Foundation: You and Your Motorcycle — braking while leaned, emergency stopping, and skid guidance.
- NHTSA: A Study of Motorcycle Rider Braking Control Behavior — the importance of brake timing and input magnitude in emergencies.
- NTSB: Select Risk Factors Associated With Causes of Motorcycle Crashes — motorcycle ABS, braking performance, and stability findings.
- 2024 Honda Fury Owner’s Manual — model-specific ABS behavior, wet-braking cautions, brake-fluid checks, and pad wear indicators.







Leave a Reply