
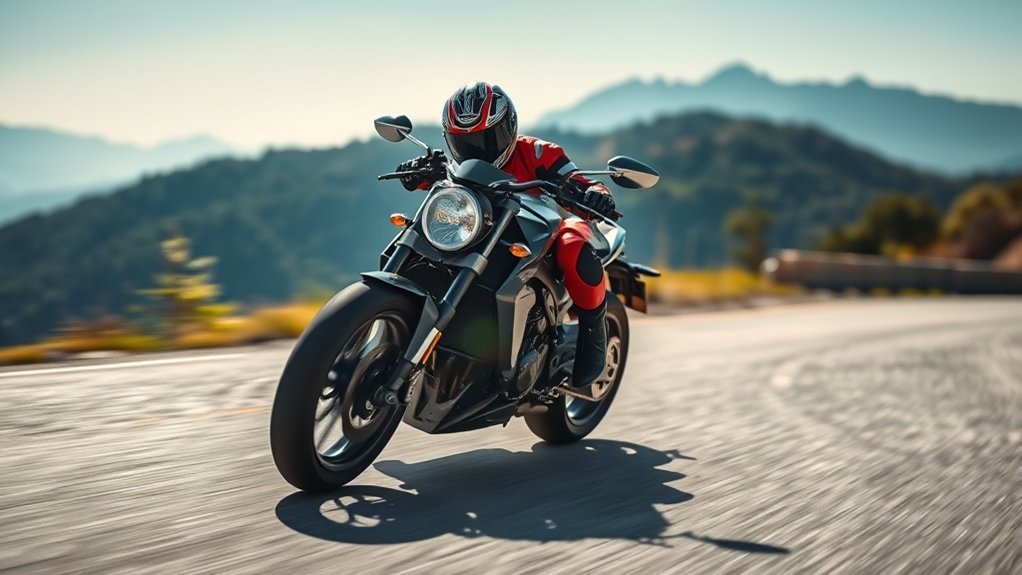
Better motorcycle cornering comes from making calm, planned inputs—not from forcing the bike to lean farther or entering a turn faster. The safest approach is to set an appropriate speed before the corner, look toward the exit, press the inside handgrip to initiate the lean, and use smooth throttle and brake inputs while staying within your lane and sight distance.
Quick Answer
To corner a motorcycle safely, slow before the turn, look through it, press the inside handgrip to initiate lean, and use smooth throttle as the bike exits. Keep your body relaxed, stay within your lane and sight distance, use the motorcycle’s specified cold tire pressures, and practice first in a controlled area.
Key Takeaways
- Use the basic sequence: Slow, Look, Press, Roll.
- Choose an entry speed that leaves room for an unseen hazard or tightening turn.
- Press the left handgrip to lean and turn left; press the right handgrip to lean and turn right.
- Keep steering, throttle, braking, and body movements smooth.
- Use the cold tire pressures listed in your motorcycle’s owner’s manual or frame placard—not a generic PSI range.
- Learn advanced techniques such as trail braking from a qualified instructor in a controlled environment.
At a Glance
| Time Required | 20–30 minutes per practice session; repeat regularly rather than practicing to exhaustion |
| Difficulty | Beginner to intermediate; trail braking is an advanced skill |
| Tools Needed | A roadworthy motorcycle, full protective gear, an accurate tire gauge, and cones or visible markers |
| Cost | Free when using equipment you already own in a permitted practice area; formal course fees vary by provider |
Understanding the Basics of Motorcycle Cornering
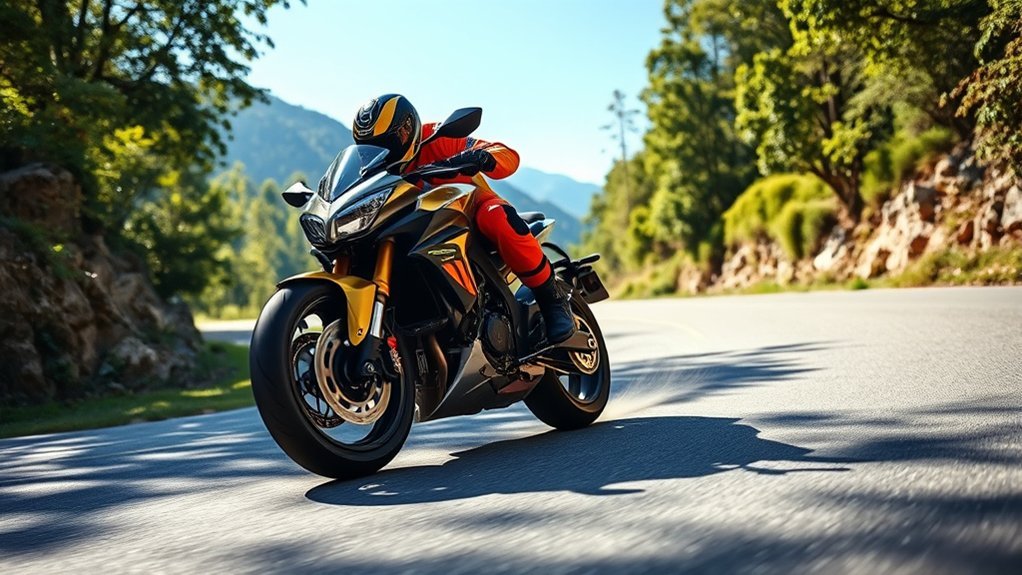
The easiest way to organize a normal street turn is the four-step method taught in the Motorcycle Safety Foundation’s Motorcycle Operator Manual:
- Slow: Set a safe entry speed before the turn by smoothly closing the throttle and, when needed, applying both brakes.
- Look: Turn your head and look through the corner toward the path you want the motorcycle to follow. Keep scanning for traffic, debris, changing pavement, and a tightening radius.
- Press: Press the handgrip on the side of the intended turn. Press left to lean and turn left; press right to lean and turn right.
- Roll: Once your entry speed and line are settled, maintain a light, steady throttle or increase it gradually as the motorcycle begins to stand up at the exit.
Good cornering begins before the motorcycle leans: choose a safe speed, find the exit, and keep enough reserve to respond to what you cannot yet see.
Countersteering is the steering input used to initiate and adjust a turn at normal road speeds. You are not trying to hold the front wheel at an obvious angle. A brief, controlled press makes the motorcycle lean, and continued light pressure can adjust the line as the corner develops.
Keep your grip secure but avoid locking your elbows or supporting your upper-body weight through the handlebars. Bent arms and relaxed shoulders let the motorcycle respond without unwanted steering pressure.
Warning: Public roads are not controlled training areas. Never practice maximum lean, high-speed entries, or abrupt braking where traffic, pedestrians, driveways, curbs, loose material, or fixed objects are present. Ride at a speed that lets you stop within the road you can see.
The Importance of Body Positioning in Turns
Body position supports steering and balance, but it does not manufacture tire grip. Available traction still depends on speed, pavement, tire condition, temperature, load, lean angle, and how smoothly you use the controls.
For most normal street turns, the rider and motorcycle lean together at roughly the same angle. Use a neutral position:
- Keep your head and eyes up, with your chin pointed toward the exit.
- Relax your shoulders and keep your elbows slightly bent.
- Hold the motorcycle with your lower body instead of pushing your weight into the handlebars.
- Keep both feet firmly on the footrests and avoid pointing your toes toward the pavement.
- Keep your feet close enough to the controls that you can operate the brake and shifter without searching for them.
You do not need an exaggerated racing crouch or a dramatic hang-off position for ordinary street riding. A modest inward upper-body position may reduce the motorcycle’s required lean in some faster curves, but it should never compromise your view, control reach, or ability to react.
Slow, tight turns require a different technique. Keep your body more upright while allowing the motorcycle to lean underneath you. This counterbalancing position, combined with head turn, clutch friction-zone control, light throttle, and gentle rear-brake pressure, can improve low-speed stability.
Note: Normal road-speed cornering and parking-lot U-turns use different body-position and control strategies. Do not apply a low-speed counterbalance technique to every open-road curve.
How to Master Quick Turn Techniques for Better Control
A quick turn is a decisive countersteering input that helps the motorcycle reach the needed lean angle without drifting through a long, vague turn-in. “Quick” describes the clean steering action—not a high entry speed.
Use this sequence in a permitted, clean practice area:
- Approach at a low, consistent speed.
- Finish major braking before the turn marker.
- Turn your head and identify the intended path.
- Press the inside handgrip smoothly and decisively.
- Relax the pressure once the motorcycle reaches the required lean, then make small corrections as needed.
- Maintain calm throttle control and let the motorcycle stand up before accelerating more firmly.
Abrupt steering on wet pavement, gravel, painted lines, metal covers, or cold tires may exceed available traction. Use less speed, less lean, and gentler inputs whenever grip is uncertain.
Maintaining Smooth Throttle Control During Turns
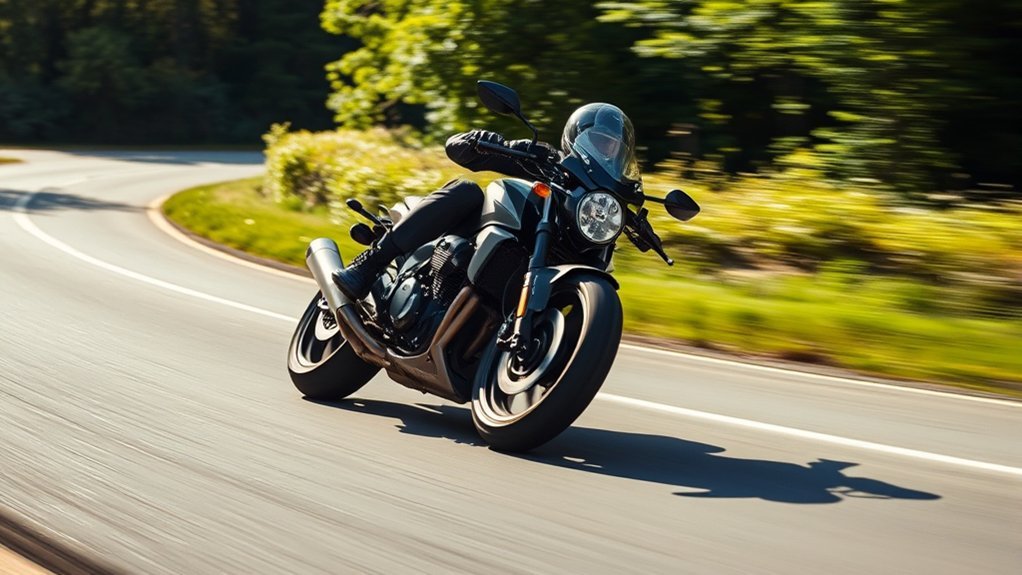
Smooth throttle control helps prevent sudden weight transfer and keeps the motorcycle’s response predictable. After setting your entry speed, avoid snapping the throttle closed or opening it aggressively while the motorcycle is deeply leaned.
Through a normal corner, use enough throttle to maintain a settled pace. As the exit opens and lean angle decreases, increase the throttle gradually. More acceleration should be added as the motorcycle stands up and more traction becomes available for driving the rear wheel.
The goal is not to hold one exact throttle position. The goal is to avoid abrupt changes that upset the motorcycle or consume traction without warning.
If you entered too fast, do not rely on throttle to “stabilize” a bad line. Look toward the safe exit, press the inside handgrip as needed, and use smooth braking only if speed must be reduced.
Pro Tip: Practice rolling the throttle on and off while riding upright at low speed. A steady wrist and relaxed forearm make smooth corner exits easier when the motorcycle is leaned.
How to Use Trail Braking for Improved Cornering Precision
Trail braking means carrying a small amount of brake pressure past the turn-in point and gradually releasing it as lean angle increases. It can help an experienced rider manage speed and line, but it also asks the tires to brake and corner at the same time.
Beginners should first become consistent at selecting a safe entry speed and completing most braking while the motorcycle is upright. The MSF Advanced RiderCourse is a more appropriate setting for refining combined braking and cornering skills.
Warning: Do not teach yourself aggressive trail braking in fast street corners. Excess brake pressure, an abrupt lever input, poor pavement, or excessive lean can cause a loss of traction. Use qualified coaching and a controlled course.
Understanding Trail Braking Benefits
When performed correctly by a trained rider, light trail braking may provide:
- Finer control of corner-entry speed
- A smoother transition from braking to cornering
- The ability to make a small speed correction when a curve tightens
- More precise front-end feedback during turn-in
These benefits do not make the technique risk-free. Braking loads the front tire while consuming part of the traction available for cornering. More lean requires less brake pressure.
Executing Proper Technique
On a closed course and under instruction, proper trail-braking practice follows a progressive pattern:
- Complete the strongest braking while the motorcycle is upright.
- Begin the turn with only light, controlled pressure remaining.
- Release brake pressure progressively as lean angle increases.
- Keep your head up and continue looking toward the intended path.
- Finish releasing the brake before adding meaningful acceleration.
Never grab the front brake. If substantial braking is suddenly required in a curve, reduce lean and straighten the motorcycle as road space permits, then apply progressively firmer braking.
Practicing for Consistency
Consistency matters more than speed. Begin with upright braking and gentle turns at low speed. Work on one control at a time, take frequent breaks, and stop when your concentration or smoothness declines.
- Use visible braking and turn-in markers.
- Repeat the same low-speed path.
- Keep brake pressure light once lean begins.
- Do not increase speed and braking intensity in the same session.
- Ask a certified instructor to observe your technique before advancing.
Choosing the Right Line for Motorcycle Cornering
A safe street line is not a racing line. Its purpose is to improve sight distance, keep the motorcycle inside its lane, avoid surface hazards, and preserve room for an unexpected problem.
Use a flexible outside-to-inside-to-outside path only when the entire path is visible and safe:
- Approach: Position toward the outside portion of your lane when doing so improves your view and does not place you near debris, traffic, or the road edge.
- Turn-in: Delay the turn enough to see farther through the corner, but do not turn so late that you need an abrupt steering input.
- Apex: Stay away from the centerline in a left-hand bend and from gravel, drains, curbs, or drop-offs in a right-hand bend.
- Exit: Allow the motorcycle to move outward only within your lane and only after you can see that the exit is clear.
A delayed apex can improve visibility and leave more room if the corner tightens. Its street-riding value is safety margin, not higher exit speed.
Pro Tip: Treat the centerline as a wall. Keep your head, body, motorcycle, and luggage inside your lane even when an oncoming vehicle appears to be staying on its side.
What to Do If a Corner Tightens or You Start Running Wide
Running wide often begins with excessive entry speed, target fixation, a delayed steering input, or panic braking. The safest correction depends on available traction and road space.
If You Are Drifting Wide
- Keep your eyes on the safe path and exit—not the shoulder, guardrail, or centerline.
- Press the inside handgrip more firmly to tighten the line if traction and ground clearance allow.
- Avoid chopping the throttle or grabbing either brake.
- If speed must come down, use smooth, progressive braking and reduce lean as space becomes available.
Many motorcycles can turn more tightly than a frightened rider expects. Looking through the turn and maintaining deliberate steering pressure is usually more effective than staring at the hazard.
If There Is an Obstacle in the Corner
When there is enough room, straighten the motorcycle before hard braking. If you must change direction, complete the major braking first and then swerve, or swerve first and then brake. Combining maximum braking with a sharp swerve may exceed available traction.
Blind and Decreasing-Radius Corners
Enter blind corners at a speed that preserves reserve lean angle and allows you to react within the visible road. Hold a line that improves sight distance without approaching the centerline. If the radius tightens, look farther through the turn, add measured inside-handgrip pressure, and reduce speed smoothly if necessary.
How Tire Pressure Affects Motorcycle Cornering
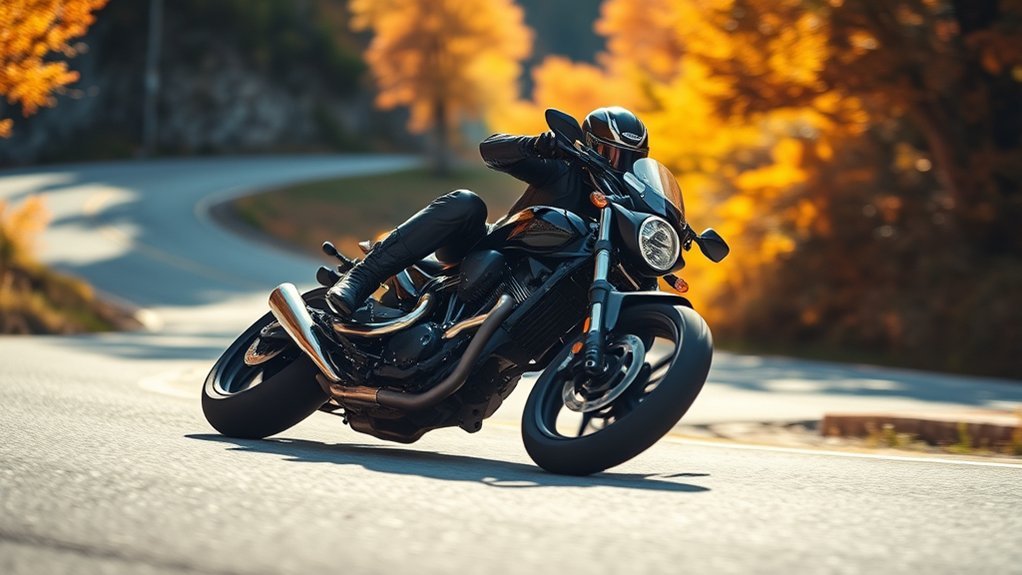
Tire pressure affects steering response, heat buildup, tire shape, wear, and load capacity. There is no safe universal PSI range for every motorcycle.
Use the cold-pressure specification in your motorcycle’s owner’s manual or on its tire-information placard. The MSF Motorcycle Tire Guide recommends checking pressure with an accurate gauge when the tires are cold and checking for damage, wear, and load limits.
Optimal Tire Pressure Benefits
Correct model-specific pressure helps the motorcycle deliver the steering, stability, braking, and load performance intended by its manufacturer. Check both tires before a long trip and at least as often as the motorcycle or tire manufacturer recommends.
- Use a reliable gauge rather than judging pressure by appearance.
- Check tires before riding, when they are cold.
- Reinstall valve caps after checking.
- Inspect for cuts, punctures, bulges, cracking, exposed cords, and unusual wear.
- Use the specified pressure and suspension settings for a passenger or cargo load.
Impact on Traction Levels
Underinflation can cause excessive flex, heat, heavy steering, irregular wear, and internal damage. Overinflation may reduce compliance over bumps, change steering feel, increase impact vulnerability, and reduce the useful contact area under some conditions.
Do not use the maximum pressure molded into the tire sidewall as the normal operating pressure unless the motorcycle manufacturer specifically calls for it. The sidewall marking relates to the tire’s load rating, not necessarily the pressure intended for your motorcycle.
Adjustments for Different Conditions
Do not make arbitrary street-pressure changes for hot weather, cold weather, rain, or spirited riding. Set the tires to the motorcycle manufacturer’s cold specification. Tire pressure rises naturally as the tires warm, and air should not be released from a hot tire merely to return it to the cold number.
Passenger, cargo, off-road, and track applications may require different settings. Follow the motorcycle and tire manufacturers’ instructions for that specific use. Return off-road-adjusted tires to the correct paved-road pressure before highway travel.
Note: New tires are not ready for maximum lean immediately. Follow the tire manufacturer’s break-in instructions, use gentle acceleration and braking, and increase lean progressively while learning the tires’ response.
Cornering in Rain, Gravel, Cold, and Low-Visibility Conditions
Reduced or uncertain grip requires a larger safety margin. Slow earlier, keep the motorcycle more upright, and make every steering, brake, and throttle input gentler.
Wet or Cold Pavement
- Reduce speed before the corner.
- Avoid abrupt throttle changes and sudden brake pressure.
- Use less lean angle and increase following distance.
- Be especially cautious on painted markings, tar strips, leaves, polished pavement, and metal covers.
- Allow cold tires time to warm through normal riding rather than aggressive acceleration or weaving.
Gravel, Sand, and Road Debris
Look well ahead and reduce speed before reaching the contaminated area. If you must cross loose material, keep the motorcycle as upright as practical, avoid abrupt braking or acceleration, and allow the bike to move slightly underneath you without fighting every small motion.
Downhill, Off-Camber, and Night Corners
Downhill and off-camber turns may require more braking before entry and can reduce ground-clearance or traction margins. At night, your headlight may reveal less of the curve than expected. Choose a speed that lets you stop within the illuminated road and watch for animals, disabled vehicles, and changing pavement.
Cornering With a Passenger or Cargo
A passenger or luggage changes acceleration, braking distance, suspension movement, steering response, and cornering clearance. NHTSA advises checking tire pressure, securing and balancing the load, and adjusting the motorcycle as specified before riding with extra weight.
- Review the owner’s manual for load, tire-pressure, and suspension limits.
- Brake sooner and use a lower corner-entry speed.
- Use smoother steering, throttle, and gear changes.
- Allow more room for the motorcycle to accelerate and stop.
- Tell the passenger to sit directly behind you, keep both feet on the footrests, avoid sudden movement, and lean naturally with you.
- Stop if any part of the motorcycle touches the pavement during normal cornering.
Do not attempt demanding cornering with a passenger until you are fully comfortable with the motorcycle while riding solo.
Practicing Cornering for Increased Confidence
Practice in a clean, level area where riding is permitted and where there is no moving traffic, pedestrian activity, loose gravel, curbing, or fixed obstacle in the exercise path. Wear a DOT-compliant helmet, eye protection, gloves, over-the-ankle footwear, long pants, and a protective jacket.
The MSF Basic RiderCourse includes braking, cornering, U-turns, swerving, lane changes, and coached feedback. Formal instruction is the safest way to identify habits that may be difficult to notice on your own.
| Technique | Practice Goal |
|---|---|
| Slow-Speed Cornering | Use head turn, friction-zone control, light throttle, rear brake, and counterbalancing. |
| Normal Turns | Practice Slow, Look, Press, Roll while rider and motorcycle lean together. |
| Visual Cues | Turn your head, identify the exit, and avoid staring at cones or boundaries. |
| Entry-Speed Control | Complete smooth braking before the turn marker and enter at a repeatable speed. |
| Coached Feedback | Use a certified RiderCoach or formal course to correct technique before increasing difficulty. |
Use this progressive routine:
- Inspect the motorcycle and check cold tire pressure.
- Warm up with straight-line starts, stops, and low-speed control.
- Ride a large oval in both directions at a steady low speed.
- Add clearly marked turn-in, apex, and exit points.
- Work on consistent head turn and inside-handgrip pressure.
- Practice smooth entry braking separately from cornering.
- Combine the skills only after each one is repeatable.
- Stop before fatigue causes late decisions, stiff arms, or missed markers.
Common Motorcycle Cornering Mistakes
- Entering too fast: Slow earlier and keep a reserve for a tightening radius or unseen hazard.
- Looking at the road edge: Turn your head and move your eyes toward the safe exit.
- Stiff arms: Support your body with your legs and core instead of leaning on the handlebars.
- Weak countersteering: Use a clear inside-handgrip press rather than waiting for the motorcycle to drift into the turn.
- Chopping the throttle: Use gradual changes to avoid sudden weight transfer.
- Grabbing the brake while leaned: Apply brake pressure progressively and reduce lean as space permits.
- Crossing the centerline: Keep every part of the rider and motorcycle inside the lane.
- Following another rider’s line blindly: Choose your own line based on your view, speed, motorcycle, and skill.
- Practicing too long: End the session when concentration or consistency begins to fall.
Frequently Asked Questions
How do you get better at cornering on a motorcycle?
Practice Slow, Look, Press, Roll at modest speeds in a controlled area. Work first on entry speed, head turn, countersteering, relaxed posture, and smooth throttle. Repeat the same exercise in both directions and seek feedback from a qualified motorcycle instructor before adding speed or advanced braking.
What is the 1% Rule in motorcycles?
There is no universal motorcycle-cornering rule formally known as the “1% Rule.” Some coaches use percentages to describe gradual brake, throttle, or skill progression, but the meaning depends on the program. Ask the instructor or source to define the term rather than treating it as a standard riding rule.
What is the 12-second rule for motorcycles?
The 12-second rule is a hazard-search strategy. Look toward the area your motorcycle will reach in roughly 12 seconds so you can identify curves, traffic, intersections, surface problems, and escape paths before they become urgent. Continue scanning closer four-second and following-distance zones as well.
What are the four principles of motorcycle cornering?
A common four-step method is Slow, Look, Press, Roll: reduce speed before the turn, look through the corner, press the inside handgrip to initiate lean, and maintain or gradually increase throttle as the exit opens.
Should you brake while cornering a motorcycle?
Set most of your speed before the corner whenever possible. If you must slow while leaned, use smooth, progressive brake pressure and remember that less traction is available for braking as lean angle increases. Reduce lean as road space permits before applying stronger braking.
Should you lean your body or the motorcycle first?
In a normal road-speed turn, press the inside handgrip and allow the rider and motorcycle to lean together. In a slow, tight turn, keep your body more upright and let the motorcycle lean underneath you. Avoid exaggerated body movement that interferes with your view or controls.
How should you corner a motorcycle on wet roads?
Slow before the turn, use less lean angle, increase following distance, and make every control input gentler. Avoid abrupt braking or acceleration on paint, metal covers, tar strips, leaves, and standing water. Keep your tires at the motorcycle manufacturer’s specified cold pressure.
Conclusion
Confident motorcycle cornering is built through judgment, vision, countersteering, and smooth control—not through rushing toward greater speed or lean angle. Set a conservative entry speed, look through the turn, press the inside handgrip, and leave enough traction and lane space for the unexpected.
Check the motorcycle before every ride, use the specified cold tire pressures, wear protective gear, and practice in short, focused sessions. Once the fundamentals are consistent, qualified instruction can help you safely refine braking, line selection, and more advanced cornering techniques.
Sources
- Motorcycle Safety Foundation — Motorcycle Operator Manual — countersteering, turning, body position, braking in a curve, hazard scanning, and passenger guidance
- Motorcycle Safety Foundation — Motorcycle Tire Guide — cold tire pressure, inspection, loading, wear, and tire-maintenance guidance
- Motorcycle Safety Foundation — Basic RiderCourse — basic braking, cornering, U-turn, swerving, and controlled-range instruction
- Motorcycle Safety Foundation — Advanced RiderCourse — advanced braking, cornering, hazard awareness, and coached skill development
- National Highway Traffic Safety Administration — Motorcycle Safety — protective equipment, training, pre-ride inspection, passenger, cargo, and road-safety guidance
- Michelin — Breaking In New Motorcycle Tires — progressive acceleration, braking, and lean-angle recommendations for new tires







Leave a Reply