
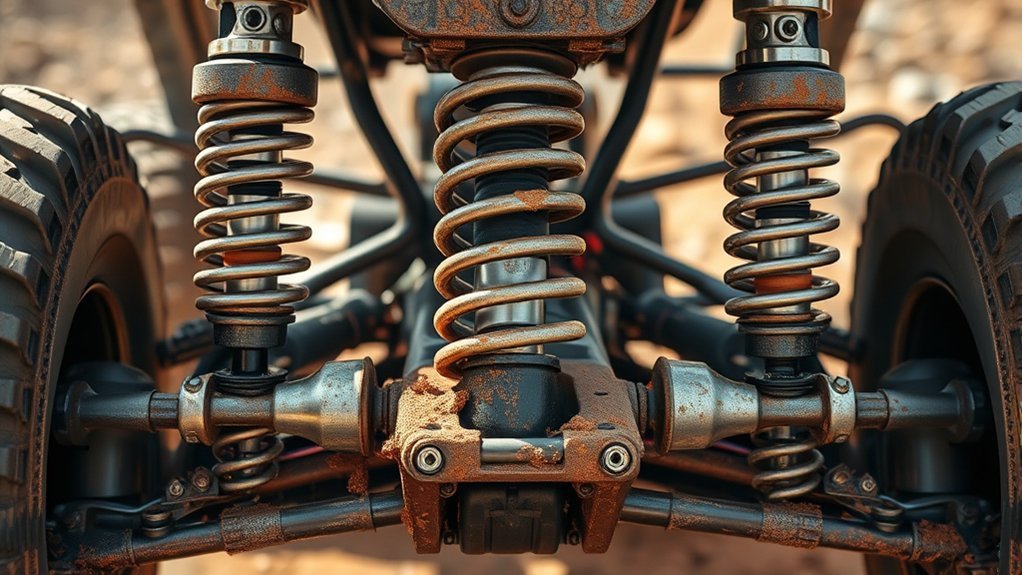
An effective off-road suspension setup starts with the correct parts for your exact vehicle, its normal loaded weight, and the terrain you actually drive. Spring rate, shock damping, ride height, suspension travel, tire clearance, and alignment must work as one system. A taller or stiffer setup is not automatically safer, more comfortable, or more capable.
Quick Answer
The best off-road suspension setup matches spring rate to the vehicle’s constant load, uses shocks tuned for the exact application, preserves safe bump and droop travel, and keeps steering, brake lines, CV joints, and alignment within limits. Measure first, change one variable at a time, and test at low speed.
Key Takeaways
- Verify every spring, shock, spacer, control arm, and lift component for your exact VIN, model year, trim, drivetrain, axle, and body configuration.
- Choose springs for the vehicle’s normal constant weight, including bumpers, winches, racks, drawers, spare-tire carriers, and permanently mounted equipment.
- Preload changes initial spring force and often ride height; it does not change the published rate of a linear spring.
- Check bump travel, droop travel, tire clearance, brake hoses, ABS wiring, CV joints, driveshafts, steering, and bump stops before trail use.
- Obtain an alignment and complete a careful road test after changing suspension height or geometry.
At a Glance
| Time Required | About 30–60 minutes for inspection and baseline measurements; several hours or longer for installation, travel checks, alignment, and testing. |
| Difficulty | Intermediate for measurement and external damper adjustments; advanced or professional for spring removal, geometry changes, welding, or internal shock tuning. |
| Tools Needed | Owner and service information, tape measure, tire-pressure gauge, wheel chocks, rated jack and stands, hand tools, torque wrench, paint marker, and alignment equipment or professional alignment service. |
| Cost | Baseline measurements may cost nothing. Parts, installation, alignment, calibration, and shock service vary widely by vehicle and system. |
Verify Fitment, Load, and Safety Before Changing the Suspension
Begin with your vehicle’s VIN, model year, trim, engine, drivetrain, axle type, cab or body configuration, and gross vehicle weight rating. Similar-looking trucks and SUVs can use different springs, shocks, control arms, mounts, electronic systems, and alignment specifications.
Confirm that every component is approved for the exact application. Check the suspension manufacturer’s fitment notes for required control arms, bump-stop extensions, differential drops, driveshaft changes, brake-hose brackets, wheel backspacing, or other supporting parts.
Calculate the Normal Vehicle Load
Choose springs around the weight the vehicle carries most of the time. Constant load can include steel bumpers, a winch, skid plates, rock sliders, drawers, an auxiliary battery, a roof rack, a spare-tire carrier, or permanently mounted camping equipment. Temporary passengers and removable cargo should normally remain within the vehicle’s payload rating rather than being treated as a reason to install excessively heavy springs.
ARB’s spring-selection guidance recommends matching the suspension to the vehicle, terrain, and constant accessory weight instead of choosing a spring merely because it is labeled light, medium, or heavy.
Inspect the Existing Suspension
Do not use a lift kit to hide worn parts. Inspect the shocks or struts for leaks, damaged shafts, loose bushings, dented bodies, or broken mounts. Check coil and leaf springs, shackles, control-arm bushings, ball joints, tie-rod ends, wheel bearings, bump stops, sway-bar links, shock towers, and frame mounting points.
Repair rust, cracks, looseness, or damaged mounting hardware before fitting performance parts. A new shock cannot correct a worn ball joint, and a heavier spring cannot repair a weak mounting point.
Warning: Coil springs and torsion bars store enough energy to cause severe injury. Support the vehicle only at approved lift points with equipment rated for its weight. Use the correct spring compressor and service procedure. On hybrids and EVs, follow the manufacturer’s lifting and high-voltage precautions.
Basic Off-Road Suspension Concepts
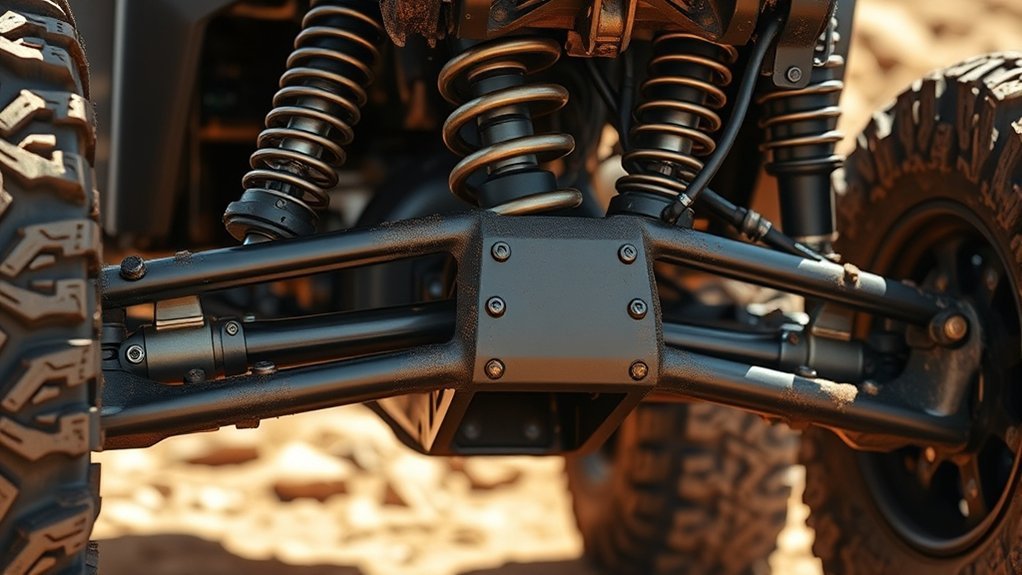
An off-road suspension supports the vehicle, controls body and wheel movement, keeps the tires in useful contact with the ground, and protects the chassis from severe impacts. Its major parts must be selected and tested as a system.
| Component | Primary Job | Common Setup Error |
|---|---|---|
| Springs | Support weight and establish the basic force needed to move the suspension. | Choosing by desired lift alone instead of actual constant load. |
| Shock absorbers | Control the speed of compression and extension. | Using incorrect length or valving for the spring, load, and terrain. |
| Control arms, links, and axles | Define how the wheels and axles move. | Ignoring joint angles and alignment after a lift. |
| Bump stops | Limit compression before parts collide or the shock bottoms internally. | Removing or shortening them to gain travel. |
| Limit straps or droop stops | Protect shocks, joints, hoses, and shafts at full extension. | Allowing the shock, brake hose, or CV joint to become the droop limiter. |
| Sway bars | Reduce body roll by linking left and right suspension movement. | Removing them without considering emergency and on-road handling. |
Wheel articulation is not controlled by spring softness alone. It is limited by the complete travel path, including shock length, joint angles, sway bars, bump stops, steering, brake hoses, ABS wiring, tire clearance, and the physical shape of the body and chassis.
Note: There is no universal bump-to-droop ratio that fits every off-road vehicle. Preserve enough compression travel to absorb impacts and enough droop to maintain tire contact without overextending any component.
Selecting Springs for Off-Road Suspension Performance
The correct spring supports the vehicle at its normal operating weight while leaving usable compression and extension travel. A spring that is too light may sag, contact the bump stops too often, or leave little compression travel. A spring that is too heavy can reduce compliance and feel harsh when the vehicle is lightly loaded.
Spring Rate, Preload, and Ride Height
Spring rate is the force required to compress a spring a given distance. Eibach defines spring rate as force per unit of spring movement.
Preload is force placed on the spring before additional suspension movement occurs. On a linear coil spring, increasing preload does not change the spring’s published rate. It changes the initial force and may change static ride height, depending on the suspension design.
Ride height is the vehicle’s measured position at rest. It is influenced by spring free length, spring rate, preload, spring-seat position, suspension motion ratio, vehicle weight, and component geometry.
Sag is the amount the suspension settles under the vehicle’s loaded weight. For trucks and SUVs, use the dimensions and ride-height range specified by the vehicle and suspension manufacturer rather than importing a percentage from an unrelated vehicle type.
| Spring System | Best Use | Important Limitation |
|---|---|---|
| Linear-rate coil | Predictable force increase through its usable travel. | Must be correctly rated for the installed load. |
| Progressive spring | Increasing resistance as more coils or sections engage. | The rate curve and transition are product-specific. |
| Dual-spring or multi-rate coilover | Allows separate initial and later travel characteristics. | Combined rate and crossover position require careful calculation and testing. |
| Heavy-load spring | Supports substantial permanent accessories or cargo systems. | Can ride poorly if installed on a vehicle without the intended constant load. |
| Helper or tender spring | Maintains spring seating or contributes to a staged rate. | Helper and tender springs do not perform the same job. |
Pro Tip: Weigh the vehicle in its normal trail-ready condition when possible. At minimum, list every permanently installed accessory and record loaded four-corner ride heights before ordering springs.
Why Do Shock Absorbers Matter for Your Off-Road Adventure?
Springs support the vehicle, but shock absorbers control how quickly the suspension moves. Correct damping can improve tire control, reduce repeated bouncing, manage body motion, and prevent the suspension from cycling too quickly after an impact.
Choose shocks that match the exact vehicle, lift range, spring, axle weight, mounting style, and intended use. A shock that is too short can top out before the rest of the suspension reaches safe droop. A shock that is too long can allow a coil to unseat, overextend a CV joint, pull a brake hose tight, or permit other parts to collide.
Improved Ride Quality
Compression damping resists the shock as it shortens. Rebound damping resists the shock as it extends. Both affect comfort and control, but they do not replace correct spring selection or adequate suspension travel.
| Adjustment | What It Controls | Possible Sign of Too Much | Possible Sign of Too Little |
|---|---|---|---|
| Low-speed compression | Body motion caused by braking, turning, rolling terrain, and gradual load transfer. | Harshness and reduced compliance over smaller irregularities. | Excessive pitch, wallow, or body movement. |
| High-speed compression | Rapid shaft movement from sharp edges, holes, landings, and larger impacts. | Sharp impact feel and poor wheel movement over abrupt obstacles. | Frequent bottoming or excessive use of the bump stops. |
| Rebound | How quickly the suspension returns after compression. | Packing down over repeated bumps because the suspension cannot recover quickly enough. | Repeated bouncing, kicking, or uncontrolled extension. |
FOX’s truck-shock guidance separates high- and low-speed compression functions and shows why shock behavior must be tuned for both small movements and larger impacts.
Enhanced Handling Control
Correct shock valving helps manage wheel and body movement without making the suspension unnecessarily stiff. Application-specific shocks are preferable to generic dampers because vehicle weight, motion ratio, spring rate, tire pressure, and intended terrain all affect the required damping.
Shock type also matters. Monotube, twin-tube, remote-reservoir, coilover, internal-bypass, and external-bypass designs solve different packaging, heat, travel, and tuning needs. A more complex shock is worthwhile only when the vehicle and use can benefit from it.
Increased Stability Off-Road
Well-matched shocks can improve control, but they do not guarantee stability or prevent a rollover. Vehicle speed, terrain, tire grip, track width, load placement, steering input, spring selection, lift height, and center of gravity remain critical.
Keep heavy cargo as low and centered as practical. Slow down for side slopes, drop-offs, abrupt transitions, and uneven surfaces. Test a modified vehicle gradually rather than assuming a familiar trail will feel the same after the suspension has changed.
Adjust Ride Height for Maximum Clearance
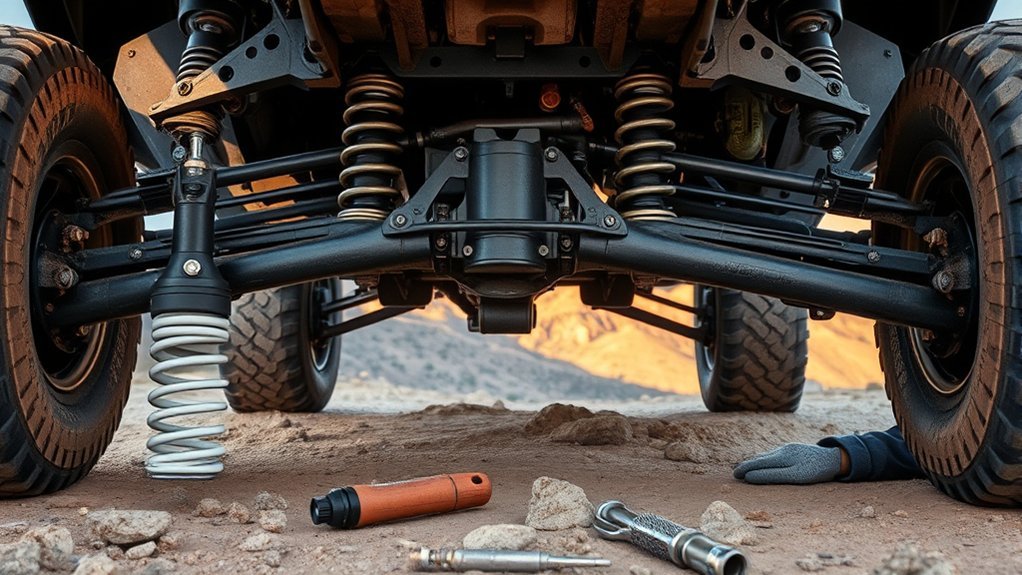
Increasing ride height can improve body, frame, and undercarriage clearance, but it does not automatically increase axle clearance on a solid-axle vehicle. Larger tires usually create most of the additional differential clearance, while also introducing possible rubbing, gearing, braking, and calibration concerns.
Measure Before Adjusting
Park on a level surface, set the normal tire pressures, load the vehicle as it is usually driven, and record measurements at all four corners. Use repeatable points such as the lower edge of the wheel rim to a fixed fender or body reference.
ARB’s installation guidance recommends taking pre-installation corner measurements, inspecting mounting points, road-testing the vehicle, and completing a wheel alignment after installation.
Adjusting Spring Preload
Use preload only within the suspension manufacturer’s specified range. Do not apply a universal 1–2-inch setting. Excessive preload may reduce available droop, create coil-bind or top-out concerns, place the spring seat outside its approved range, or mask the need for a different spring rate.
If a vehicle requires substantial preload simply to hold normal ride height, verify the spring rate and constant load. A correctly selected heavier-rate or longer application-specific spring may be more appropriate than forcing an unsuitable spring to carry the load.
Choosing Appropriate Spacers
Top-hat spacers can raise ride height without adding spring preload, but they change where the suspension sits within its travel. Depending on the design, a spacer can reduce safe compression clearance, alter control-arm and CV angles, increase top-out frequency, or allow another component to become the droop limiter.
ARB’s preload and top-hat spacer guidance explains that preload adjustments must remain within the intended coil range and that top-hat spacers can overextend the suspension or limit performance.
Evaluating Suspension Components
Before approving the final ride height, inspect and cycle the complete system. Check:
- Upper and lower control-arm angles and joint travel
- CV-joint and driveshaft operating angles
- Driveshaft slip travel and binding
- Steering linkage and tie-rod clearance
- Brake-hose and ABS-wire slack
- Shock compressed and extended lengths
- Coil seating and retention at full droop
- Bump-stop engagement before shock or tire damage
- Tire clearance at full steering lock and suspension compression
- Sway-bar link angles and interference
- Headlight aim, camera aim, radar operation, and other affected driver-assistance systems
Warning: Raising a vehicle changes its center of gravity and can alter steering, braking, emergency handling, and electronic stability-control behavior. Stay within the vehicle and suspension manufacturer’s approved range and test the finished vehicle carefully.
Suspension Travel, Bump Stops, and Droop Limits
Usable travel is more important than a universal bump-to-droop ratio. At full compression, the bump stop should protect the shock, tire, fender, steering, driveshaft, and other components before damaging contact occurs. At full droop, the shock, brake hose, ABS wire, CV joint, driveshaft, ball joint, or coil spring must not be pulled beyond its safe range.
Hydraulic bump stops can add controlled resistance near the end of compression, but they do not replace correctly positioned primary bump stops. Limit straps can protect shocks and joints at full extension, but their mounts and lengths must be designed for the forces involved.
Cycle the suspension safely with the spring removed only when the service procedure and suspension design allow it. Turn the steering from lock to lock while checking clearances. Repeat the check with the wheel and tire combination that will actually be used.
Compression vs. Rebound Damping: What You Need to Know
Compression and rebound adjustments should be changed in small steps from the manufacturer’s recommended baseline. Record every setting so you can return to a known configuration.
- Confirm the mechanical setup first. Verify spring selection, loaded ride height, tire pressure, alignment, travel limits, and fastener torque.
- Set all shocks to the documented baseline. Count clicks from the fully closed position only as directed by the shock manufacturer. Never force an adjuster past its stop.
- Choose a repeatable test route. Use the same speed, load, tire pressure, and obstacle sequence.
- Change one circuit at a time. Adjust only compression or rebound, usually one or two clicks per test unless the manufacturer specifies otherwise.
- Watch for bottoming, top-out, packing, bounce, harshness, and body motion. Stop if the vehicle becomes less predictable.
- Repeat with the normal load. A setting that works when empty may not control a fully equipped overland vehicle.
The most useful suspension adjustment is the one you can measure, repeat, and reverse. Change one variable at a time and keep a written setup log.
How Tire Size and Pressure Affect the Setup
Larger tires do not increase the suspension’s mechanical travel. They can increase ground clearance under the axle and reduce the approach, breakover, or departure limitations caused by smaller tires, but they also occupy more space throughout steering and suspension movement.
Check tire clearance at full compression, full droop, and both steering locks. Include clearance to body seams, liners, control arms, sway bars, brake hoses, and wiring. Wheel width and offset can change clearance even when tire diameter stays the same.
Tire pressure is a separate tuning tool. Lower off-road pressure can improve compliance and footprint on suitable terrain, but safe pressure depends on tire construction, wheel design, vehicle weight, speed, heat, and the risk of bead loss or sidewall damage. Reinflate to the appropriate road pressure before normal-speed pavement driving.
Fine-Tuning Your Off-Road Suspension Setup
Use a measured process instead of chasing maximum height or softness:
- Record the starting condition. Note tire pressure, cargo, fuel level, corner heights, alignment behavior, shock settings, and any existing lean.
- Install matched components. Use springs, shocks, mounts, and supporting parts approved for the exact application and lift range.
- Set loaded ride height. Keep preload or spring-seat position within the manufacturer’s limits.
- Verify full travel. Confirm bump-stop contact, shock clearance, coil retention, tire clearance, and safe hose, wire, joint, and driveshaft movement.
- Torque correctly. Tighten fasteners to the vehicle or component manufacturer’s specification. Bushings that require normal ride-height torque should not be locked at full droop.
- Obtain an alignment. Correct toe, camber, caster, thrust angle, steering-wheel position, and any adjustable axle or link position as applicable.
- Complete a low-speed road test. Check steering return, brake feel, vibration, pulling, noise, body control, and electronic warnings.
- Tune damping in small steps. Change one circuit at a time and keep a log.
- Reinspect the vehicle. Look for movement, contact marks, loose hardware, leaks, settling, or new tire rubbing after the initial test period.
A zip tie on an exposed shock shaft can provide a rough indication of maximum compression use, but place it only where the shock manufacturer permits and where it cannot damage a seal or protective component. A camera can also help identify tire contact or bump-stop engagement during controlled low-speed testing.
Avoid These Common Off-Road Suspension Mistakes
- Buying by lift height alone: A complete system must account for load, geometry, shock length, travel, alignment, and tire clearance.
- Using heavy springs on a lightly loaded vehicle: The result may be poor compliance, limited droop, and a harsh ride.
- Using excessive preload to correct the wrong spring: This can reduce usable travel without solving the underlying load mismatch.
- Allowing the shock to act as the bump or droop stop: Internal bottoming or top-out can damage the shock and mounts.
- Ignoring brake hoses and ABS wiring: Full droop or steering movement can pull them tight even when static clearance looks acceptable.
- Removing sway bars for general driving: Reduced roll stiffness can make emergency and on-road handling less predictable.
- Skipping alignment: Incorrect toe, camber, caster, or axle position can cause pulling, wandering, unstable steering, and rapid tire wear.
- Changing several settings at once: You will not know which change improved or worsened the vehicle.
- Testing too aggressively: Begin at low speed in a controlled area and increase difficulty only after verifying the setup.
Off-Road Suspension Troubleshooting
| Symptom | Possible Causes | What to Check First |
|---|---|---|
| Vehicle sits low or uneven | Incorrect spring, uneven constant load, damaged spring, installation position, or excessive settling | Four-corner measurements, accessory weight, spring labels, and mounting condition |
| Harsh over small bumps | Spring too heavy, excessive compression damping, high tire pressure, binding bushing, or insufficient droop | Tire pressure, shock baseline, ride-height torque procedure, and spring application |
| Repeated bouncing | Insufficient rebound damping, worn shocks, incorrect valving, or excessive load | Leaks, shock temperature, adjuster position, mounting bushings, and load |
| Suspension packs down on repeated bumps | Too much rebound damping or insufficient time to extend | Return to baseline and reduce rebound damping in small steps |
| Frequent bottoming | Too little compression travel, inadequate spring support, insufficient damping, excessive speed, or incorrect bump stops | Loaded height, bump-stop engagement, spring selection, shock travel, and driving speed |
| Clunk at full extension | Shock top-out, loose mount, sway-bar link movement, coil unseating, or excessive droop | Shock length, mount torque, coil retention, and droop limits |
| Wandering or poor steering return | Alignment, tire pressure, worn steering parts, altered caster, or incorrect axle position | Professional alignment report and steering-component inspection |
| Uneven tire wear | Incorrect alignment, worn joints, loose bearings, pressure mismatch, or inadequate damping | Tire pressures, alignment, wheel bearings, joints, and shock condition |
Maintenance and Reinspection
Inspect suspension components after hard trail use and at the intervals specified by the vehicle and component manufacturers. Look for leaking shocks, chipped or corroded shafts, loose fasteners, damaged bushings, cracked mounts, bent links, polished contact marks, broken coils, shifted leaf packs, torn boots, and stretched hoses or wiring.
Mark critical fasteners with a paint pen after final torque so movement is easier to spot. Recheck ride height and alignment if the vehicle begins pulling, wandering, sitting unevenly, wearing tires irregularly, or contacting the bump stops more often.
Serviceable and rebuildable shocks require oil, seals, wear parts, and nitrogen service at manufacturer-defined intervals. Do not open a pressurized shock or reservoir without the correct training and equipment.
Enhancing Your Off-Road Experience With Advanced Techniques
Advanced systems can improve performance when the basic setup is already correct:
- Remote-reservoir shocks: Add fluid and gas volume for heat management and packaging, but still require correct valving and fitment.
- Internal- or external-bypass shocks: Provide position-sensitive damping zones for specialized high-speed or competition use.
- Dual-spring coilovers: Allow combined spring-rate and crossover tuning when installed and calculated correctly.
- Hydraulic bump stops: Add controlled resistance near full compression while the primary bump-stop system protects hard limits.
- Limit straps: Protect shocks, joints, shafts, hoses, and wiring from excessive droop.
- Data logging: Shock-position sensors, temperature measurements, video, and repeatable test routes can replace guesswork with useful evidence.
Sway-bar disconnects can improve low-speed articulation on vehicles designed for them. Use only an approved system under the conditions stated in the owner’s manual. For example, Jeep’s factory front sway-bar disconnect operates below 18 mph in 4 Low. Reconnect the system before normal-speed or paved-road driving.
Internal shock valving, custom bypass tuning, spring-stack calculations, link-geometry changes, and fabricated mounts should be handled by an experienced suspension professional. These changes can create high loads and dangerous failure modes when performed incorrectly.
Frequently Asked Questions
How do I know when to replace my suspension components?
Replace or professionally inspect components when you find shock leaks, damaged shafts, broken or sagging springs, loose joints, torn bushings, cracked mounts, repeated bouncing, clunking, unstable steering, unusual body movement, or tire wear that cannot be corrected through pressure and alignment. Confirm the cause before replacing parts.
Can I use stock parts for off-road suspension upgrades?
Stock components may be suitable for mild trails when the vehicle remains within its factory load, tire, and operating limits. A lift or major tire change may require different shocks, control arms, bump stops, links, hoses, or other supporting parts. Follow the kit’s exact application guide instead of assuming every factory part can remain.
What tools do I need for suspension adjustments?
Basic measurement and external shock tuning require service information, a tape measure, tire-pressure gauge, adjustment tools, and a setup log. Installation normally requires wheel chocks, a rated jack and stands, hand tools, a torque wrench, and sometimes a manufacturer-approved spring compressor. Alignment requires professional equipment.
How does tire size affect suspension performance?
Larger tires do not create more suspension travel. They can increase axle clearance, but they also add mass and consume space during steering and suspension movement. Check rubbing at full compression, full droop, and both steering locks. Also consider wheel offset, gearing, braking, speedometer accuracy, and driver-assistance calibration.
Should I upgrade my suspension for light off-roading?
Not always. Start with a complete inspection, suitable tires, correct tire pressure, recovery equipment, and careful driving. Application-specific replacement shocks may improve control without adding lift. Upgrade springs when constant accessories or normal load cause sag, reduced travel, or poor control.
Does increasing preload make a spring stiffer?
Increasing preload on a linear spring raises its initial force and may raise ride height, but it does not change the spring’s published force-per-inch rate. Progressive, multi-spring, and geometry-sensitive systems can feel different as their rate or motion-ratio characteristics change through travel.
Do I need an alignment after installing a lift or new springs?
Yes. Changing ride height can alter toe, camber, caster, axle position, and steering-wheel alignment. Complete the installation, settle the suspension, set the normal load and tire pressures, and obtain an alignment to the vehicle or approved suspension specifications.
Is it safe to disconnect or remove the sway bar?
A manufacturer-approved disconnect can improve low-speed articulation when used exactly as directed. Removing or leaving a sway bar disconnected can reduce roll stiffness and change emergency handling. Reconnect it before normal-speed or paved-road driving unless the vehicle manufacturer explicitly states otherwise.
Sources
- ARB: How to Choose an Old Man Emu Suspension System — spring selection, constant load, vehicle-specific suspension matching, and shock selection.
- ARB: How to Choose the Best Suspension Kit for Your Off-Road Vehicle — spring rate, preload, spring-seat adjustment, and top-hat spacer limitations.
- ARB: Old Man Emu Install Tips — baseline measurements, mounting-point inspection, torque procedure, road testing, and wheel alignment.
- FOX Truck Shocks — damping technology, high- and low-speed compression control, top-out control, and application tuning.
- Jeep 4×4 Systems — manufacturer-controlled low-speed sway-bar disconnection and articulation.
- Eibach Race Spring Systems — spring-rate definition, helper springs, combined rates, and multi-spring transition systems.
Conclusion
A capable off-road suspension setup is not defined by maximum lift, the softest spring, or the firmest shock setting. It comes from matching springs and dampers to the exact vehicle and constant load, preserving safe compression and droop travel, checking every affected joint and line, and completing a proper alignment.
Measure the vehicle before changing it, follow the component manufacturer’s limits, and tune one variable at a time. That method produces a more predictable, comfortable, and durable vehicle on the trail without sacrificing the safety checks needed for the drive home.







Leave a Reply