
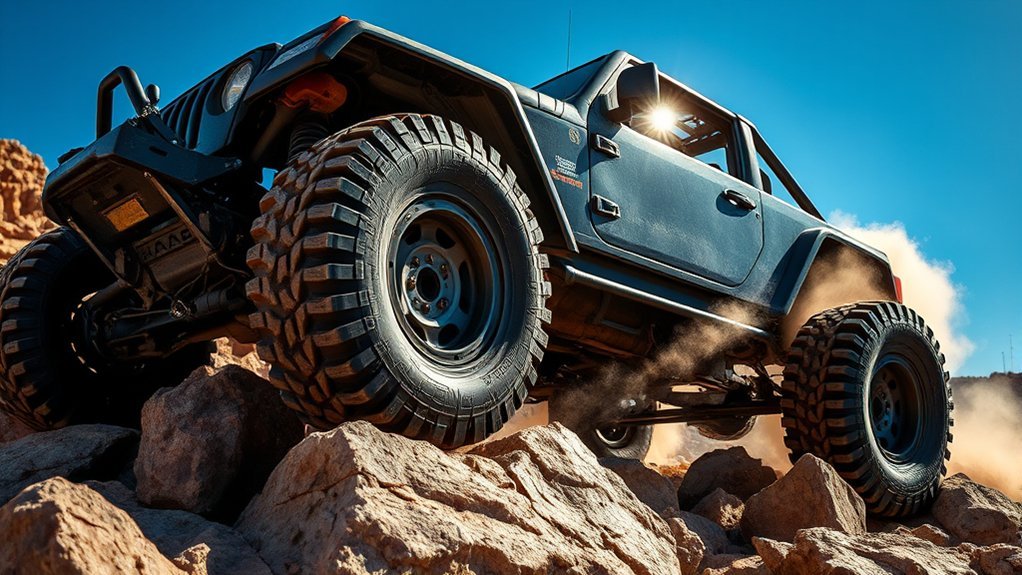
Rock crawling rewards patience, planning, and precise control—not speed. A capable vehicle helps, but a careful driver, a trusted spotter, and safe recovery practices matter just as much. Start on an easy, legal trail, learn how your specific 4×4 works, and inspect the vehicle before and after every run.
Quick Answer
To rock crawl safely, use low-range 4WD, move at walking speed, place your tires on stable high points, and follow one spotter’s commands. Carry rated recovery gear, stay on designated routes, air tires down only for your setup, and reinflate them before returning to pavement.
Key Takeaways
- Begin on an easy trail with an experienced group instead of testing your limits alone.
- Low range, steady throttle, and exact tire placement provide more control than momentum.
- Verify every modification against your vehicle’s model year, trim, VIN build data, axle, transfer case, and owner’s manual.
- Use only load-rated recovery points and equipment, and keep bystanders out of the recovery zone.
- Stay on designated routes, avoid widening trails, and stop when conditions exceed your skill or vehicle.
At a Glance
| Time Required | 30–60 minutes for planning and inspection, plus trail time |
| Difficulty | Moderate to expert; beginners should use rated beginner trails |
| Tools Needed | Pressure gauge, air compressor, basic hand tools, tire-repair kit, first-aid kit, navigation and communication devices, and rated recovery gear |
| Cost | Varies widely; a basic safety and recovery kit costs far less than tires, armor, lockers, or suspension work, which can reach several thousand dollars |
What Is Rock Crawling and Why It Matters
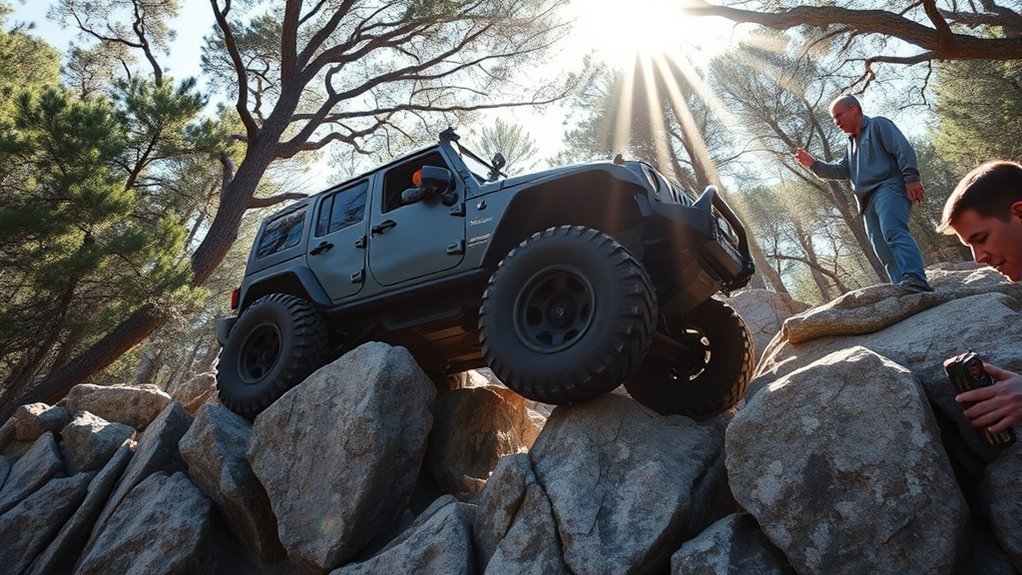
Rock crawling is a technical form of off-road driving that uses very low speed, high torque, careful line choice, and precise wheel placement to cross rocks, ledges, ruts, and steep grades. The goal is controlled progress with as little wheelspin, impact, and trail damage as possible.
A suitable vehicle normally has low-range four-wheel drive, useful ground clearance, strong recovery points, and protection for vulnerable parts. Locking differentials, low gearing, skid plates, rock rails, and flexible suspension can help, but none of them replaces judgment.
Crawl ratio describes how much the engine’s rotation is reduced through the transmission, transfer case, and axle gearing in the lowest combination. A higher numerical ratio generally lets the vehicle move more slowly with more torque multiplication. Current factory vehicles show why a single “ideal” number is misleading: the 2026 Jeep Wrangler Rubicon can be configured with an available 100:1 crawl ratio, while many capable vehicles use lower ratios.
Warning: Rock crawling can cause a rollover, component failure, fire, fluid spill, or serious injury. Wear seat belts, keep hands and arms inside the vehicle, obey site rules, and turn around when the obstacle exceeds your training, equipment, or safe margin.
Before You Go: Legal Access, Skill Level, and Vehicle Fit
Choose a route that is open to your vehicle type and matches the least experienced driver in the group. On National Forest land, motorized travel is generally limited to designated routes shown on the official Motor Vehicle Use Map; cross-country travel is prohibited unless an area is specifically designated for it. Check current closures, permits, fire restrictions, weather, and local equipment rules before leaving.
- Start below your limit: Use a beginner trail or obstacle area where bypasses are available.
- Travel with another vehicle: A second vehicle adds communication, recovery options, and a way to seek help.
- Share a trip plan: Tell someone your route, group, vehicle descriptions, and expected return time.
- Carry offline navigation: Cell coverage is often weak. Bring an official map and a charged GPS or satellite communicator where appropriate.
- Check vehicle compatibility: Before buying lift parts, wheels, tires, lockers, armor, driveshafts, or steering components, verify the model year, trim, VIN build information, axle, transfer case, gross vehicle weight rating, and existing options. Follow the owner’s manual and the part maker’s fitment instructions.
Large tires and lifts can change braking, steering geometry, stability, driveline angles, speedometer readings, and advanced driver-assistance calibration. Use qualified installation, alignment, torque checks, and recalibration when required.
Must-Have Gear for Rock Crawling Adventures
Pack for self-rescue, minor repairs, changing weather, and an unplanned delay. Brand names matter less than correct fit, rated capacity, condition, and knowing how to use each item.
- Personal safety: Seat belts or harnesses designed for the vehicle, sturdy footwear, gloves, eye protection, weather layers, drinking water, and a first-aid kit. Wear a helmet when required by law or site rules and whenever the vehicle type, cage design, or exposure makes head protection appropriate.
- Tire support: Accurate pressure gauge, compressor or other reinflation method, full-size spare when practical, plug kit for repairable tread punctures, jack, base plate, and wheel tools.
- Recovery equipment: Properly sized winch when the route calls for it, tree-saver strap, rated shackles or soft shackles compatible with the recovery points, line damper, snatch block or recovery ring if approved for the system, gloves, and manufacturer instructions.
- Tools and spares: Basic hand tools, breaker bar, torque wrench, fuses, fluids appropriate to the vehicle, hose clamps, electrical repair supplies, and known weak-point spares for your platform.
- Navigation and communication: Offline maps, two-way radios, charged phones, and emergency communication for remote areas.
Warning: Never attach a recovery line to a tow ball, shipping tie-down, suspension arm, or unknown point. Use only manufacturer-approved or properly engineered load-rated recovery points. Follow the winch and recovery-equipment manuals, inspect every component, clear the danger zone, and never step over or straddle a loaded line.
The WARN Basic Guide to Winching stresses rated capacity, gloves, equipment inspection, clear hand signals, a line damper, and keeping people away from the pull. A winch is not a substitute for a safe anchor, correct rigging, or trained judgment.
Get Your Vehicle Ready for the Trails
Prepare the vehicle for the route you actually plan to drive. A reliable stock or lightly modified 4×4 on an easy line is safer than an unfinished build on an expert obstacle.
Vehicle Modifications Needed
| Modification | Purpose | Main Benefit and Tradeoff |
|---|---|---|
| Appropriate tires | Increase grip and resist trail damage | A suitable all-terrain or mud-terrain tire can improve traction; larger sizes add weight and may require gearing, clearance, and calibration changes |
| Skid plates and rock rails | Protect the oil pan, transmission, transfer case, fuel or battery areas, rocker panels, and other low points | Reduces impact damage but adds weight and must not block cooling or service access |
| Suspension or lift changes | Improve clearance and articulation when properly designed | Can help clear obstacles but may reduce stability or create steering and driveline problems if poorly matched |
| Locking differential | Send torque to both wheels on an axle | Improves low-speed traction but increases turning resistance and axle stress when used at the wrong time |
| Lower gearing | Reduce speed and multiply torque | Improves control but must be matched to tire size, transmission, transfer case, axles, and normal-road use |
| Rated recovery points and winch mount | Provide engineered places to pull from | Supports safer recovery when the entire system is correctly rated, installed, and inspected |
Tire Pressure and Traction
Airing down can enlarge the tire’s contact patch and soften the ride over rocks, but there is no universal trail pressure. Vehicle weight, tire construction, wheel width, load, speed, terrain, and bead retention all matter. The BFGoodrich off-road tire guide warns that too little pressure can unseat a tire and advises consulting a tire professional for upgraded sizes.
Reduce pressure only at the trailhead, check it with an accurate gauge, drive slowly, watch for sidewall folding or bead leakage, and carry a working way to air back up. Restore the correct road pressure before pavement.
Pro Tip: Record a safe starting trail pressure for your exact tire, wheel, load, and vehicle. Change it in small steps and note how the tire behaves instead of copying another driver’s number.
Essential Safety Gear
Use the factory restraint system unless the vehicle has a correctly engineered cage, seats, and harness installation designed to work together. An aftermarket harness fitted without proper geometry or rollover protection can create new risks. Keep loose cargo strapped down so it cannot strike occupants during a steep climb, sudden stop, or rollover.
Inspect roll bars or cages, seat mounts, belts, doors or nets, battery hold-downs, fire extinguisher mounting, and fuel-system protection. On hybrid or electric vehicles, do not drill, weld, jack, or mount armor near high-voltage cables or battery structures without vehicle-specific service information and qualified help.
Pre-Trail Checklist
- Check engine oil, coolant, brake fluid, transmission or transfer-case leaks, fuel level, and battery state of charge.
- Inspect tires for cuts, bulges, exposed cords, loose valve stems, adequate tread, and correct lug-nut torque.
- Check steering, wheel bearings, brakes, driveshafts, U-joints or CV joints, suspension fasteners, skid plates, and recovery points.
- Test the winch under light load, inspect the rope, and confirm that the controller, gloves, damper, and rigging are accessible.
- Secure tools, coolers, spare parts, and other cargo.
- Confirm route access, weather, maps, group radio channel, fuel range, and the turnaround time.
Essential Techniques to Overcome Common Rock Crawling Challenges
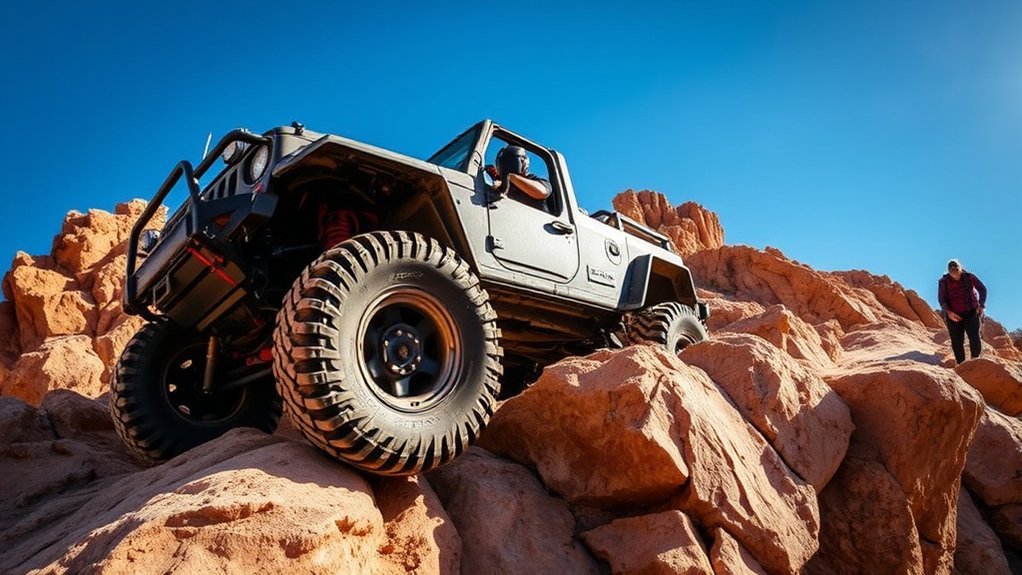
Use the vehicle’s lowest appropriate gear and low range as directed by its owner’s manual. Low range turns the wheels more slowly and provides more torque multiplication, but it does not create traction by itself. The driver still needs a stable line, gentle inputs, and enough grip.
The safest successful line is usually the one that keeps the vehicle balanced, the tires on firm high points, and the driver moving slowly enough to stop before a mistake becomes a rollover.
Choose and Walk the Line
Stop in a safe place and inspect difficult sections on foot. Identify stable tire targets, loose rocks, undercut ledges, holes, side slopes, rollover directions, low vehicle parts, and a safe exit. Know the location of the differentials, fuel tank, battery, exhaust, steering links, and other vulnerable components.
Place tires on top of obstacles instead of straddling rocks that can strike the underbody. Use small steering changes, and remember that the rear tires take a different path from the front tires.
Use Smooth Throttle, Brake, and Steering Inputs
Apply only enough throttle to maintain controlled movement. Sudden power can spin a tire, bounce the vehicle, break traction, or shock driveline parts. If traction is lost, pause and reassess instead of digging holes or repeatedly hitting the obstacle.
On a climb, keep the vehicle as straight as practical. Do not make a sharp turn on a steep grade. On a descent, use low range and the lowest suitable gear so engine braking helps control speed; use the brakes gently. Follow the owner’s manual for hill-descent features and transmission limits.
Manage Ledges, Ruts, and Off-Camber Sections
- Ledges: Approach square when the terrain allows, place a tire on the strongest point, and climb one controlled step at a time.
- Deep ruts: Decide whether to straddle, place one side in the rut, or use a bypass based on width, depth, and rollover risk.
- Off-camber terrain: Avoid sudden steering or throttle. Keep the vehicle’s center of gravity away from the downhill side and use a safer line or bypass when available.
- High-centered vehicle: Stop before spinning. Use a spotter, jack or traction aid only on stable ground, or perform a controlled recovery from rated points.
Know When to Stop
Stop if the vehicle begins to overheat, the transmission warning appears, oil pressure changes, steering feels wrong, a tire loses air, a new vibration develops, or fluid is leaking. Move to a safe location if possible, shut down as the owner’s manual directs, and inspect before continuing.
What Types of Terrain Will You Encounter?
Rock-crawling routes often combine several surfaces. Conditions can change after rain, snow, erosion, or heavy traffic, so an old trail rating or video may not match what you find.
| Terrain Type | Key Characteristics | Main Challenge |
|---|---|---|
| Rocky outcrops and boulder fields | Sharp edges, moving rocks, irregular gaps | Precise tire placement and underbody clearance |
| Ledges and stair steps | Abrupt vertical faces and drop-offs | Approach angle, traction, wheel lift, and rollover control |
| Loose gravel or scree | Unstable stones that roll under the tires | Reduced braking and side grip |
| Mud or wet rock | Low grip and hidden holes | Wheelspin, sliding, rutting, and trail damage |
| Deep ruts | Uneven wheel height and narrow channels | Differential clearance and off-camber balance |
| Steep climbs and descents | Limited visibility and rapid weight transfer | Traction, braking control, and rollover risk |
Essential Safety Tips for Rock Crawlers
- Buckle everyone in: Do not move until all occupants are seated in approved positions with restraints fastened.
- Keep body parts inside: Never brace a rollover with an arm or leg. Keep thumbs out of the steering-wheel spokes on rough terrain because the wheel can kick back.
- Use one leader for each recovery: One trained person should direct rigging and movement while everyone else stays clear.
- Maintain spacing: Do not crowd the vehicle ahead on a climb, descent, or obstacle.
- Avoid solo travel: The Tread Lightly! overlanding guidance recommends traveling with two or more vehicles and scouting difficult terrain on foot.
- Protect the route: Drive over an obstacle rather than widening the trail around it when that is the designated line and safe to do. Avoid wet, fragile areas and pack out waste.
- Stop before fatigue takes over: Low-speed technical driving demands focus. Rotate drivers or end the run when attention drops.
How to Communicate With Your Spotter for Successful Rock Crawling
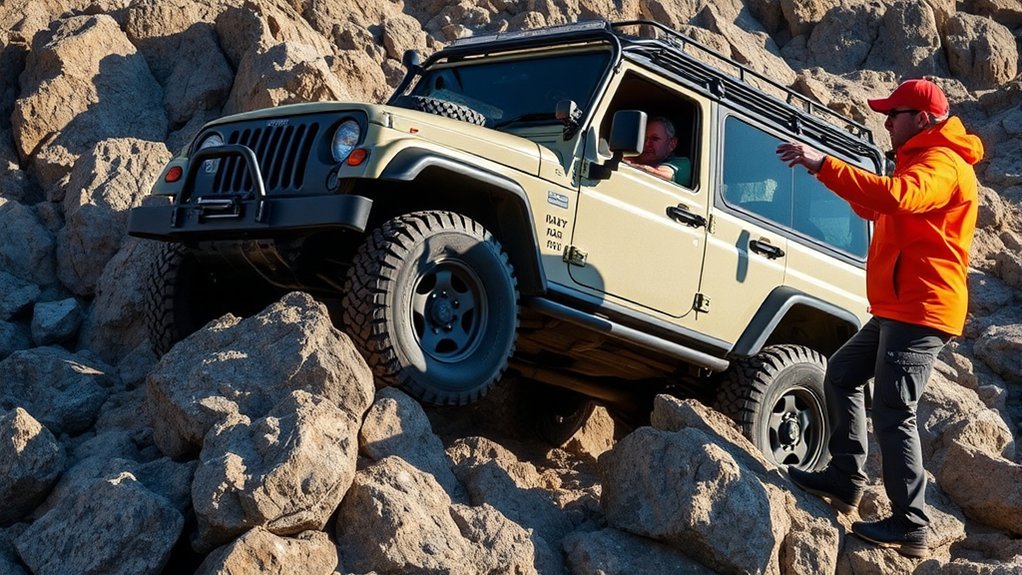
A spotter helps the driver understand tire position, underbody clearance, and hazards that cannot be seen from the seat. The driver should listen to one primary spotter. Extra voices create confusion.
Establish Clear Hand Signals
Agree on commands before the obstacle. At minimum, define stop, forward, reverse, driver-side turn, passenger-side turn, straighten, and how much distance remains. The stop signal must be unmistakable, and anyone should be allowed to call an emergency stop.
The spotter should stand where the driver can see them without entering the vehicle’s path, downhill fall zone, or recovery-line zone. If visual contact is lost, the driver stops immediately.
Use Two-Way Radios
Radios help when engine noise, distance, dust, darkness, or vehicle position blocks normal speech. Keep commands short and repeat critical instructions.
| Radio Feature | Why It Matters |
|---|---|
| Useful range for the terrain | Rock walls and elevation can reduce real-world range |
| Weather resistance | Protects the radio from dust and moisture |
| Headset or remote microphone | Improves clarity while keeping hands available |
| Battery life and spare power | Prevents communication loss during a long delay |
Use only radio channels and power levels allowed for the device and location. Some radio services require a license.
Maintain Eye Contact and Confirm Instructions
The spotter should point at the tire target or direction, not wave vaguely at the whole vehicle. The driver repeats any unclear command before moving. Both people should pause after each major tire movement and confirm the next target.
Note: There is no value in “saving” a bad approach. Stop, back out along the known path when safe, and reset the line before the vehicle becomes high-centered or off balance.
How to Plan Your Rock Crawling Adventure
- Choose a legal route: Check the land manager’s current map, vehicle-width limits, permits, closures, and rules. The U.S. Forest Service OHV guidance directs drivers to use designated routes and obey signs and barriers.
- Match difficulty to the group: Read current trip reports, but treat them as secondary to official information and what you see on arrival.
- Check weather and daylight: Wet rock, flash-flood risk, heat, snow, and early darkness can change a manageable trail into a dangerous one.
- Inspect and fuel the vehicle: Complete the checklist, carry enough fuel or charge to return with a reserve, and verify that recovery gear fits the vehicle.
- Brief the group: Set vehicle order, radio channel, hand signals, regroup points, emergency contacts, and a turnaround time.
- Pack for delay: Carry water, food, medication, first aid, shelter layers, lighting, navigation, tools, and recovery equipment.
- Use minimum-impact travel: Follow the T.R.E.A.D. principles, stay on designated routes, avoid sensitive areas, and leave the trail in better condition than you found it.
How to Learn and Improve Your Rock Crawling Skills
Build skill in stages. Start with basic 4WD operation on easy terrain, then practice tire placement, spotter communication, climbs, descents, and recoveries under experienced supervision. A local 4×4 club, professional off-road school, or land-manager safety program can provide structured practice.
Observe experienced drivers, but do not copy a line without considering your wheelbase, track width, tire size, differential locations, breakover angle, and center of gravity. The same obstacle can require a different approach for every vehicle.
| Skill Area | Practice Method | Maintenance Focus |
|---|---|---|
| Throttle and brake control | Crawl over small obstacles without wheelspin or sudden stops | Brakes, transmission temperature, driveline joints |
| Trail navigation | Walk the line and name each tire target before driving | Tires, steering, skid plates, underbody |
| Spotting | Practice agreed signals in an open area before using them on rocks | Radios, mirrors, cameras, lighting |
| Recovery | Train with unloaded equipment before a real recovery | Winch rope, anchors, shackles, mounts, battery and charging system |
Post-Trail Inspection
Before driving home, air the tires to the correct road pressure and look for leaks, sidewall damage, loose lugs, bent steering parts, hanging wires, damaged brake lines, fluid loss, or hot components. After cleaning the vehicle, inspect the underbody, retorque parts where the manufacturer requires it, and repair damage before the next trip.
Frequently Asked Questions
What is a good crawl ratio for rock crawling?
There is no single best number. Around 40:1 can be useful for moderate low-speed work, while 70:1 or higher gives finer control on harder obstacles. Vehicle weight, engine behavior, tire size, transmission, axle strength, and terrain also matter. Factory examples now approach 95:1 to 100:1, so the original 40:1–80:1 range should not be treated as a limit.
What scale is best for rock crawling?
Scale is not a setup measurement for full-size rock-crawling vehicles. For radio-controlled crawlers, 1:10 is a common all-purpose size with broad parts support, while smaller scales such as 1:18 fit tighter indoor or backyard courses. Choose based on the space, obstacle size, budget, and available replacement parts.
What is the point of rock crawling?
Rock crawling tests low-speed vehicle control, route reading, teamwork, and mechanical preparation. Many drivers enjoy solving obstacles with precision while exploring designated off-road areas and supporting a community built around safe, responsible recreation.
How do I get into rock crawling?
Learn your 4×4 system from the owner’s manual, join an experienced local group or class, assemble basic safety and recovery gear, and start on an easy legal trail. Practice spotting and recovery in a controlled setting before attempting difficult obstacles.
Do I need locking differentials to start?
No. Many beginner trails can be driven with open differentials, good tires, careful line choice, and proper use of low range. Lockers help when a tire unloads, but they can increase turning resistance and component stress. Use them only as the vehicle maker or installer directs.
How low should I air down my tires?
There is no universal PSI. Start with guidance for your tire, wheel, vehicle weight, and load, then make small changes at low speed. Too little pressure can damage the tire or unseat the bead. Always carry an accurate gauge and a way to reinflate before pavement.
Conclusion
Rock crawling becomes safer and more rewarding when you slow down, plan the line, communicate clearly, and respect the limits of both driver and vehicle. Build skill on easy terrain, maintain the vehicle, use recovery gear correctly, and stay on legal routes. Turning around is not failure—it is often the best decision of the day.
Sources
- Jeep 4×4 FAQ and Off-Road Guide — low-range operation, slow-speed rock technique, tire placement, preparation, and crawl-ratio definitions
- 2026 Jeep Wrangler Capability — current factory crawl-ratio and off-road hardware example
- BFGoodrich Off-Road Tire Selection Guide — air-down variables, tire inspection, reinflation, and repair preparation
- WARN Basic Guide to Winching — winch safety, rated capacity, inspection, rigging, hand signals, and danger-zone control
- U.S. Forest Service Off-Highway Vehicle Touring — designated-route use, safety, protective gear, and trail etiquette
- Tread Lightly! T.R.E.A.D. Principles — responsible recreation and minimum-impact travel







Leave a Reply