
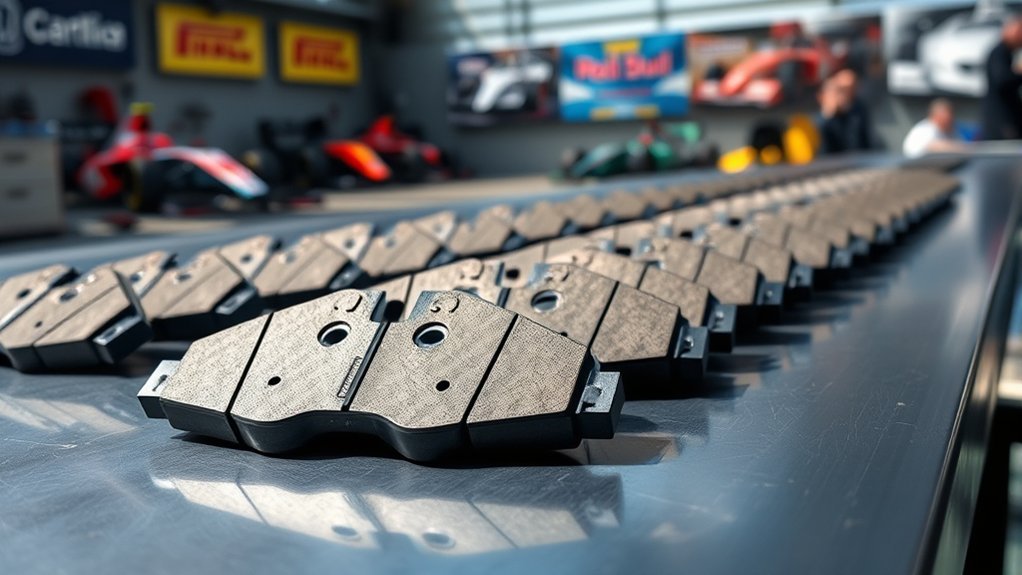
Track day brake pads can improve consistency and fade resistance, but only when the compound matches your vehicle, tires, track, session length, and brake-system temperature. Pads are one part of the system: rotor condition, brake fluid, caliper health, cooling, and driver technique all affect whether the car can slow safely lap after lap.
Quick Answer
Choose track day brake pads by their published temperature range, friction curve, cold behavior, wear rate, rotor compatibility, and intended use—not by brand or “ceramic” versus “metallic” labels alone. Follow the exact manufacturer bedding procedure, inspect every pad before each session, and use brake fluid and rotors that meet your vehicle’s requirements.
Key Takeaways
- There is no universal track-pad temperature range or bedding routine; use the instructions for the exact compound.
- A race-only pad may be noisy, dusty, ineffective when cold, or not approved for public-road use.
- Do not begin a session with pads that are merely above a road-service minimum; leave enough material for the full session and a safety margin.
- A firm pedal with weak braking suggests pad fade, while a long or soft pedal can point to fluid boil, air, knockback, or a mechanical fault.
- Electronic stability and yaw-control systems can add heat through selective braking, but disabling them is not a universal or beginner-safe solution.
At a Glance
| Time Required | About 20–30 minutes for a cold inspection; installation and bedding commonly require 1–2 hours, depending on the vehicle and pad instructions. |
| Difficulty | Intermediate. Brake installation, bleeding, and diagnosis require correct service-manual procedures and safe lifting practices. |
| Tools Needed | Vehicle service information, flashlight, pad-thickness gauge or caliper, torque wrench, approved lifting equipment, wheel chocks, brake cleaner, and personal protective equipment. |
| Cost | Vehicle-dependent. Include pads, compatible fluid, possible rotor replacement, and professional labor in the budget rather than pricing the pads alone. |
Warning: Brakes are safety-critical. Do not perform bedding stops on public roads, do not work under a vehicle supported only by a jack, and do not drive with a soft pedal, fluid leak, damaged rotor, loose hardware, or questionable pad fitment. Follow the vehicle service manual, pad maker, and event organizer.
Understanding Track Day Brake Pad Terminology
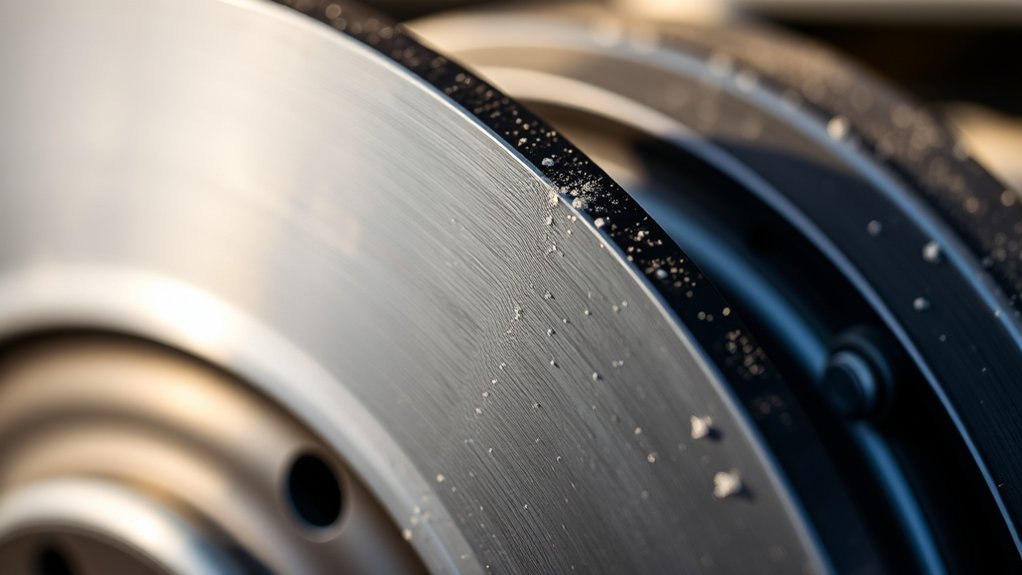
Understanding the terms used by pad manufacturers makes it easier to compare compounds and avoid a poor match.
- Backing plate: The steel plate that supports the friction material and transfers clamp force from the caliper pistons.
- Friction puck or friction material: The working material that contacts the rotor. Racing formulations may use resin binders, metallic fibers, aramid fibers, ceramic ingredients, abrasives, lubricants, and other modifiers in a compound-specific blend.
- Coefficient of friction (Mu): A measure of friction under stated test conditions. A higher number can increase brake torque, but the full friction-versus-temperature curve, pedal feel, release, and axle balance matter more than one peak value.
- Initial bite: How quickly brake torque builds when you first press the pedal.
- Modulation and release: How precisely you can add or remove braking force. Good release helps the car transition smoothly into a corner.
- Operating range: The temperature band in which the compound is designed to work consistently. The correct range is specific to the pad, vehicle, and use.
- Bedding-in: A controlled process that establishes full pad-to-rotor contact and a stable transfer layer on the rotor face.
- Scorching or pre-bedding: Factory heat treatment that can reduce initial outgassing and shorten the bedding process. It does not eliminate the need to follow the supplier’s instructions.
- Mechanical retention: A physical method, used by some manufacturers in addition to adhesive bonding, to secure friction material to the backing plate and reduce delamination risk.
- Pad volume and thermal capacity: More friction-material mass can absorb more energy, but stopping performance also depends on compound density, rotor mass, airflow, caliper design, tire grip, and brake balance. A pad’s irregular shape means simple length × height × thickness is only a rough comparison.
A larger pad does not automatically create more stopping power; its main benefit can be greater heat capacity, improved wear, and more consistent performance.
Essential Criteria for Choosing Track Day Brake Pads
The best pad is the one that stays inside its intended temperature window while maintaining predictable torque, pedal feel, rotor wear, and front-to-rear balance for your specific car.
Friction Material Composition
Broad labels such as “ceramic,” “organic,” and “metallic” are not enough to select a track pad. Two pads marketed in the same category can have very different friction curves, cold behavior, wear rates, dust levels, and rotor compatibility.
Use the manufacturer’s compound chart and application guide. Compare:
- Intended use: fast road, light track day, sprint, endurance, rally, or race-only
- Cold bite and warm-up needs
- Average and peak friction across temperature
- Modulation, release, and compressibility
- Pad and rotor wear
- ABS compatibility and recommended axle position
- Road approval, noise, and dust expectations
For example, PAGID Racing describes RSL 29 as a low-metallic, resin-bonded material containing steel and aramid fibers, with a low-to-medium friction level and track-day/endurance applications. That description is more useful than a generic material label.
Heat Resistance Capability
Do not assume every track pad should work from 300°C to 850°C. That range belongs to certain compounds, not the category as a whole. Ferodo Racing lists DS3.12 as stable up to 850°C and also states that the compound is not suitable for road use. Other compounds have lower ranges and may work better on lighter cars, lower-grip tires, shorter sessions, or street-driven vehicles.
Choose a pad that reaches working temperature without overheating. A compound that is too cold may feel weak or inconsistent; one that is repeatedly overheated can fade, smear material, crack, wear rapidly, or damage rotors and dust boots.
Note: Pad fade and fluid fade feel different. During pad fade, the pedal may remain firm while braking force drops. A long or soft pedal can indicate boiling fluid, air, a leak, pad knockback, or another hydraulic or mechanical problem.
Pad Wear Characteristics
Pad wear depends on vehicle mass, speed, tire grip, aerodynamic load, track layout, braking technique, cooling, caliper design, and whether stability systems are intervening. Hardness alone does not predict pad life or braking quality.
| Characteristic | What It Tells You |
|---|---|
| Even thickness loss | Normal consumption when all pads wear at a similar rate |
| Taper from leading to trailing edge | Possible caliper deflection, piston-size effects, hardware issues, or heavy thermal loading |
| Inner-to-outer difference | Possible slide, piston, airflow, or temperature imbalance; inspect rather than assuming it is normal |
| Cracks, crumbling, glazing, or missing chunks | Overheating, contamination, incompatible use, or material damage; replace and diagnose |
| Rapid rotor wear or heavy grooving | Compound/rotor mismatch, debris, excessive heat, or a mechanical fault |
Vehicle, Tire, Track, and Axle Match
A heavy, powerful car on high-grip tires usually puts more energy into the brakes than a light car on street tires. Fast tracks with repeated high-speed stops also demand more thermal capacity than short technical tracks. Consider the full setup:
- Vehicle weight, power, top speed, and aerodynamic load
- Tire type and grip level
- Session length and expected ambient temperature
- Rotor diameter, thickness, ventilation, and cooling airflow
- Caliper type, piston area, pad shape, and available thickness
- Front/rear brake balance and ABS behavior
Do not change front and rear compounds casually. A large friction difference can alter brake balance, ABS behavior, and stability. Use a combination listed by the manufacturer or recommended by a qualified race-brake specialist familiar with the car.
Road Use, Cold Performance, Noise, and Dust
Many dedicated racing pads are not intended or approved for public-road use. They may need heat before they work well, make substantial noise, create aggressive dust, and wear rotors faster. If the car is driven to the track, choose a true street/track compound approved for that use or swap pads at the venue and manage rotor transfer-layer compatibility.
How to Properly Bed-In Your Brake Pads
Bedding is compound-specific. The goal is to establish full contact, condition the pad, and create a uniform transfer layer without thermal shock or imprinting. Follow the exact instructions supplied with the pads; the steps below explain the safe structure of the process rather than replacing the manufacturer’s sequence.
- Inspect and prepare the system. Confirm correct pad fitment, rotor thickness and condition, hardware orientation, caliper operation, fluid level, and wheel torque. Use new rotors or prepare existing rotors exactly as the pad maker directs, especially when changing compound families.
- Use a closed course or other controlled area. Make sure no traffic, pedestrians, or obstacles can enter the braking zone. Do not perform high-speed bedding on public roads.
- Establish pad-to-rotor contact. Begin with repeated moderate decelerations while keeping the vehicle moving. Avoid activating ABS unless the pad instructions specifically call for it.
- Build heat progressively. Increase pressure and speed only as directed. PAGID Racing’s race-pad procedure, for example, uses separate contact, heating, and recovery phases—evidence that a universal “20–30 minutes at 300–500°F” rule is not reliable.
- Do not stop and hold the hot brakes. Sitting on the pedal can imprint pad material on one rotor area and create judder.
- Cool the brakes with airflow. Complete the specified recovery stops and cooldown. Park without applying the parking brake if the vehicle design and site conditions allow it, use wheel chocks where appropriate, and keep clear of hot components.
- Inspect after cooling. Look for an even rotor appearance, normal pedal feel, fluid leaks, damaged dust boots, loose hardware, or abnormal pad wear. Investigate vibration before starting a full session.
Pro Tip: Keep the bedding sheet or a saved manufacturer link with your track tools. Different compounds—even from the same brand—can require different stop counts, speeds, pressures, and cooling periods.
How to Identify When to Replace Your Brake Pads
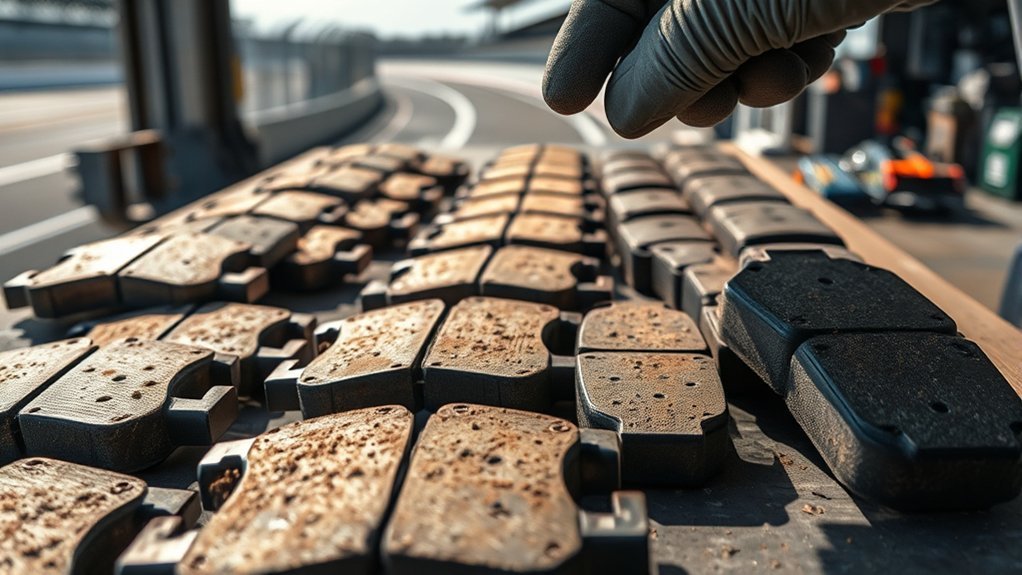
Measure every pad when the brakes are cold, including inner and outer pads and both ends of each friction puck. Record the thinnest point rather than averaging the measurements.
A blanket 3 mm replacement threshold is too simplistic for track use. A road-service minimum may not leave enough material to complete another session safely. Replace the pads before an event or session when the remaining thickness cannot cover expected wear plus a margin, or when the pad, caliper, vehicle, or organizer specifies a higher limit.
| Inspection Finding | Action |
|---|---|
| Not enough material for the next session and safety margin | Replace before going on track |
| Friction material near the backing plate, wear groove, pin, or manufacturer limit | Replace immediately |
| Cracks through the material, crumbling, delamination, missing chunks, oil, grease, or brake-fluid contamination | Replace and correct the cause |
| Severe taper or one pad wearing much faster | Stop and inspect caliper, pistons, slides, hardware, rotor, and cooling |
| Firm pedal but reduced deceleration | Treat as possible pad fade; slow down, cool the system, and reassess compound and cooling |
| Long, soft, sinking, or inconsistent pedal | End the session and diagnose fluid, leaks, air, knockback, master cylinder, and calipers before driving again |
Brake noise or dust alone does not prove a track pad is worn out, but any sudden change in pedal feel, vibration, pull, smell, smoke, or stopping distance deserves immediate attention.
How to Make Your Brake Pads Last Longer
Long pad life comes from controlling temperature and wear—not from choosing the hardest material available.
- Select the correct compound. A pad that stays in its intended temperature range usually wears more predictably than one that is chronically too cold or overheated.
- Use compatible rotors and transfer layers. Changing between incompatible materials on the same rotor can cause uneven deposits and judder. Resurface or replace the rotor when the pad maker requires it.
- Bed the pads correctly. Incomplete or uneven bedding can reduce performance and shorten pad and rotor life.
- Brake firmly and release cleanly. Repeatedly dragging the brakes can create heat without producing the strongest deceleration.
- Use cooldown laps wisely. Reduce pace, avoid unnecessary braking, and keep airflow through the brakes. Do not sit with the pedal clamped after a hot session.
- Maintain the calipers and hardware. Sticking slides, pistons, pins, springs, or pad abutments can create taper and corner-to-corner wear differences.
- Improve cooling when temperatures demand it. Properly designed ducts, suitable rotors, and intact shields or deflectors can reduce peak temperatures. Poorly aimed ducts can create uneven cooling or damage.
- Keep a wear log. Measure each corner before and after events. Wear per session is more useful than a mileage estimate.
Caution: Do not routinely swap inner and outer pads, left and right pads, or axle positions unless the pad and caliper manufacturer specifically allows it. Chamfers, slots, wear sensors, piston layouts, pad shapes, and transfer layers may make positions non-interchangeable.
How Driving Aids Affect Brake Pad Performance
Electronic stability control, traction control, torque-vectoring, and active yaw systems can use selective braking to manage wheel slip and vehicle rotation. NHTSA explains that electronic stability control applies computer-controlled braking at individual wheels to help the driver maintain control.
Driver Aid Impact
Frequent intervention can add heat and wear at one or more corners, sometimes at the rear axle where the driver may not expect heavy pad consumption. Intervention also depends on vehicle programming, drive mode, tire grip, steering angle, throttle use, and driver inputs.
Selective Braking Consequences
Selective braking can produce uneven pad temperatures and corner-to-corner wear. It can also mask an abrupt or unbalanced driving input by correcting the vehicle after slip begins. Check the dashboard intervention light, review data if available, and inspect all four corners rather than judging wear from one outside front pad.
Heat Generation Variability
One track direction may load certain corners more than another, and a stability system can add to that imbalance. If one pad repeatedly overheats, diagnose driving inputs, alignment, tire condition, caliper operation, cooling, and system intervention before changing compounds.
Note: Leave safety systems in the manufacturer’s recommended mode unless the owner’s manual, event rules, and instructor support a different setting. “Off” modes vary by vehicle and may not fully disable intervention. Novice drivers should not disable stability control simply to reduce pad wear.
Prepare the Rest of the Brake System
High-temperature pads cannot compensate for old fluid, damaged rotors, seized calipers, cracked hoses, loose wheel bearings, or unsuitable tires.
Brake Fluid
Use only the fluid type and specification approved for the vehicle. The federal FMVSS 116 brake-fluid standard sets minimum boiling points—for example, DOT 4 has minimum dry and wet boiling points of 230°C (446°F) and 155°C (311°F). Those are minimum grade requirements, not proof that every DOT 4 fluid is equally suitable for track use.
Brake fluid absorbs moisture over time, lowering its boiling margin. Flush and bleed according to the vehicle, fluid, and event requirements. Never mix silicone DOT 5 with systems designed for glycol-based DOT 3, DOT 4, or DOT 5.1 fluid unless the manufacturer explicitly specifies it.
Rotors, Calipers, and Hardware
- Measure rotor thickness and compare it with the minimum marked on the rotor or listed by the manufacturer.
- Inspect for cracks, severe heat checking, scoring, discoloration, loose two-piece hardware, and blocked cooling vanes.
- Check caliper bolts, pad pins, anti-rattle hardware, dust boots, bleeders, hoses, and hard lines.
- Confirm the pedal is firm and consistent before entering the track.
Pre-Session Brake Checklist
- All pads measured and sufficient for the planned session
- Rotor condition and thickness acceptable
- No fluid leaks; reservoir level correct
- Firm, repeatable pedal with the engine running
- Wheels torqued to the vehicle specification
- Tires, wheel bearings, suspension, and steering inspected
- No warning lights or unresolved diagnostic faults
Track-day organizations require a safe vehicle and typically use a technical-inspection form. NASA’s HPDE guidance directs participants to verify that the car is in safe operating condition and to complete the event’s tech checks.
Choosing the Right Track Day Brake Kit for Optimal Performance
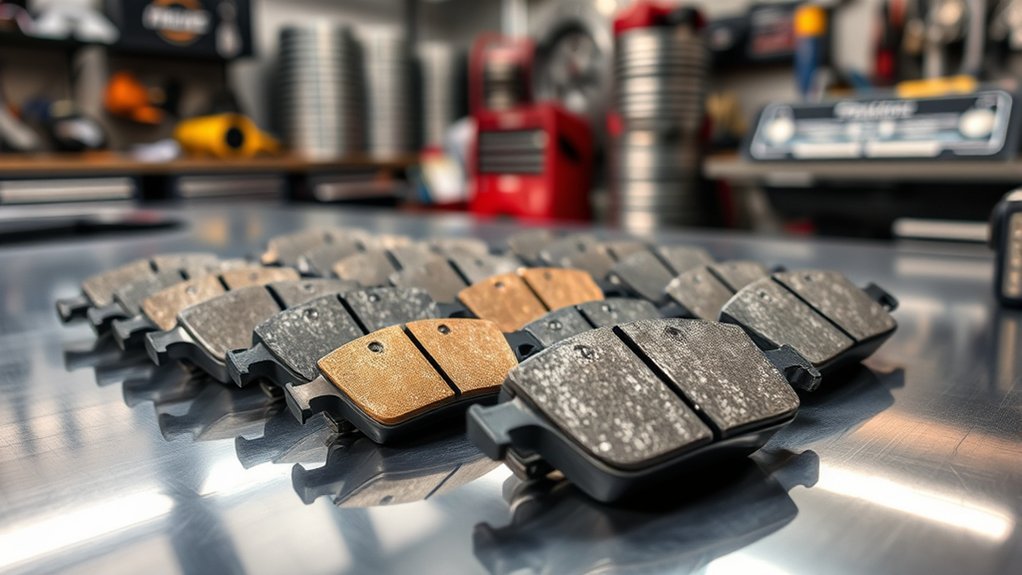
A complete big-brake kit is not automatically required for a track day. Start by identifying the actual failure mode.
| Problem | Likely First Step |
|---|---|
| Street pads fade, but pedal remains firm | Choose a suitable track compound and improve cooling if needed |
| Pedal becomes long or soft | Inspect for leaks, air, fluid boil, knockback, hose expansion, or mechanical faults |
| Pads and rotors overheat despite correct compound and cooling | Consider greater rotor mass, improved ventilation, or a properly engineered kit |
| Uneven wear or poor pedal consistency | Service or upgrade the caliper/hardware only after diagnosing the cause |
| Stopping distance limited by tire grip or ABS | A larger kit may add heat capacity but may not shorten a single stop |
A well-designed kit must fit the wheel, preserve safe hydraulic leverage and front/rear balance, work with ABS, clear suspension components, use suitable rotors and pads, and include correct hardware. Stainless-steel hardware alone does not prove that a kit is appropriate.
Before buying, verify the exact year, trim, axle, wheel diameter, master-cylinder setup, parking-brake design, replacement-parts availability, and road legality. For heavily modified cars, consult the vehicle manufacturer, kit engineer, or a qualified motorsport brake specialist.
Frequently Asked Questions
Can I use track day brake pads for daily driving?
Only when the exact compound is approved and designed for road use. Dedicated race pads can have poor cold behavior, loud noise, heavy dust, rapid rotor wear, and no public-road approval. Ferodo, for example, labels DS3.12 as not suitable for road use. Check the product data and local rules.
What compounds are commonly used in track day brake pads?
Track compounds often use resin binders with metallic, aramid, ceramic, abrasive, lubricant, and friction-modifier ingredients. Marketing categories are too broad to predict performance. Compare the exact compound’s friction curve, operating range, wear, rotor compatibility, and intended use.
How do weather conditions affect brake-pad performance on the track?
Cold weather can make a high-temperature compound slower to reach its working range. Rain lowers tire grip and can cool rotors, changing how hard the brakes are loaded. Hot weather reduces cooling margin. Adjust pace, warm the system progressively, and use a compound suited to the expected conditions.
Are any brands especially recommended for track day pads?
There is no universal best brand. Reputable motorsport manufacturers publish compound data and vehicle fitment, but the correct choice depends on weight, tires, track, session length, brake temperatures, ABS, rotor material, and street-use needs. Select the compound, not just the logo.
Do track day brake pads create more dust than regular pads?
Many do, but dust varies by compound, temperature, rotor, and driving style. High dust is not a reliable measure of stopping power. Clean wheels promptly because hot metallic dust can damage finishes.
Do I need high-temperature brake fluid for a track day?
Use a fresh fluid that meets the vehicle manufacturer’s required type and provides enough boiling margin for the event. A high dry boiling point does not replace regular fluid service, and wet boiling performance matters once fluid has absorbed moisture. Never substitute an incompatible fluid type.
Can I mix different front and rear brake-pad compounds?
Sometimes, but only with a planned combination that preserves brake balance, ABS behavior, and temperature compatibility. Use a pairing published by the pad manufacturer or selected by a qualified specialist who knows the vehicle. Do not experiment with large friction differences during an event.
Conclusion
Track day brake pads should be selected as part of a complete braking system, not as a stand-alone upgrade. Match the compound to the car and event, follow the exact bedding instructions, measure every pad before each session, and stop immediately when pedal feel or braking performance changes. A conservative inspection routine is faster and less expensive than recovering from a brake failure.
Sources
- PAGID Racing Technical Information — race-pad construction, thermal characteristics, and manufacturer-specific bedding procedure.
- PAGID Racing Technical Advice — transfer-layer judder, hot imprinting, pad size, and pad-fade versus fluid-fade behavior.
- Ferodo Racing DS3.12 — compound-specific temperature capability, ABS application, and road-use warning.
- 49 CFR § 571.116, Motor Vehicle Brake Fluids — federal brake-fluid grade, boiling-point, compatibility, and labeling requirements.
- National Highway Traffic Safety Administration: Electronic Stability Control — individual-wheel braking used by stability-control systems.
- National Auto Sport Association HPDE Guidance — safe operating condition, technical inspection, and instructor-led track-day preparation.







Leave a Reply