
These mounts fit five Blink models—Indoor, Outdoor, XT2, XT, and 1st Generation Indoor—while excluding the Mini variant, with each three-bracket pack including six corrosion-resistant screws for drywall or wood installation. Position cameras 8-10 feet high, angled downward 15-30 degrees, to capture clear facial footage while minimizing blind spots. Official mounts ($19-$25) use glass-filled nylon polymer with certified UV resistance and 15-pound load capacity, whereas third-party options ($8-$12) often lack documented testing. Proper placement above doors, garages, and corner positions enables thorough coverage when users understand the full installation requirements ahead.
Key Takeaways
- Mounts support five Blink models but exclude Mini cameras from compatibility.
- Position cameras 8-10 feet high with 15-30 degree downward angle for optimal coverage.
- Official mounts ($19-$25) offer certified UV resistance and 15-pound load capacity.
- Third-party brackets ($8-$12) lack documented testing and quality assurance standards.
- Six included screws suit drywall or wood; masonry anchors require separate purchase.
Do These Mounts Fit Your Blink Camera?
Before committing to any mounting hardware, understanding compatibility remains the essential first step for any security camera owner.
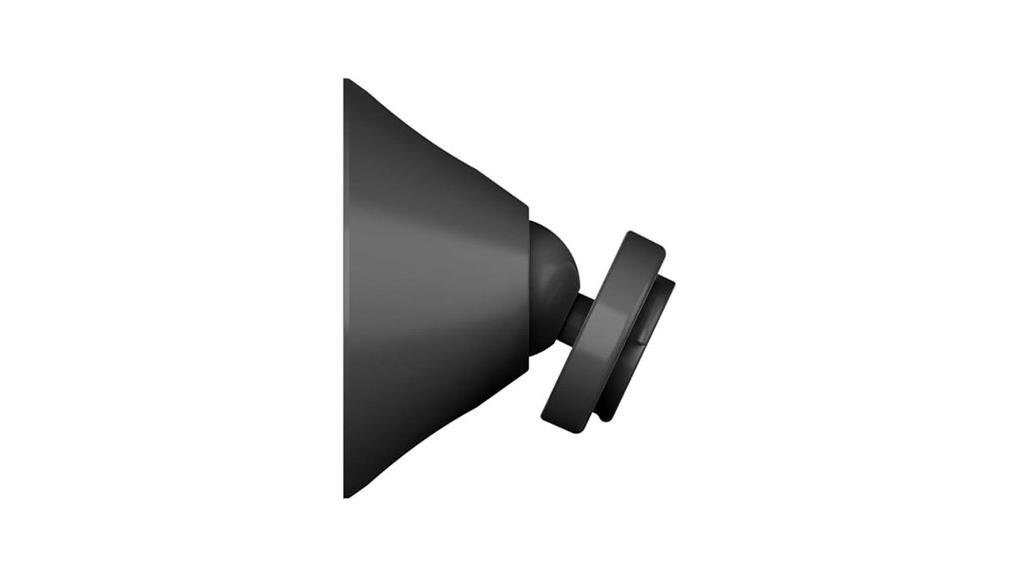
The Blink Camera Mount accommodates Blink Indoor, Blink Outdoor, Blink XT2, Blink XT, and 1st Generation Blink Indoor models, delivering mounting benefits through versatile placement options above doors, garages, or perimeter walls.
Compatible with five Blink camera models, this mount enables flexible placement above doors, garages, and perimeter walls for comprehensive home security coverage.
Camera stability receives priority attention through three robust brackets engineered for secure attachment, though prospective buyers must note the explicit incompatibility with Blink Mini units.
Each three-pack includes six mounting screws, enabling straightforward installation without specialized tools.
This hardware liberates users from placement constraints, establishing reliable surveillance coverage throughout residential environments with minimal technical complexity.
What You Actually Get: and What’s Missing
The three-pack bundle delivers exactly what its name promises: three black mounting brackets engineered for Blink camera systems, accompanied by six mounting screws for secure attachment.
- Three durable mounting brackets, each precision-molded for specific Blink camera models
- Six corrosion-resistant mounting screws, sufficient for standard drywall or wood installation
- No additional mounting materials, such as wall anchors for masonry or specialized hardware for uneven surfaces
What’s significantly absent could frustrate some buyers. The package omits installation tips beyond basic screw insertion, leaving novices to research proper torque settings and load distribution independently.
For liberation-minded consumers seeking complete self-sufficiency, this gap necessitates supplementary research or third-party guidance.
Best Spots to Mount for Clearer Footage
Once these brackets are secured to their surfaces, placement strategy determines whether footage captures meaningful detail or merely empty corridors.
Ideal angles demand positioning cameras 8-10 feet high, angling downward 15-30 degrees to maximize facial recognition while minimizing blind spots beneath the lens. Camera height at entry points—front doors, garages, side gates—ensures visitors approach within detection range before reaching entry mechanisms.
Corner mounting exploits the bracket’s 360-degree rotation, covering two perpendicular zones simultaneously. Avoid direct sunlight exposure to prevent washout, and maintain 6-10 feet clearance from motion-activated lighting to reduce false triggers.
Strategic elevation liberates homeowners from footage ambiguity.
10-Minute Install: What Can Go Wrong
Securing these brackets demands attention to substrate integrity, since drywall anchors collapse under outdoor vibration and stripped screw heads render the included hardware useless.
Common mistakes include overtightening, which cracks plastic housings, and misaligned pilot holes that compromise grip strength.
- Verify wall material density before selecting fasteners, as brick requires masonry bits while wood accepts standard screws.
- Position brackets away from heat sources exceeding 120°F to prevent warping.
- Test camera angle before final tightening to avoid repeated adjustments.
These installation tips preserve equipment longevity. Proper torque application, approximately 15 inch-pounds, balances security with material preservation.
Methodical preparation eliminates ninety percent of field failures.
Official Blink Mounts vs. Cheap Third-Party Options
While budget-conscious shoppers might initially gravitate toward third-party mounts priced at half the cost, official Blink mounts justify their premium through material composition and precise engineering tolerances.
Cost Comparison
Third-party alternatives range $8-$12 per mount versus official options at $19-$25. This 50-60% price difference reflects manufacturing standards, not merely branding.
Quality Assurance
Official mounts undergo certified testing for UV resistance, load-bearing capacity (15-pound tested limit), and weather sealing (IP65 equivalent).
Certified testing ensures UV resistance, 15-pound load capacity, and IP65-equivalent weather sealing in every official mount.
Third-party options typically lack documented testing protocols. Material specifications reveal official mounts use glass-filled nylon polymer versus standard ABS plastic in budget alternatives, ensuring 10-year structural integrity against thermal cycling.
The choice depends on long-term reliability priorities versus immediate expenditure reduction.
Frequently Asked Questions
Can These Mounts Withstand Extreme Weather Conditions?
These mounts exhibit notable weather resistance, ensuring reliable mount durability through rain, snow, and heat. Users seeking autonomous home security can trust these brackets to maintain camera stability year-round without constant intervention or replacement concerns.
Do the Mounts Allow for 360-Degree Camera Rotation?
The mounts do not enable 360-degree rotation; they provide fixed mounting options. For desired positioning freedom, installation tips suggest purchasing adjustable third-party mounts separately, empowering users to achieve complete surveillance coverage without manufacturer limitations.
Are Replacement Screws Available if Lost?
The catastrophic horror of losing a tiny screw need not imprison anyone! Replacement options abound through Blink’s customer service or hardware stores, with standard screw compatibility ensuring liberation from mounting despair remains eternally within reach.
Can These Be Painted to Match Exterior Colors?
Yes, these mounts accept paint well. Users seeking liberation through personalized security aesthetics report excellent paint adhesion and seamless color matching to exterior surfaces after light sanding and proper primer application.
Will Mounting Void My Blink Warranty?
Standard mounting options using the included hardware typically preserve warranty coverage, though warranty details remain subject to Blink’s official terms. Users seeking liberation through self-installation should verify specific conditions directly with the manufacturer before proceeding.
Conclusion
These mounts deliver exactly what Blink owners need: rock-solid stability, universal compatibility across five camera generations, and installation so simple it borders on effortless. The three-pack configuration eliminates the agonizing indecision of choosing single placement points, while the included hardware removes last-minute hardware store emergencies. For homeowners building extensive surveillance networks without engineering degrees or unlimited budgets, this accessory transforms frustrating angle adjustments into precise, permanent solutions. Reliable, straightforward, thoroughly practical.


Leave a Reply