
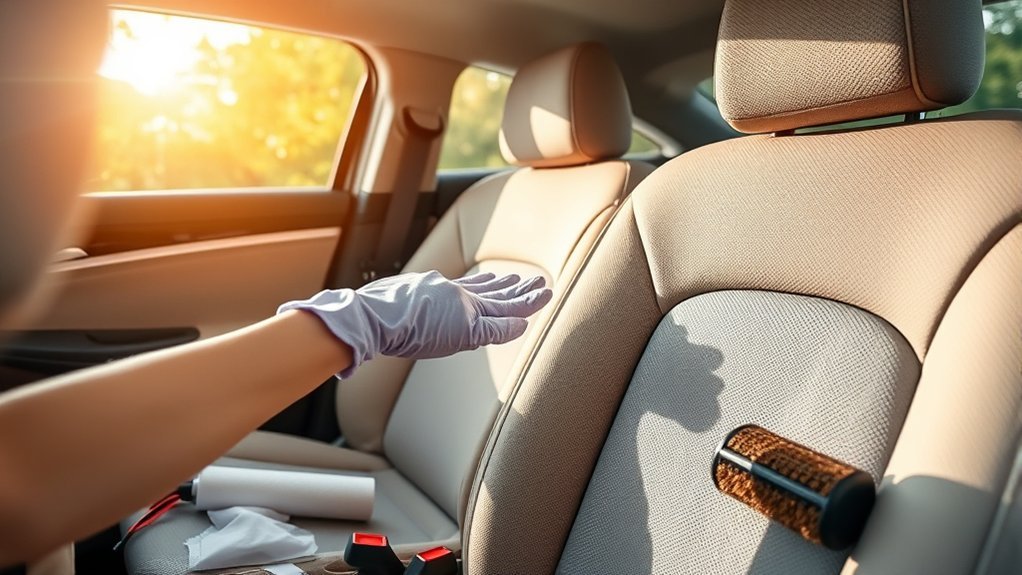
Pet hair can work its way into car seats, carpet, floor mats, seams, and cargo areas, especially when repeated trips press the strands deeper into the fibers. The safest way to remove it is to start dry, use friction to loosen embedded fur, and match each tool to the surface you are cleaning.
Quick Answer
To remove pet hair from a car, vacuum loose debris first, loosen embedded fur with a dry rubber brush or squeegee, then vacuum again with an upholstery or crevice tool. Use a lint roller for final touch-ups. Treat cloth, carpet, leather, headliners, and hard trim differently, and follow the vehicle owner’s manual.
Key Takeaways
- Vacuum once before brushing and again after the embedded hair has been loosened.
- A rubber pet-hair brush or rubber squeegee usually works better than an adhesive roller on deeply embedded fur.
- Use lint rollers for final surface hair, not as the main deep-cleaning tool.
- Do not spray seats, headliners, seat-belt mechanisms, airbag seams, or electronic controls directly.
- Check the owner’s manual before using cleaners, powered brushes, or aftermarket seat covers.
At a Glance
| Time Required | 20–45 minutes for a typical interior; longer for heavy buildup |
| Difficulty | Easy |
| Tools Needed | Vacuum, upholstery and crevice tools, rubber pet-hair brush or squeegee, microfiber cloth, soft detailing brush, and lint roller |
| Cost | About $0–$30 if you already own a suitable vacuum |
Why Pet Hair Is Hard to Remove From a Car
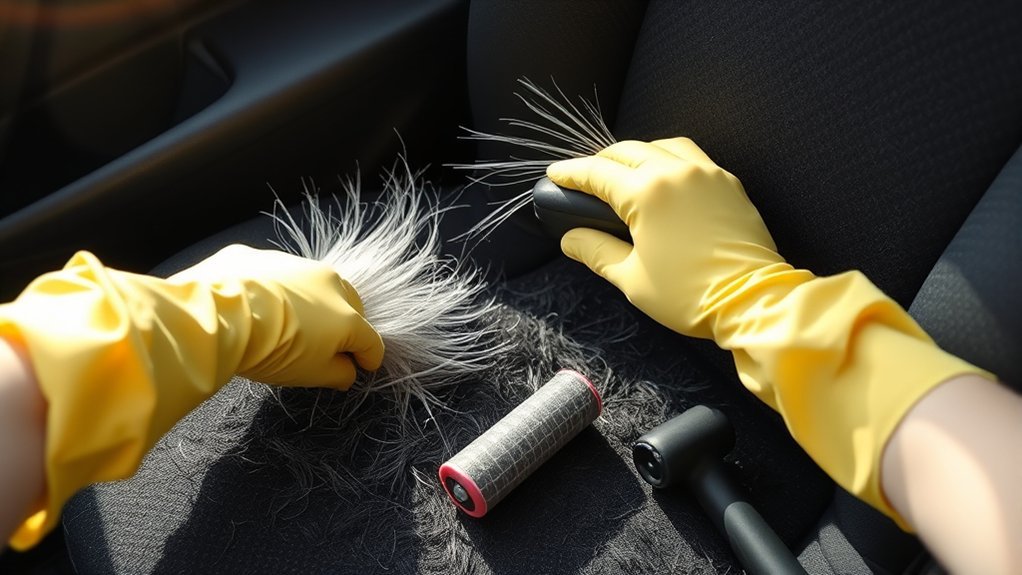
Pet hair catches on woven upholstery, carpet pile, stitching, and rough trim. Short, stiff hairs may push into the fabric, while long strands wrap around fibers and vacuum-brush rolls. Dry conditions can also increase static cling.
The hardest areas are usually seat seams, carpet edges, seat tracks, cargo-area corners, and the spaces between seat cushions. A vacuum may pass over these areas without collecting much hair unless the strands are loosened first.
The most effective process is not stronger suction alone. It is a cycle of vacuuming, loosening the hair, and vacuuming again.
Prepare the Car Before You Start
Park in a shaded, well-ventilated area and let hot interior surfaces cool. Remove the pet, pet carrier, blankets, toys, child seats when appropriate, loose items, and removable floor mats. Shake washable blankets and mats outdoors so loose hair does not fall back into the car.
Identify the materials in the vehicle before choosing a tool. Cloth upholstery, automotive carpet, genuine leather, coated leather, vinyl, synthetic leather, suede-like material, and headliner fabric do not tolerate the same amount of friction or moisture.
Review the vehicle’s owner’s manual or manufacturer cleaning instructions before applying any product. Manufacturers may restrict solvents, conditioners, abrasive tools, direct spraying, and excess moisture. For example, Tesla’s interior-cleaning guidance calls for gentle tools, limited moisture, hidden-area testing, and protection of seat-belt and airbag components.
Warning: Do not spray liquid directly onto seats, airbag covers, airbag seams, seat controls, touchscreens, electrical connectors, or seat-belt mechanisms. Do not insert tools into an airbag seam or seat-belt retractor. If a restraint component is damaged, have it inspected before carrying passengers.
Essential Pet-Hair Removal Tools
You do not need a large collection of specialty products. A vacuum and one good friction tool can handle most interiors.
| Tool | Best Use | Important Limitation |
|---|---|---|
| Vacuum with upholstery tool | Seats, carpet, cargo areas, and loose surface hair | Use a smooth head on delicate upholstery |
| Crevice tool | Seams, carpet edges, seat tracks, and corners | Keep hard plastic edges from scraping trim |
| Rubber pet-hair brush or squeegee | Cloth seats, carpet, and durable mats | Test first and use light pressure |
| Soft detailing brush | Hard trim, vents, seams, and delicate areas | Do not force bristles into switches or restraints |
| Microfiber cloth | Leather-like seats, plastic, vinyl, and final wiping | Use a clean cloth so trapped grit does not scratch |
| Lint roller or pet-hair tape | Loose hair and final touch-ups | Inefficient on deeply embedded hair and high-pile carpet |
Some pet-hair vacuums include felt upholstery heads or powered brush tools. These attachments can improve pickup on suitable fabrics, as described in BISSELL’s pet-hair vacuum instructions. Check the upholstery first because a stiff or fast-moving brush can mark delicate material.
A lint roller is useful once most of the embedded fur is gone. 3M lists lint rollers made for hair and pet-hair pickup, including portable options for vehicles.
Note: Avoid pumice stones, metal brushes, razor blades, stiff household scrubbers, and unapproved solvents. These can snag fibers, scratch trim, remove protective coatings, or discolor the upholstery.
Step-by-Step Guide to Removing Pet Hair From a Car
- Remove mats and pet accessories. Take out floor mats, blankets, hammocks, carriers, and removable liners. Shake or brush them outdoors.
- Perform the first vacuum pass. Start high and work down. Vacuum seats, seat backs, carpet, cargo areas, and mats to remove grit, crumbs, and loose fur.
- Loosen embedded hair. Work in small sections with a dry rubber brush or rubber squeegee. Use short strokes in one direction until the hair forms small piles.
- Vacuum the loosened piles. Pick up each pile before moving to the next area so the strands do not spread around the cabin.
- Clean seams and edges. Gently open seat seams with your fingers and use a crevice tool nearby. Use a soft detailing brush around seat tracks and carpet edges.
- Use adhesive pickup for the remaining hair. Roll a lint roller over flat cloth surfaces using light pressure. Replace the sheet when it loses its grip.
- Wipe hard surfaces. Gather loose hair from plastic, vinyl, door panels, and the center console with a clean microfiber cloth or soft brush.
- Inspect from several angles. Open the doors, move adjustable seats, and check under the seats with a light. Repeat the brush-and-vacuum cycle where needed.
Pro Tip: Work on an area about the size of a sheet of paper. Small sections let the rubber tool build enough friction to gather the hair instead of spreading it across the seat.
How to Remove Pet Hair From Different Car Surfaces
The owner’s manual always takes priority over general cleaning advice. Test any tool or cleaner in a hidden area before treating a visible surface.
| Surface | Recommended Method | Avoid |
|---|---|---|
| Cloth seats | Vacuum, use a rubber brush with light pressure, then vacuum again. Finish with a lint roller. | Soaking the fabric or using abrasive stones and metal brushes |
| Carpet and removable mats | Remove mats, vacuum in two directions, agitate with a rubber or suitable nylon carpet brush, and vacuum again. | Aggressive scraping near plastic edging or carpet binding |
| Leather, vinyl, or synthetic leather | Use a smooth vacuum head, soft brush, or dry microfiber cloth. Apply only a cleaner approved by the vehicle manufacturer. | Stiff brushes, direct sprays, harsh solvents, or unapproved conditioners |
| Hard plastic and trim | Loosen hair with a soft detailing brush while holding the vacuum nozzle nearby, then wipe with microfiber. | Dragging a dirty cloth across glossy trim |
| Headliner | Use very light suction with a smooth tool or gently lift loose strands with a clean lint roller. | Scrubbing, saturating, or pulling on loose fabric |
| Seat belts and airbag areas | Use a dry, soft brush and vacuum nearby without entering the mechanism or seam. | Liquids, chemicals, sharp tools, or forced air directed into the mechanism |
Troubleshooting Stubborn Pet Hair
The hair moves but will not form a pile: Change the direction of your strokes and reduce the size of the working area. A clean rubber edge usually grips better than a dusty one.
The rubber tool drags or leaves moisture: The tool is too wet. Dry it before continuing. If static is severe, lightly dampen the removable rubber tool rather than spraying the seat or carpet.
The vacuum leaves hair behind: Empty the bin or bag, inspect the filter, remove wrapped hair from the brush roll, and check the hose for a blockage. Reduced airflow can make a suitable attachment seem ineffective.
Very short hair remains in the weave: Press a pet-hair lint roller lightly onto the surface after brushing and vacuuming. Do not rub adhesive sheets across delicate leather-like coatings or loose headliner fabric.
The carpet is thick or heavily packed: Make several light passes with a rubber brush or an upholstery-safe nylon brush. Do not increase pressure until you have tested the tool in a hidden area.
A tool leaves a mark or changes the texture: Stop immediately. Do not try to correct the mark with a stronger cleaner. Check the owner’s manual or consult a professional detailer.
Pet Stains, Odors, and Dander Need Separate Treatment
Removing dry hair does not necessarily remove urine, vomit, saliva, skin oils, dander, or odor trapped in seat foam and carpet padding. Complete the dry hair-removal process before applying any liquid cleaner.
For cloth upholstery or automotive carpet, use an automotive upholstery product or enzyme cleaner only when its label approves the material and the vehicle manufacturer does not prohibit it. Test a hidden area, apply the smallest amount needed, and extract or blot the moisture as directed.
Do not assume a carpet cleaner is safe for leather, synthetic leather, suede-like upholstery, headliners, seat belts, touchscreens, or airbag covers. Do not mix cleaners, and never combine bleach with ammonia or other household chemicals.
If urine or another liquid has soaked through to the seat cushion, carpet underlay, or cargo-area padding, surface cleaning may not resolve the odor. A professional may need to extract the contamination or remove affected trim for treatment.
Common Mistakes to Avoid When Removing Pet Hair
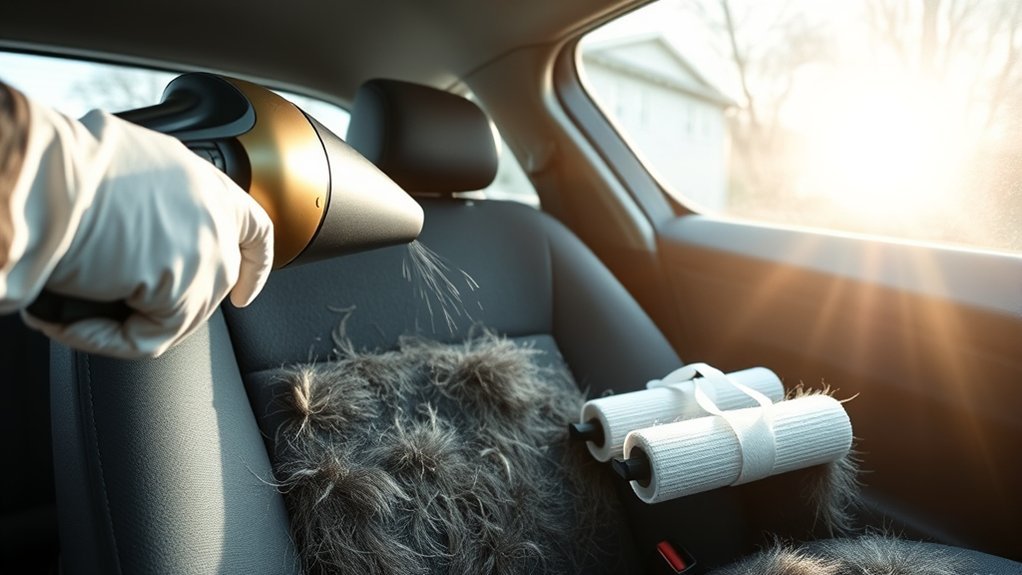
- Skipping the first vacuum pass: Rubbing grit and crumbs into the fabric can make the job harder and may mark delicate surfaces.
- Trying to vacuum embedded hair without loosening it: Suction alone may pass over strands caught in the weave.
- Spraying the interior directly: Overspray can reach electronics, restraint components, seat foam, and areas that dry slowly.
- Using too much pressure: Aggressive scrubbing can fuzz carpet, pull threads, or dull a coated seat surface.
- Using one tool everywhere: A carpet brush that works on a floor mat may be too stiff for a seat or headliner.
- Relying only on a lint roller: Adhesive rollers are best for loose finishing hair, not deep buildup.
- Ignoring seams and seat tracks: These areas can hold a large amount of hair after the visible surfaces look clean.
- Using an unsuitable front-seat cover: Some covers can obstruct seat-mounted airbags or interfere with occupant sensors.
Tips for Keeping Pet Hair Under Control
Complete removal is easier when fur is collected before passengers and cargo press it into the upholstery.
- Brush or groom the pet before a long drive or during periods of heavy shedding.
- Use a washable rear-seat blanket, cargo liner, or pet hammock that is compatible with the vehicle.
- Check the owner’s manual before installing a front-seat cover. Do not cover airbag seams, belt anchors, or occupant-sensor areas unless the manufacturer specifically permits it.
- Shake removable covers outdoors and vacuum loose hair after pet trips instead of waiting for a thick layer to build up.
- Keep a small lint roller and microfiber cloth in the car for quick touch-ups.
- Clean pet carriers and harnesses so they do not return loose fur to the cabin.
- Use a suitable harness or secured carrier to protect the pet and reduce movement around the cabin.
The American Veterinary Medical Association’s vehicle-safety guidance recommends safely restraining pets, keeping dogs away from the driver’s lap, and considering airbag locations when choosing where a pet rides.
When to Call a Professional Detailer
Professional help may be worthwhile when hair covers most of the interior, is packed deep into high-pile carpet, or remains after several careful brush-and-vacuum passes.
Consider professional detailing when:
- Pet urine, vomit, or another liquid has reached seat foam or carpet padding.
- A strong odor returns after the visible surface dries.
- The vehicle has delicate leather, suede-like upholstery, loose headliner fabric, or a specialty interior.
- You are preparing a leased vehicle for return or a car for sale.
- You cannot reach the buildup without removing seats or interior trim.
- A previous cleaning product has left discoloration, stiffness, residue, or an uneven finish.
Ask what tools and products will be used, whether they are approved for the vehicle’s materials, and whether the quoted service includes odor extraction, mat cleaning, cargo areas, and hair removal from seams and seat tracks.
Frequently Asked Questions
What is the easiest way to remove pet hair from a car?
Vacuum the interior first, gather embedded hair with a rubber pet-hair brush or squeegee, and vacuum again. Finish with a lint roller on flat cloth surfaces. Working in small sections is usually faster than brushing an entire seat at once.
What is the best tool for cleaning dog hair from a car?
The most useful combination is a vacuum with upholstery and crevice attachments plus a rubber pet-hair brush. The rubber tool loosens fur caught in the fibers, while the vacuum removes the piles. A lint roller is helpful for the remaining surface hair.
What do car detailers use to remove pet hair?
Detailers commonly combine strong vacuums, crevice tools, rubber brushes, upholstery-safe brushes, compressed-air tools used with care, and repeated agitation-and-extraction passes. The exact process depends on the carpet, seat material, electronics, and severity of the buildup.
How can I remove pet hair without a vacuum?
Use a clean rubber brush, rubber squeegee, or slightly damp rubber glove to gather the hair into piles. Pick up the piles by hand or with a lint roller. Keep the glove only slightly damp, and do not use this method around seat-belt mechanisms, airbag seams, or electronics.
Can I use fabric softener or anti-static spray on car seats?
Do not apply fabric softener or an anti-static product unless both the product label and the vehicle manufacturer approve it for the exact surface. Residue may discolor material, attract dirt, affect coatings, or reach sensors and electronics. A dry rubber tool is the safer starting point.
How often should I remove pet hair from my car?
Base the schedule on how often the pet rides and how heavily it sheds. A quick vacuum or lint-roll after a trip can prevent buildup. Clean sooner when hair begins collecting in seams, covering large areas, or becoming pressed into the carpet.
Conclusion
The best way to remove pet hair from a car is to use the right sequence: vacuum loose debris, loosen embedded strands with a surface-safe rubber tool, and vacuum again. Finish seams and flat fabric with crevice tools, soft brushes, and a lint roller.
Keep the process as dry and gentle as possible. Follow the owner’s manual around leather-like materials, headliners, electronics, airbag seams, seat belts, and seat covers. Regular grooming, suitable washable liners, safe pet restraint, and quick cleanup after trips can prevent the next layer of hair from becoming deeply embedded.
Sources
- Tesla Owner’s Manual: Cleaning — interior-material, airbag, seat-belt, moisture, chemical, and seat-cover cautions
- Ford: How Do I Clean My Vehicle? — manufacturer guidance on vehicle cleaning and mild cleaning methods
- BISSELL Pet Hair Vacuum Instructions — upholstery, crevice, felt, and motorized pet-hair tool uses
- 3M Hair and Lint Removers — lint rollers designed for hair and pet-hair pickup
- American Veterinary Medical Association: Pet Safety in Vehicles — pet restraint, carrier, driver-distraction, and airbag guidance
- National Highway Traffic Safety Administration: Air Bags — the safety role of frontal and side airbag systems







Leave a Reply